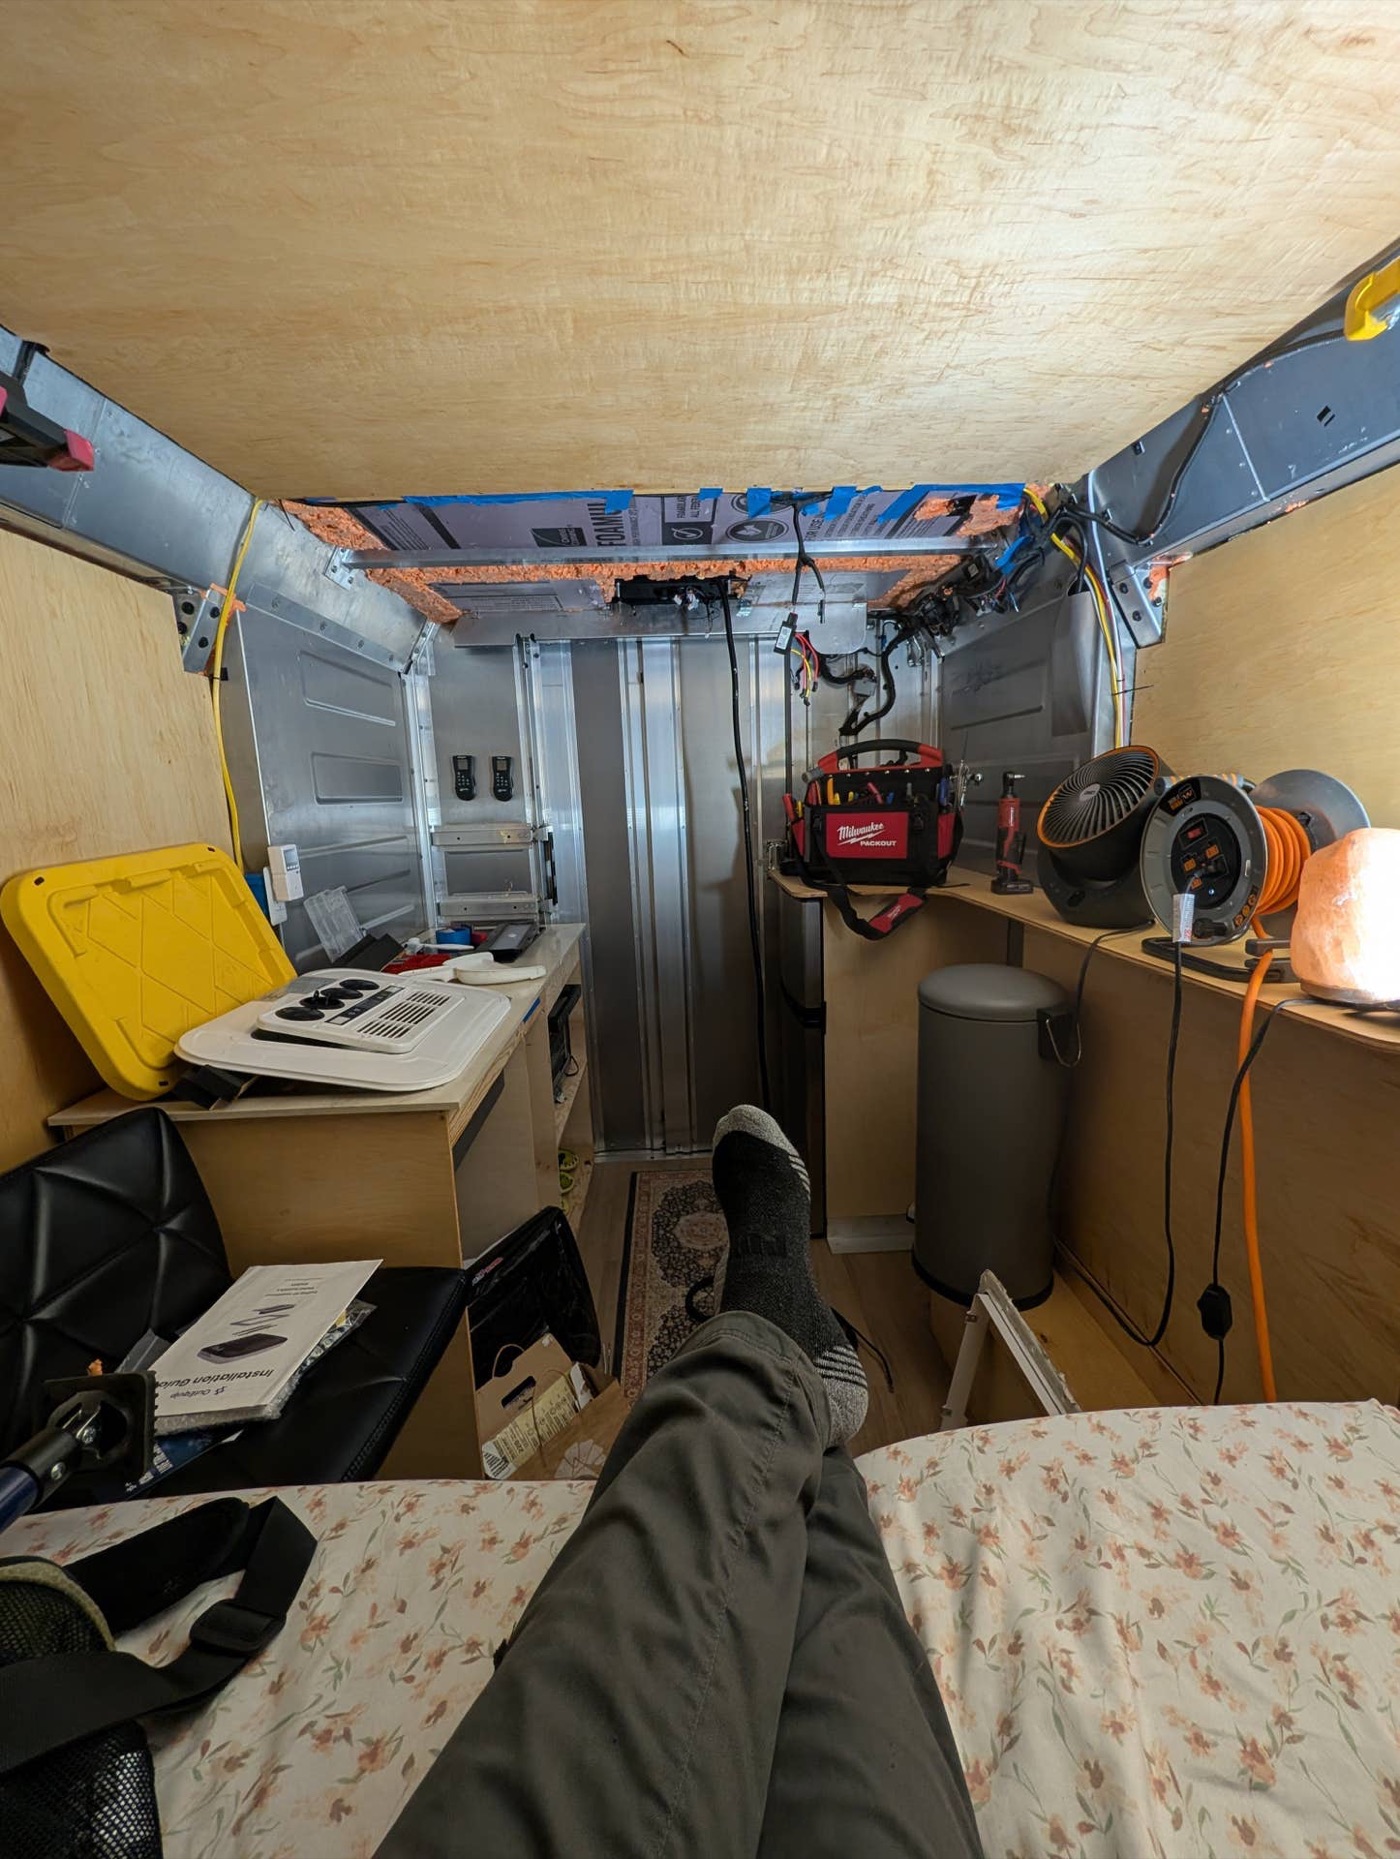
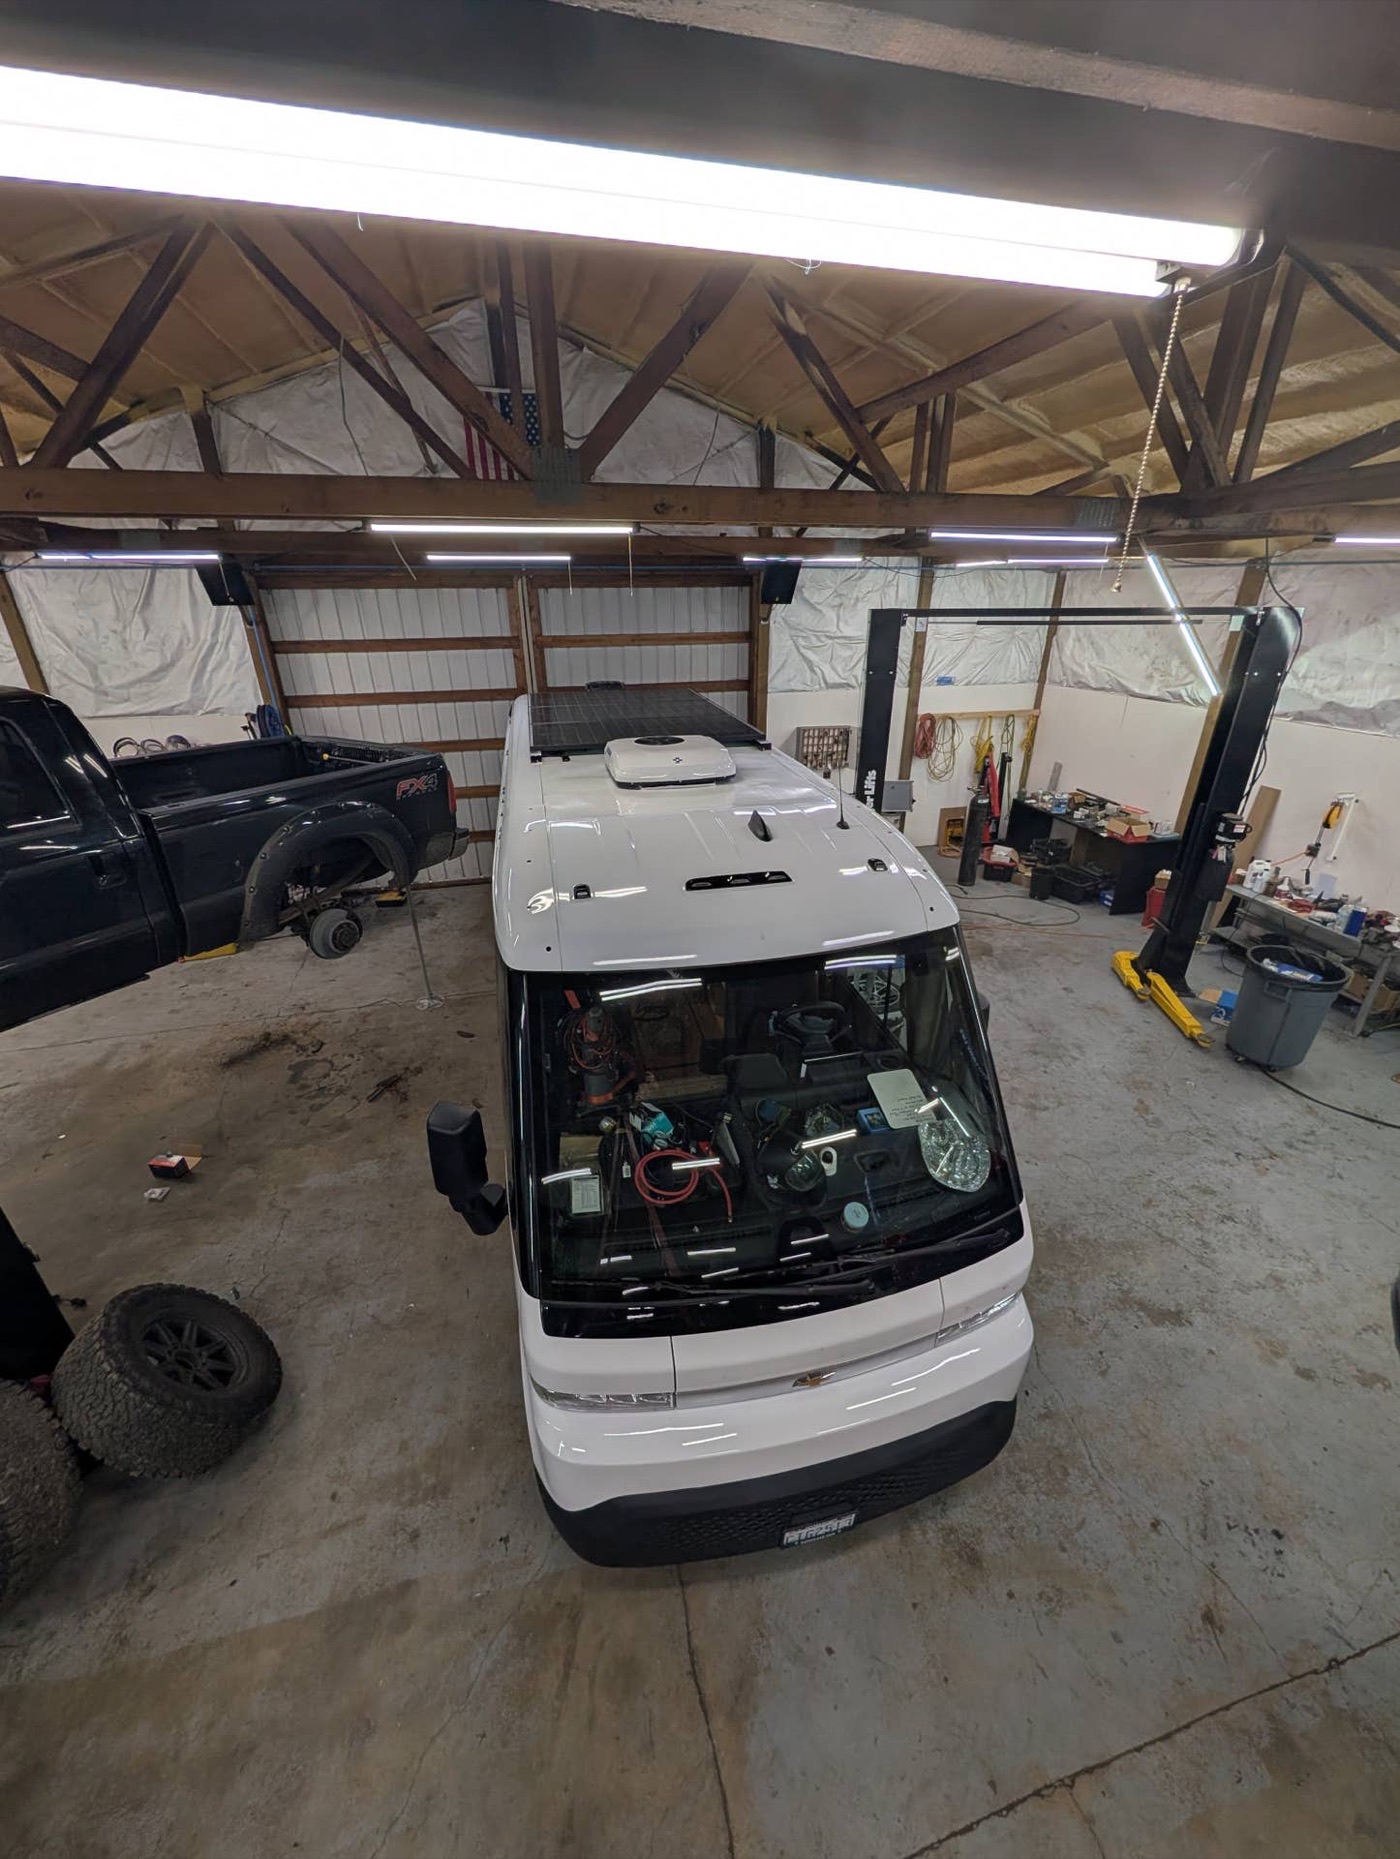
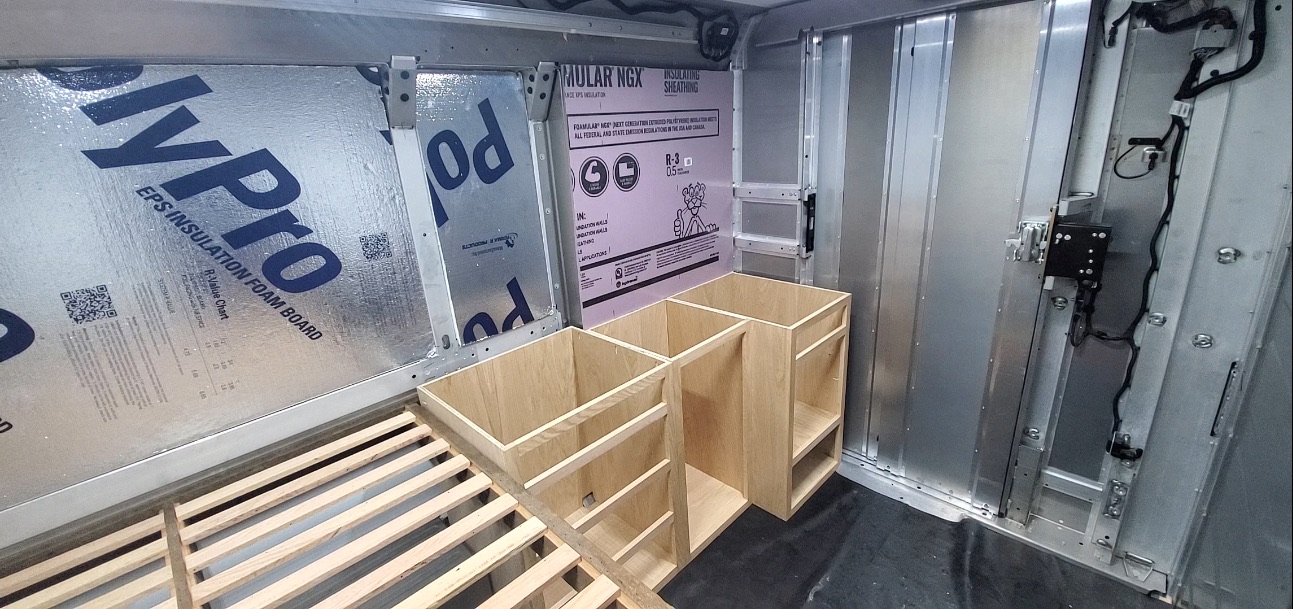
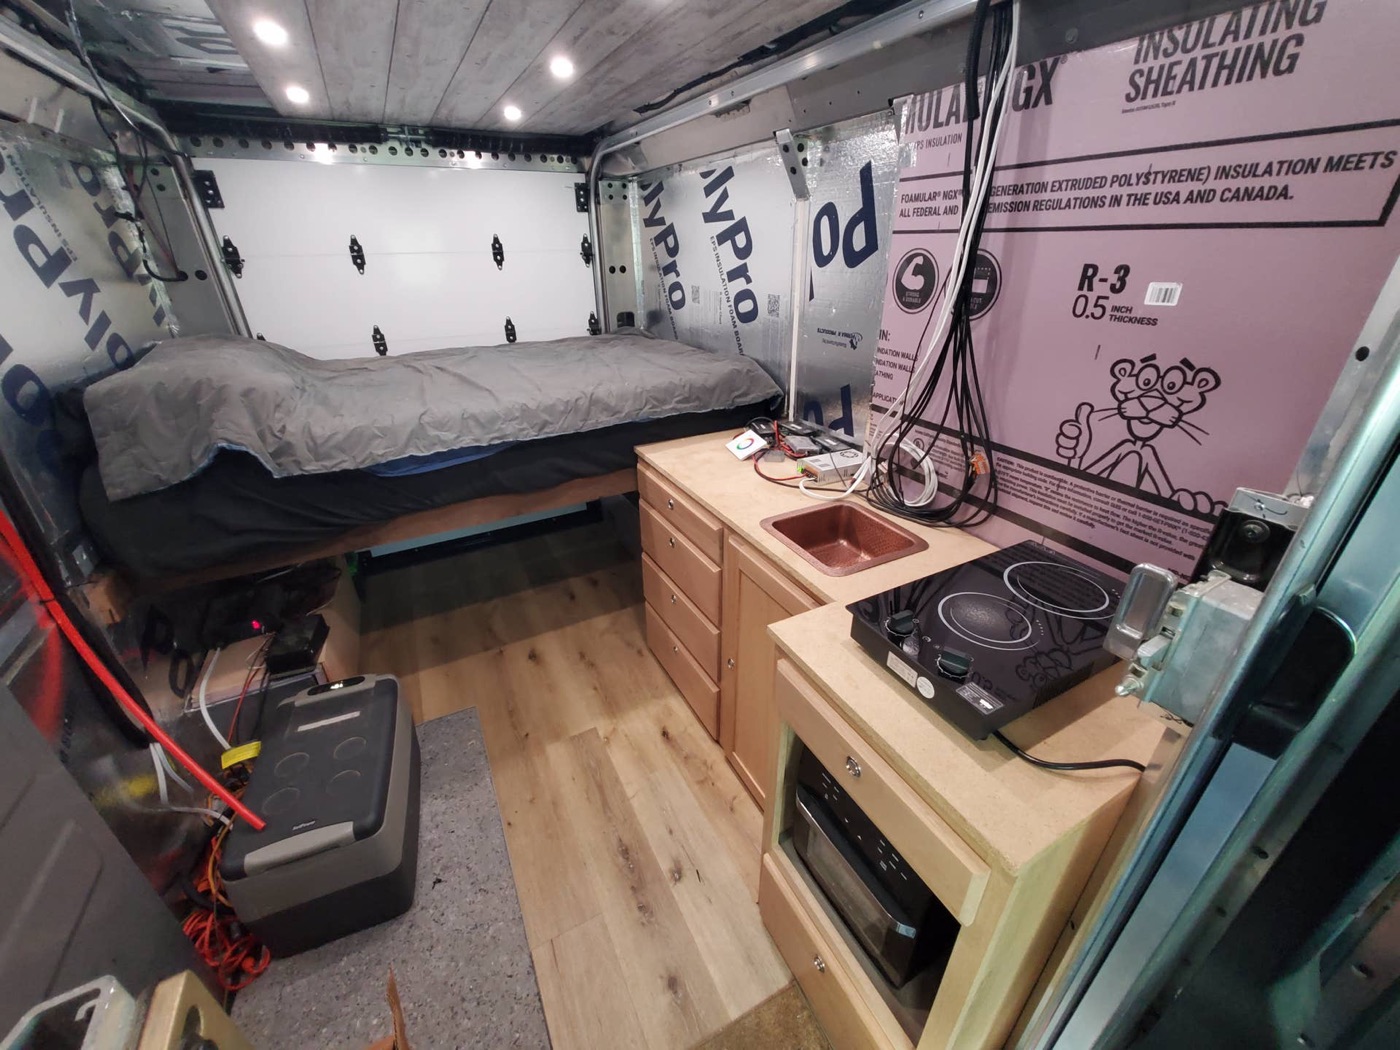
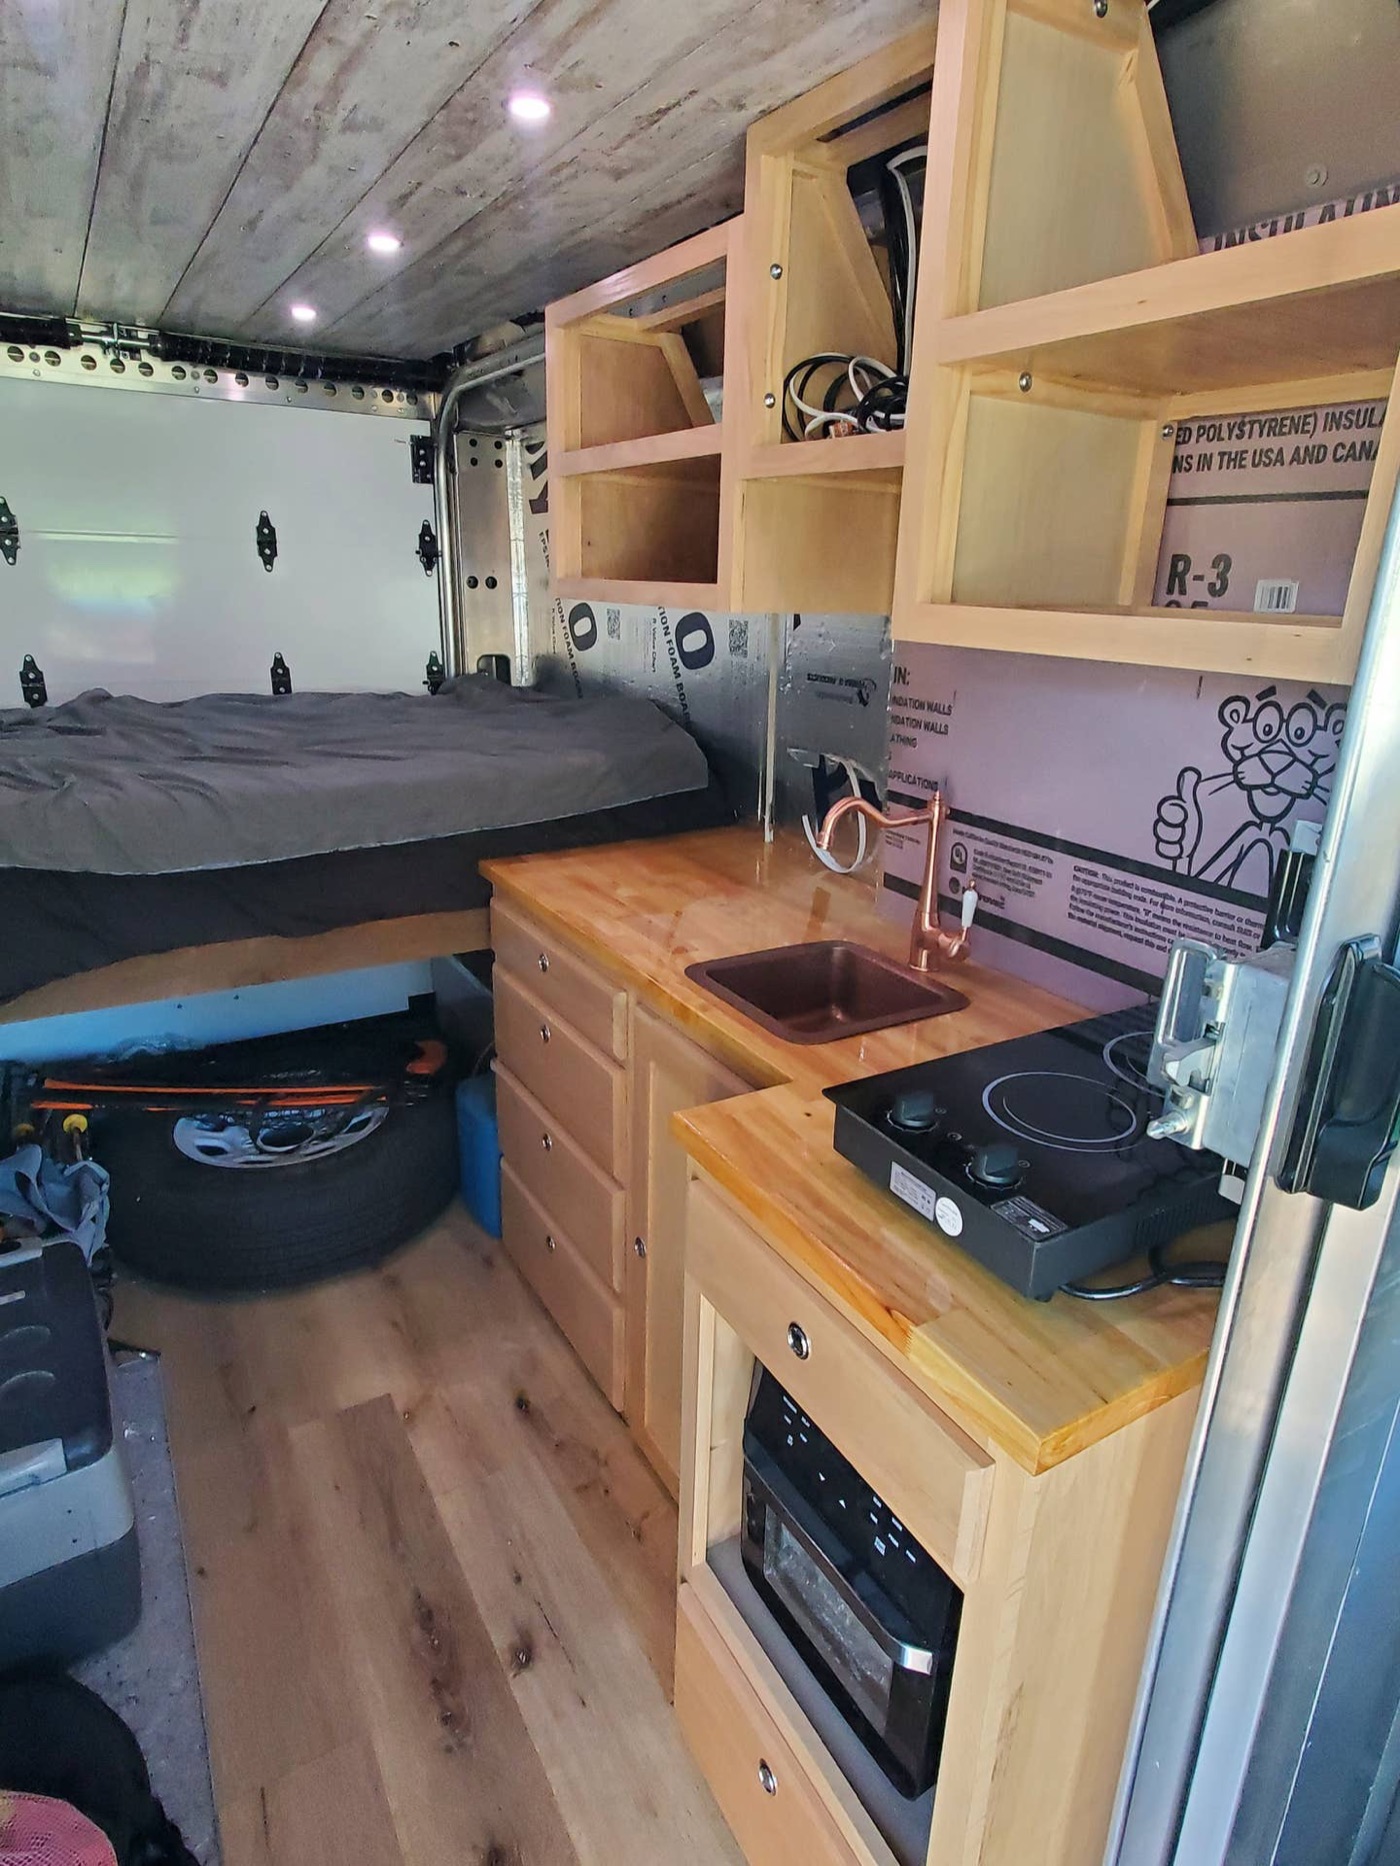
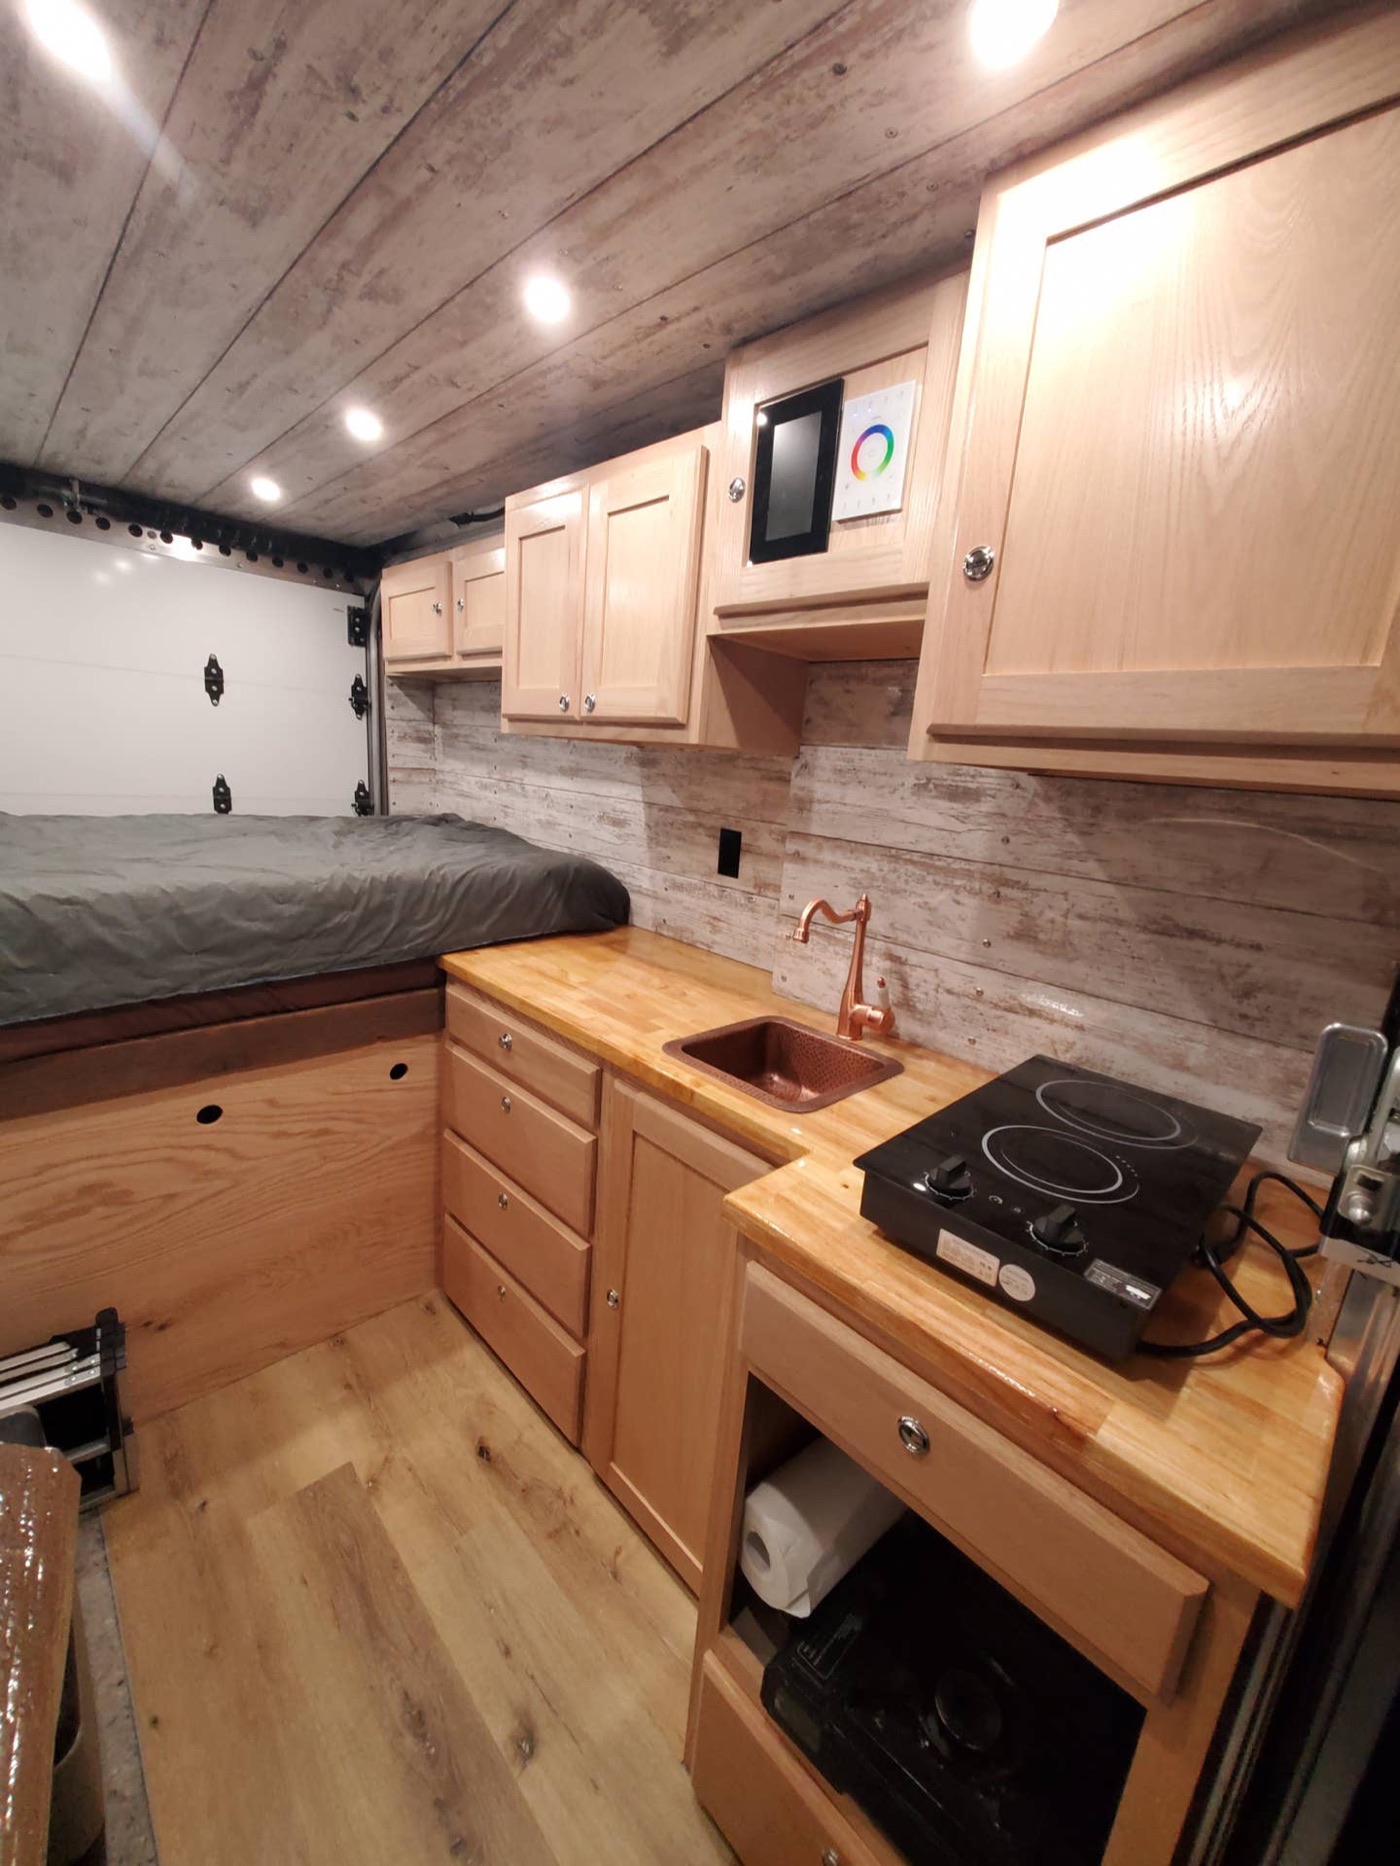
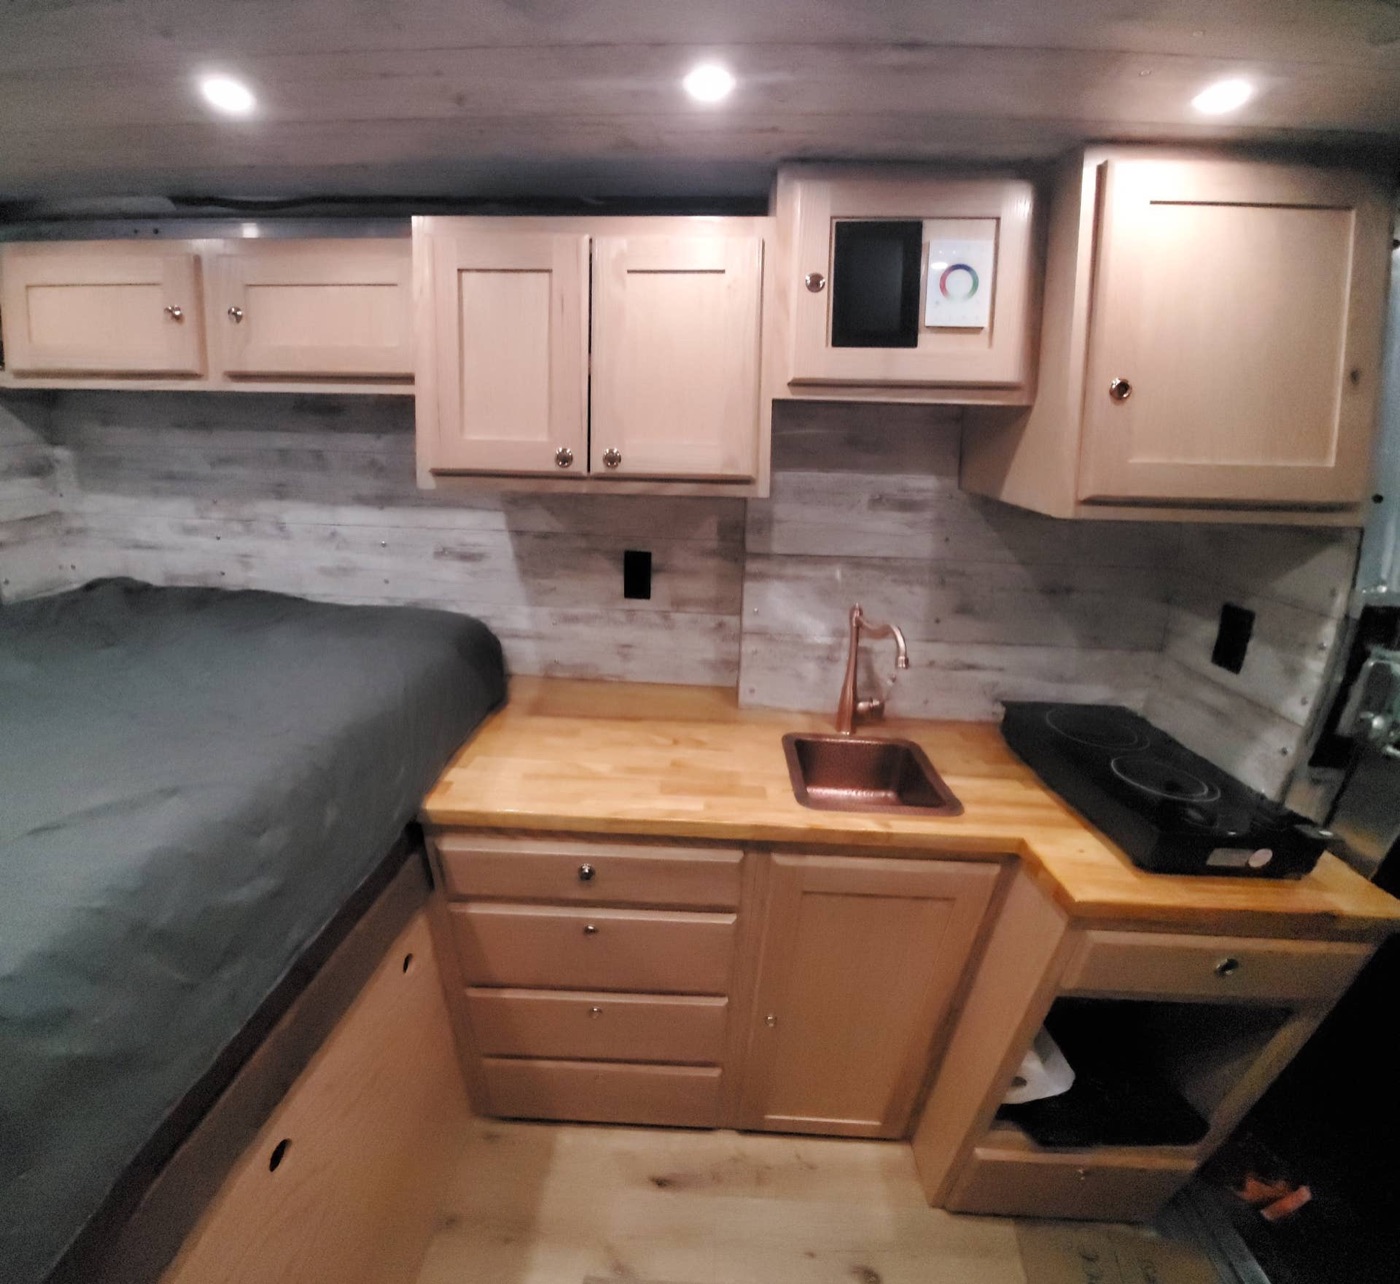
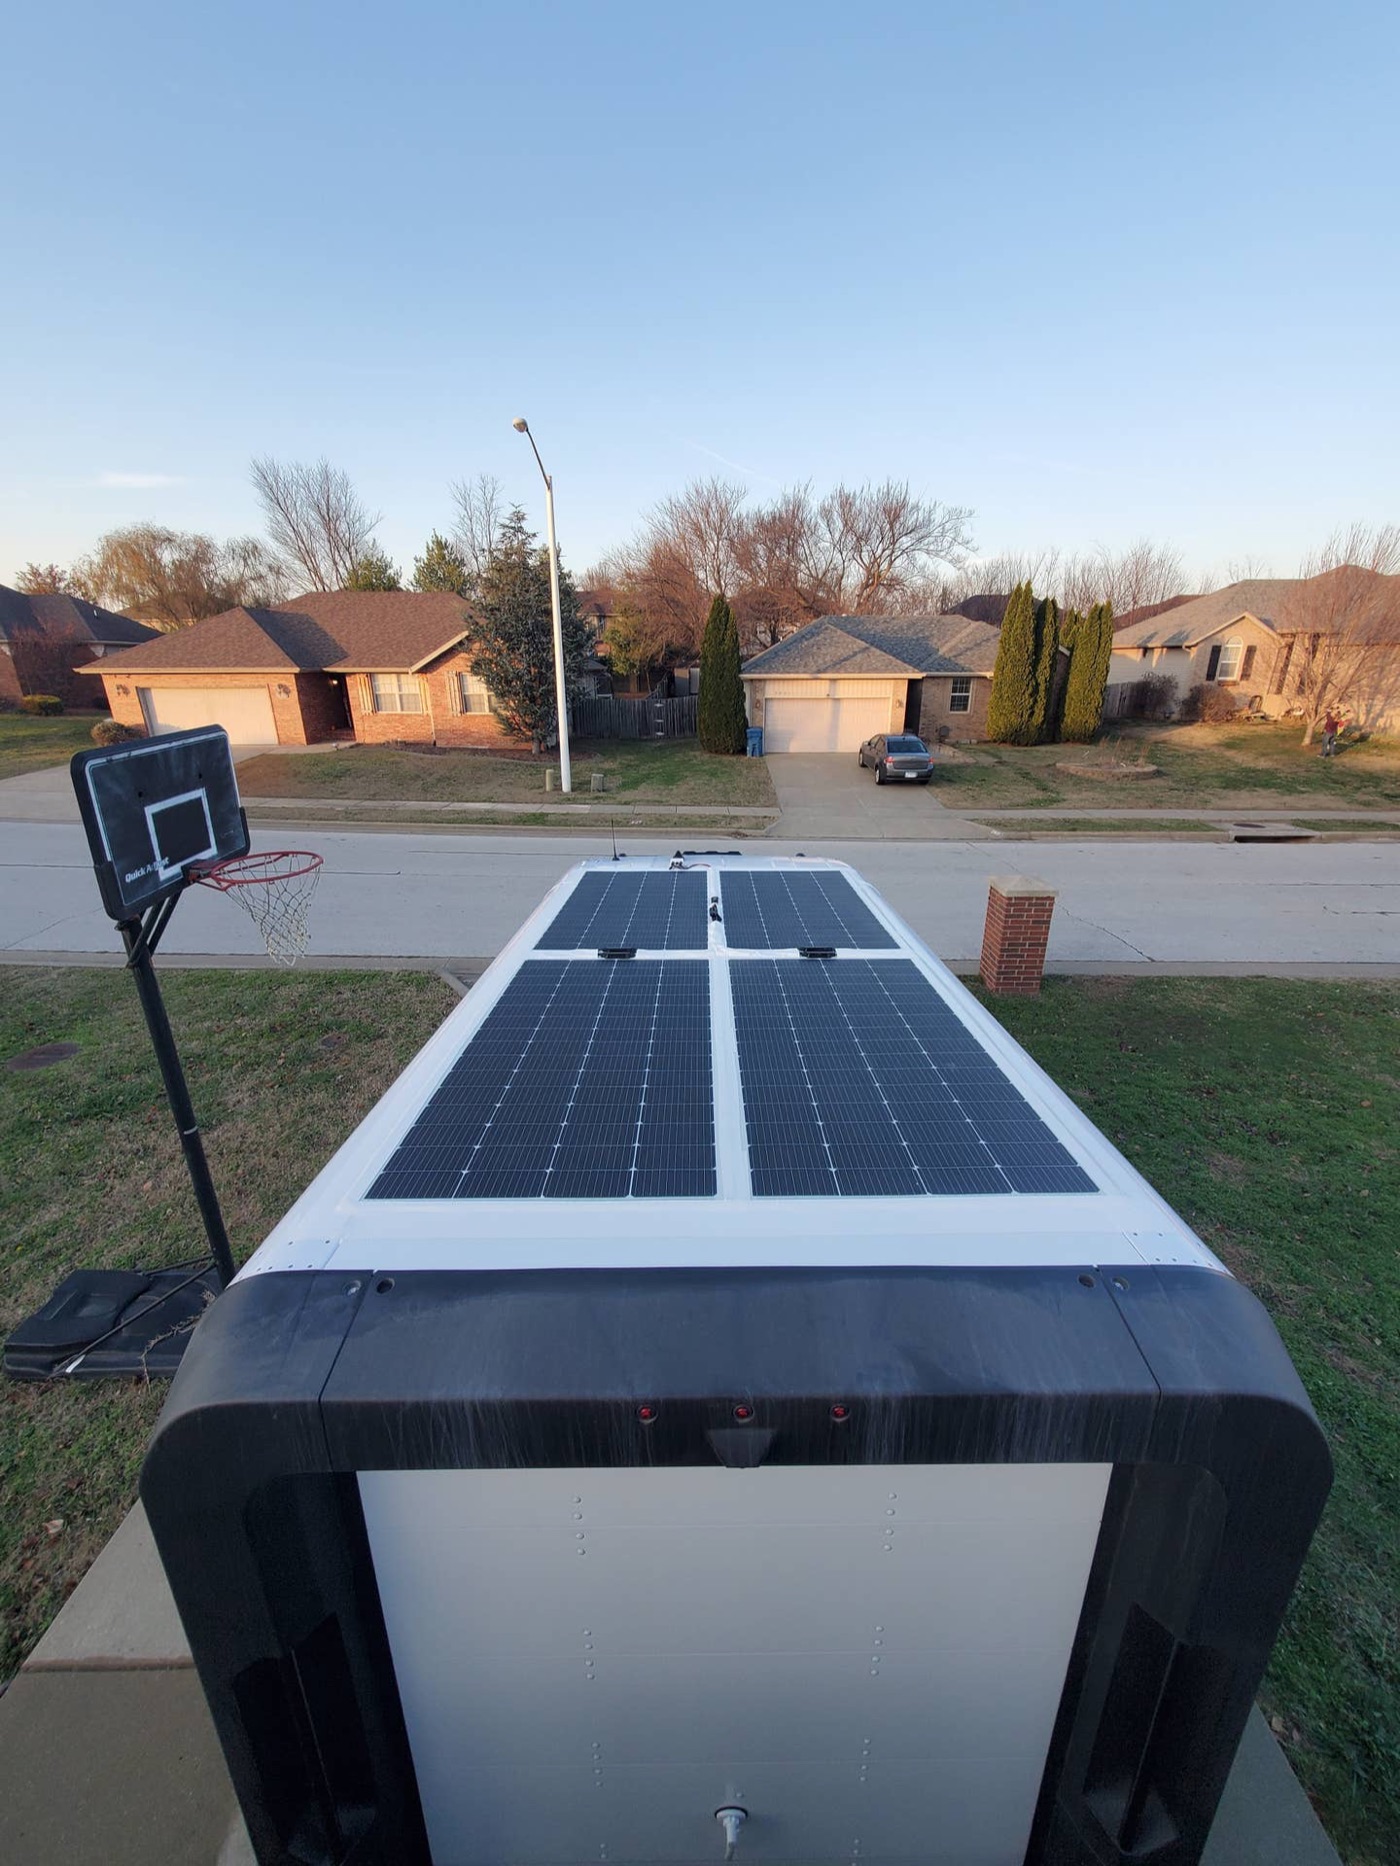
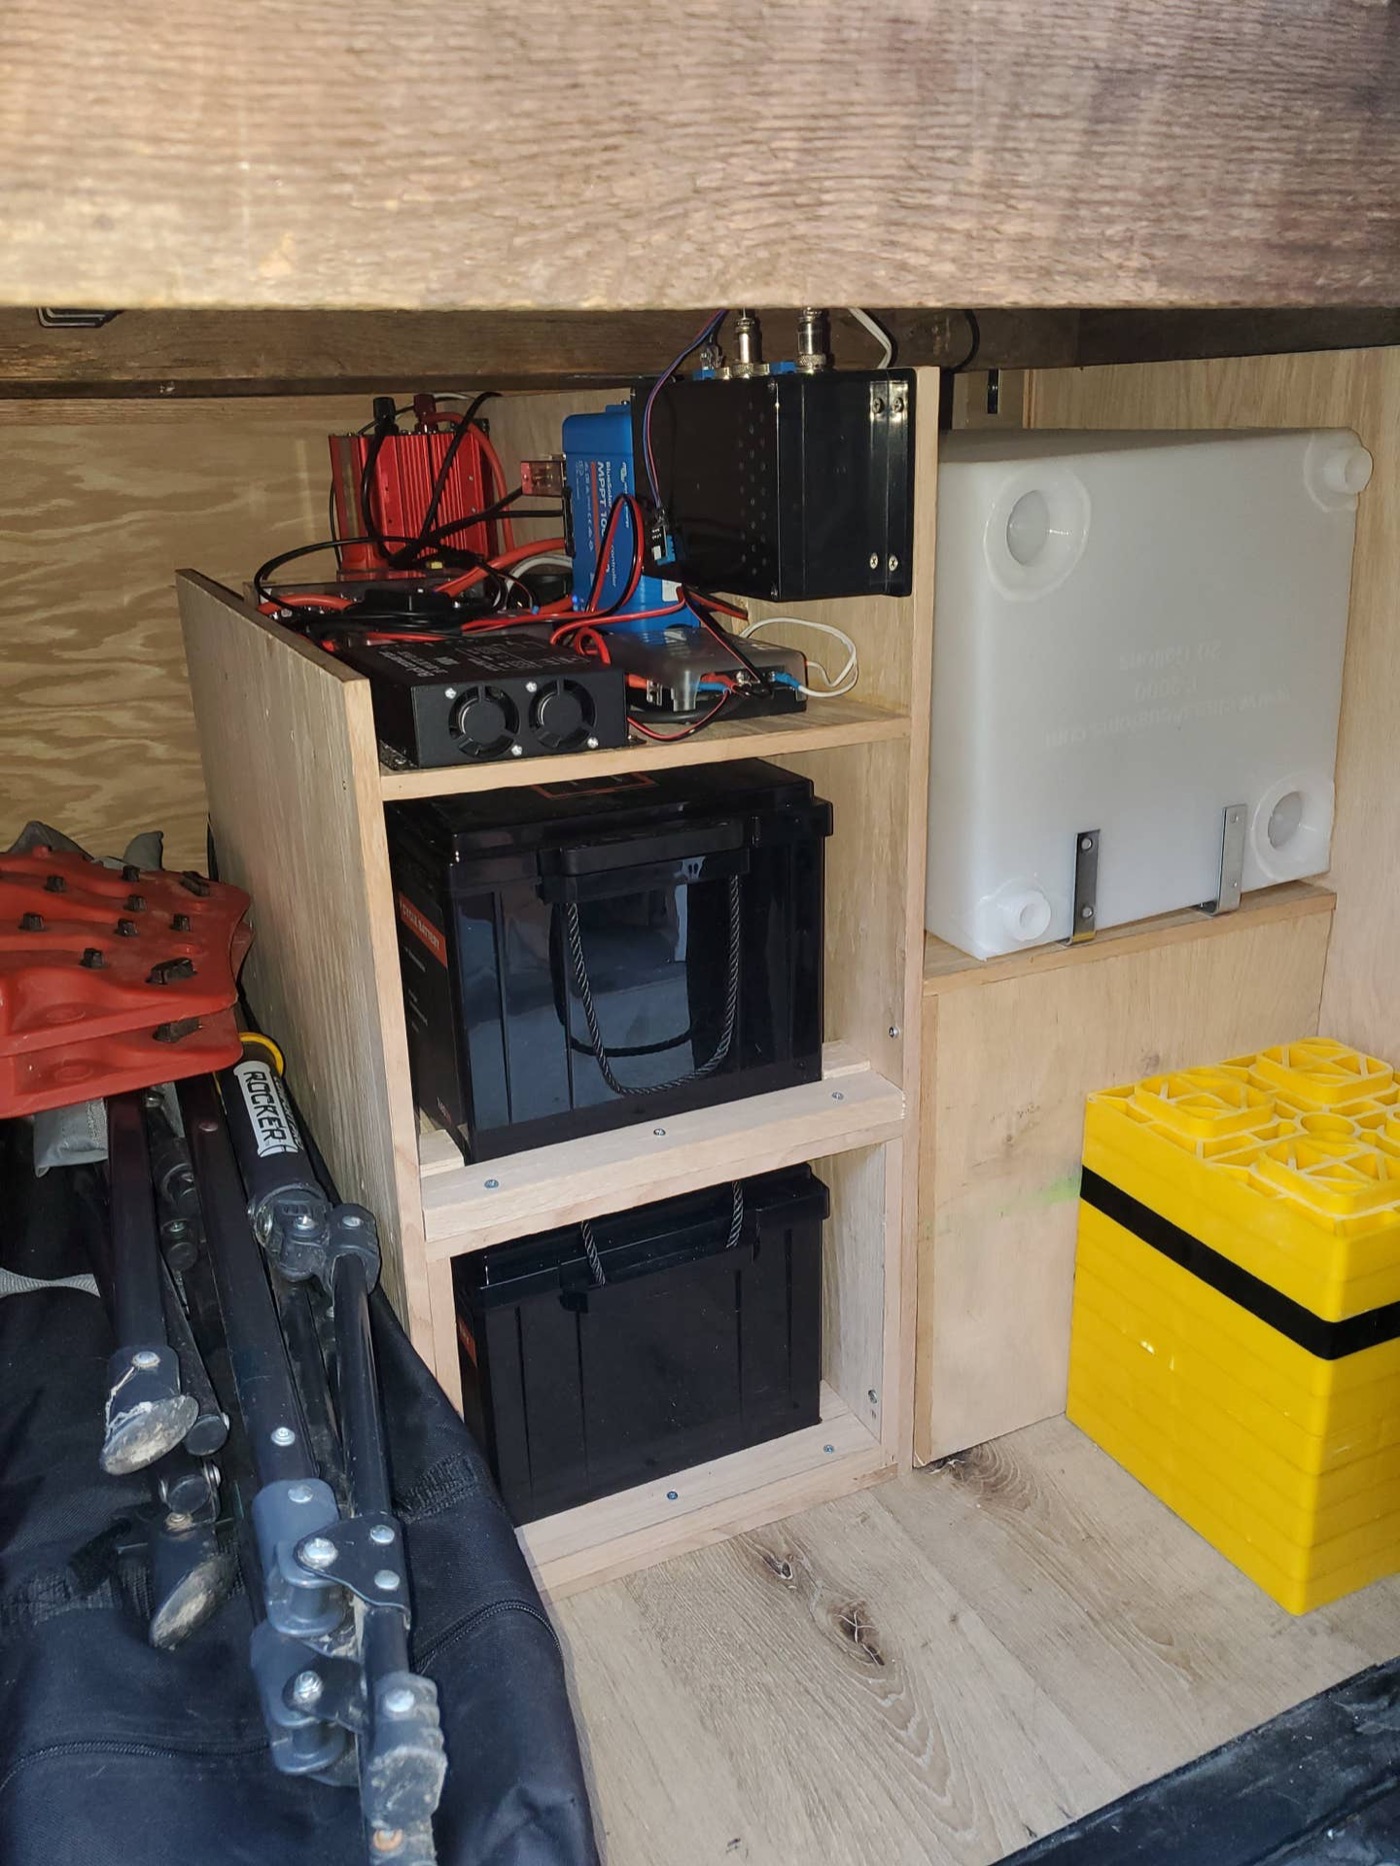
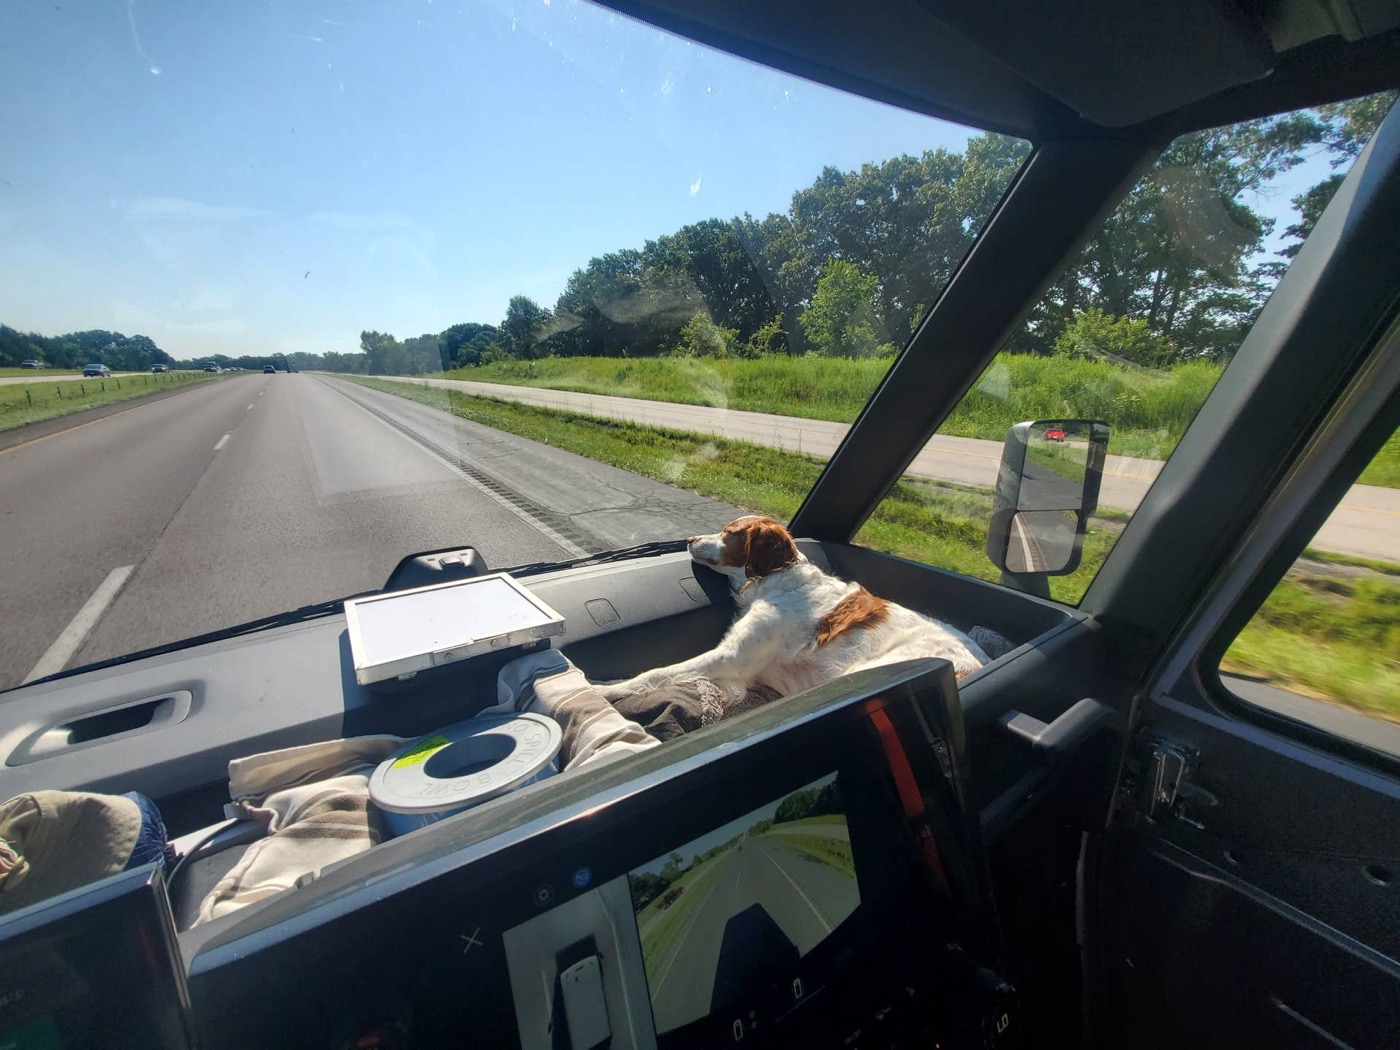
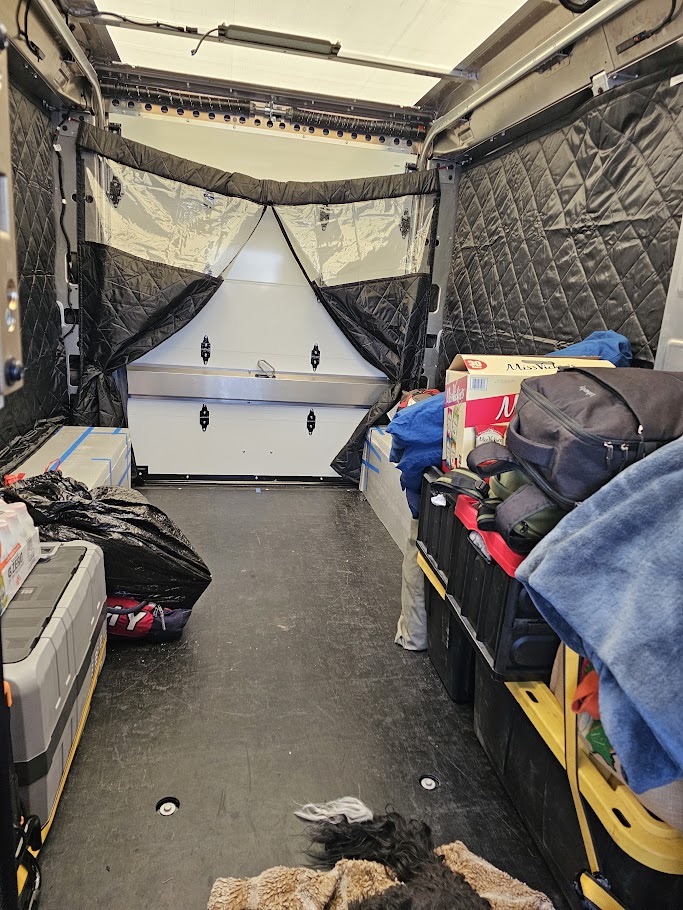
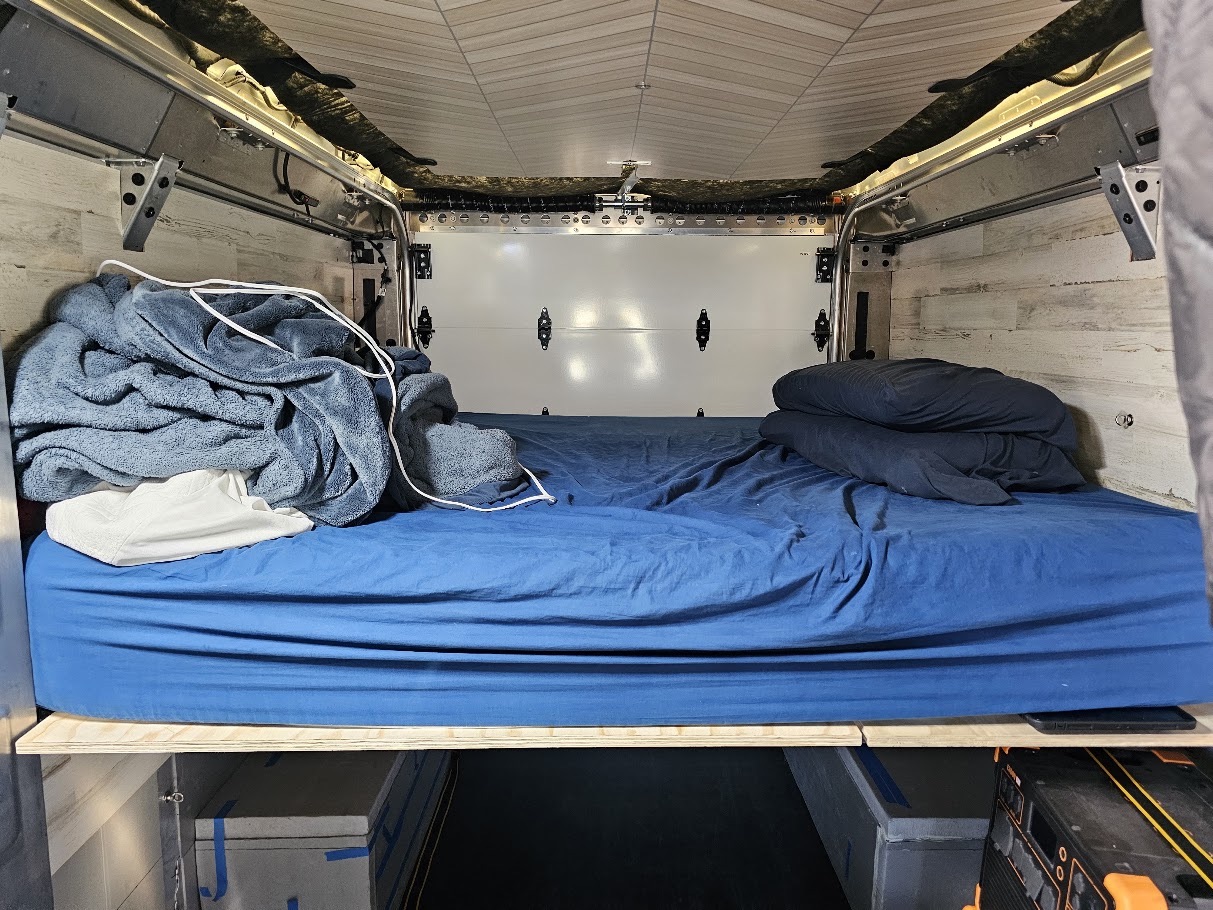
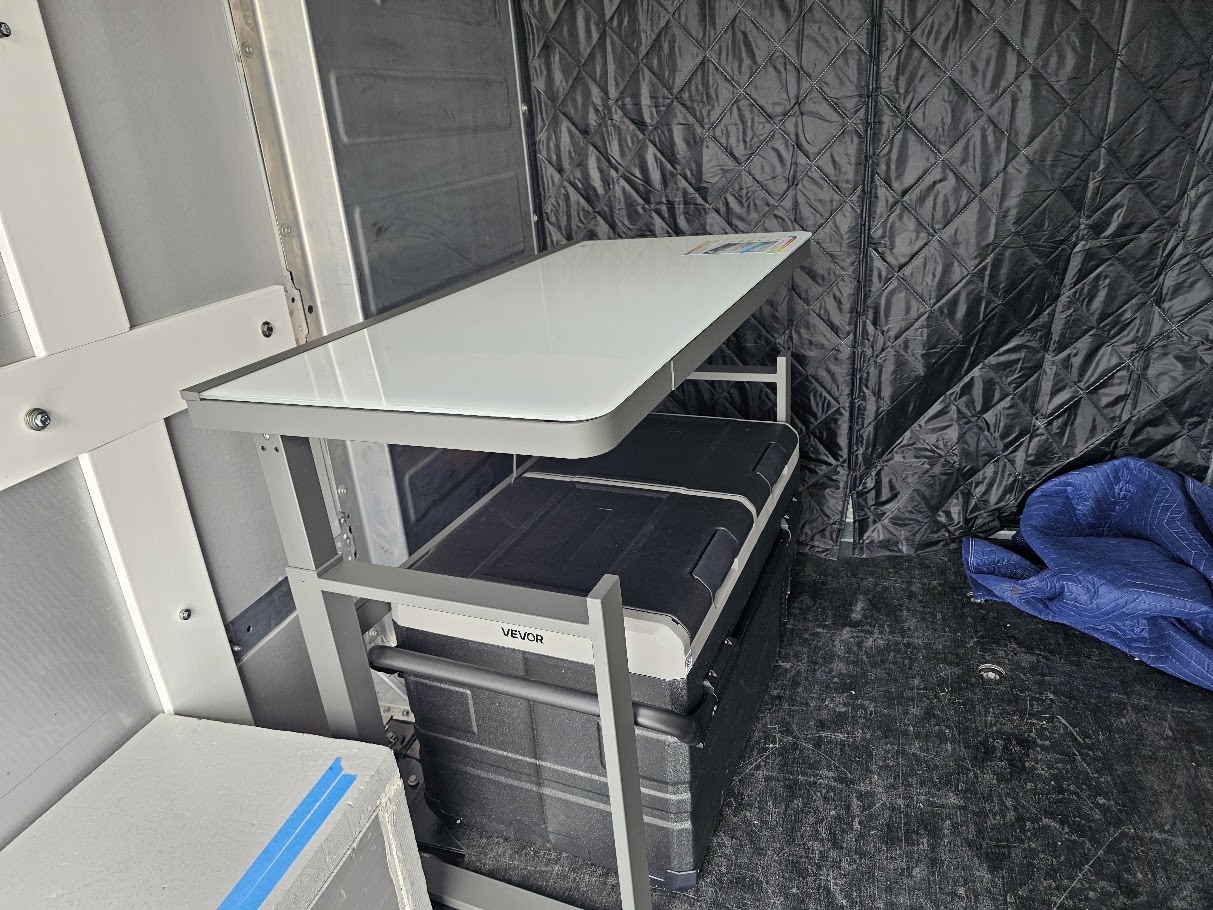
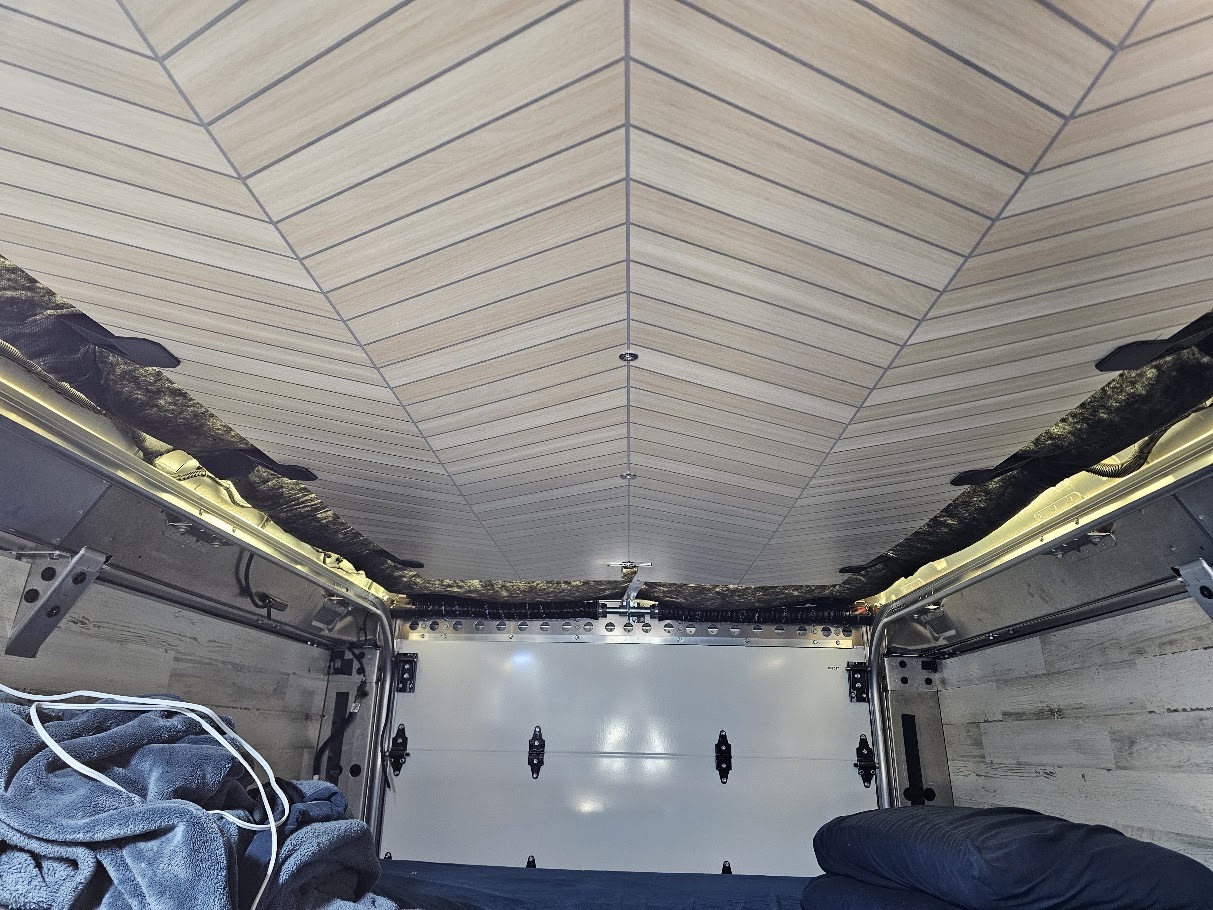
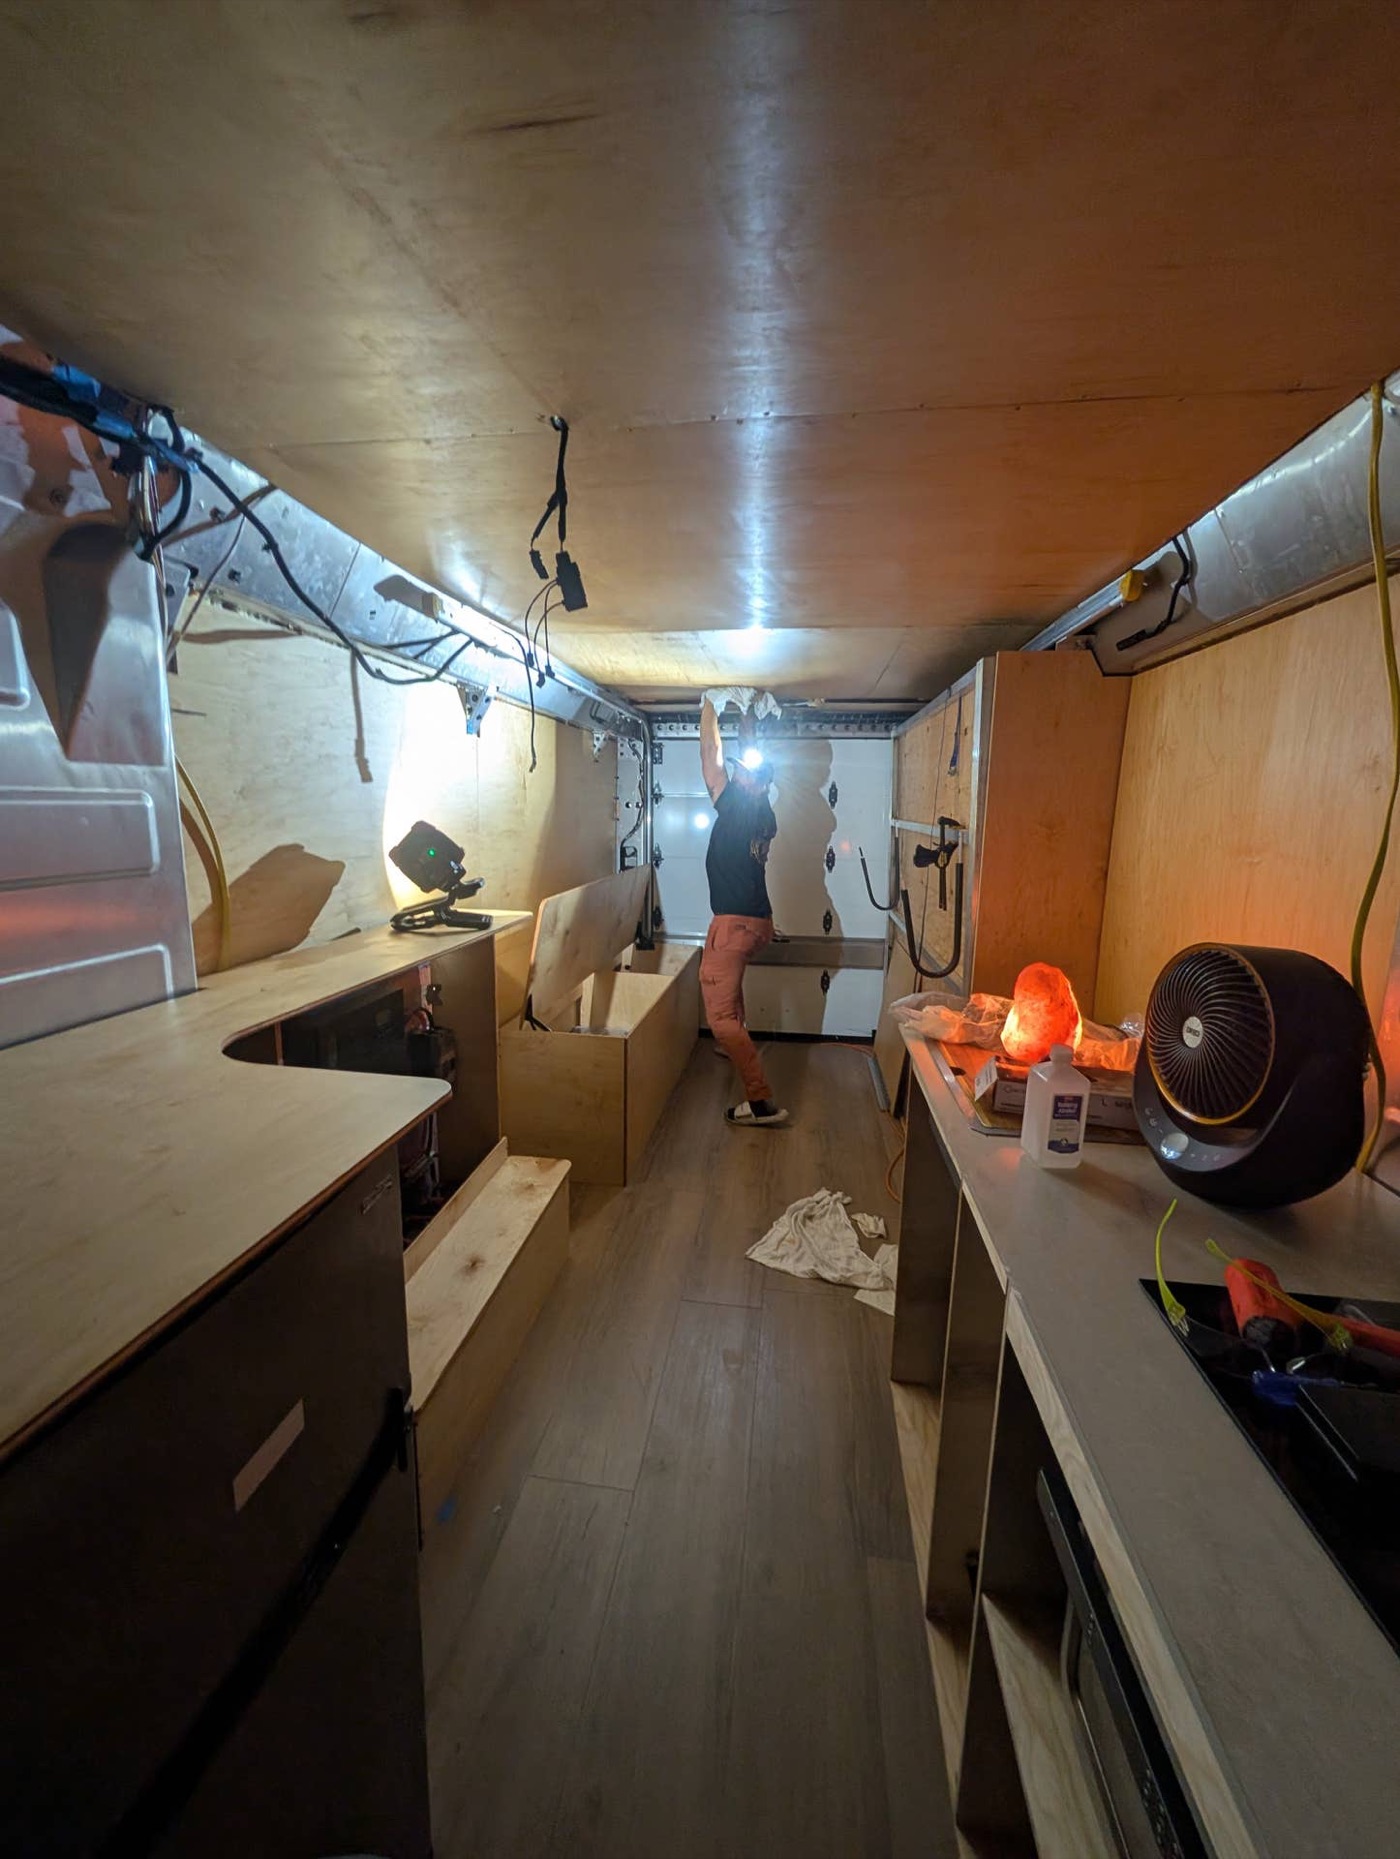
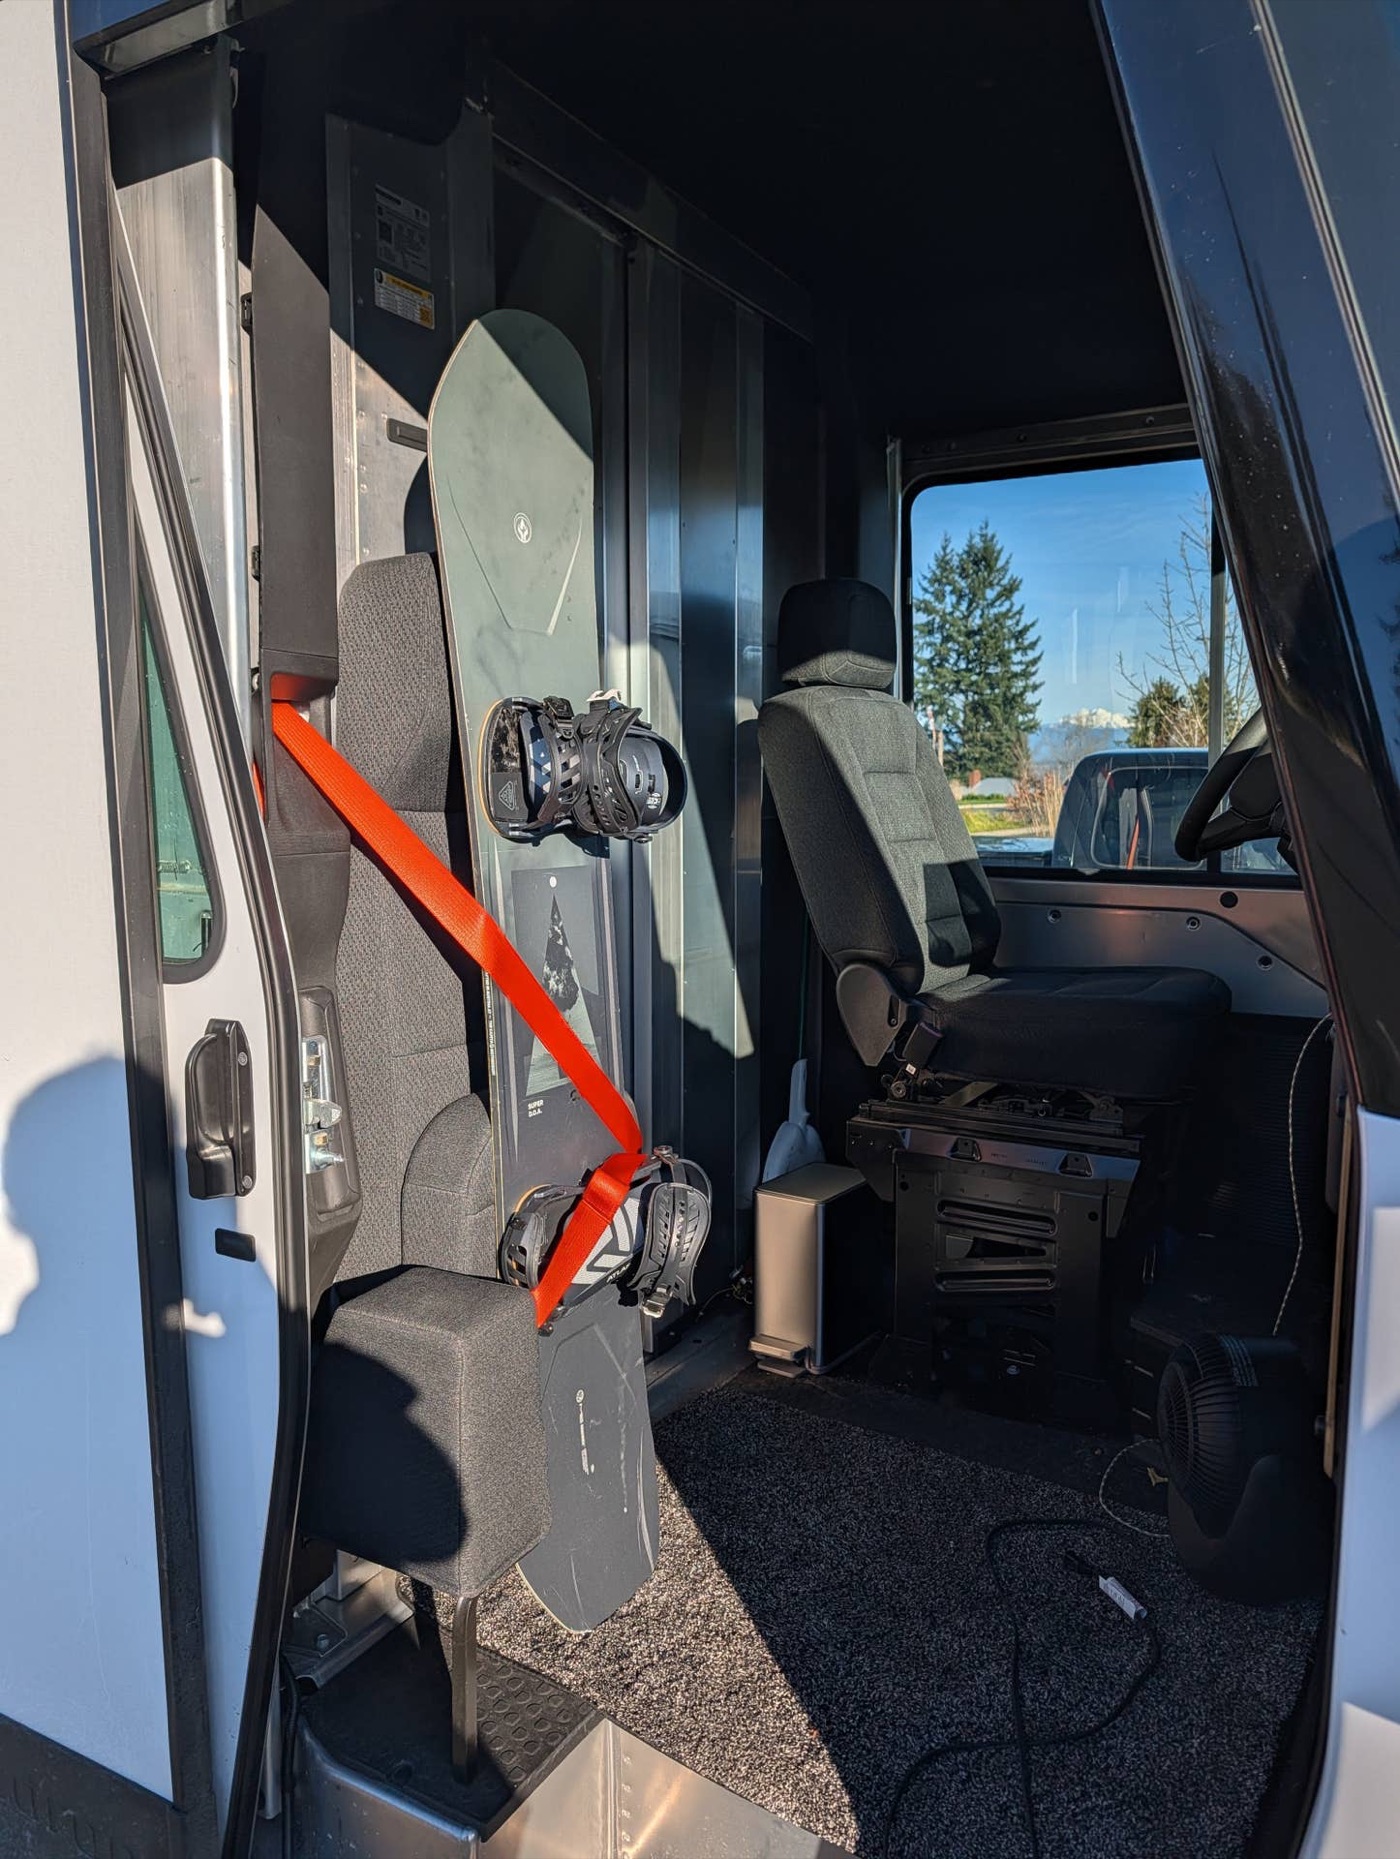
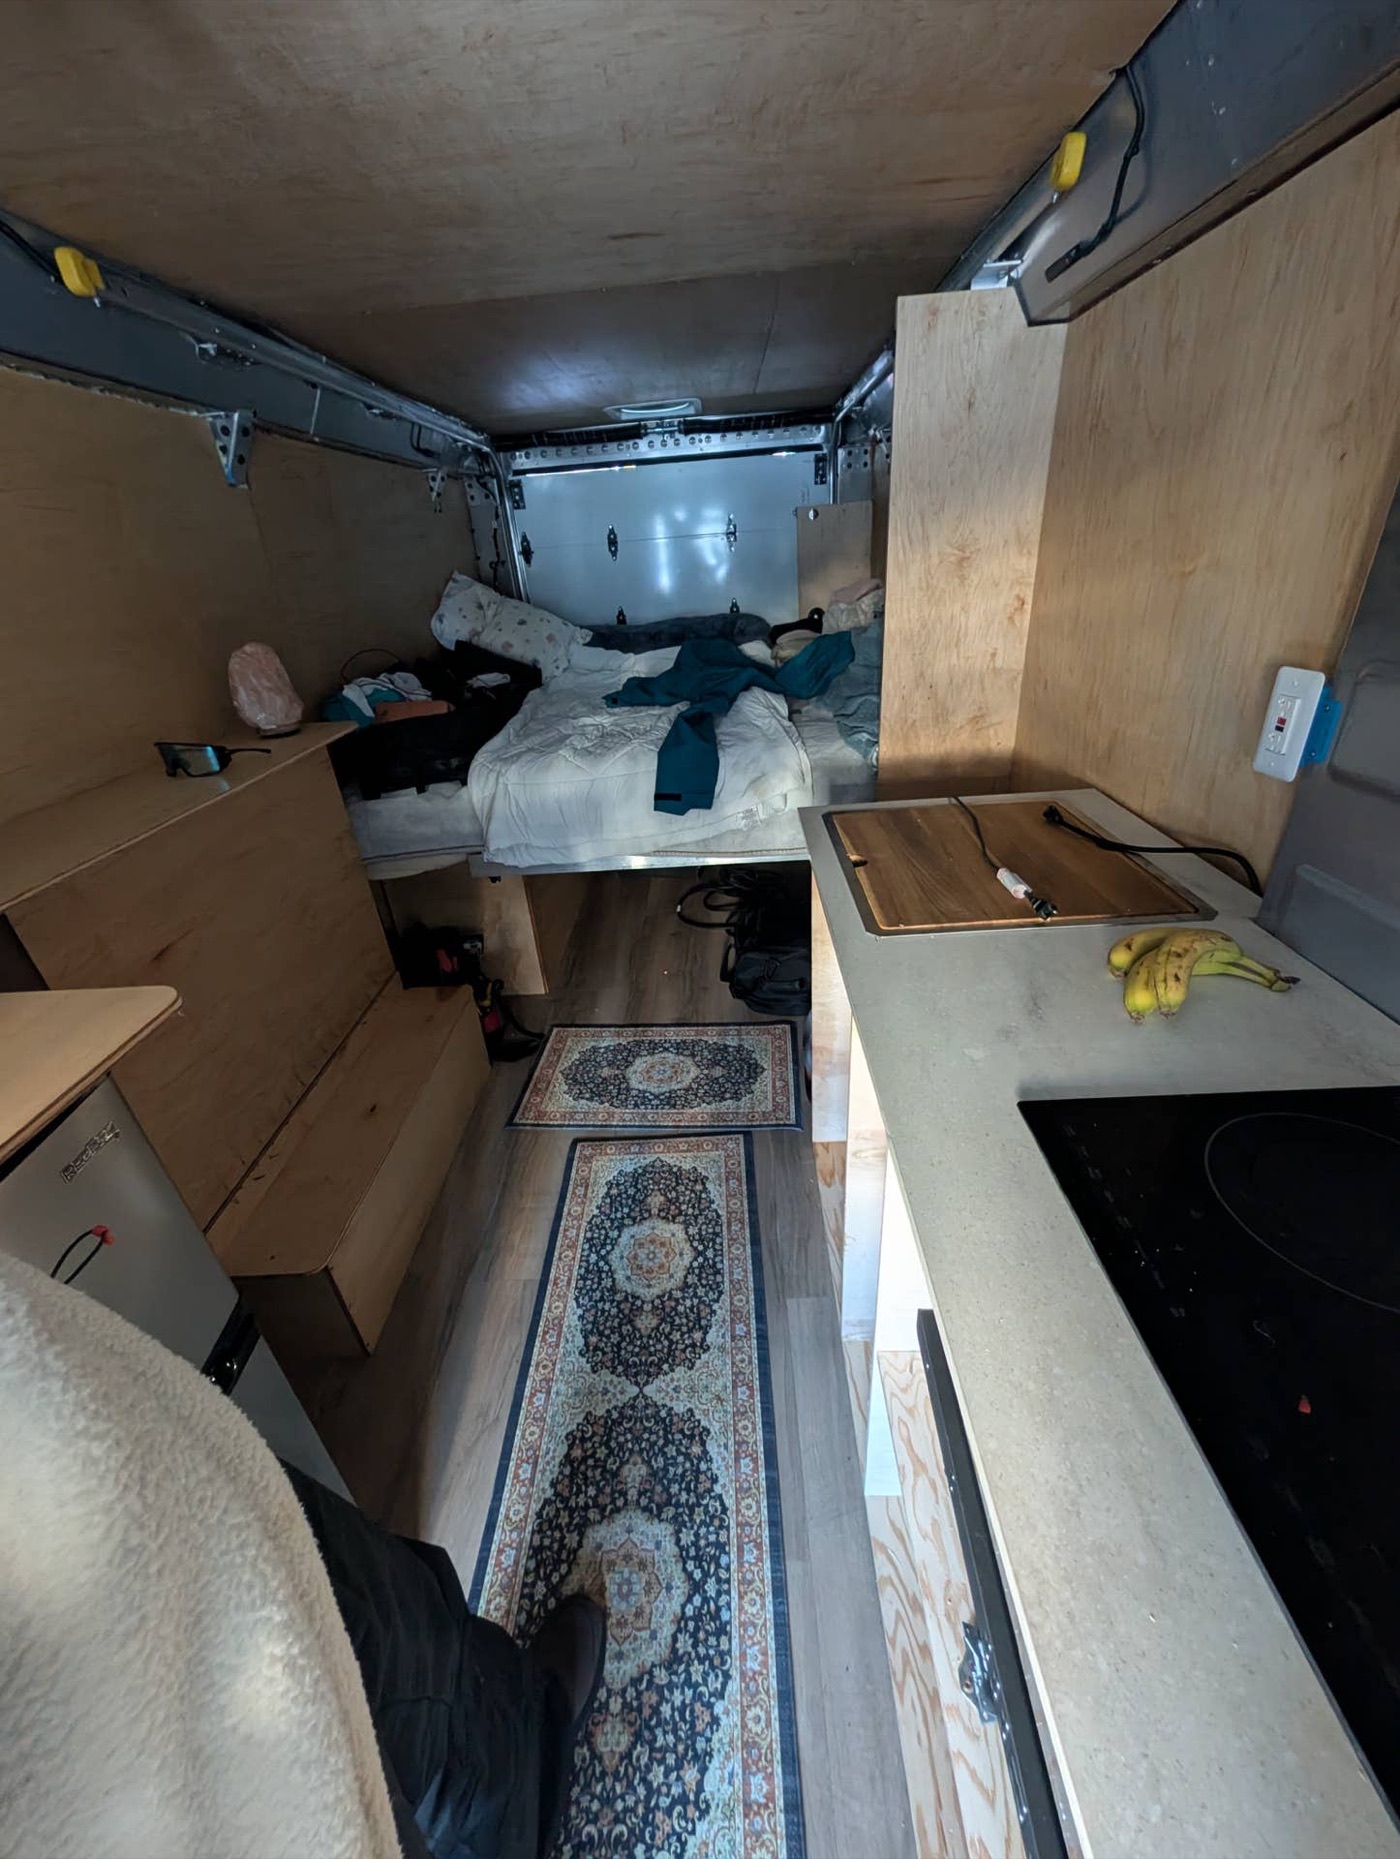
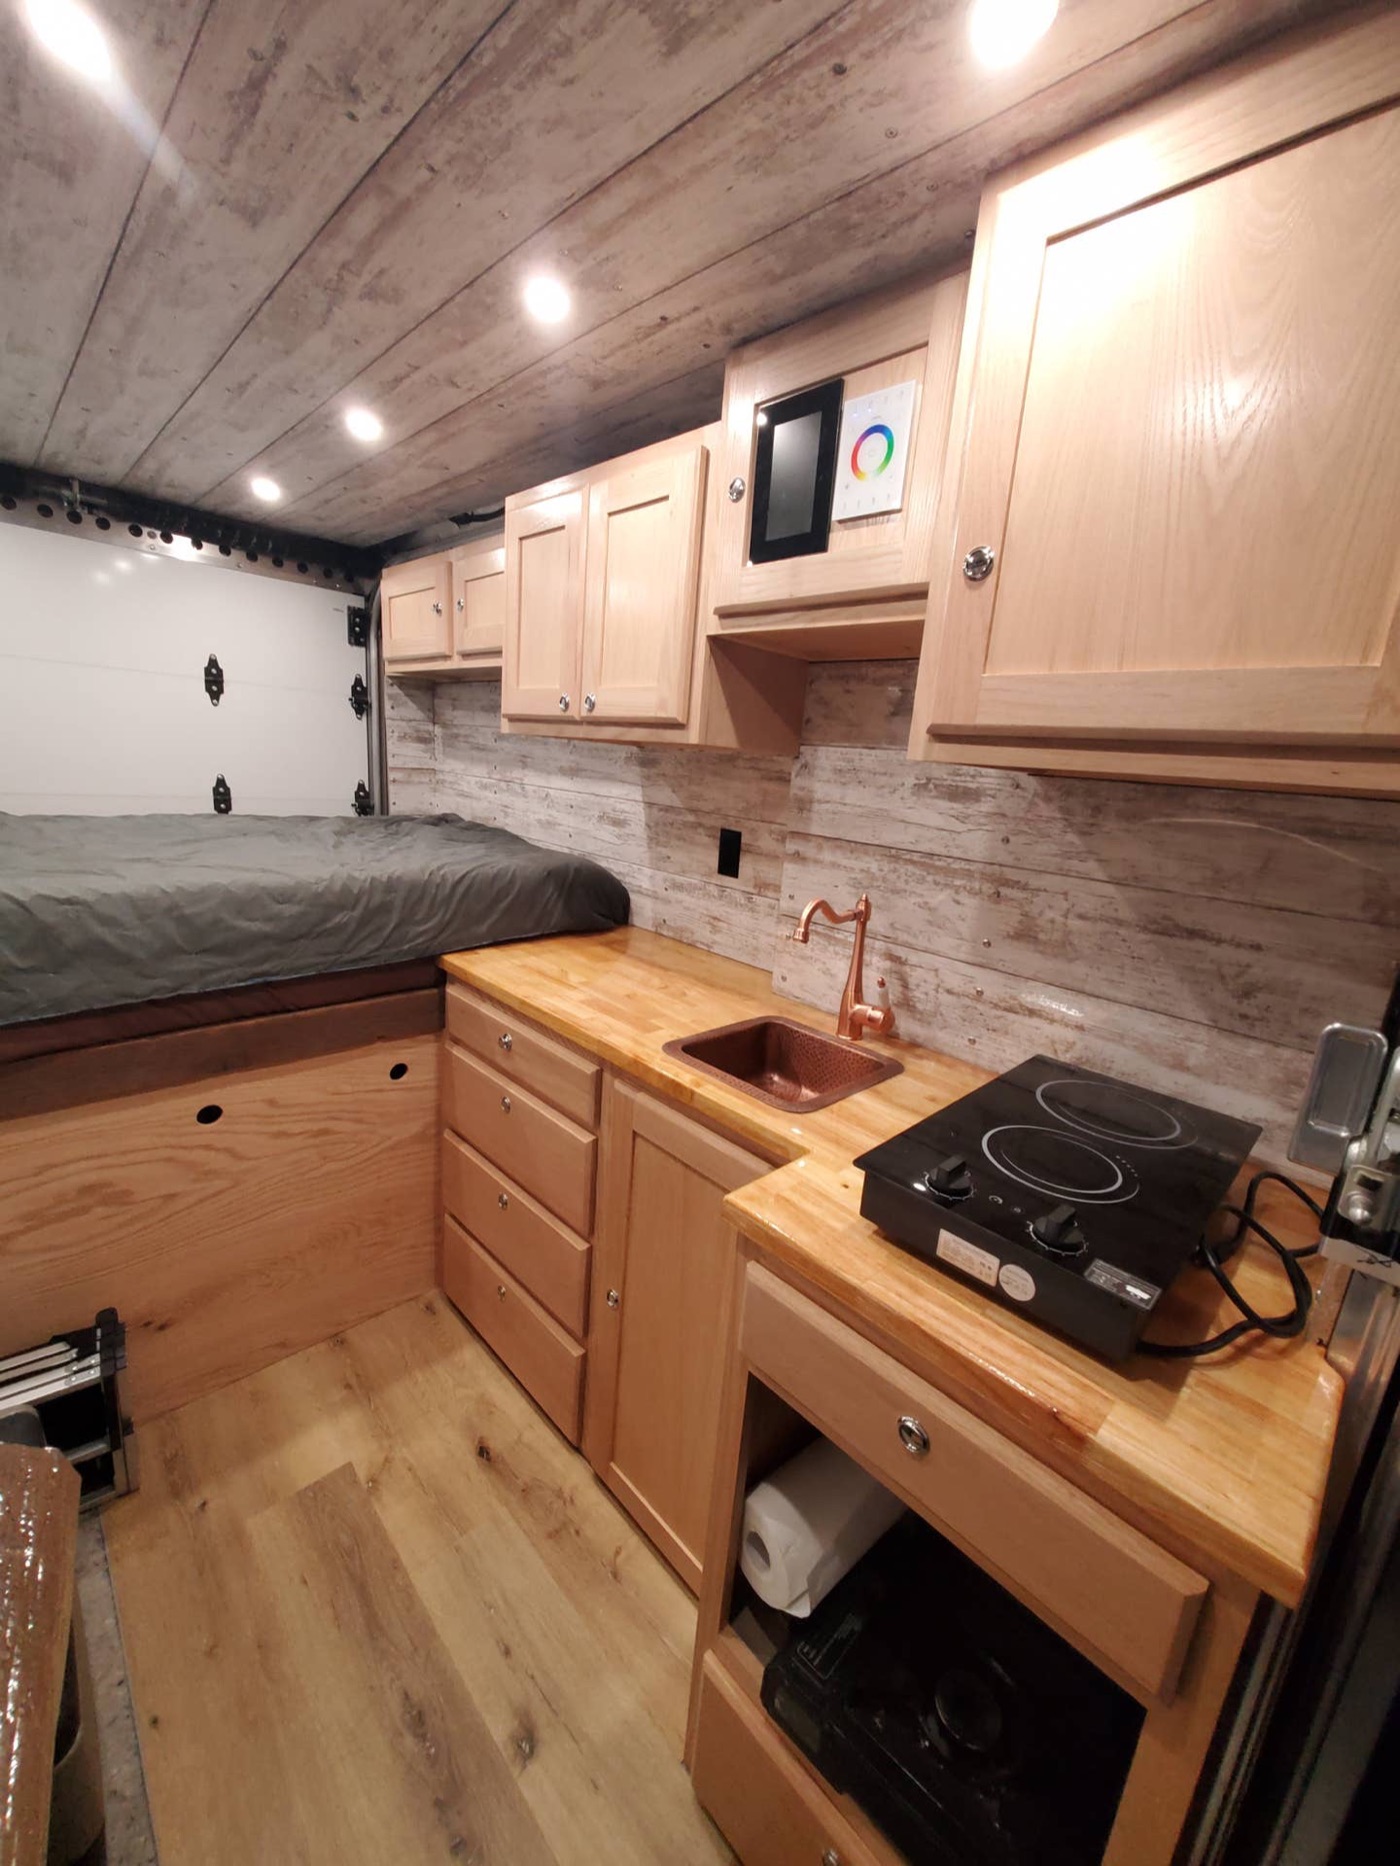
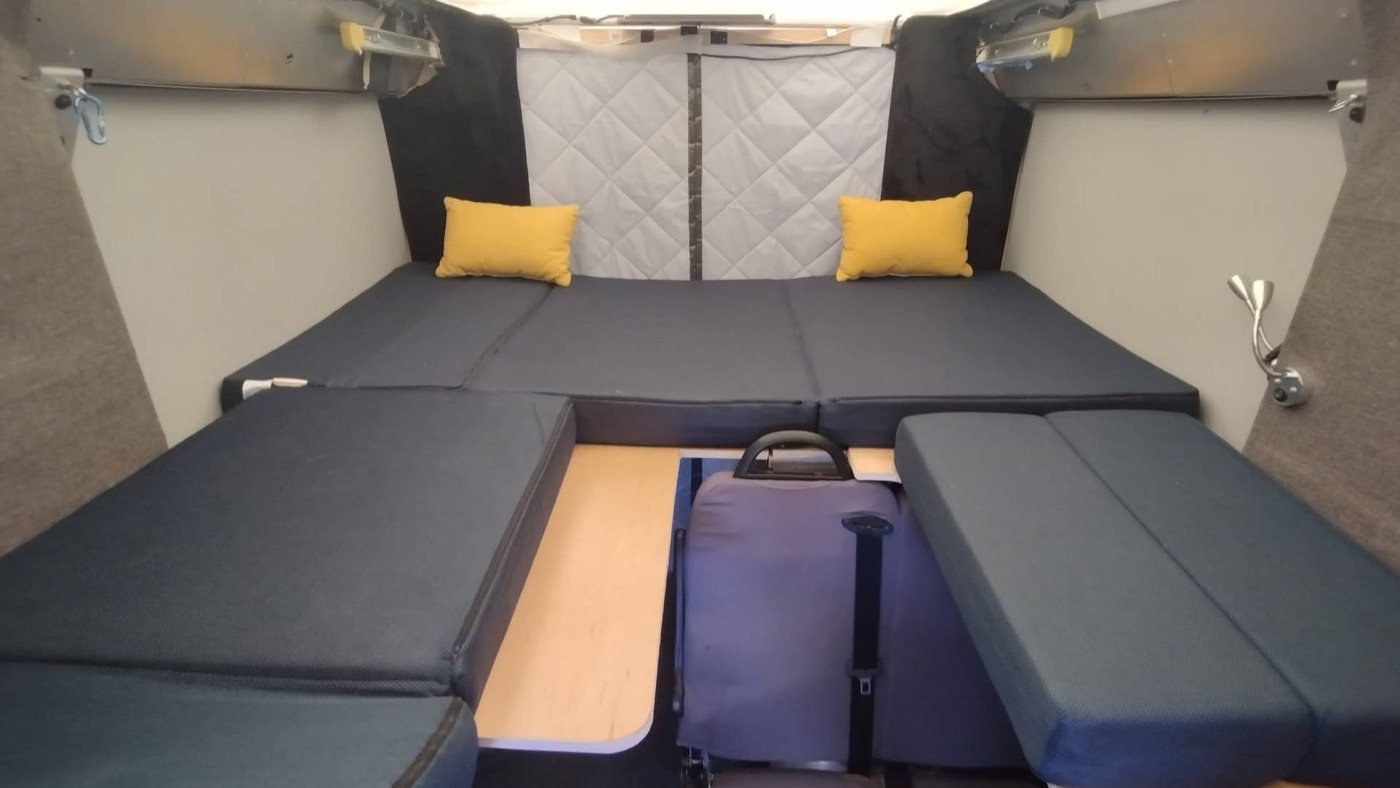
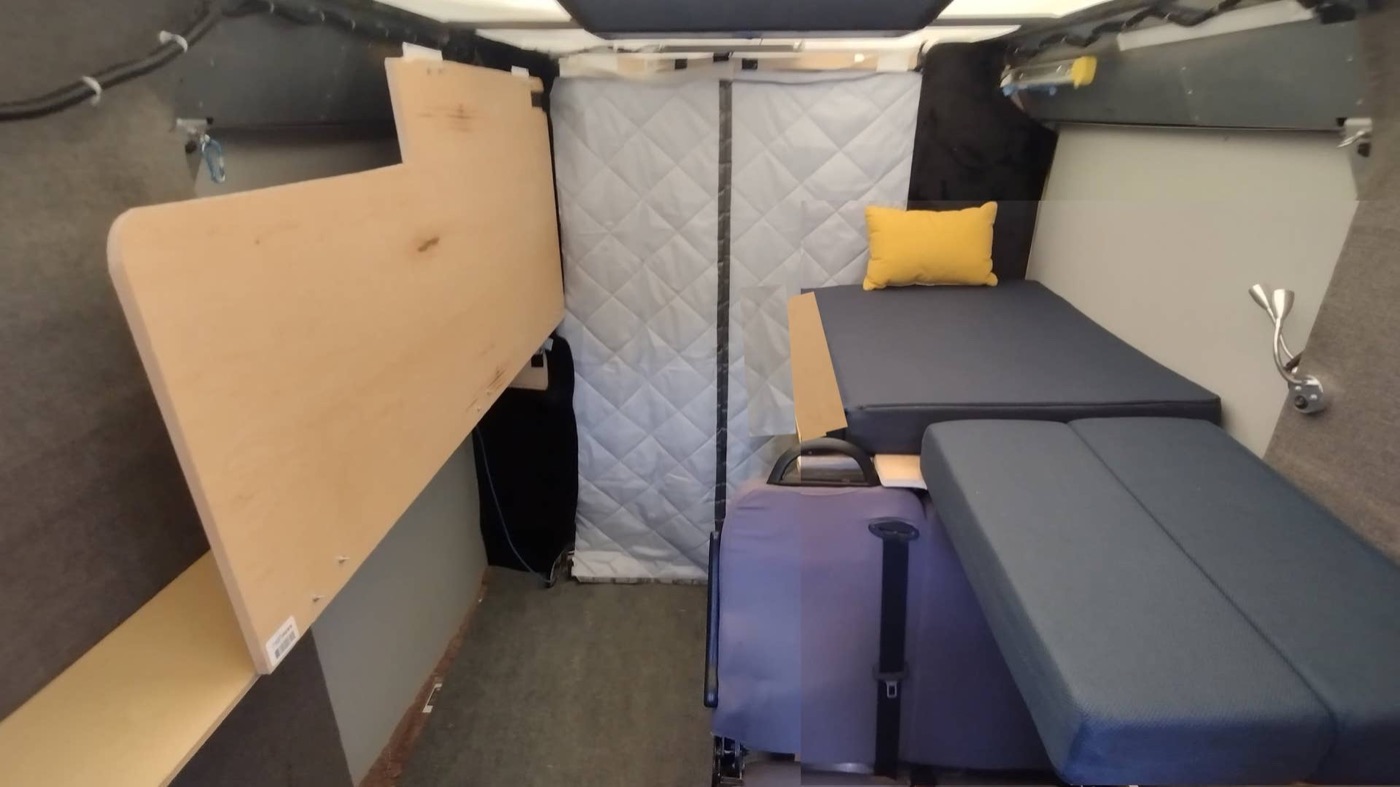
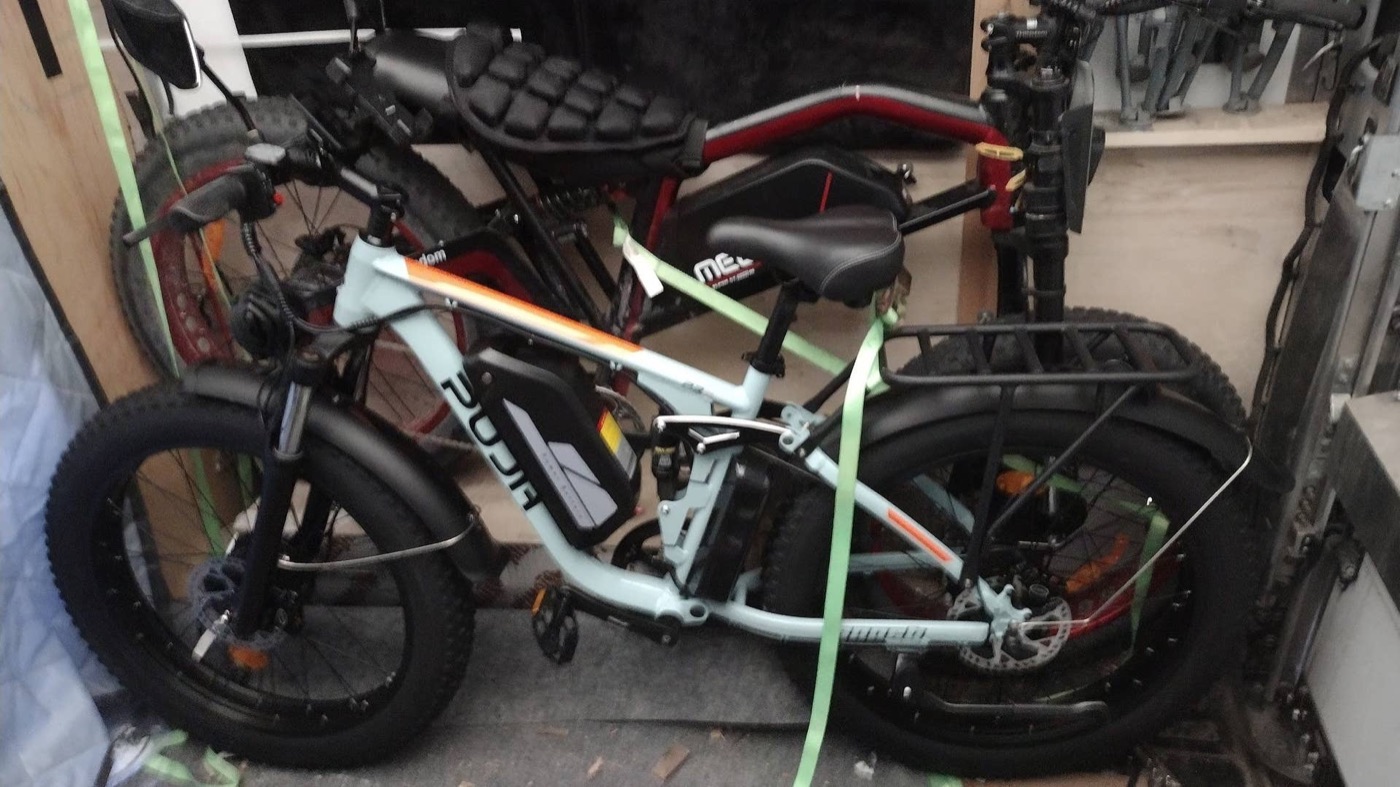
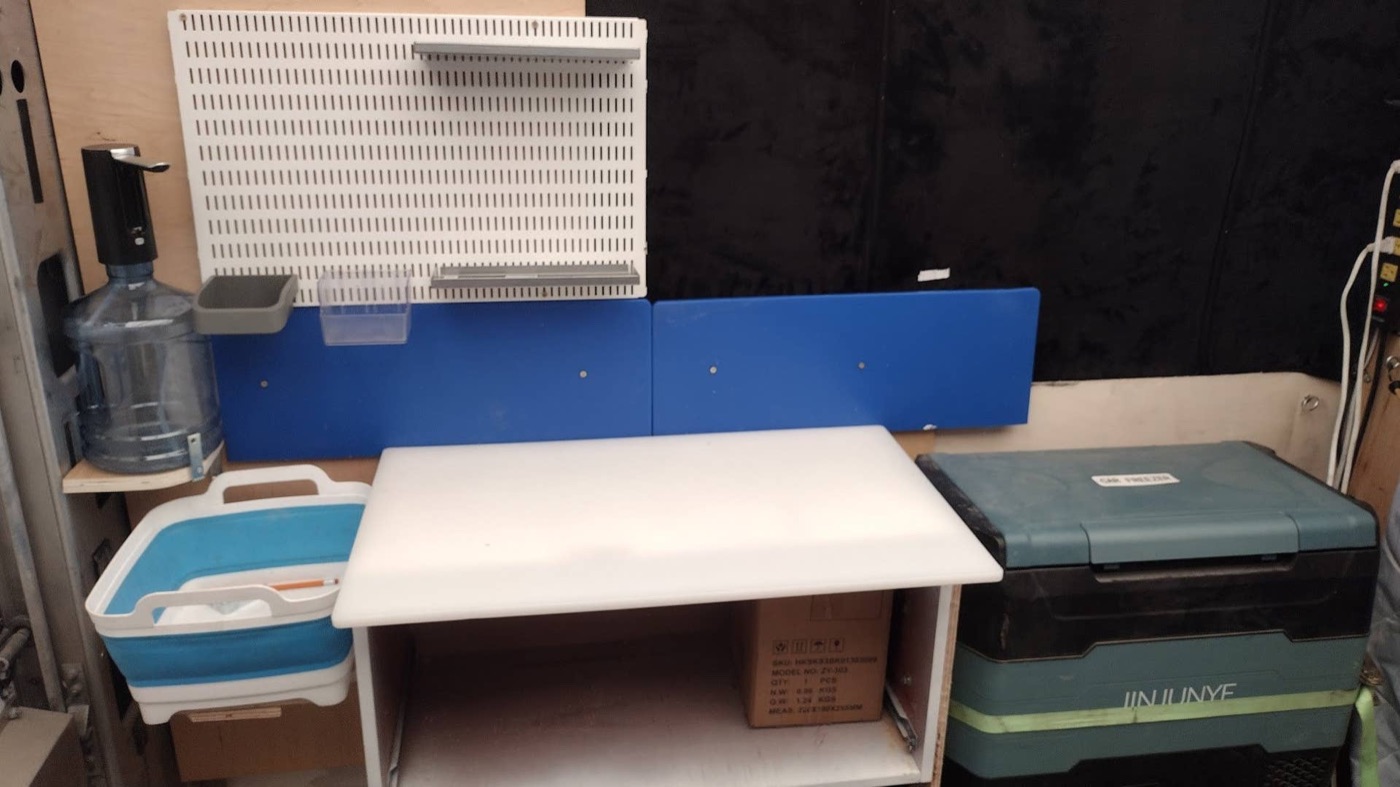
CorgiLoversSJI — Here's some progress pictures of my BrightDrop 400 campervan buildout I'm currently working on completing.
Every camper conversion documented with photos on brightdropforum.com, pulled thread by thread. These are the people actually living the plan on the main page — same platform, same constraints, real results. Photos link to full size; titles link to the source threads.
The builds
thread on brightdropforum.com →
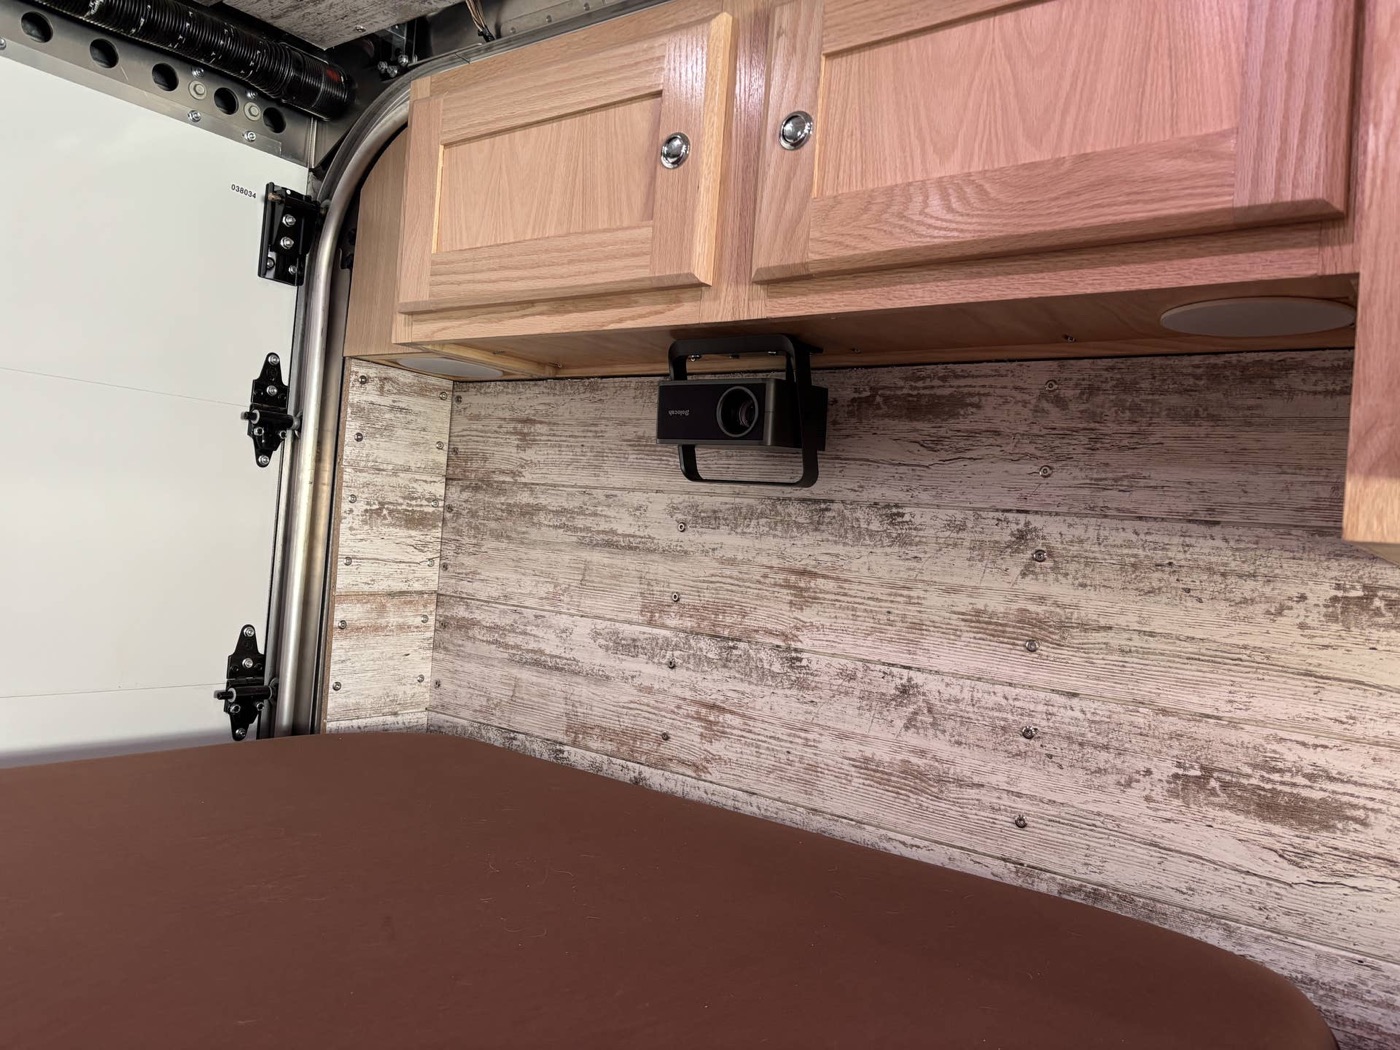
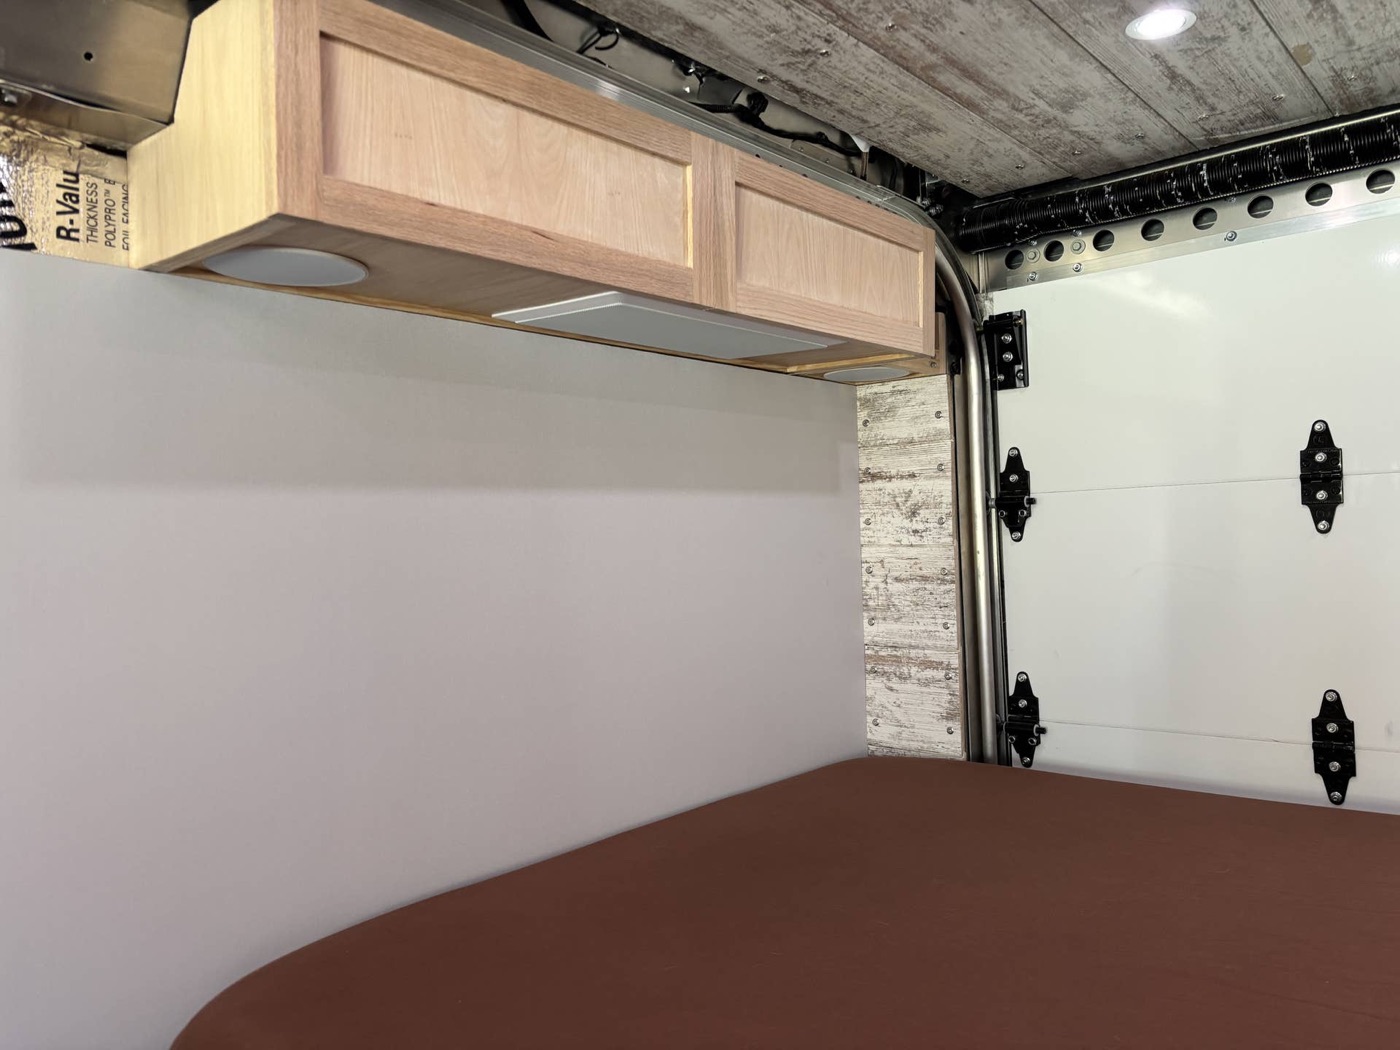
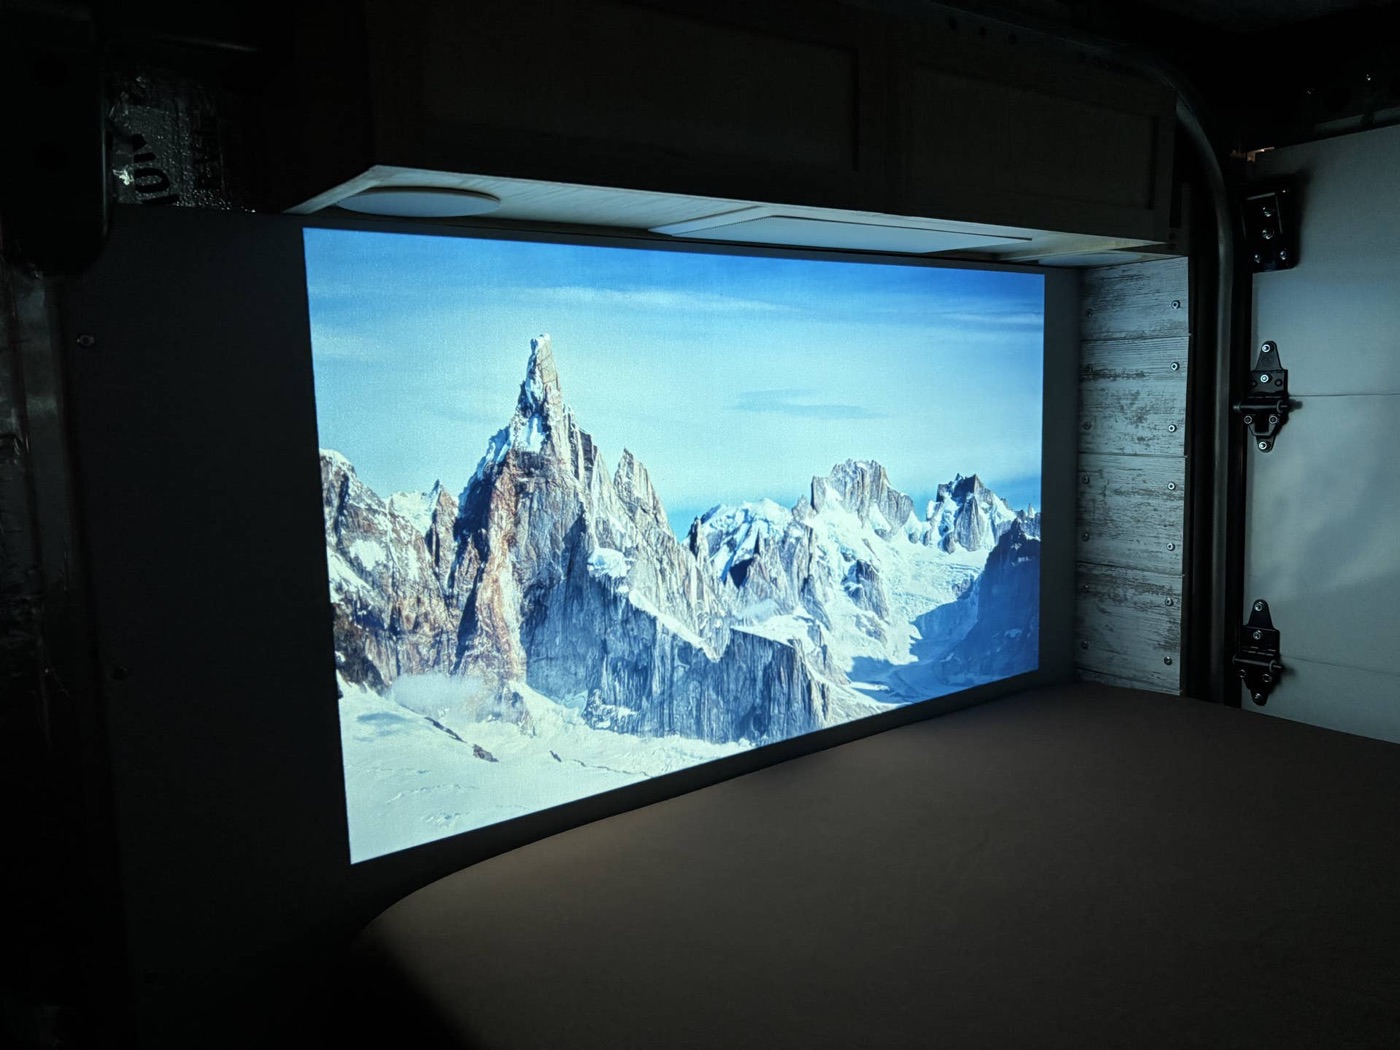
CorgiLoversSJI — Here's some progress pictures of my BrightDrop 400 campervan buildout I'm currently working on completing.
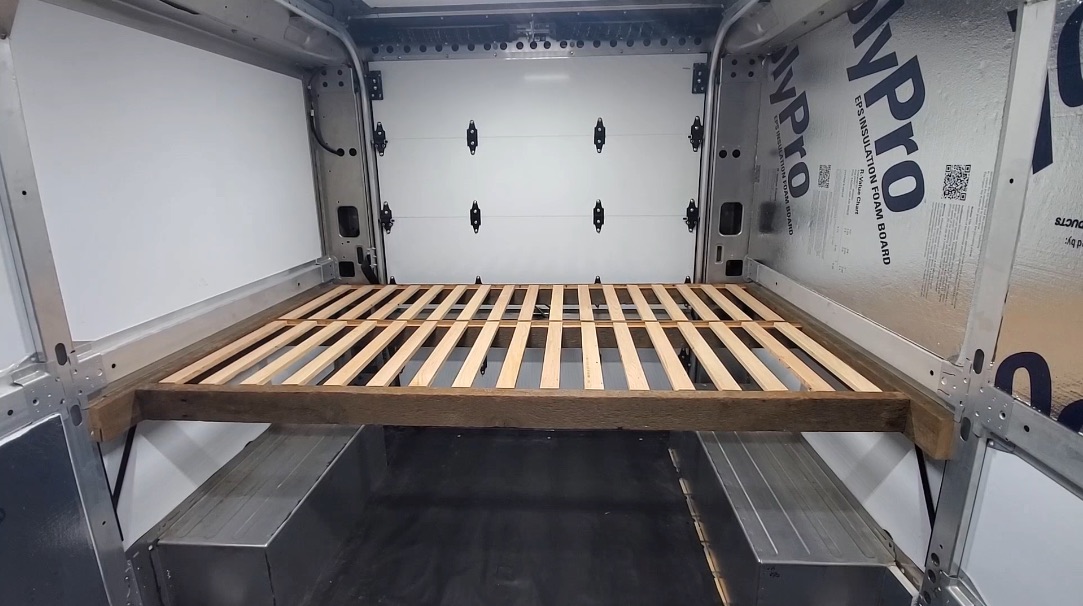
Newest addition to my build. Projector installed over the bed that gives me a 50" display, projection wall using polyester blend fabric, and 5.1 surround speakers overhead with an 8" sub installed under the bed.
thread on brightdropforum.com →
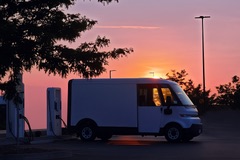
DarkDrop — Post #1: The Vision Well, it is finally time to start a proper build thread. Meet IVAN, my BrightDrop electric van project. IVAN is pronounced “ee-VAHN”, like the Russian name, mostly just for fun. It also happens to work as I-VAN, which is pretty fi
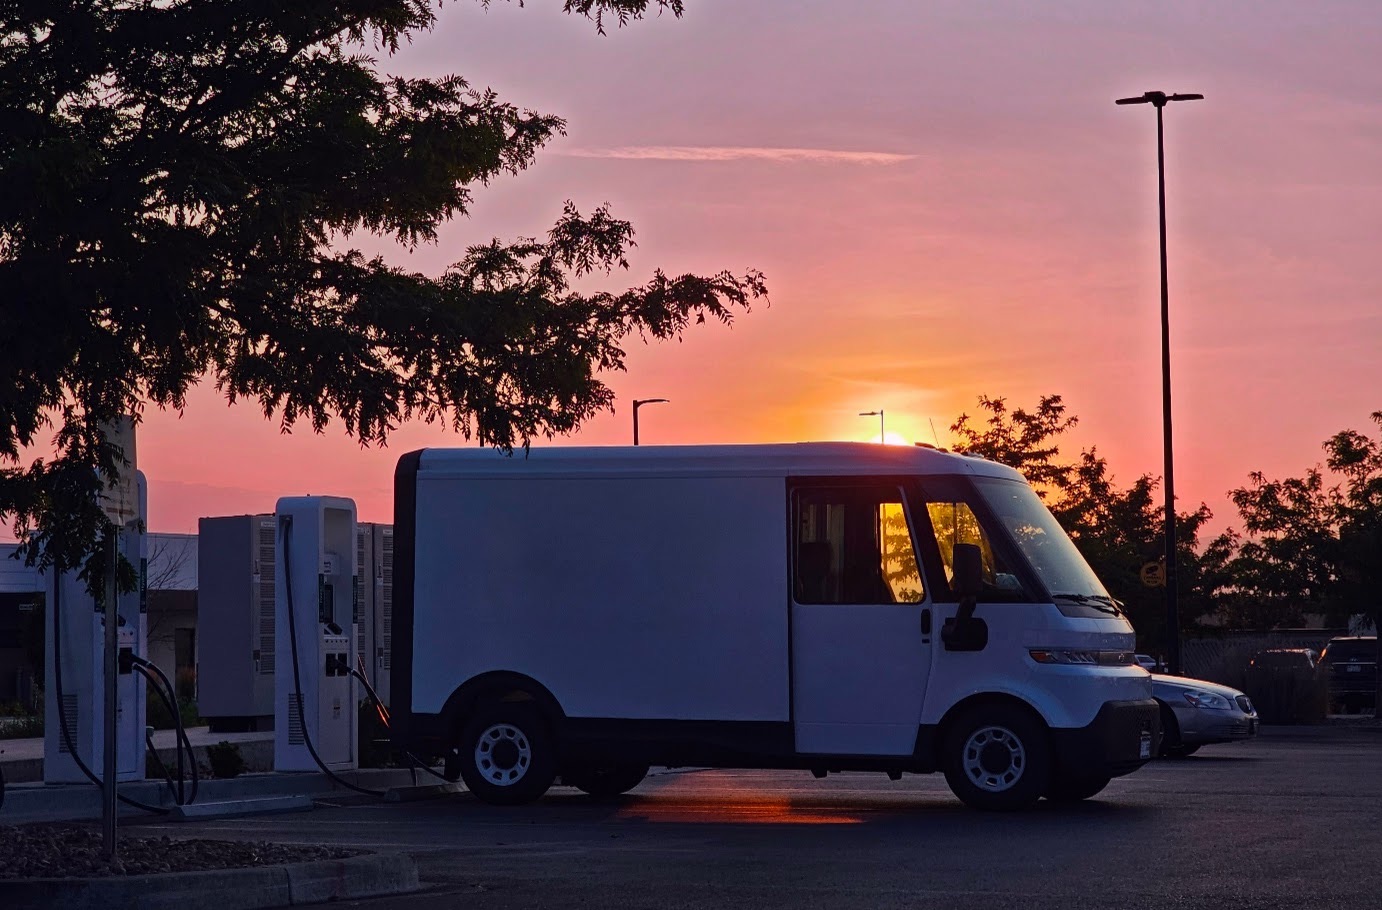
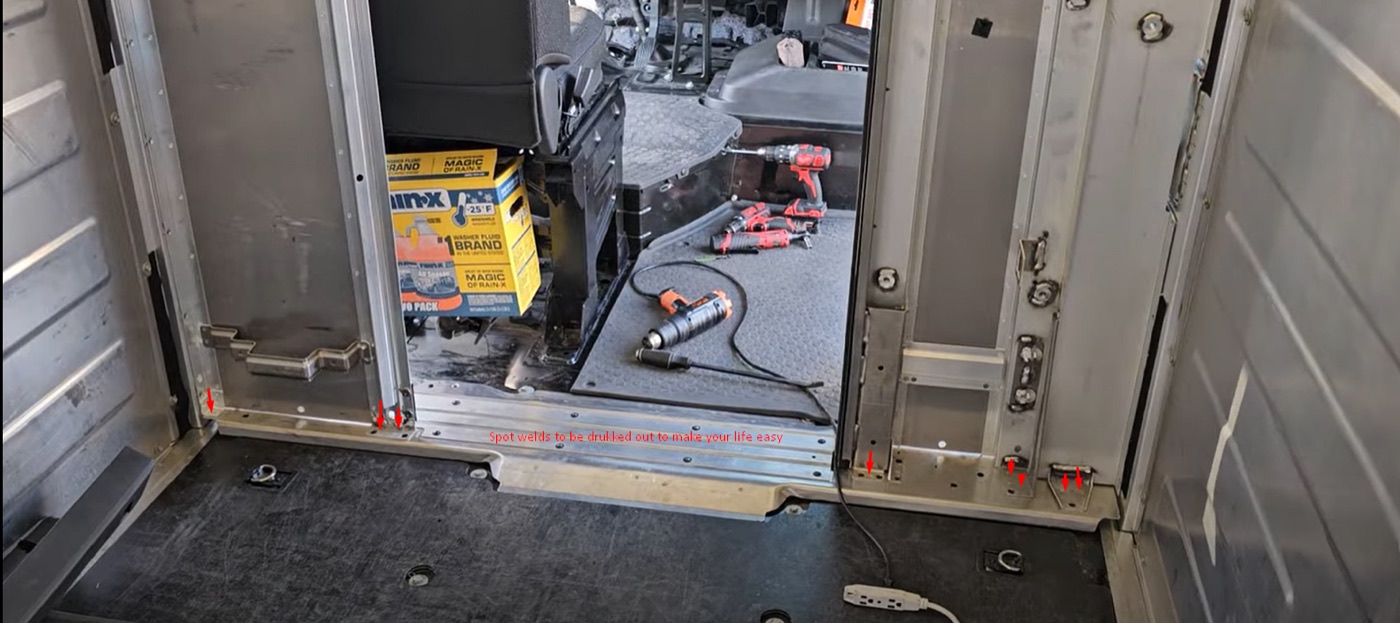
Post #2: The Bulkhead Removal Saga The first real step of the IVAN build is done. The factory bulkhead is out. I went into this thinking it would be a fairly straightforward project. I had followed Barajabali's bulkhead removal on this forum and watc
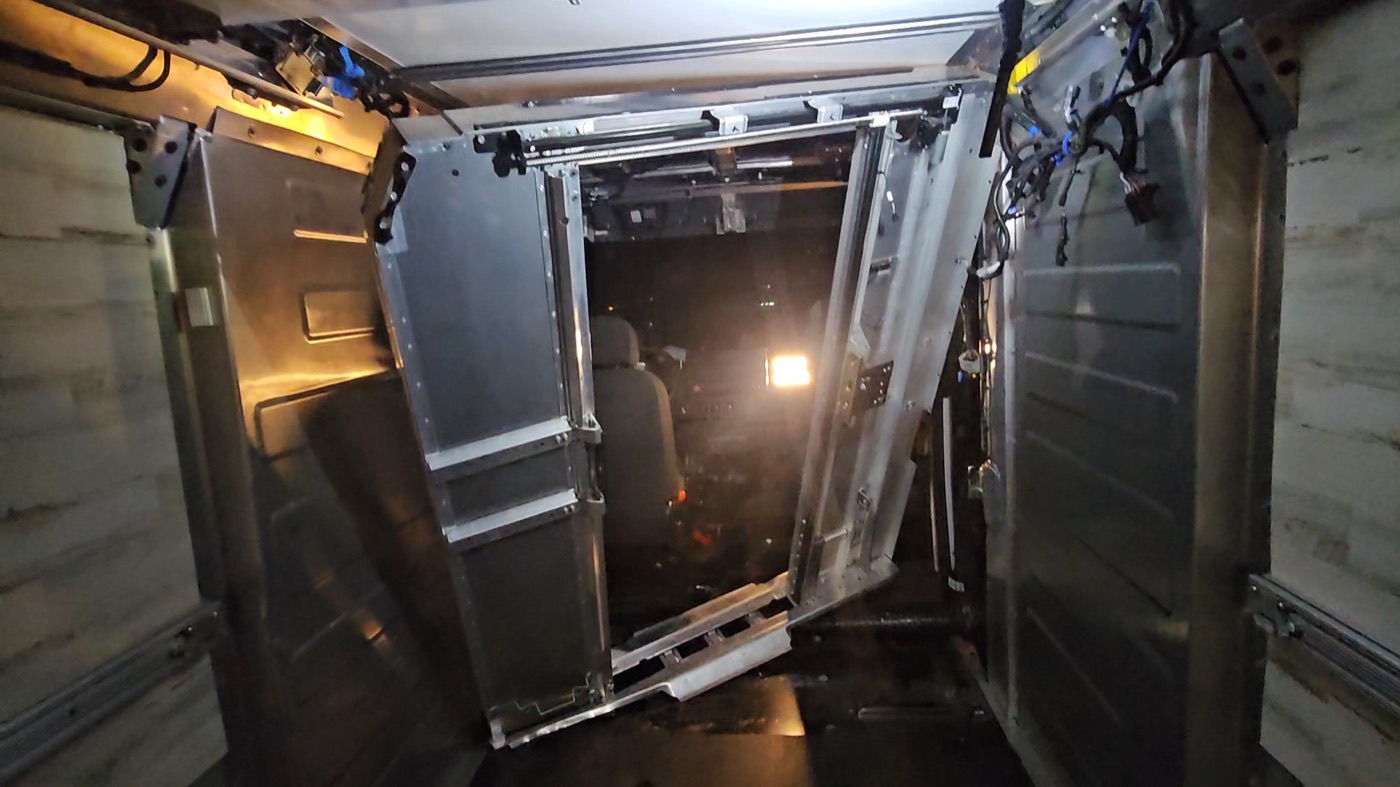
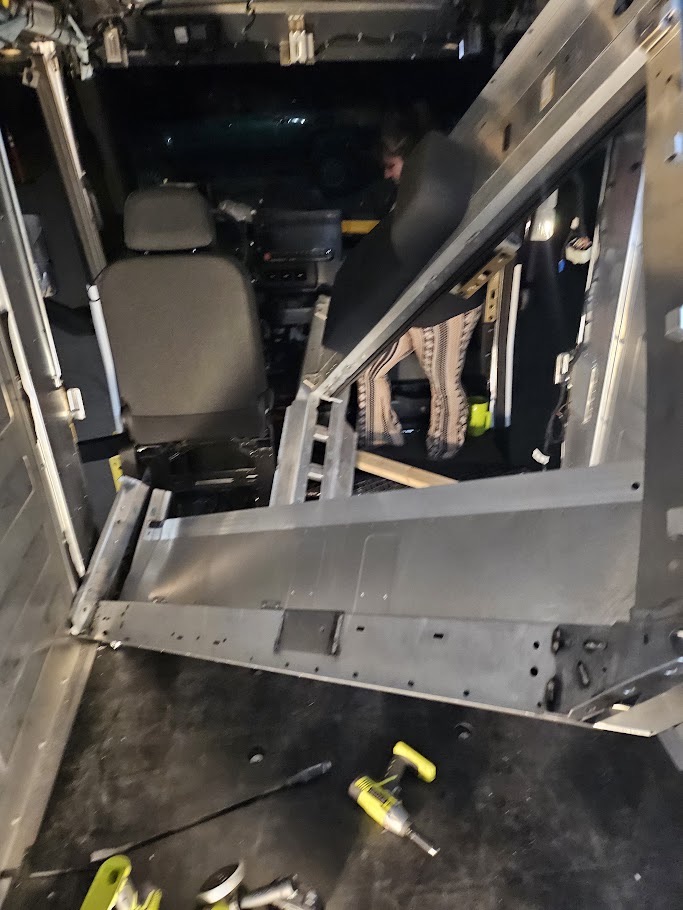
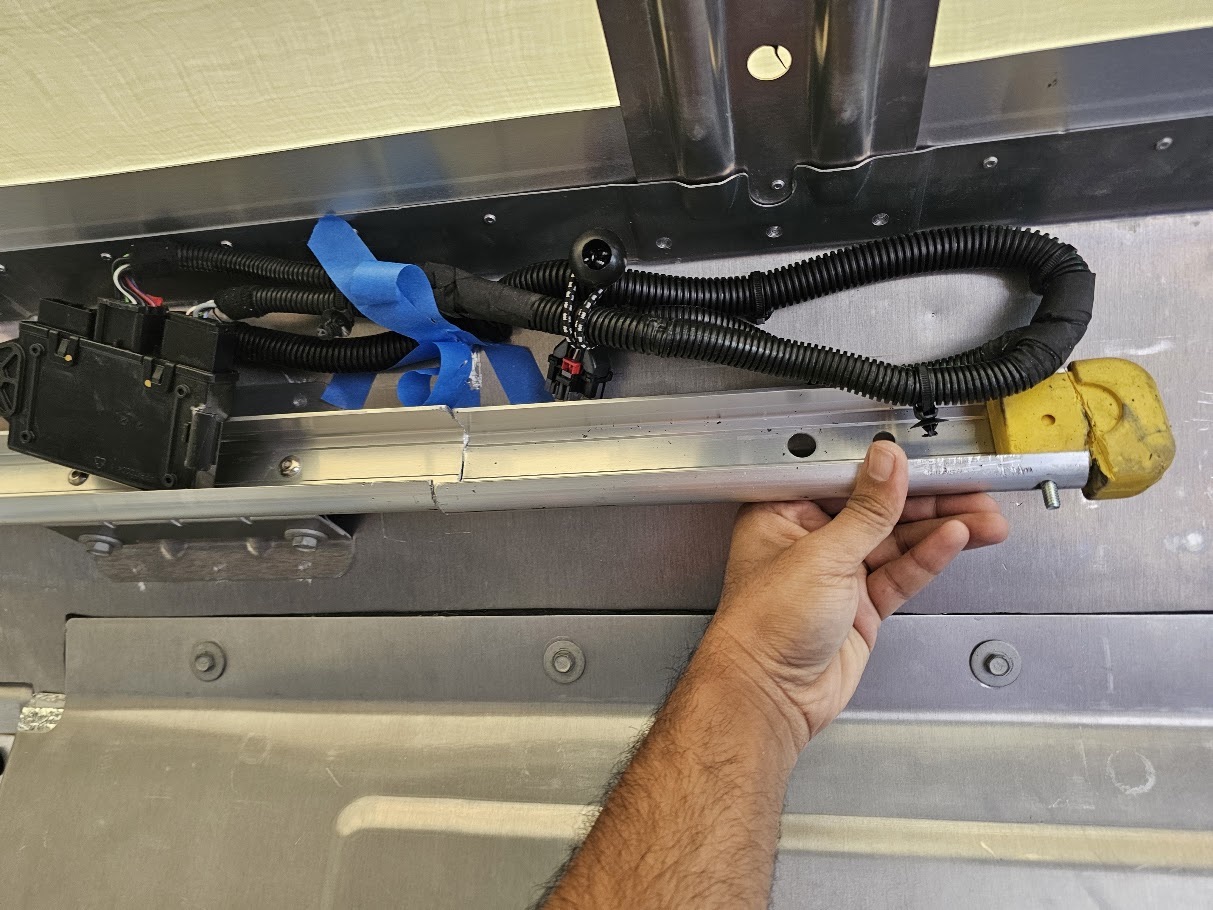
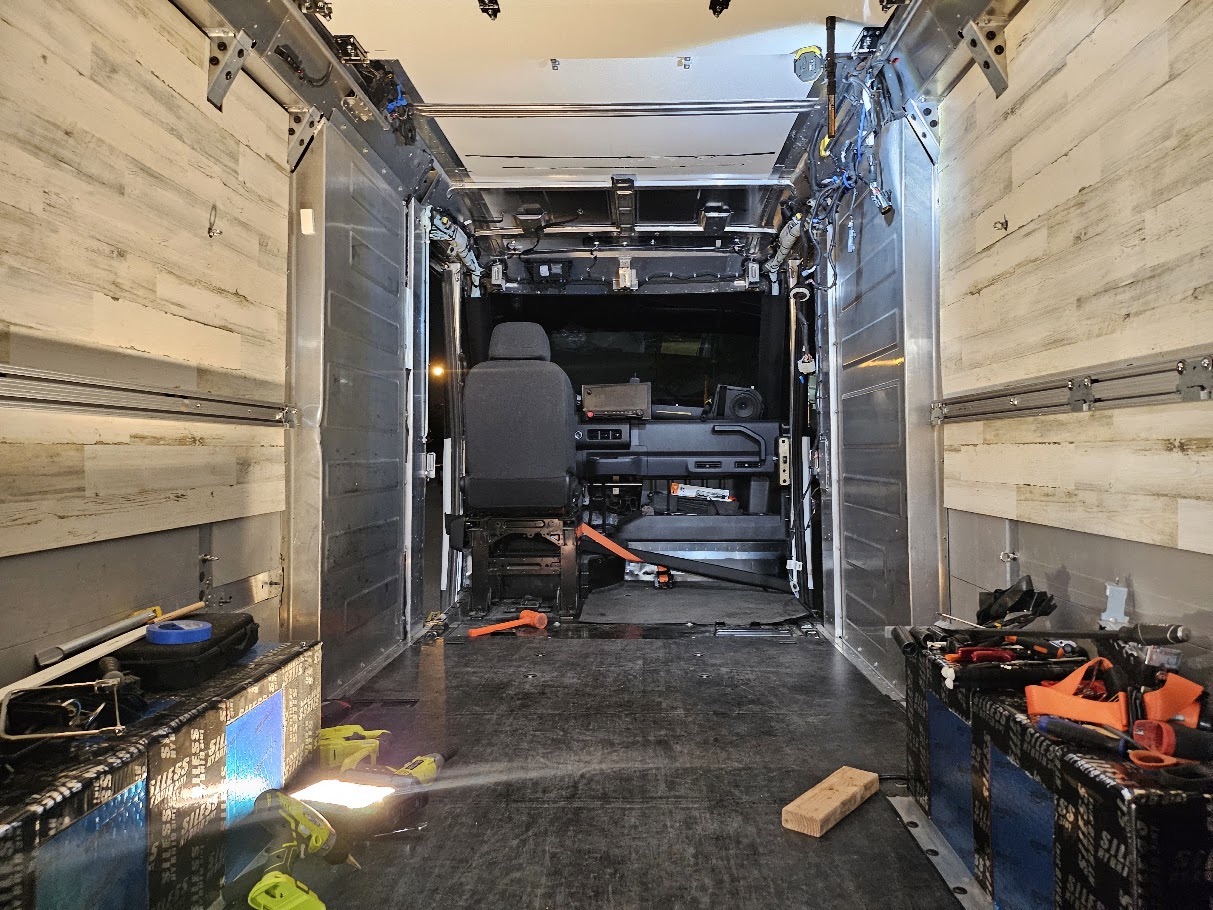
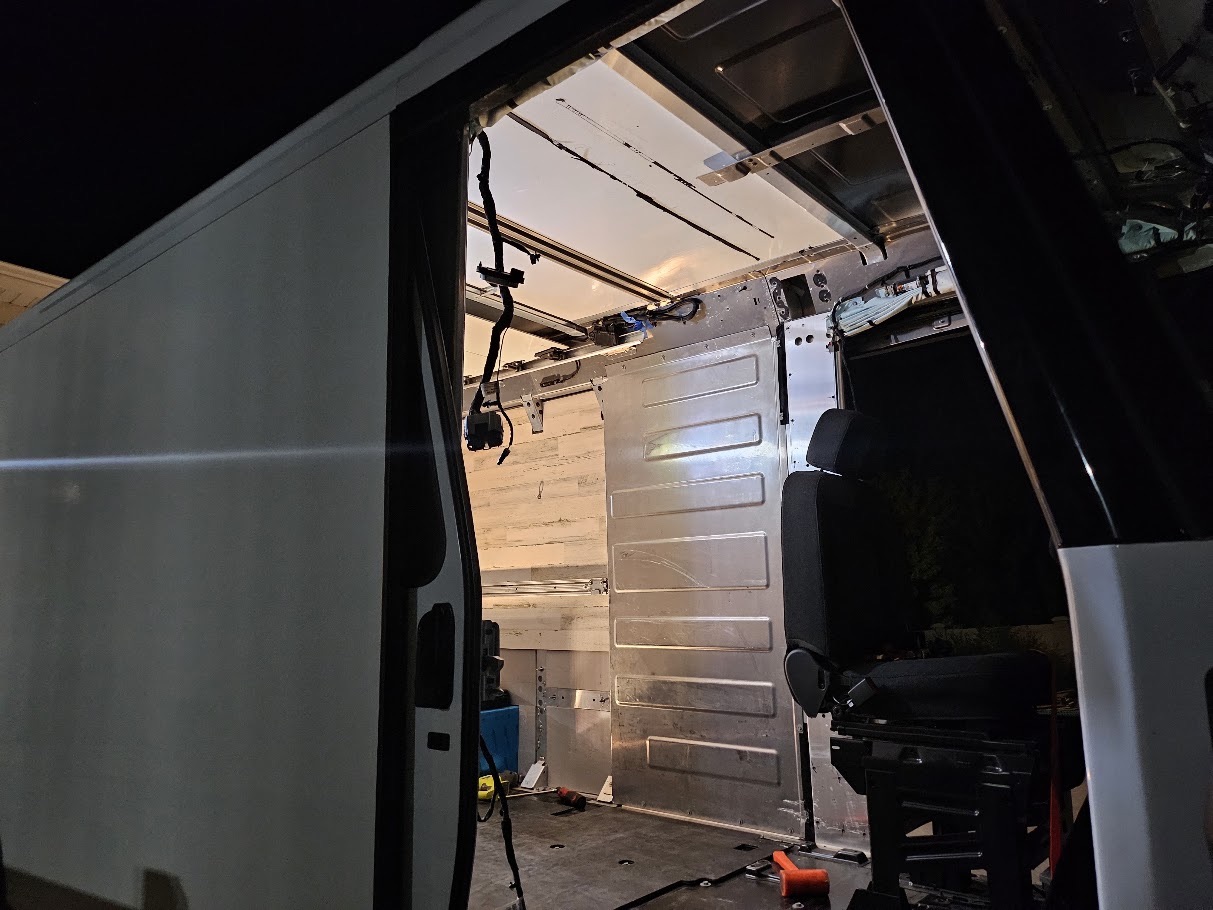
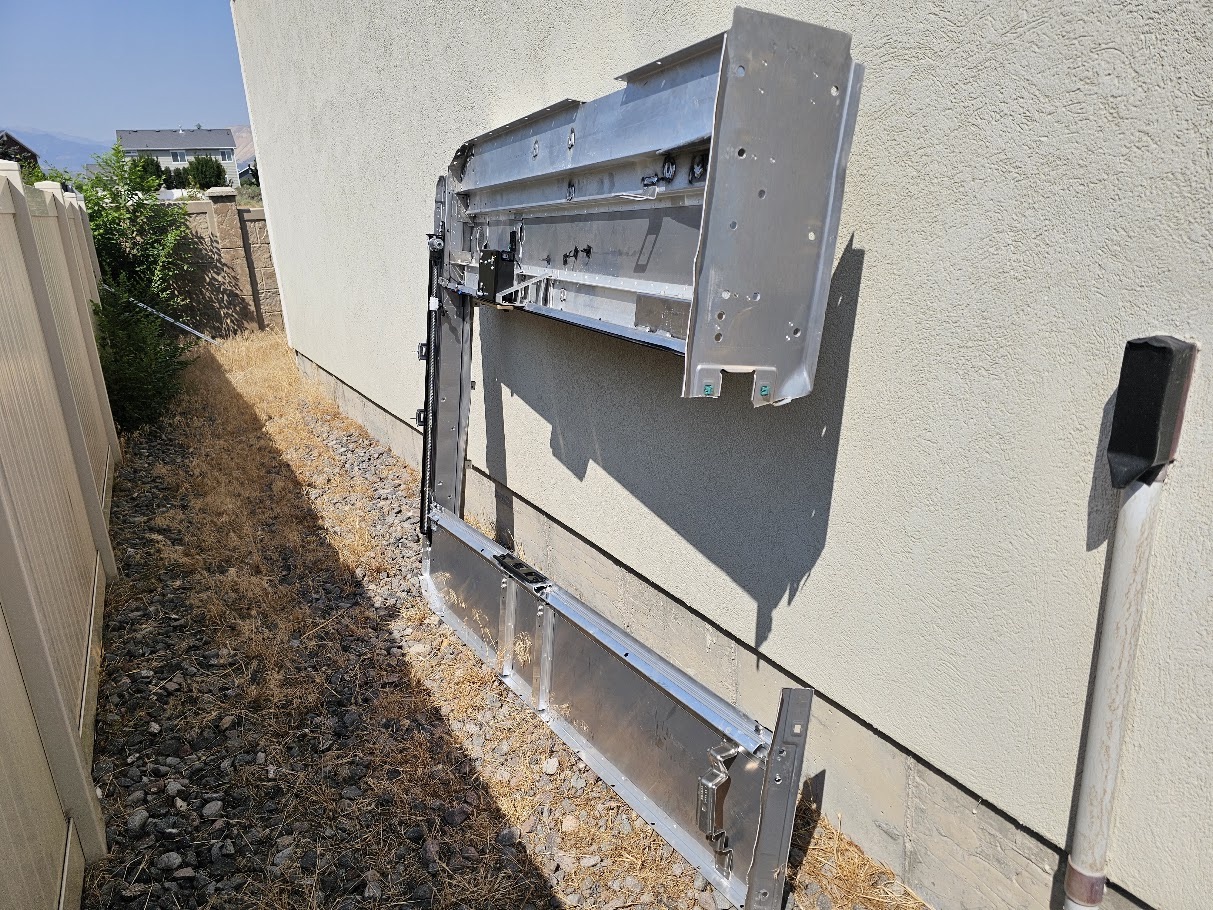
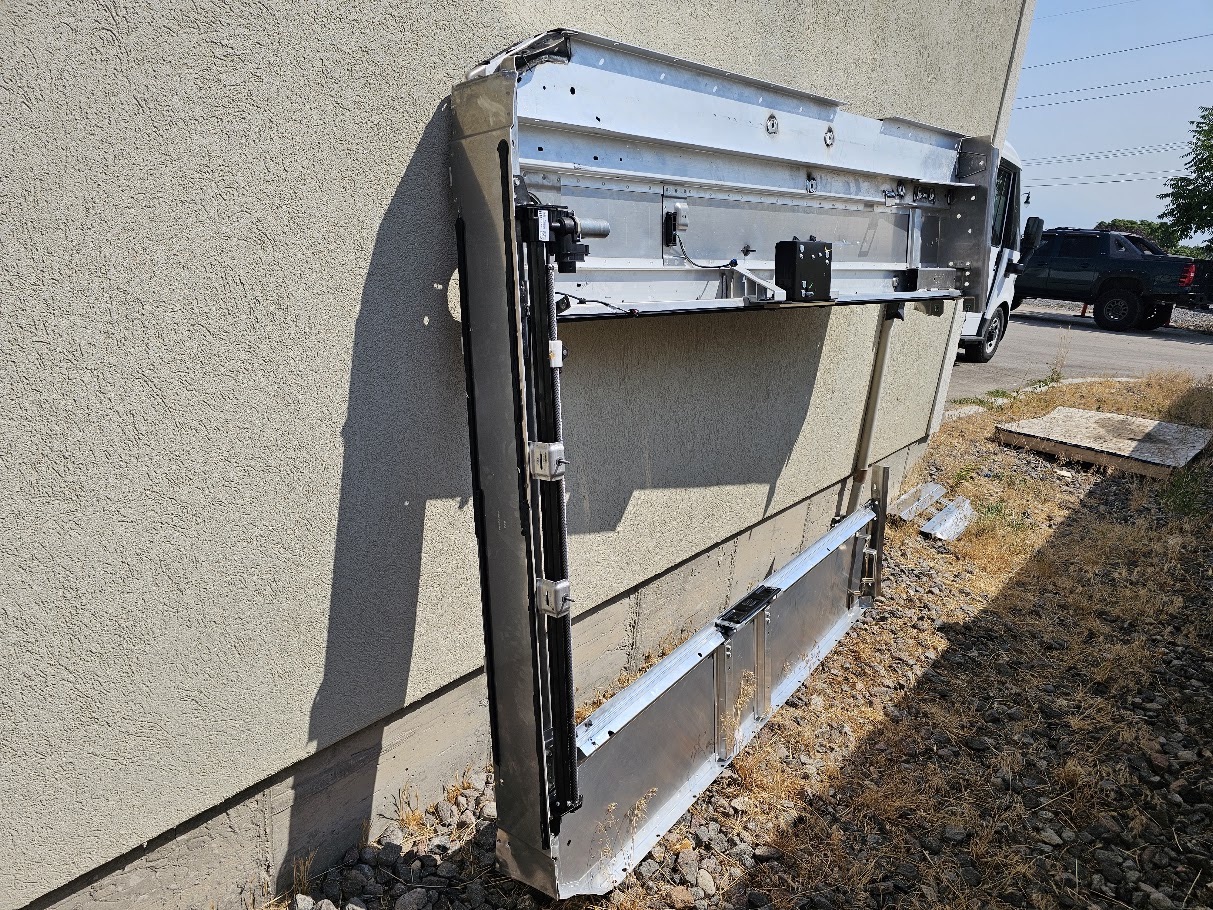
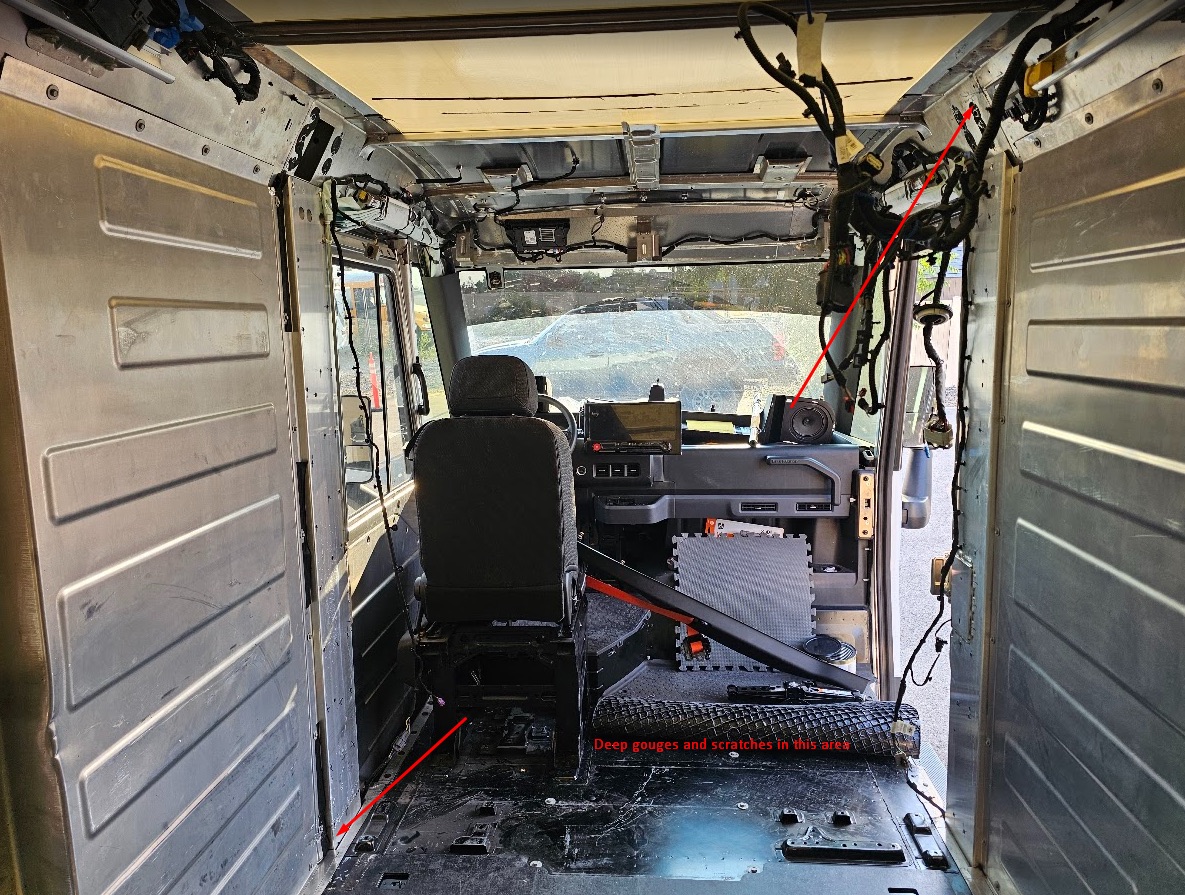
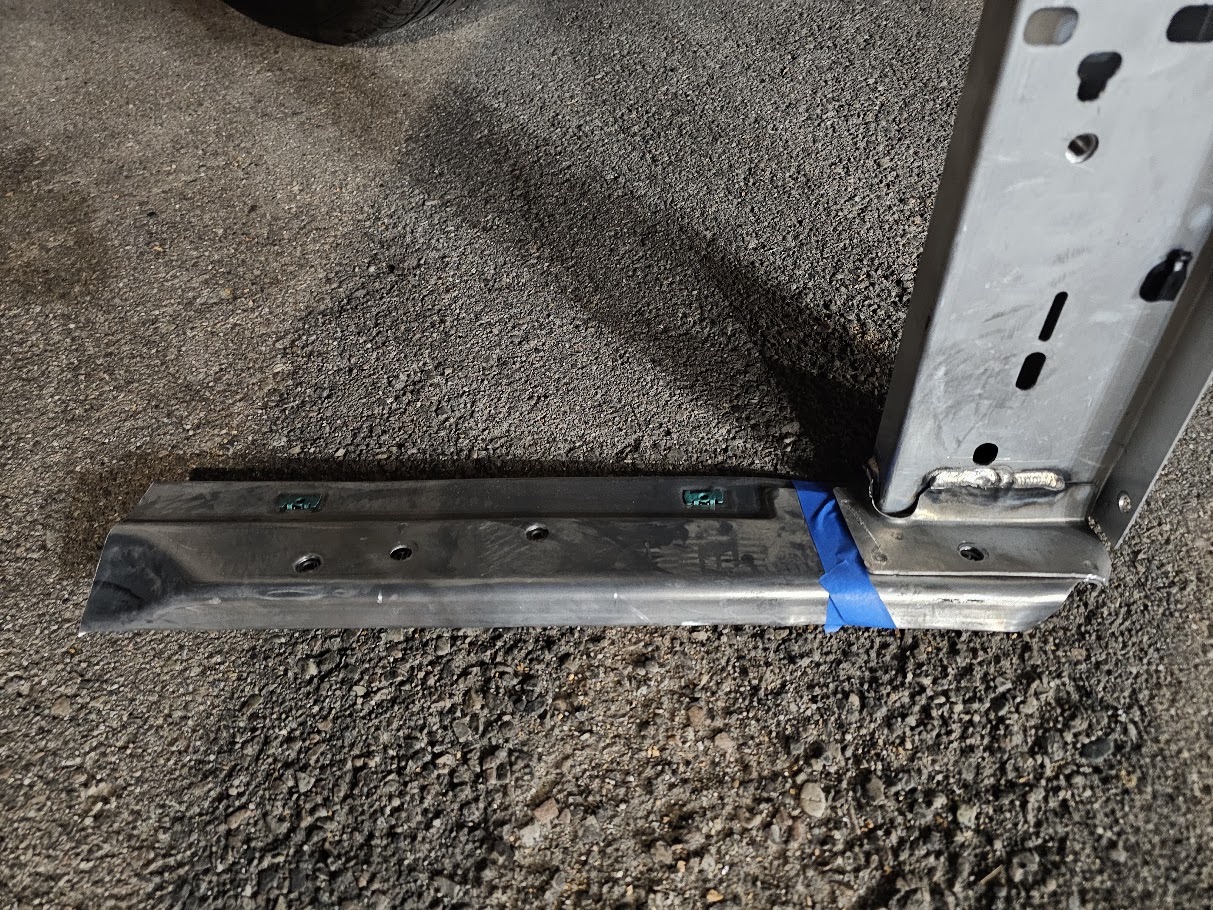
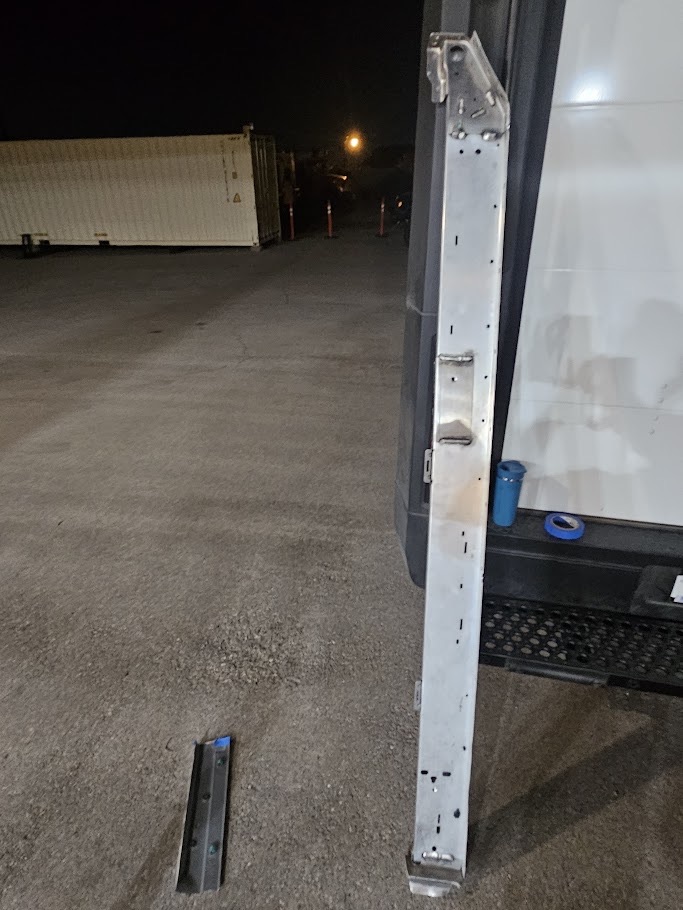
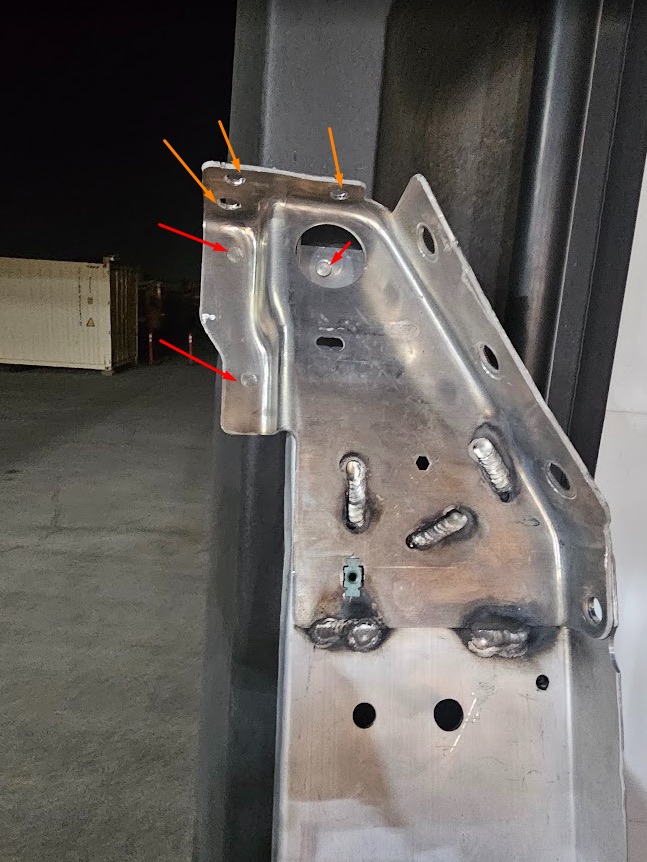
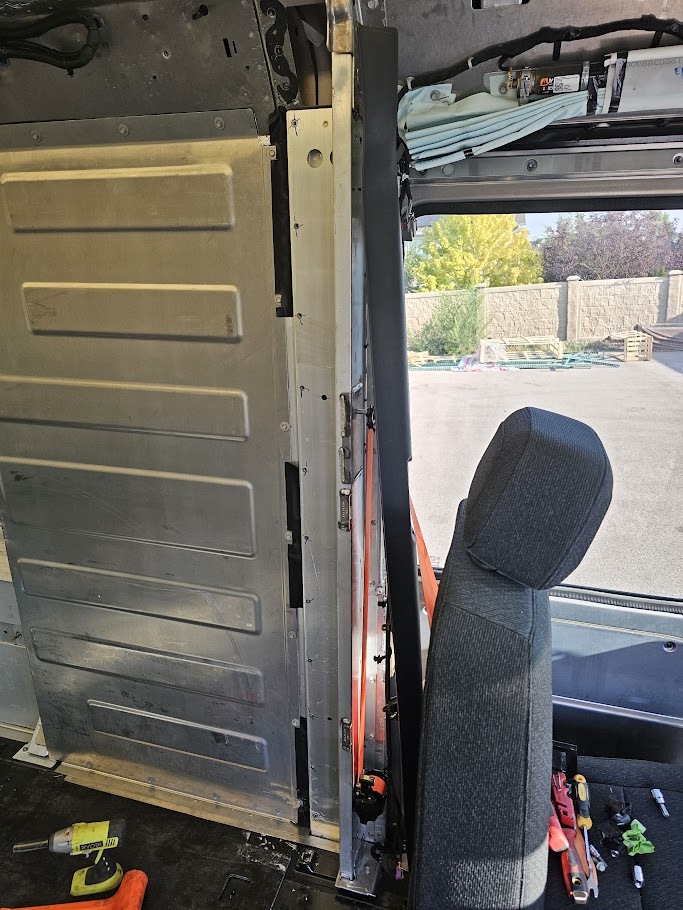
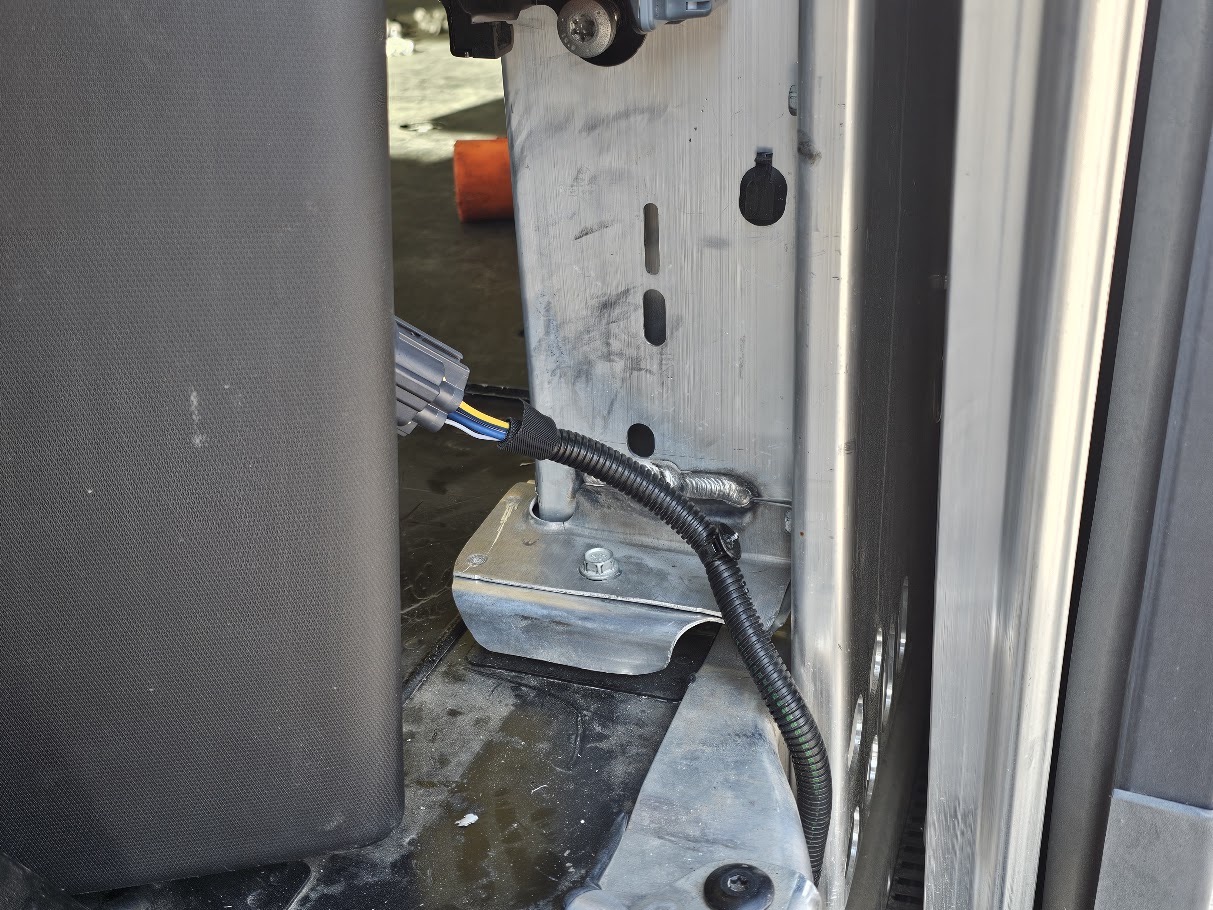
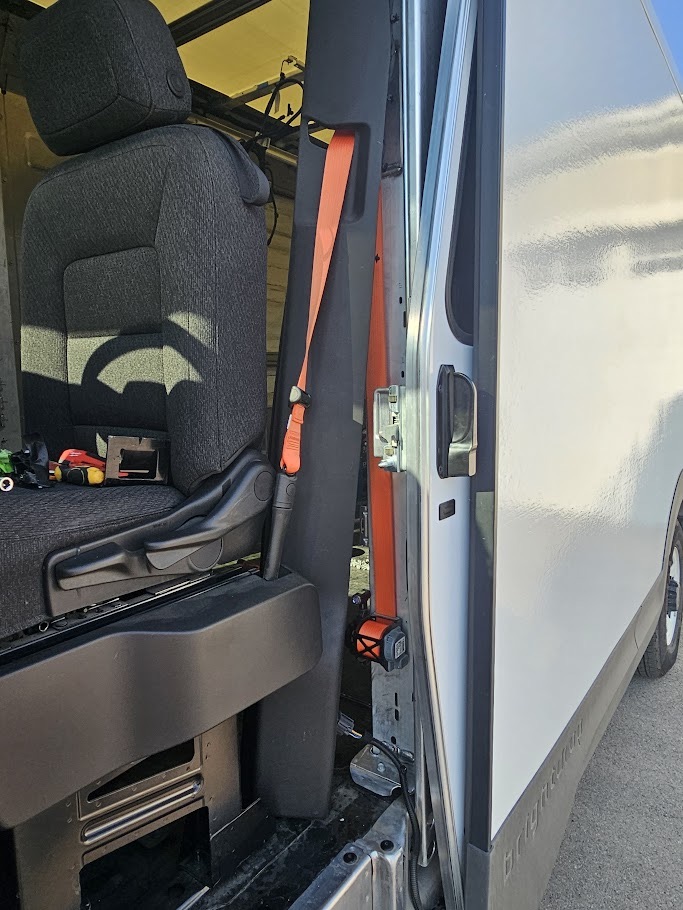
Post #3: Salvaging the Factory Driver Seat Belt Beam A small but useful follow-up to the bulkhead removal. After getting the factory bulkhead out, I went back through the removed structure to see what could still be salvaged. The good news is that I
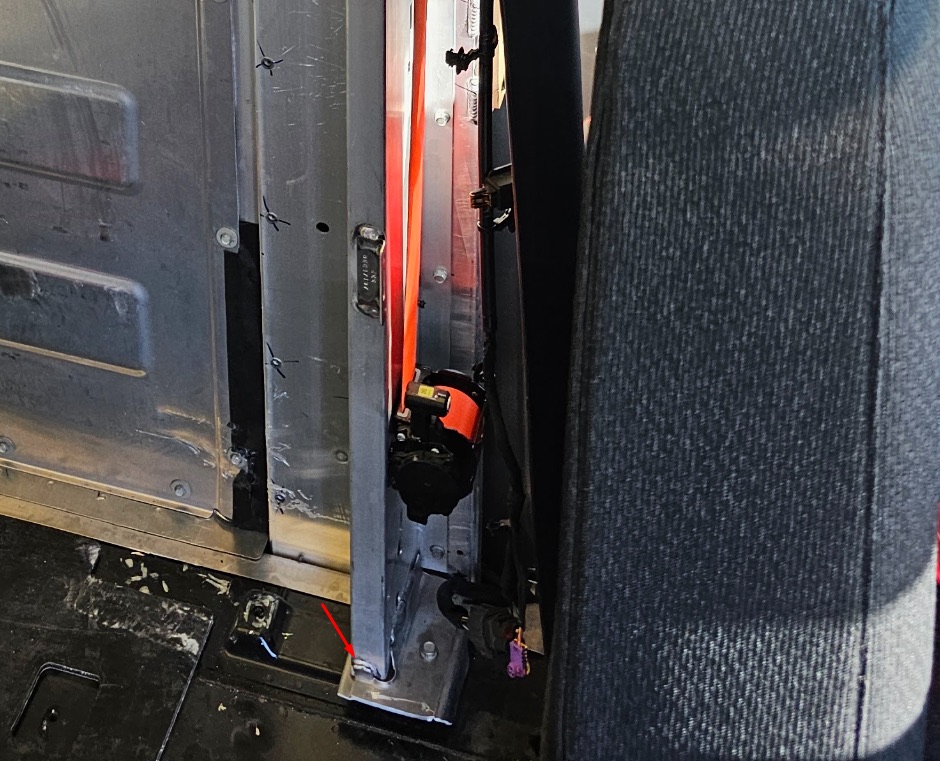
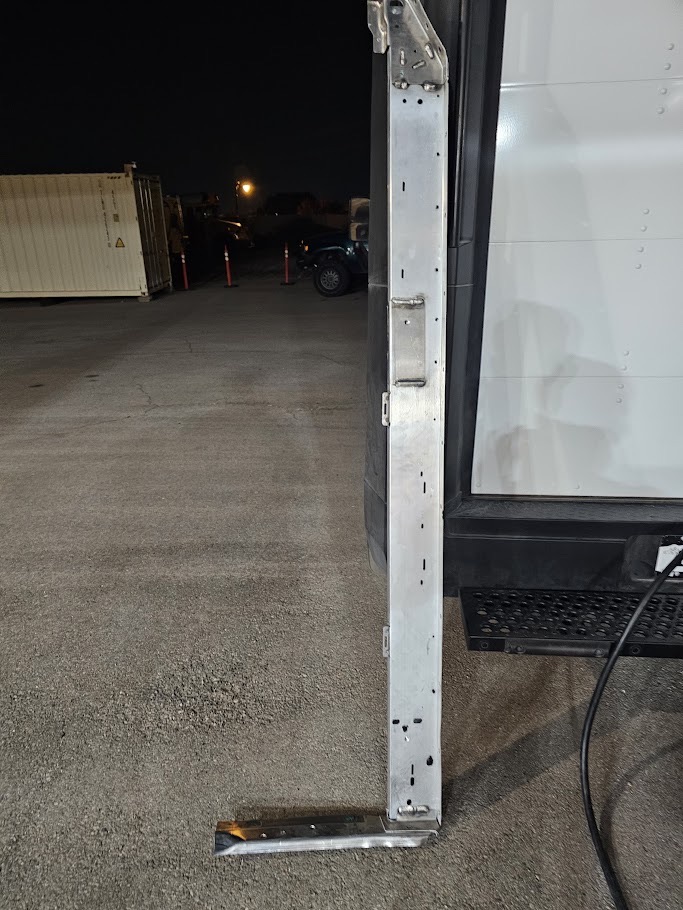
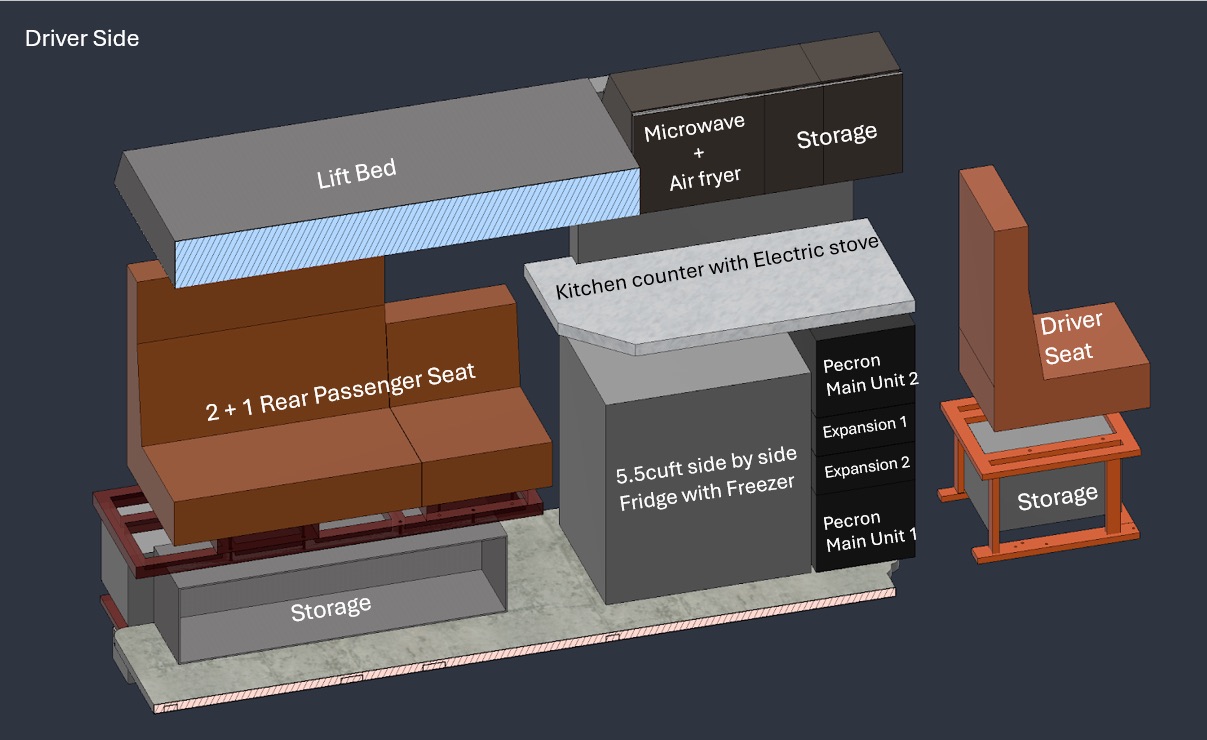
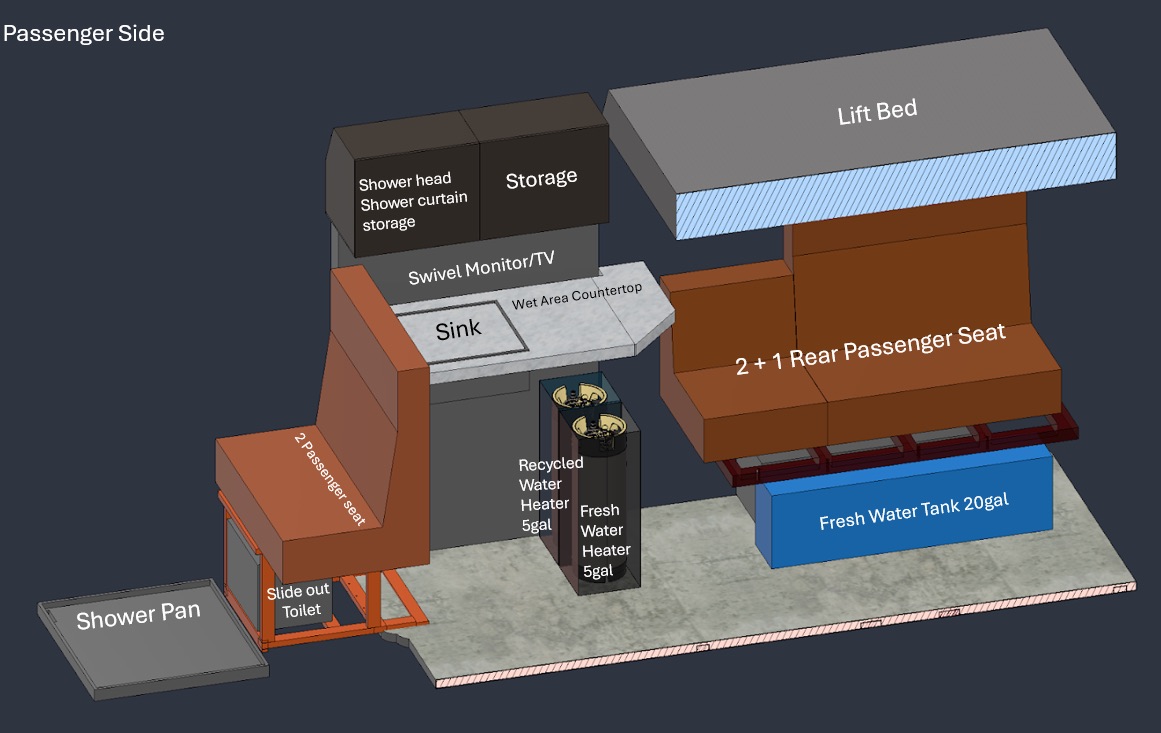
Post #4: The Layout Now that the factory bulkhead is out, here is a better look at the current layout I have been developing for IVAN. These are still working CAD concepts, so some details will change as I start installing real components, but this i
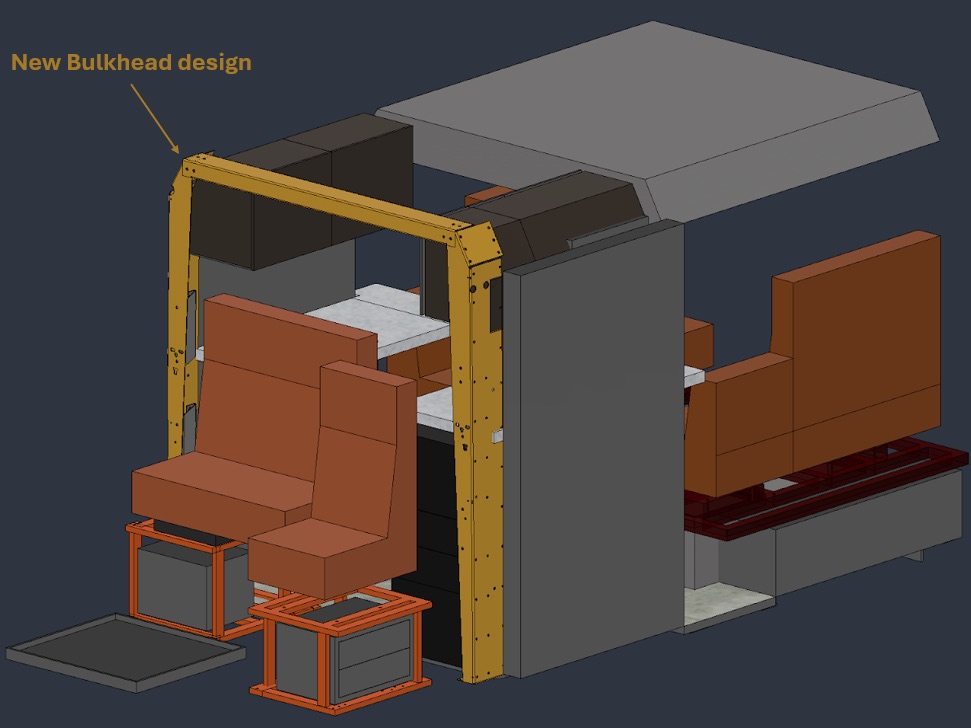
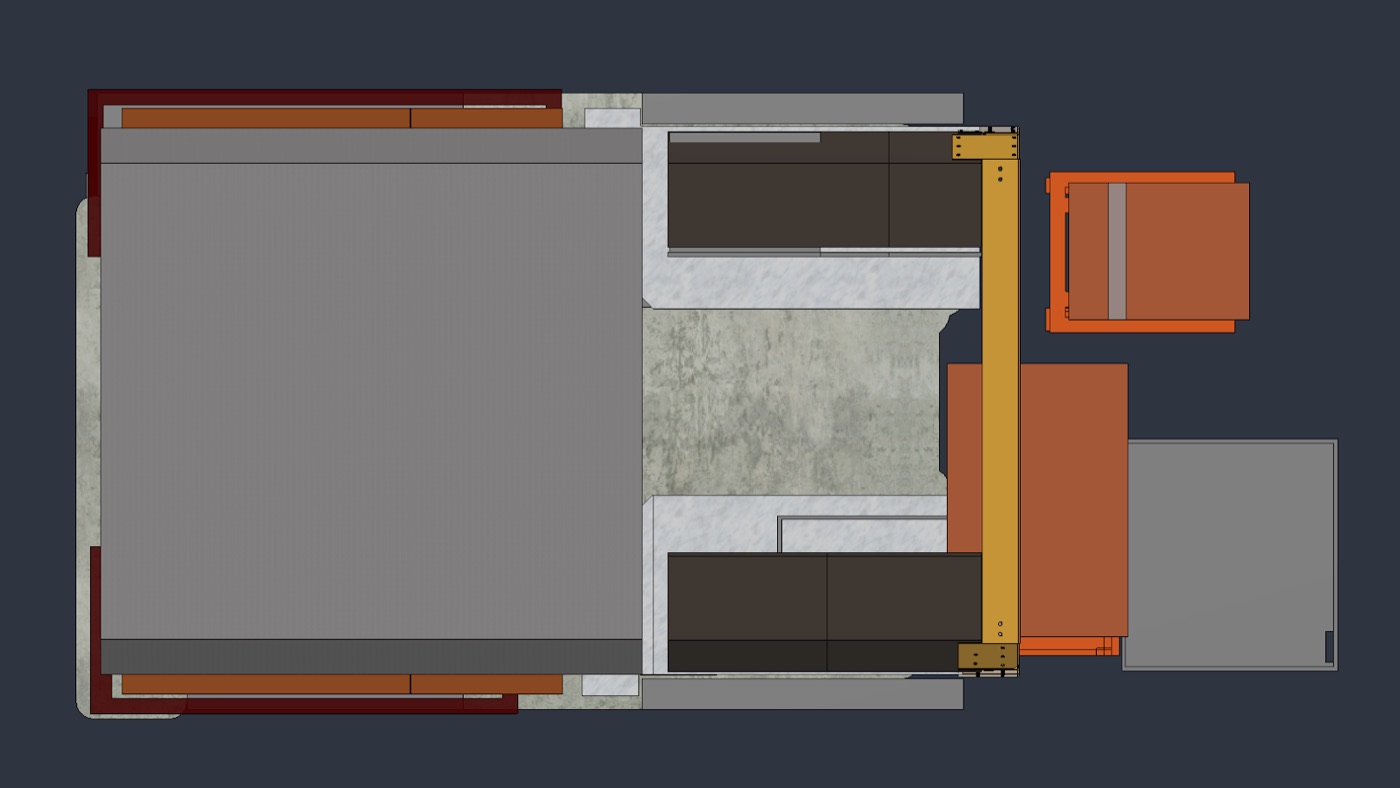
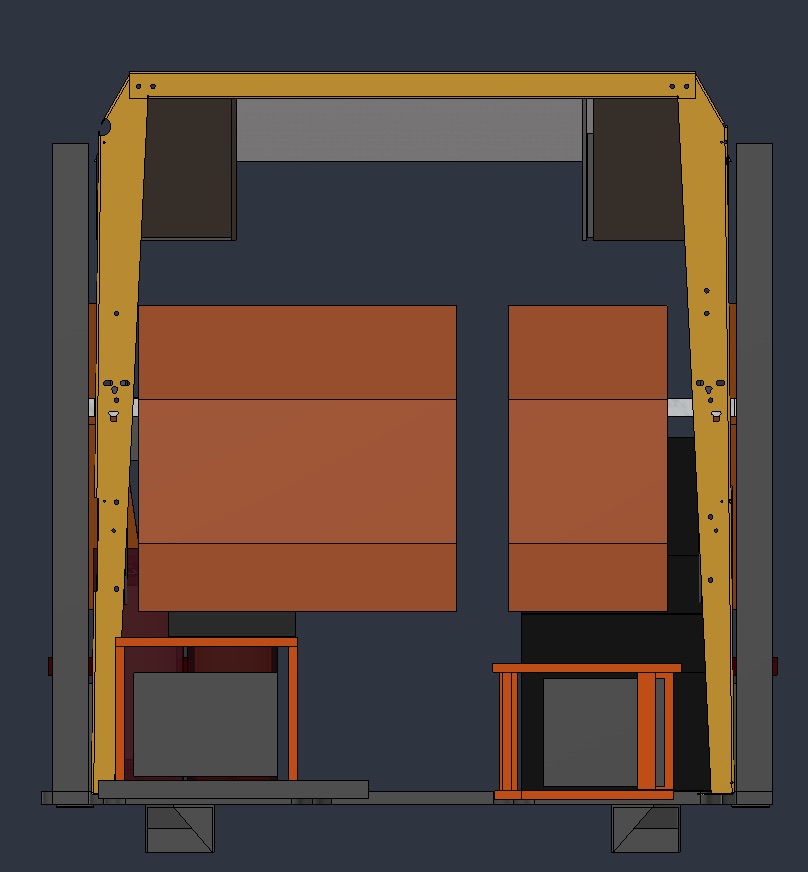
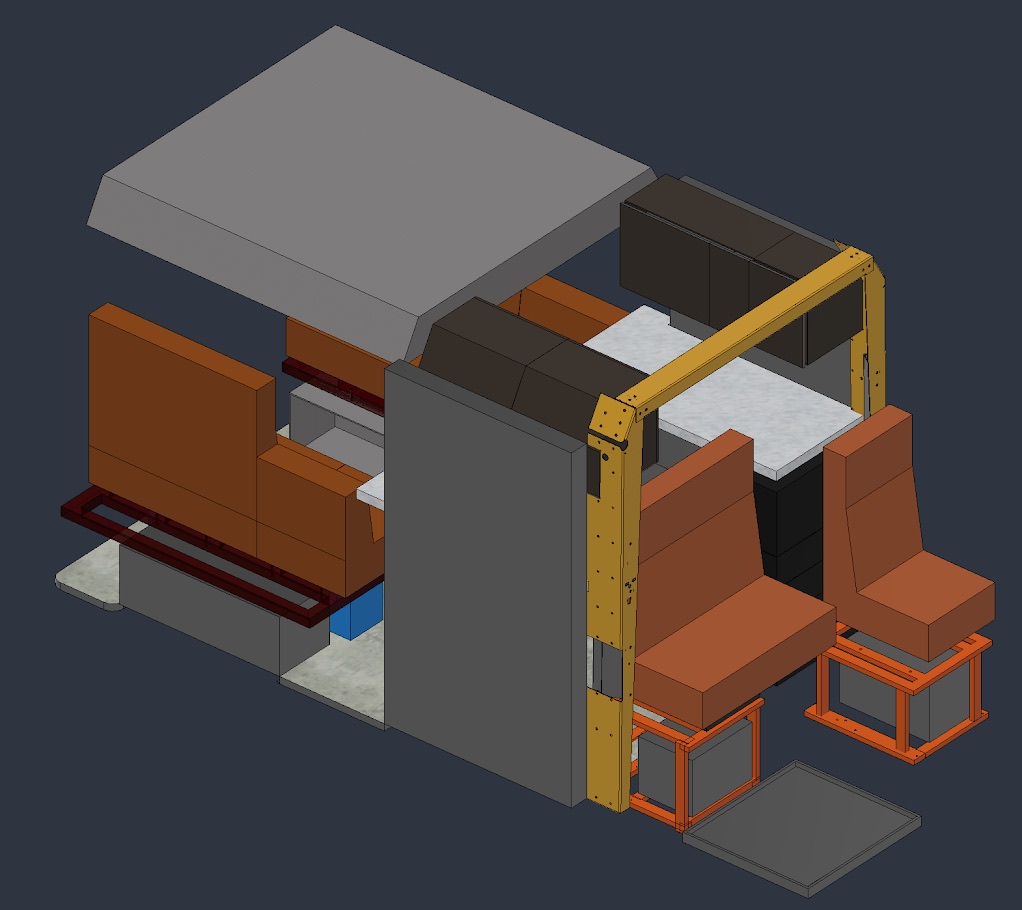
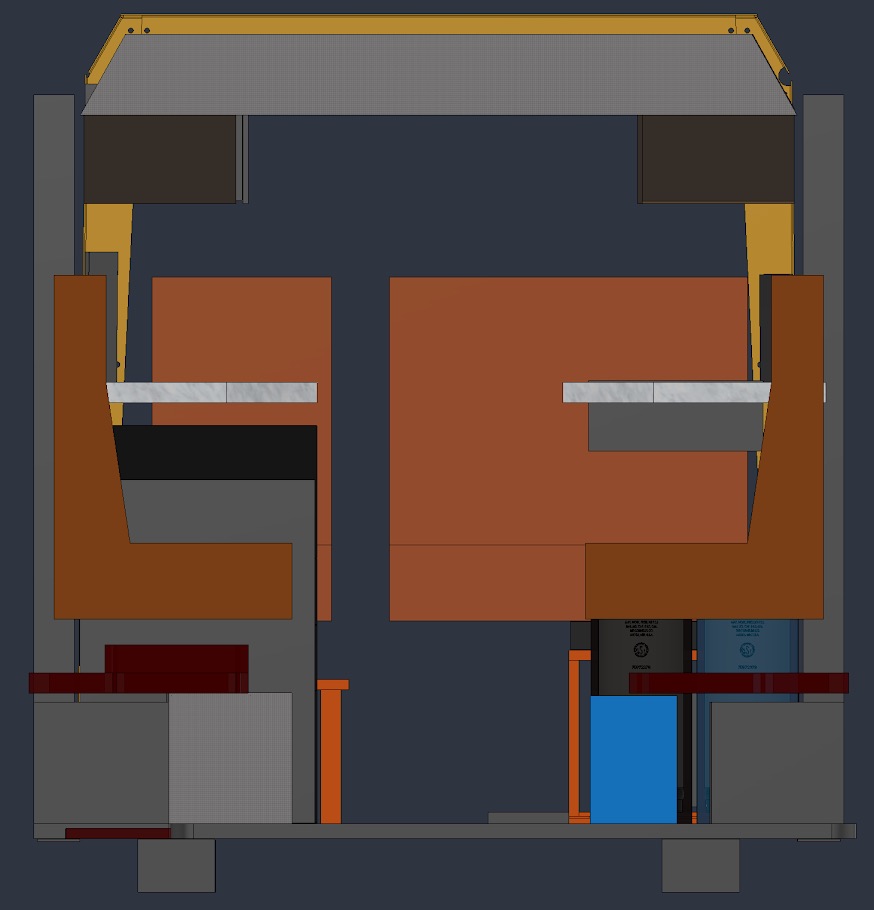
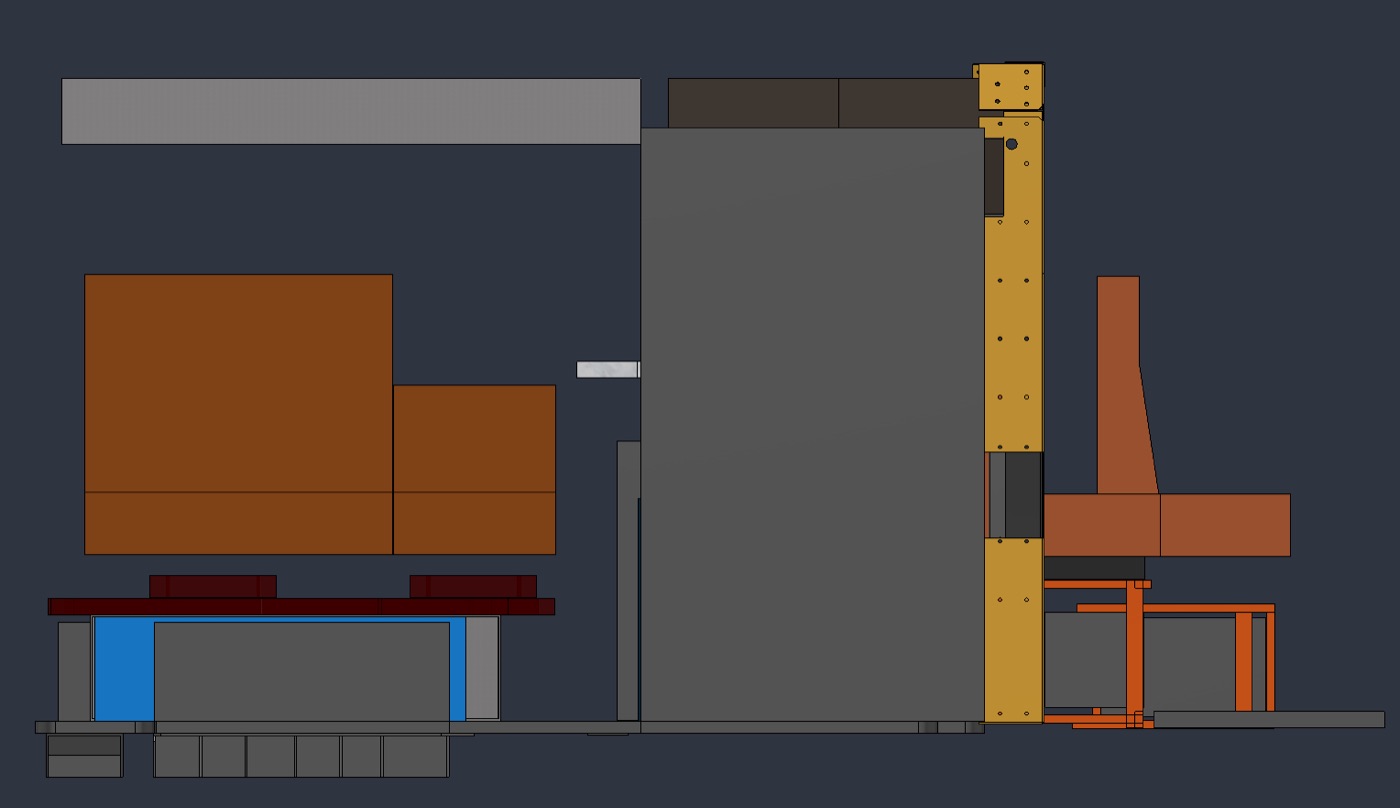
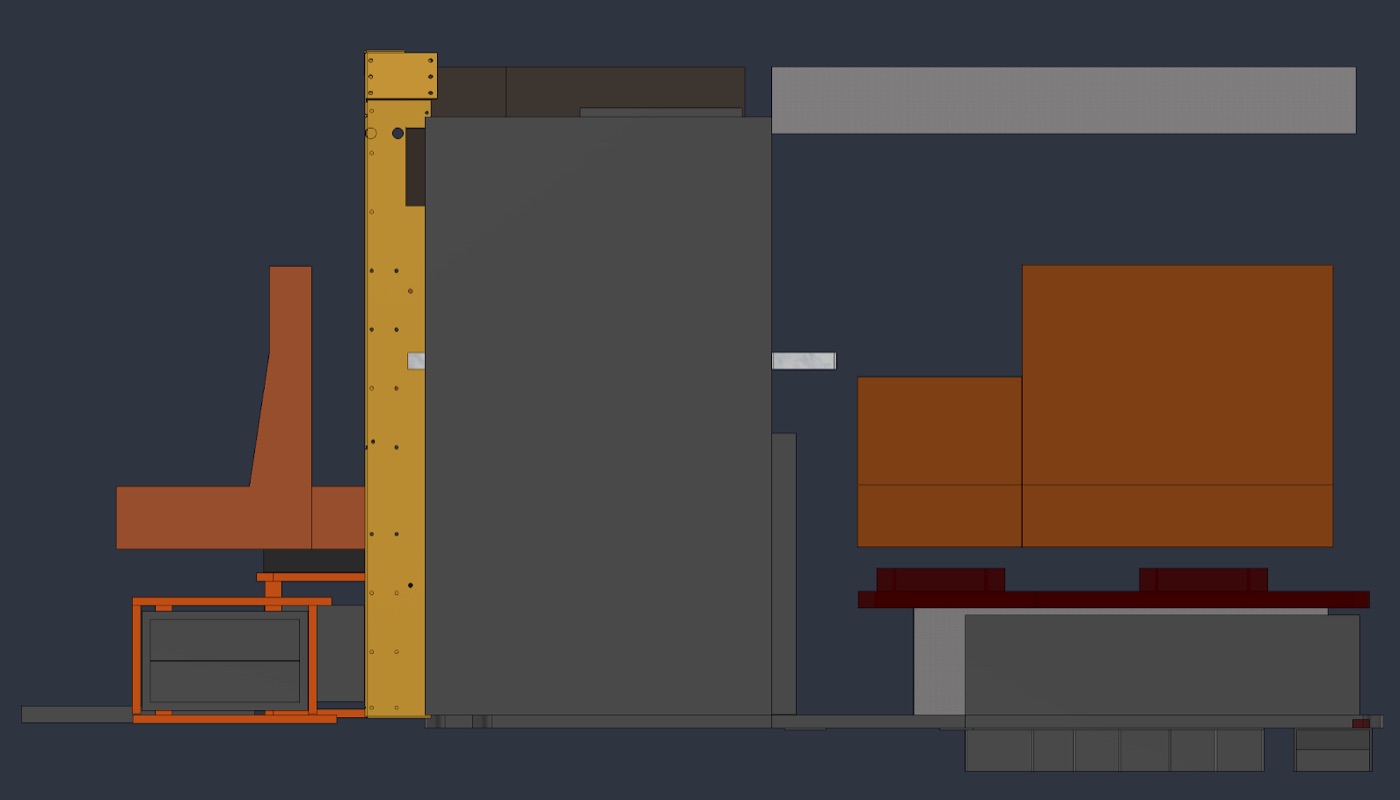
Post #5: Testing the Rear Seat Layout in the Real Van After spending a lot of time looking at the layout in CAD, I wanted to see how the rear seating actually felt at full scale inside IVAN. So I built a temporary wood mockup for one side and dropped
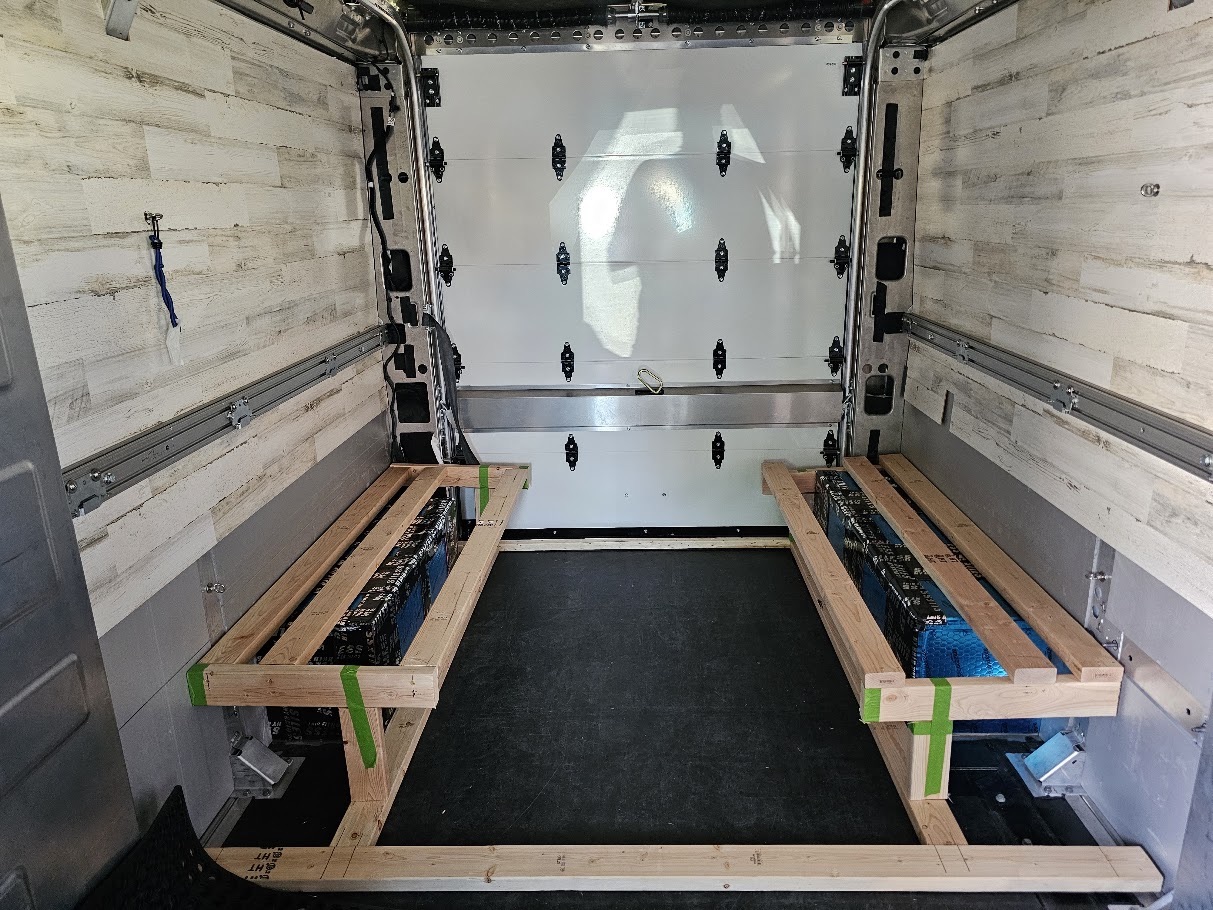
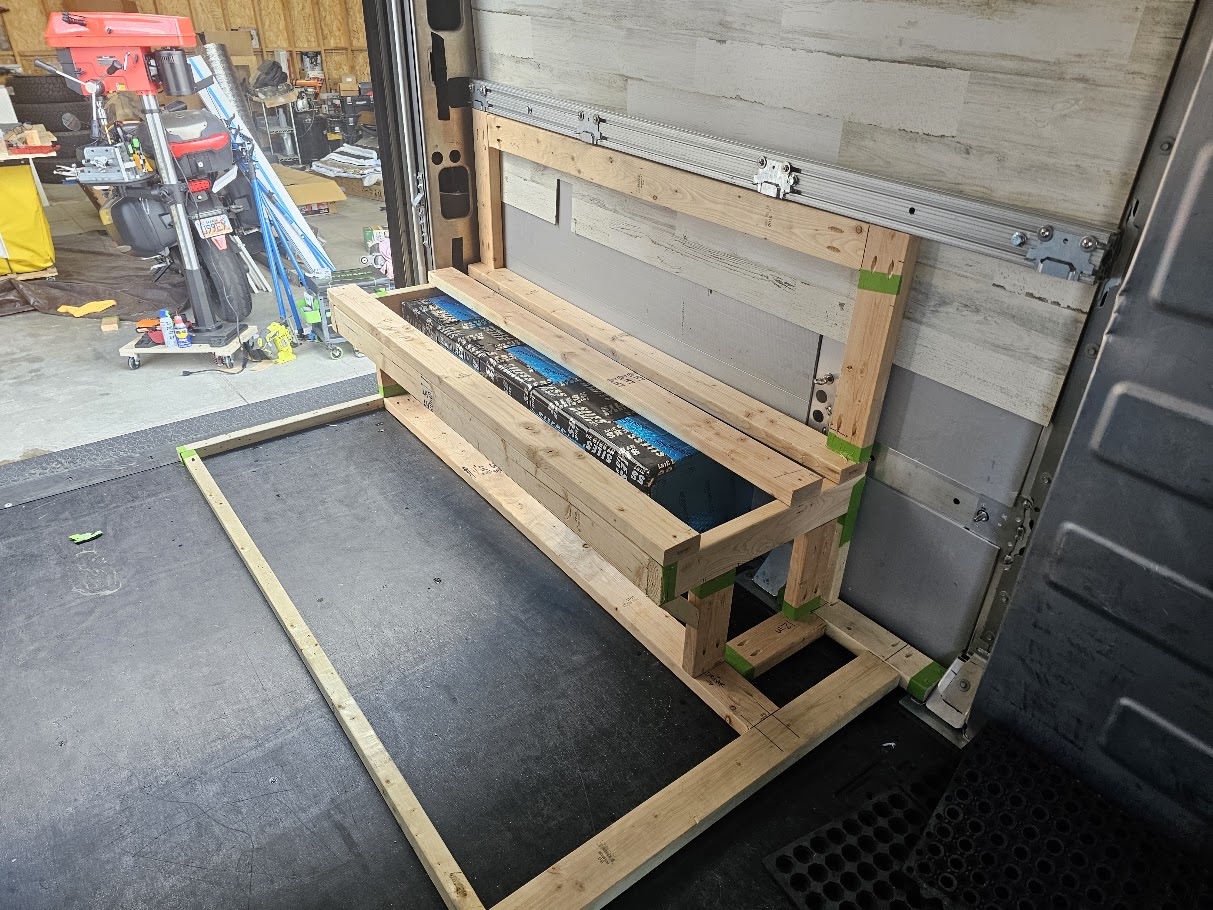
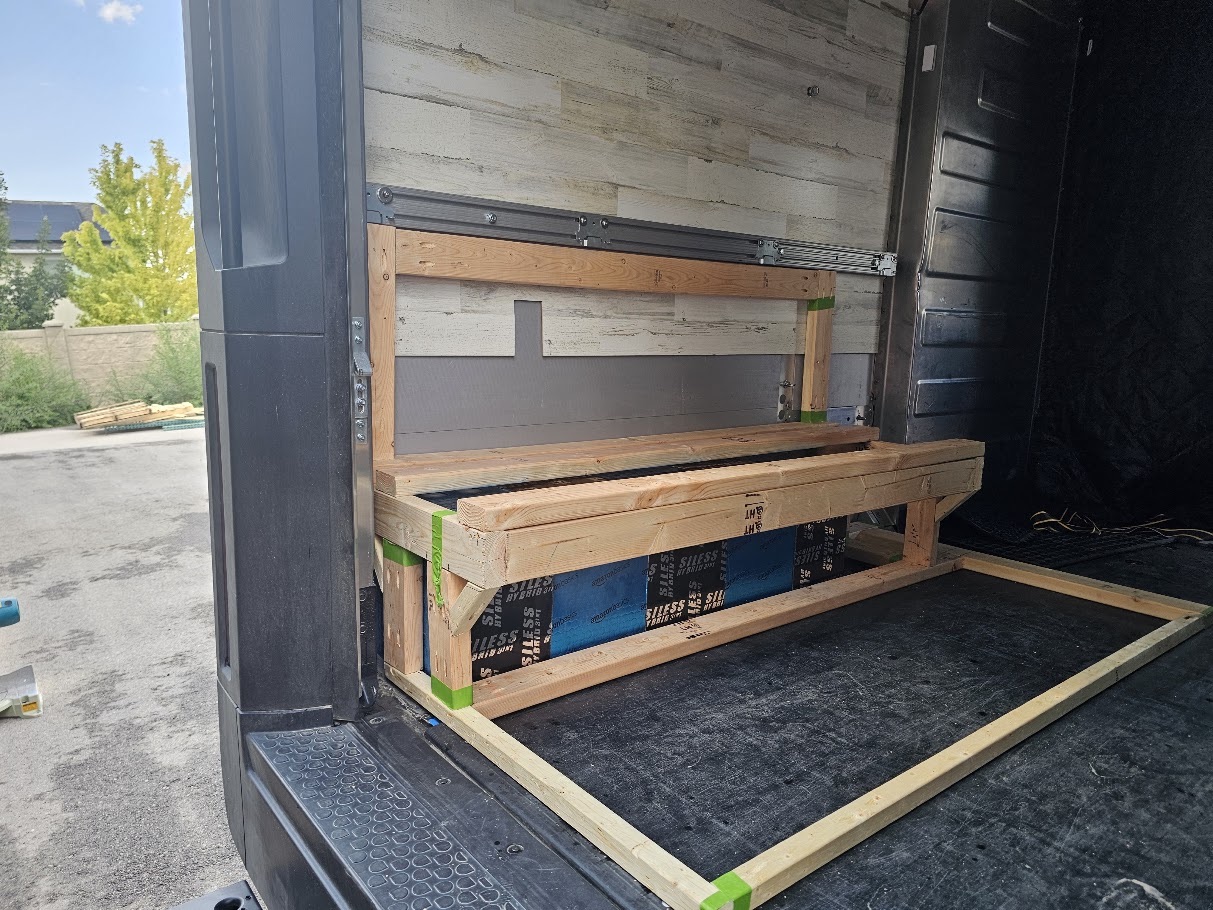
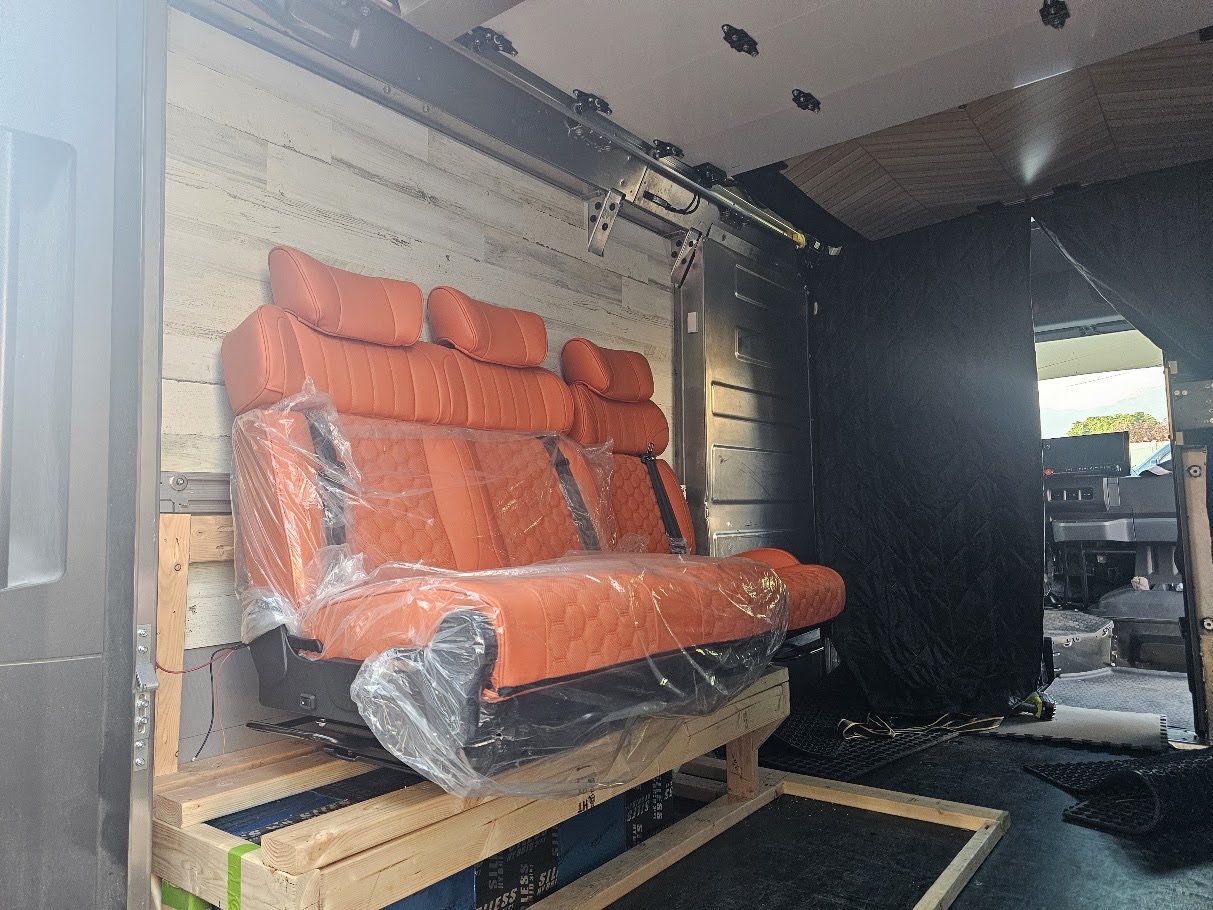
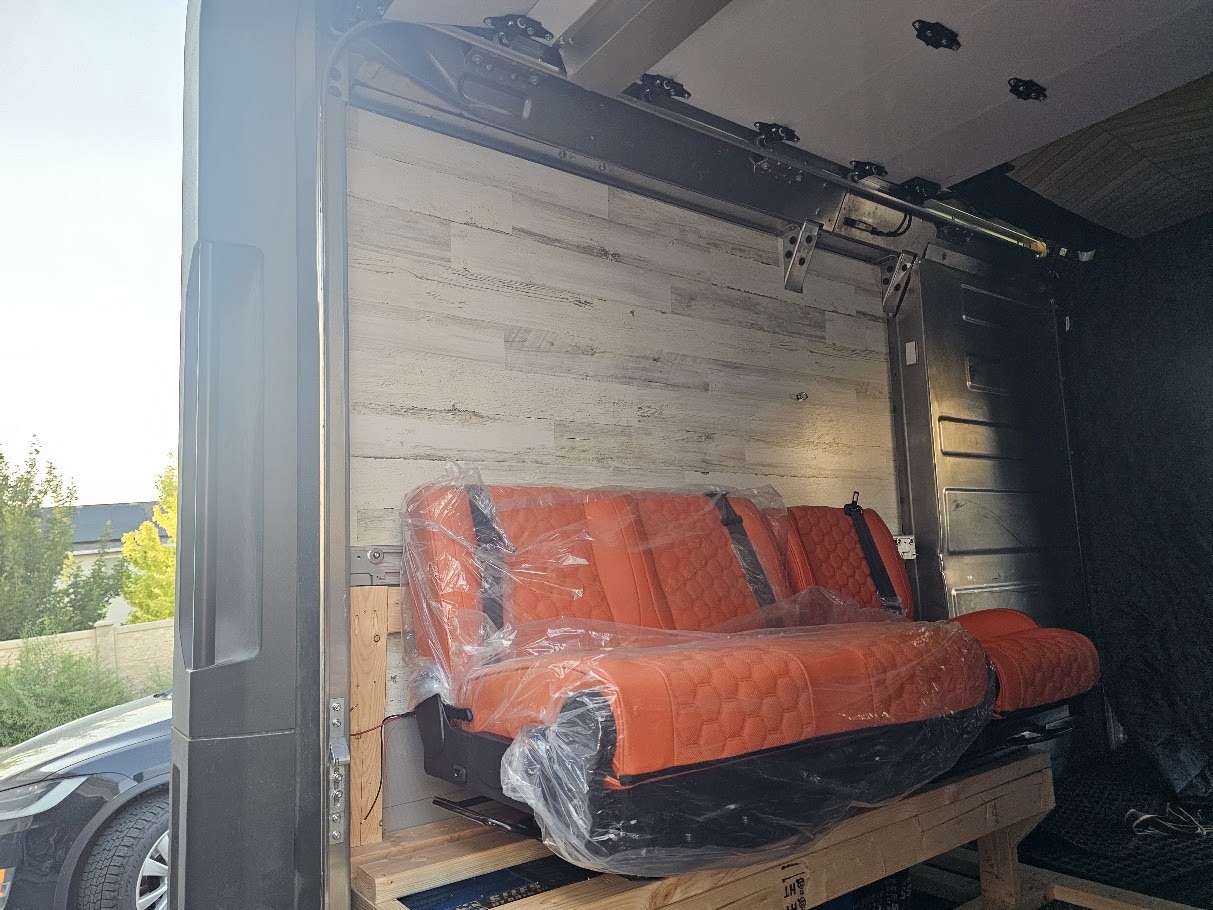
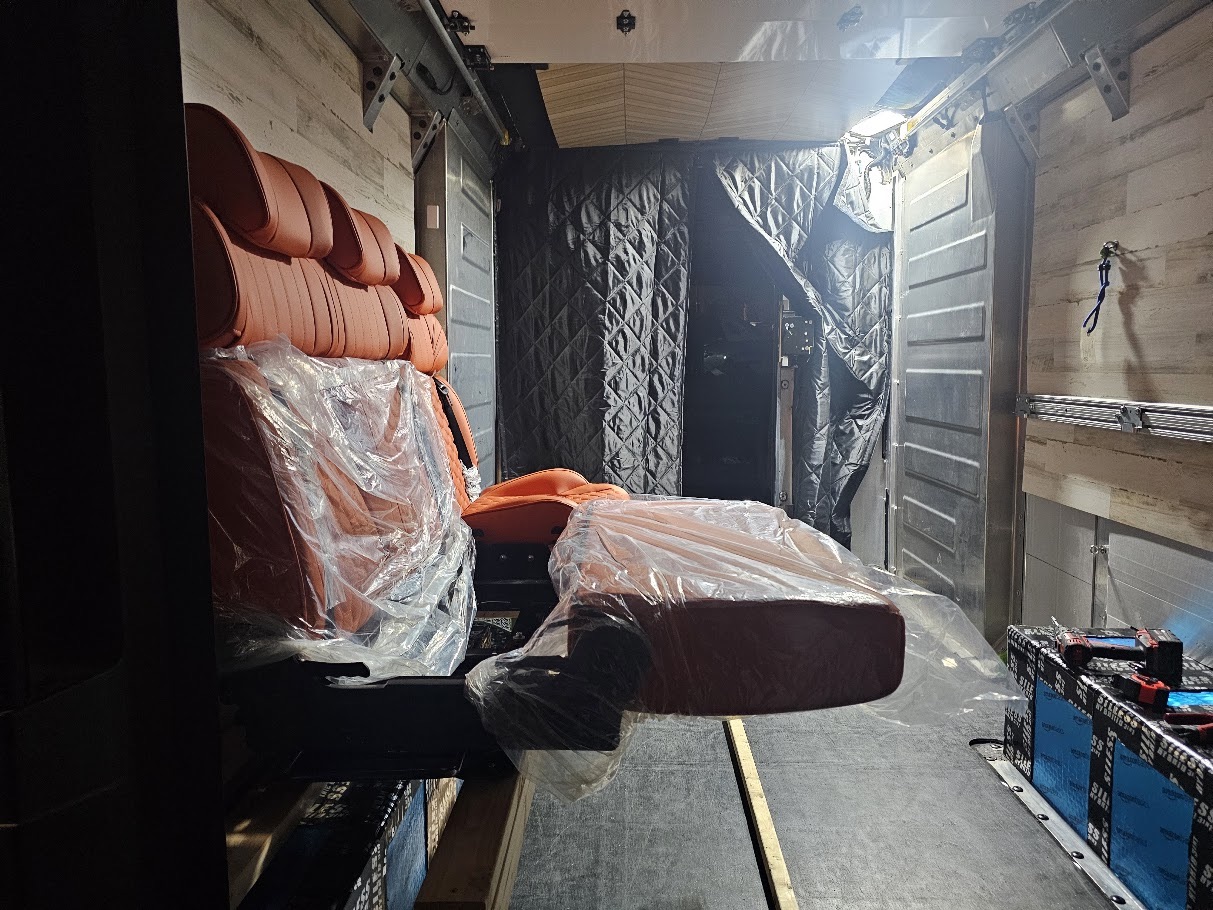
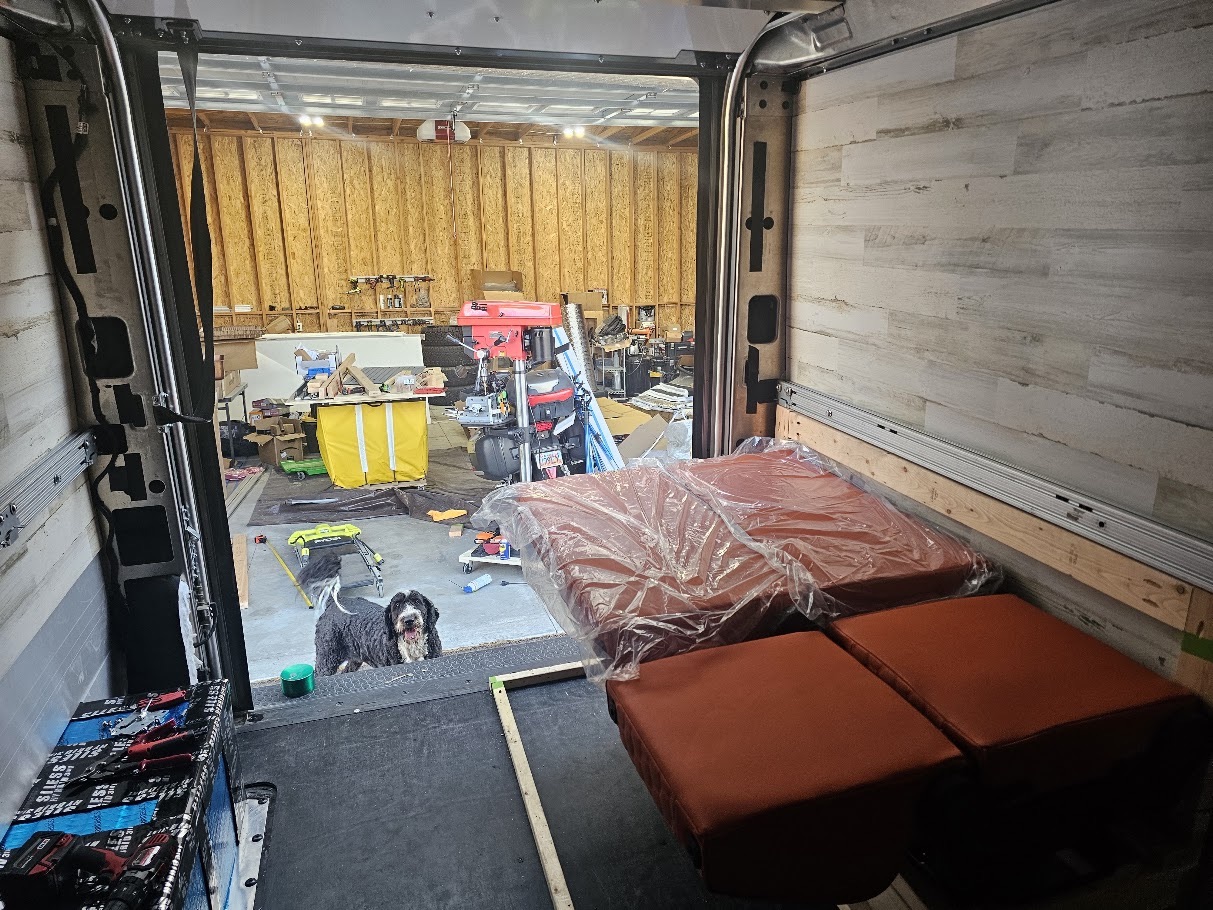
Post #6: The Pre-Work and a Year of Mockups Before getting into the permanent build, I figured I should show some of the temporary setups and experiments I have played with over the last year. A lot of this was never meant to be final. The idea was t
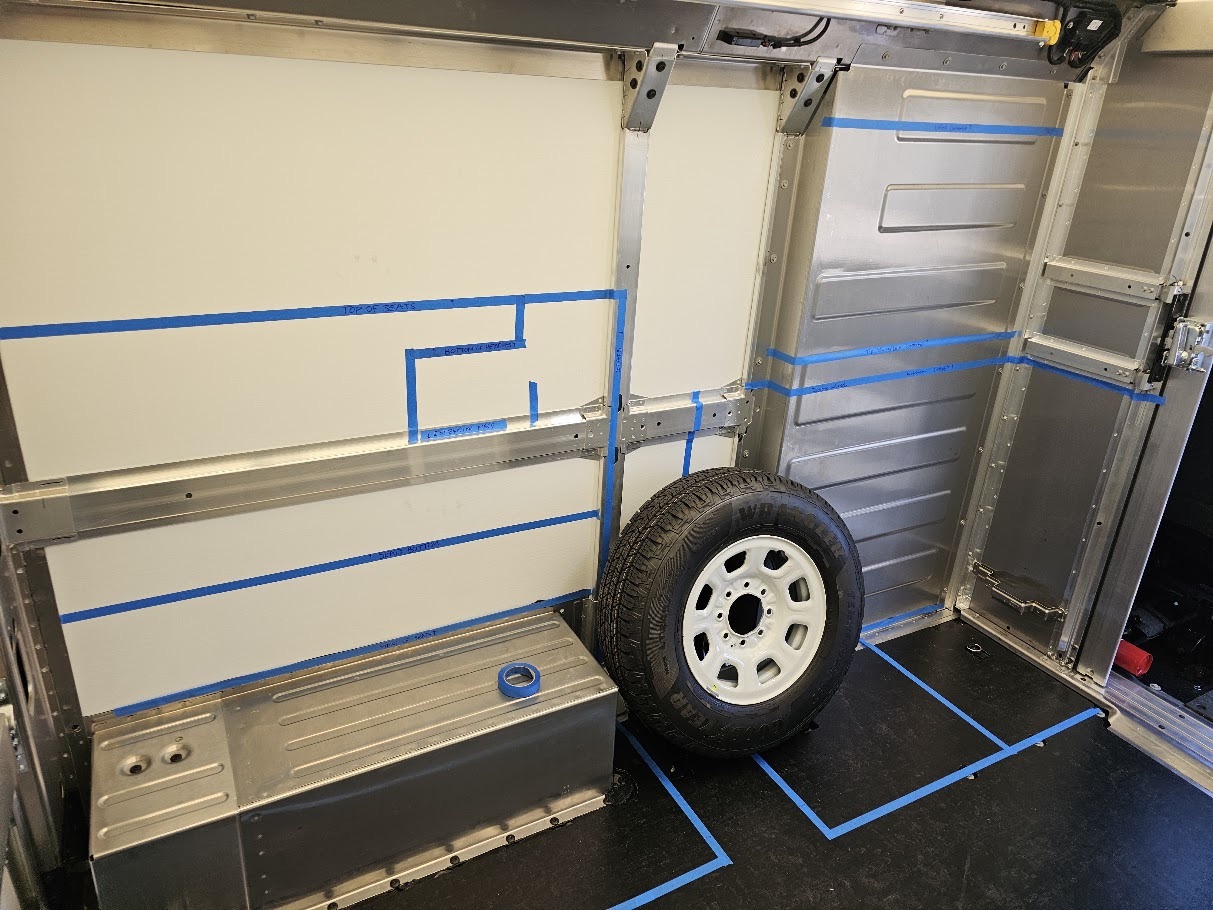
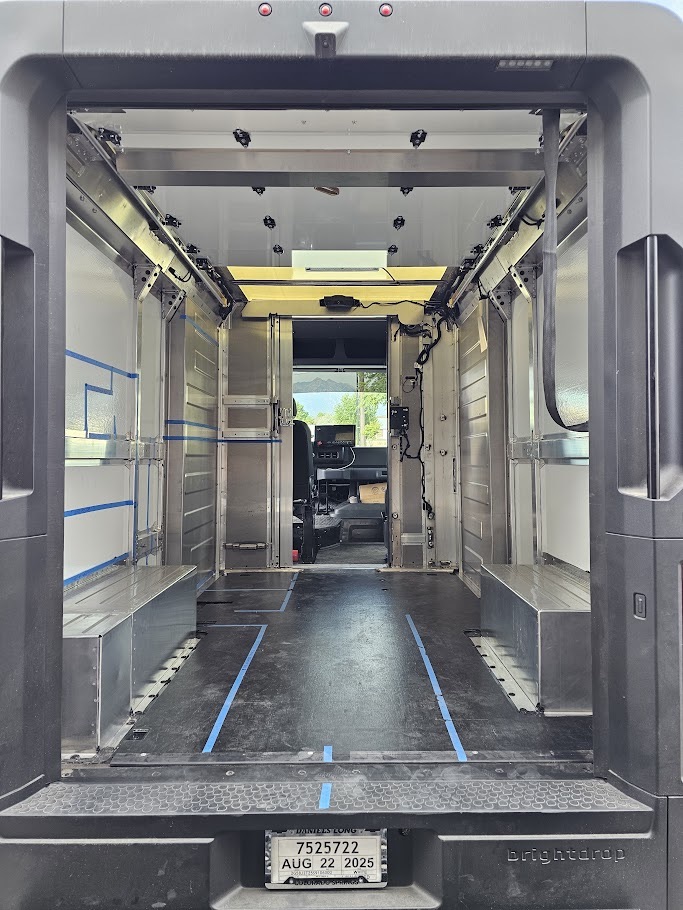
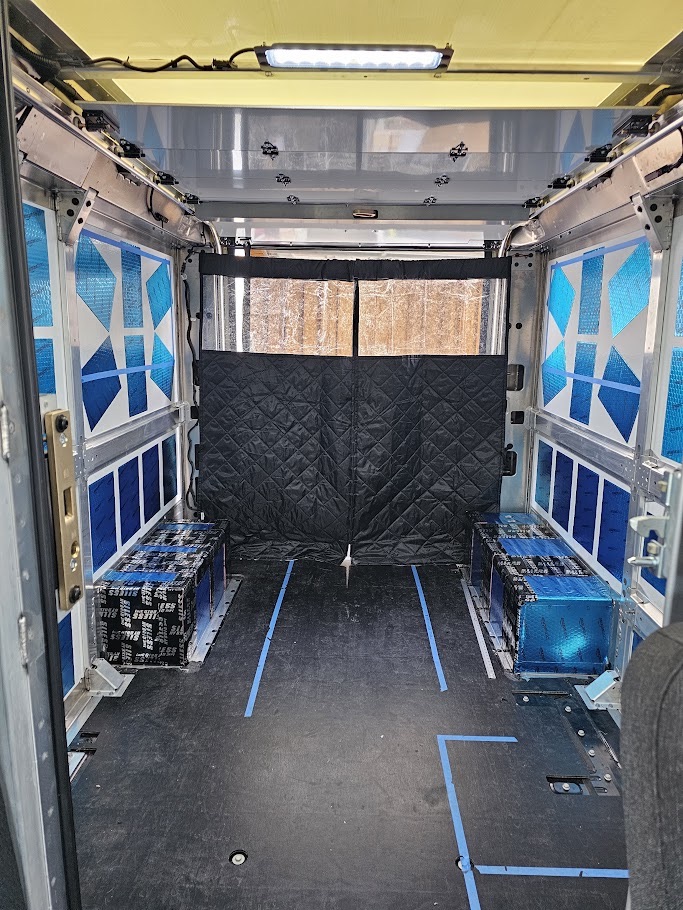
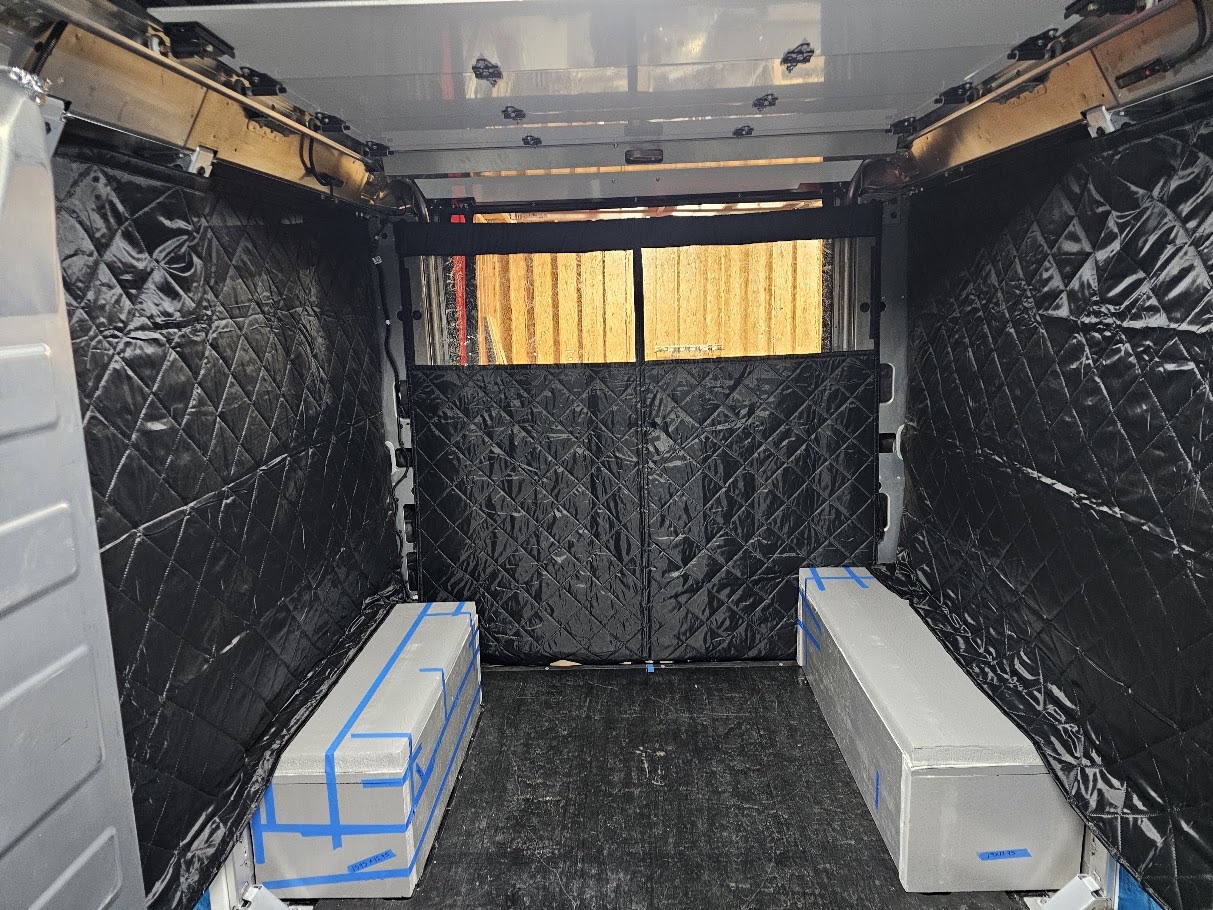
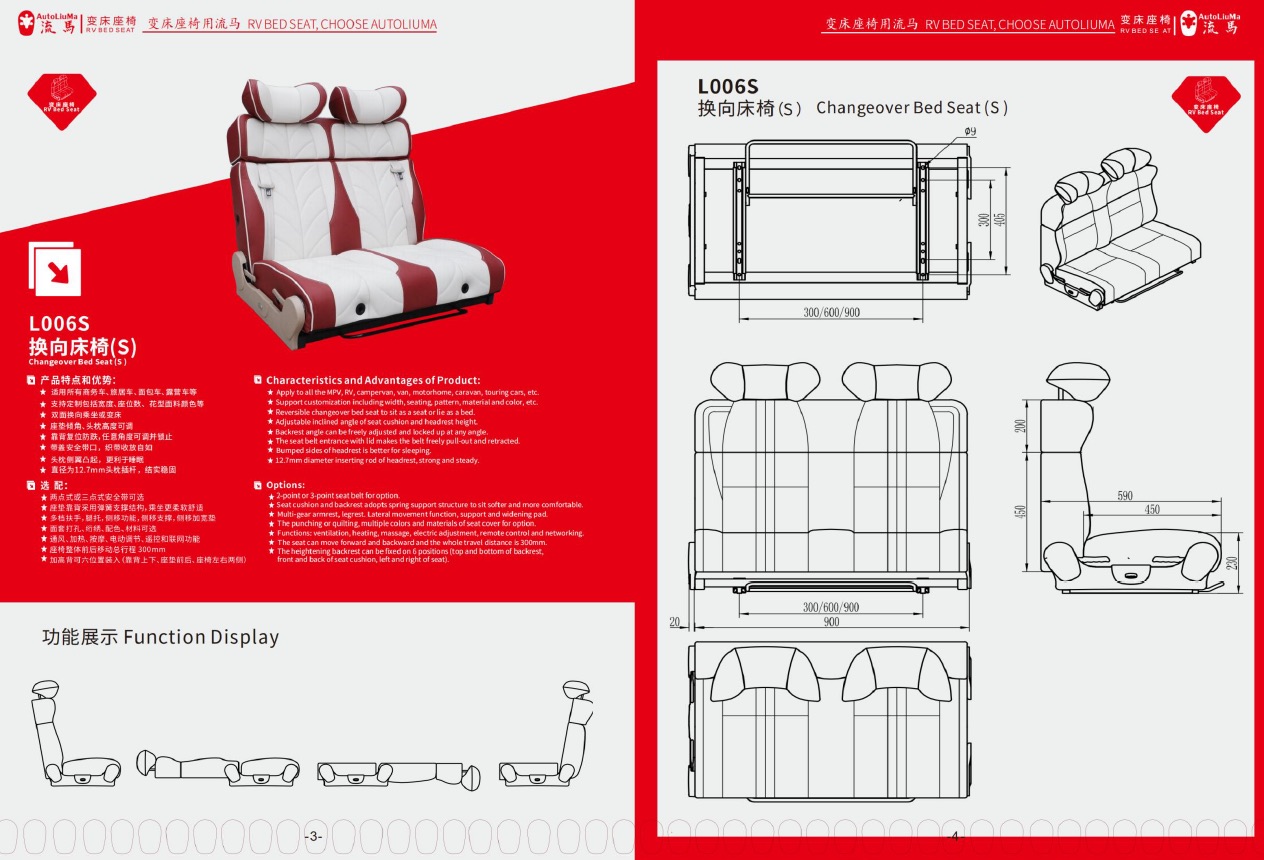
They are from Autoliuma brand and Model L066S -
thread on brightdropforum.com →
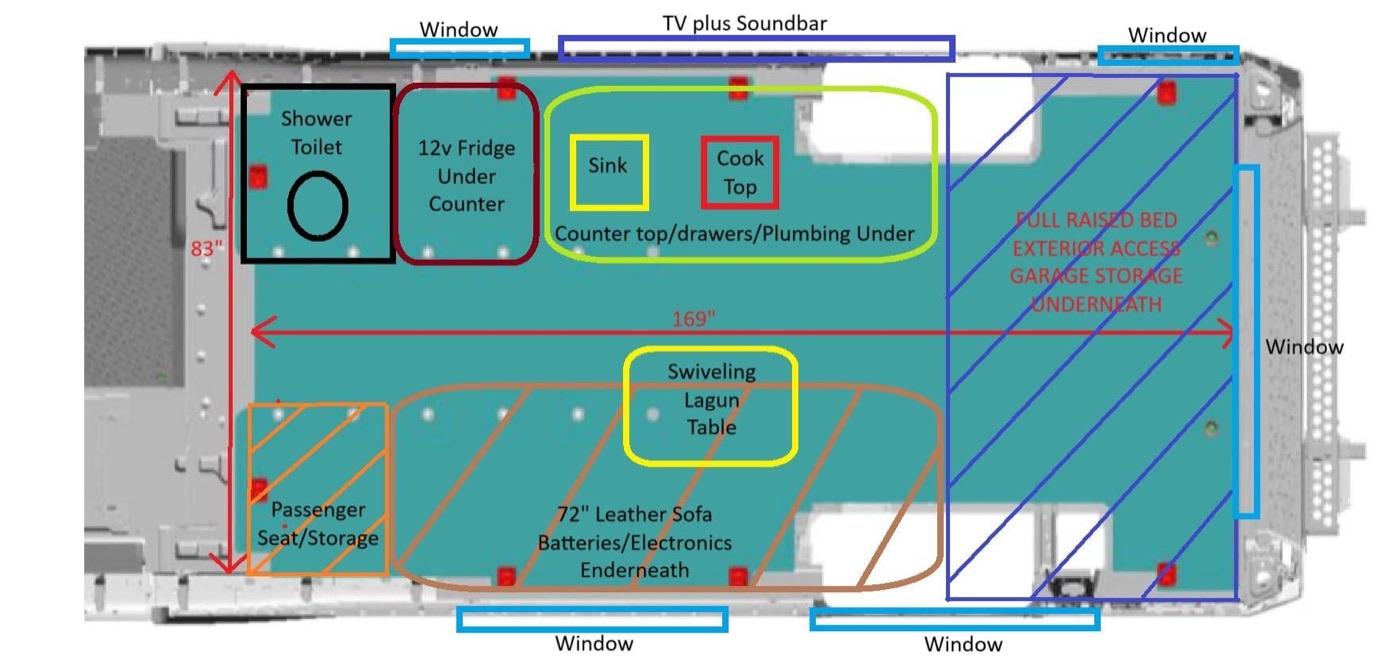
Vega — Build thread for my BD 600 AWD expedition vehicle. Designed for as much off-grid exploration and camping as possible with minimal visits to RV parks. Initial layout draft: Initial desired capabilities: 1. 1.5kW or more of roof solar. 2. Whole van (be
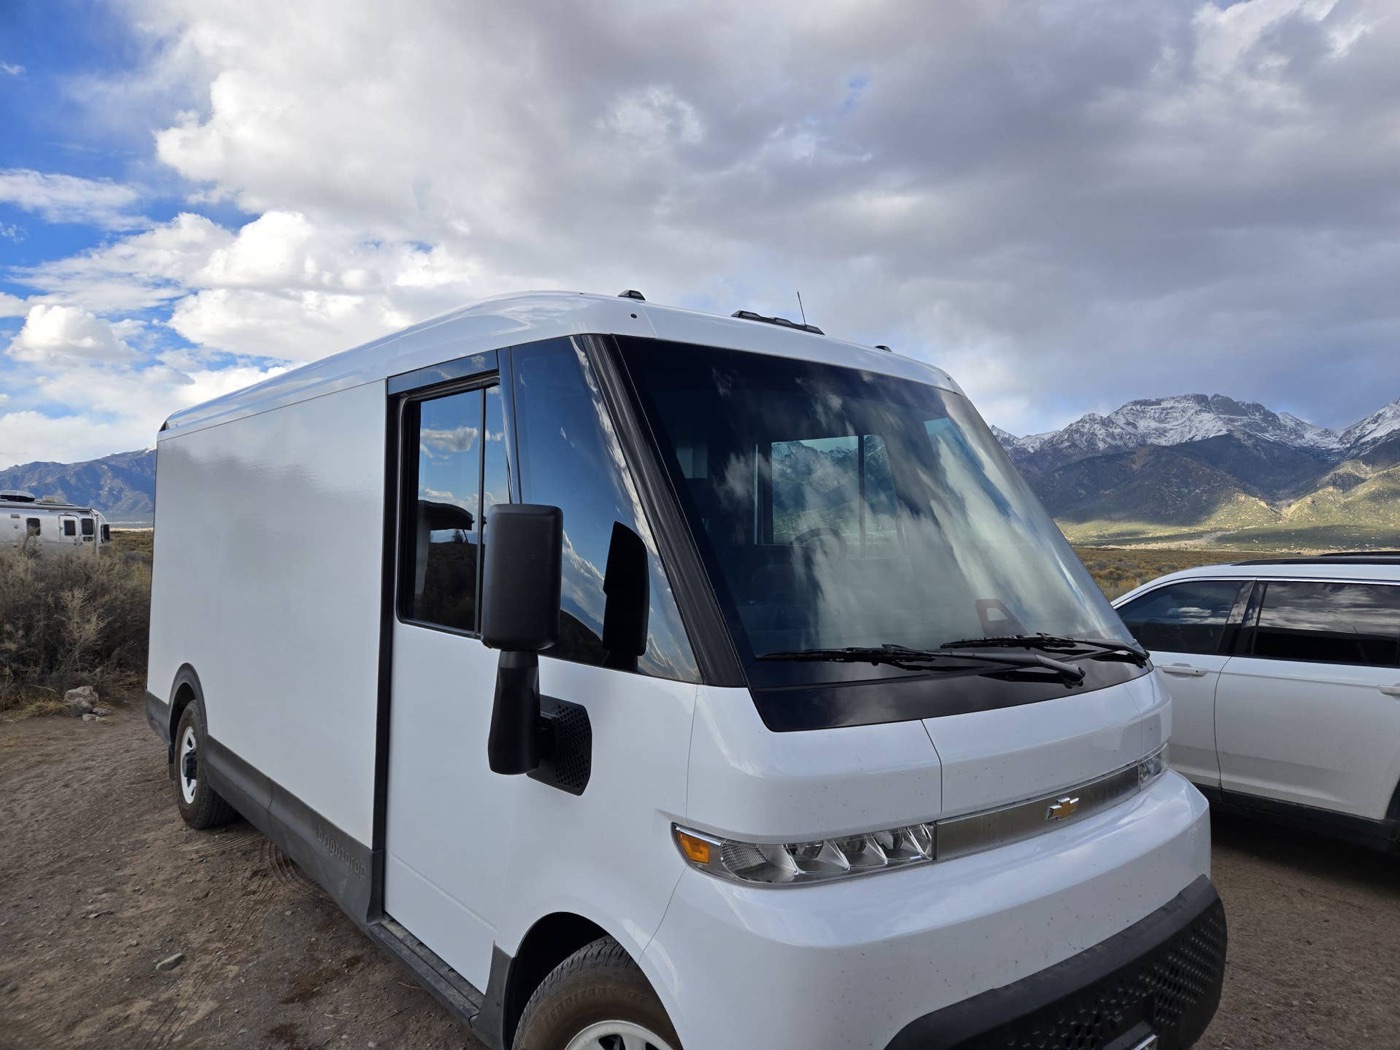
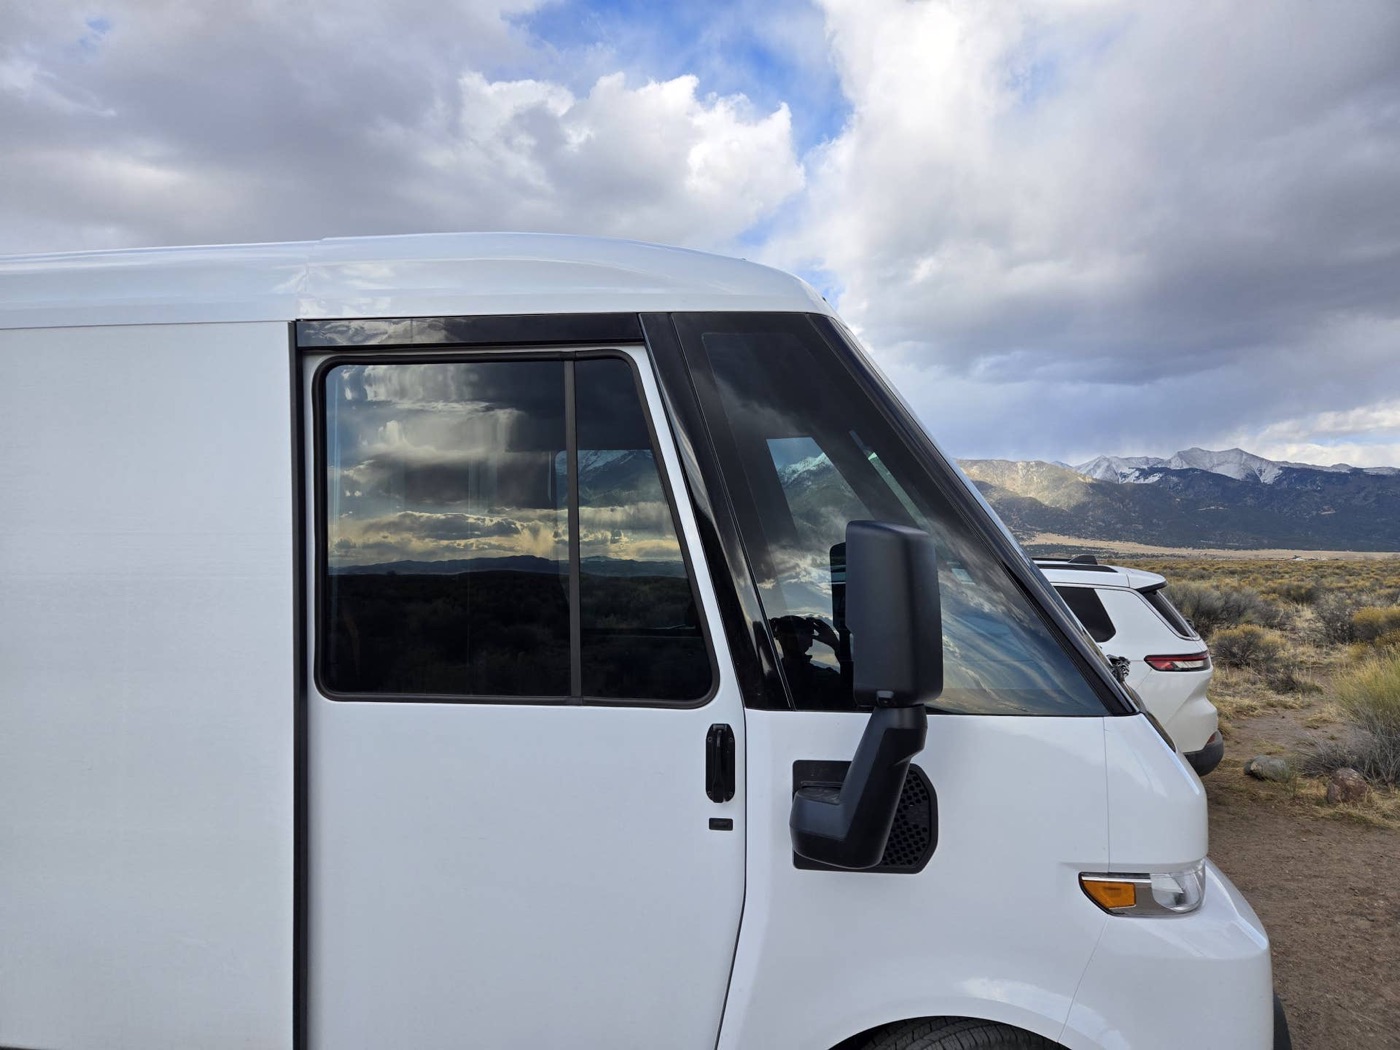
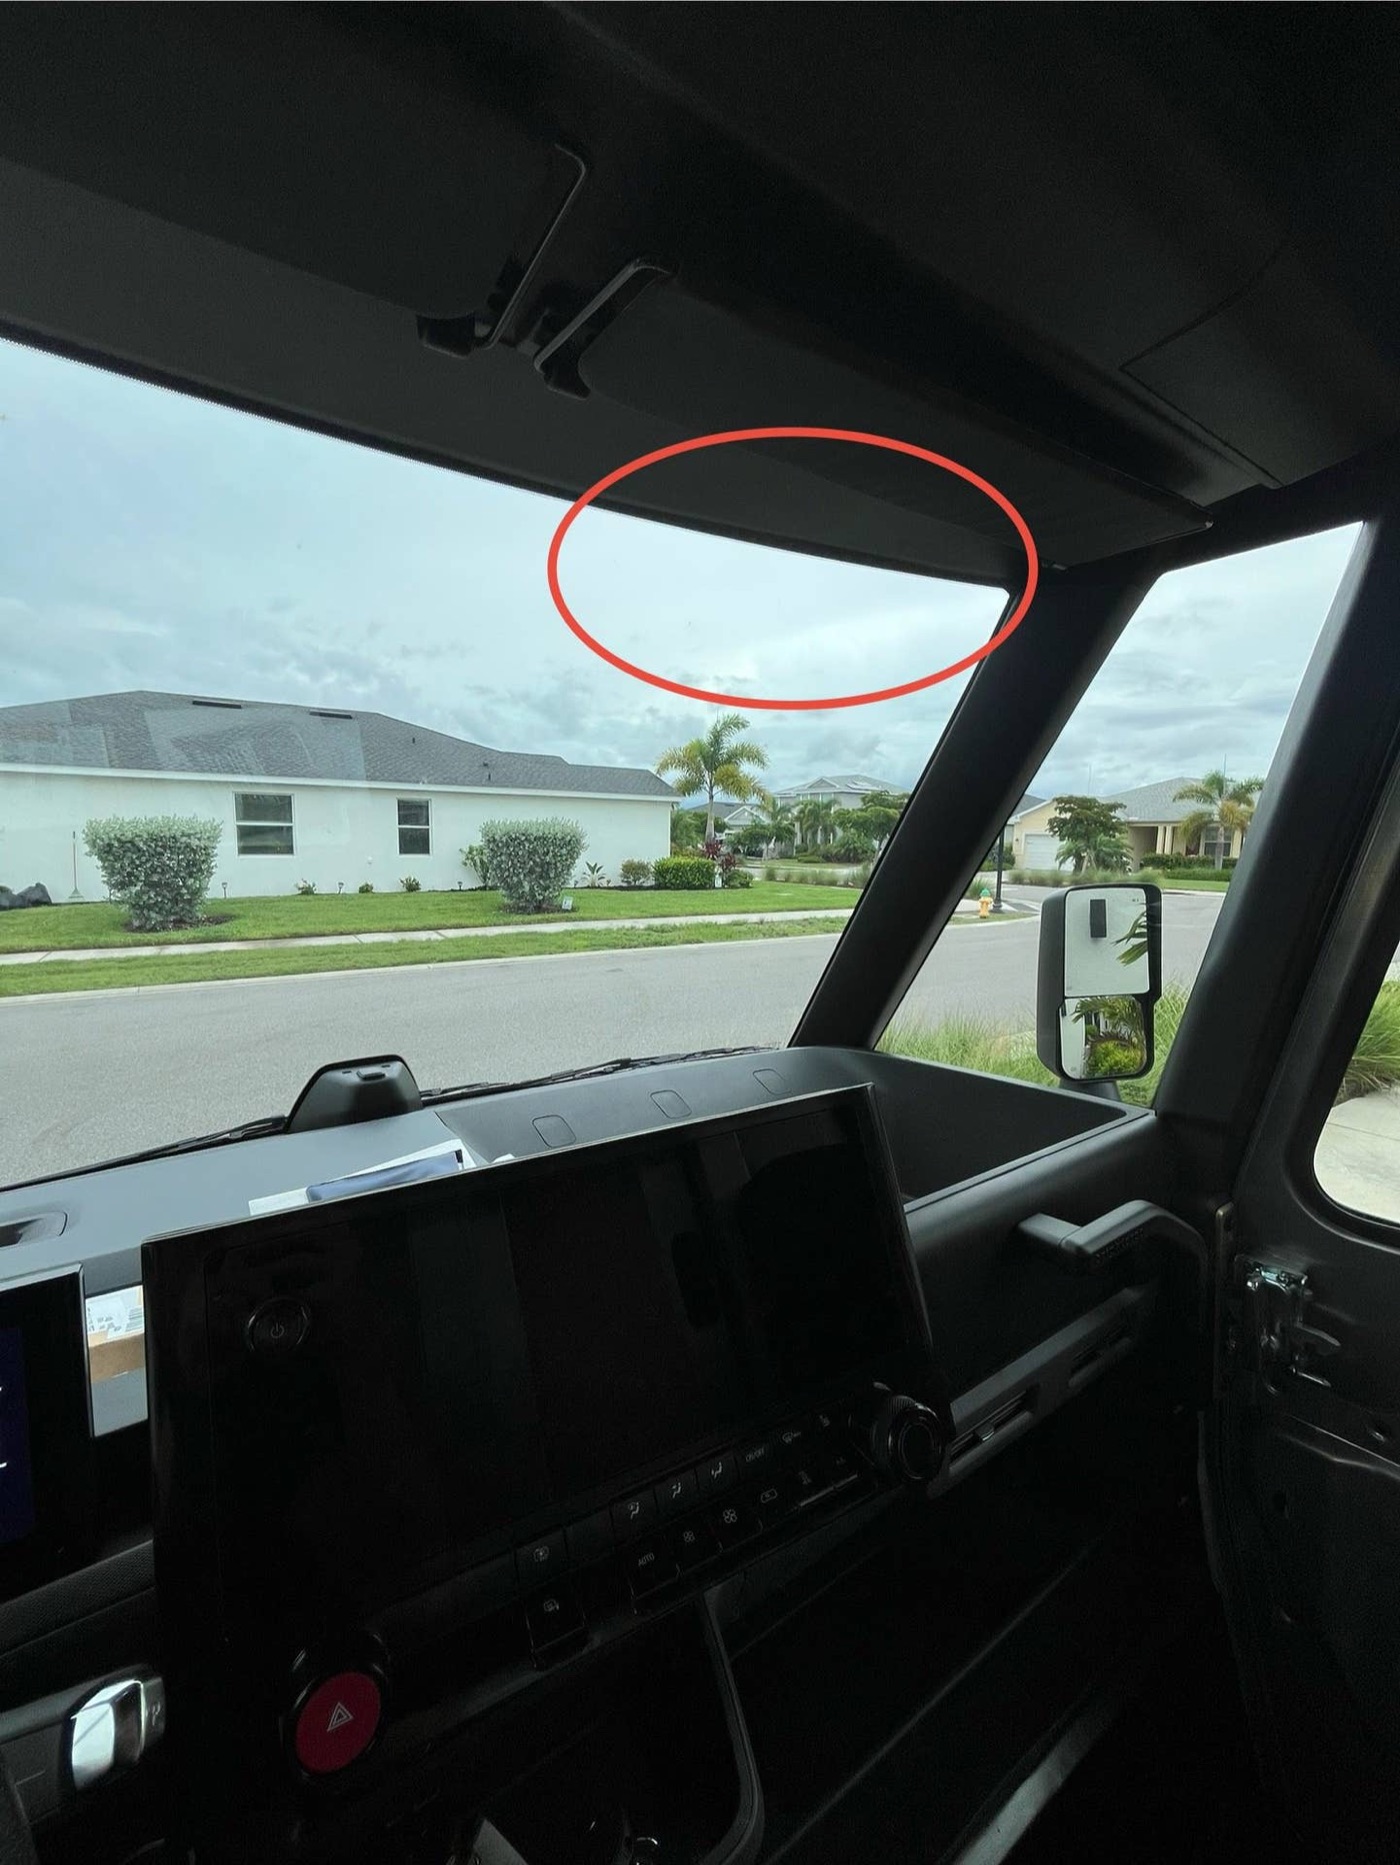
30% transparency on six side glass and 70% transparency on windshield. Suntek Evolve ceramic. Windshield was too tall for a roll so had to add a tint visor. IMO Sharpens up the vans looks.
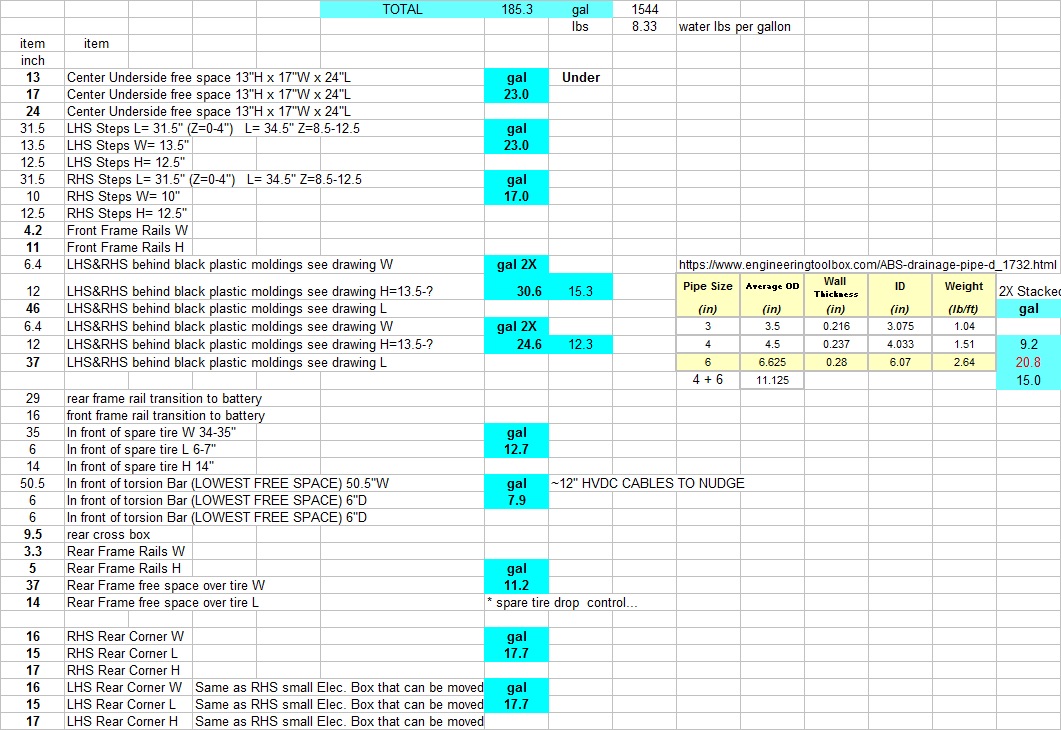
Vega, a few comments: "7. Minimum 60 gallon fresh water tank." Here is what is possible from my measurements: "18. Maxxair vent and shroud on roof." I am looking at using one or more of these which could even be mounted underneath the floor with so m
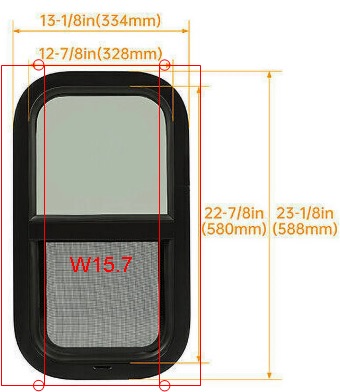
I found this window that fits in the roll up door: HECASA RV Window 12" W x 22" H Vertical Sliding Window RV Camper Trailer Window Replacement W/Trim Ring Amazon.com: HECASA Vertical RV Window 12" W x 22" H, Replacement Cargo Trailer Windows | for Ca
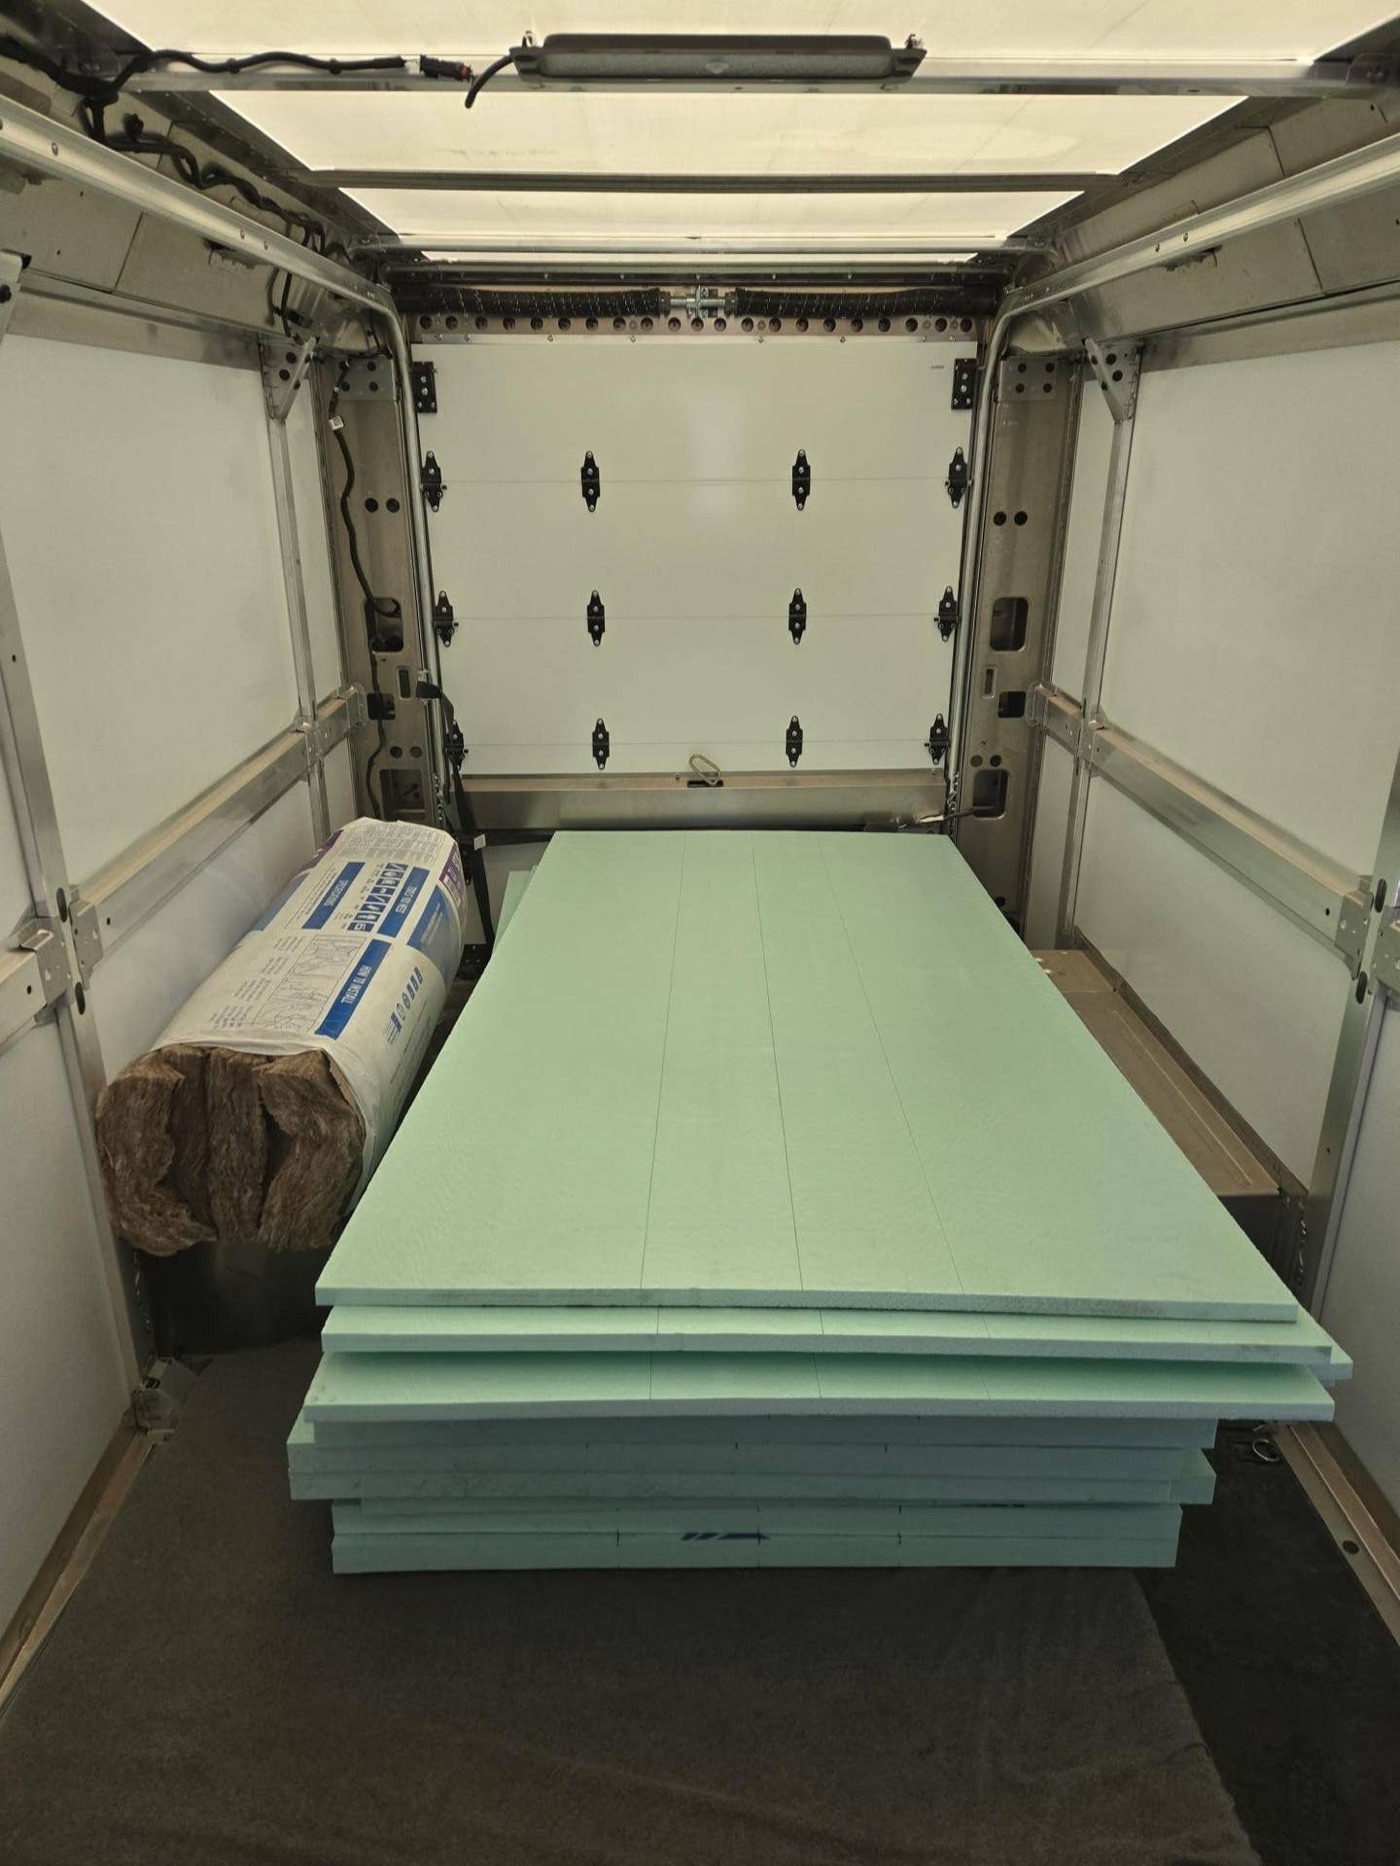
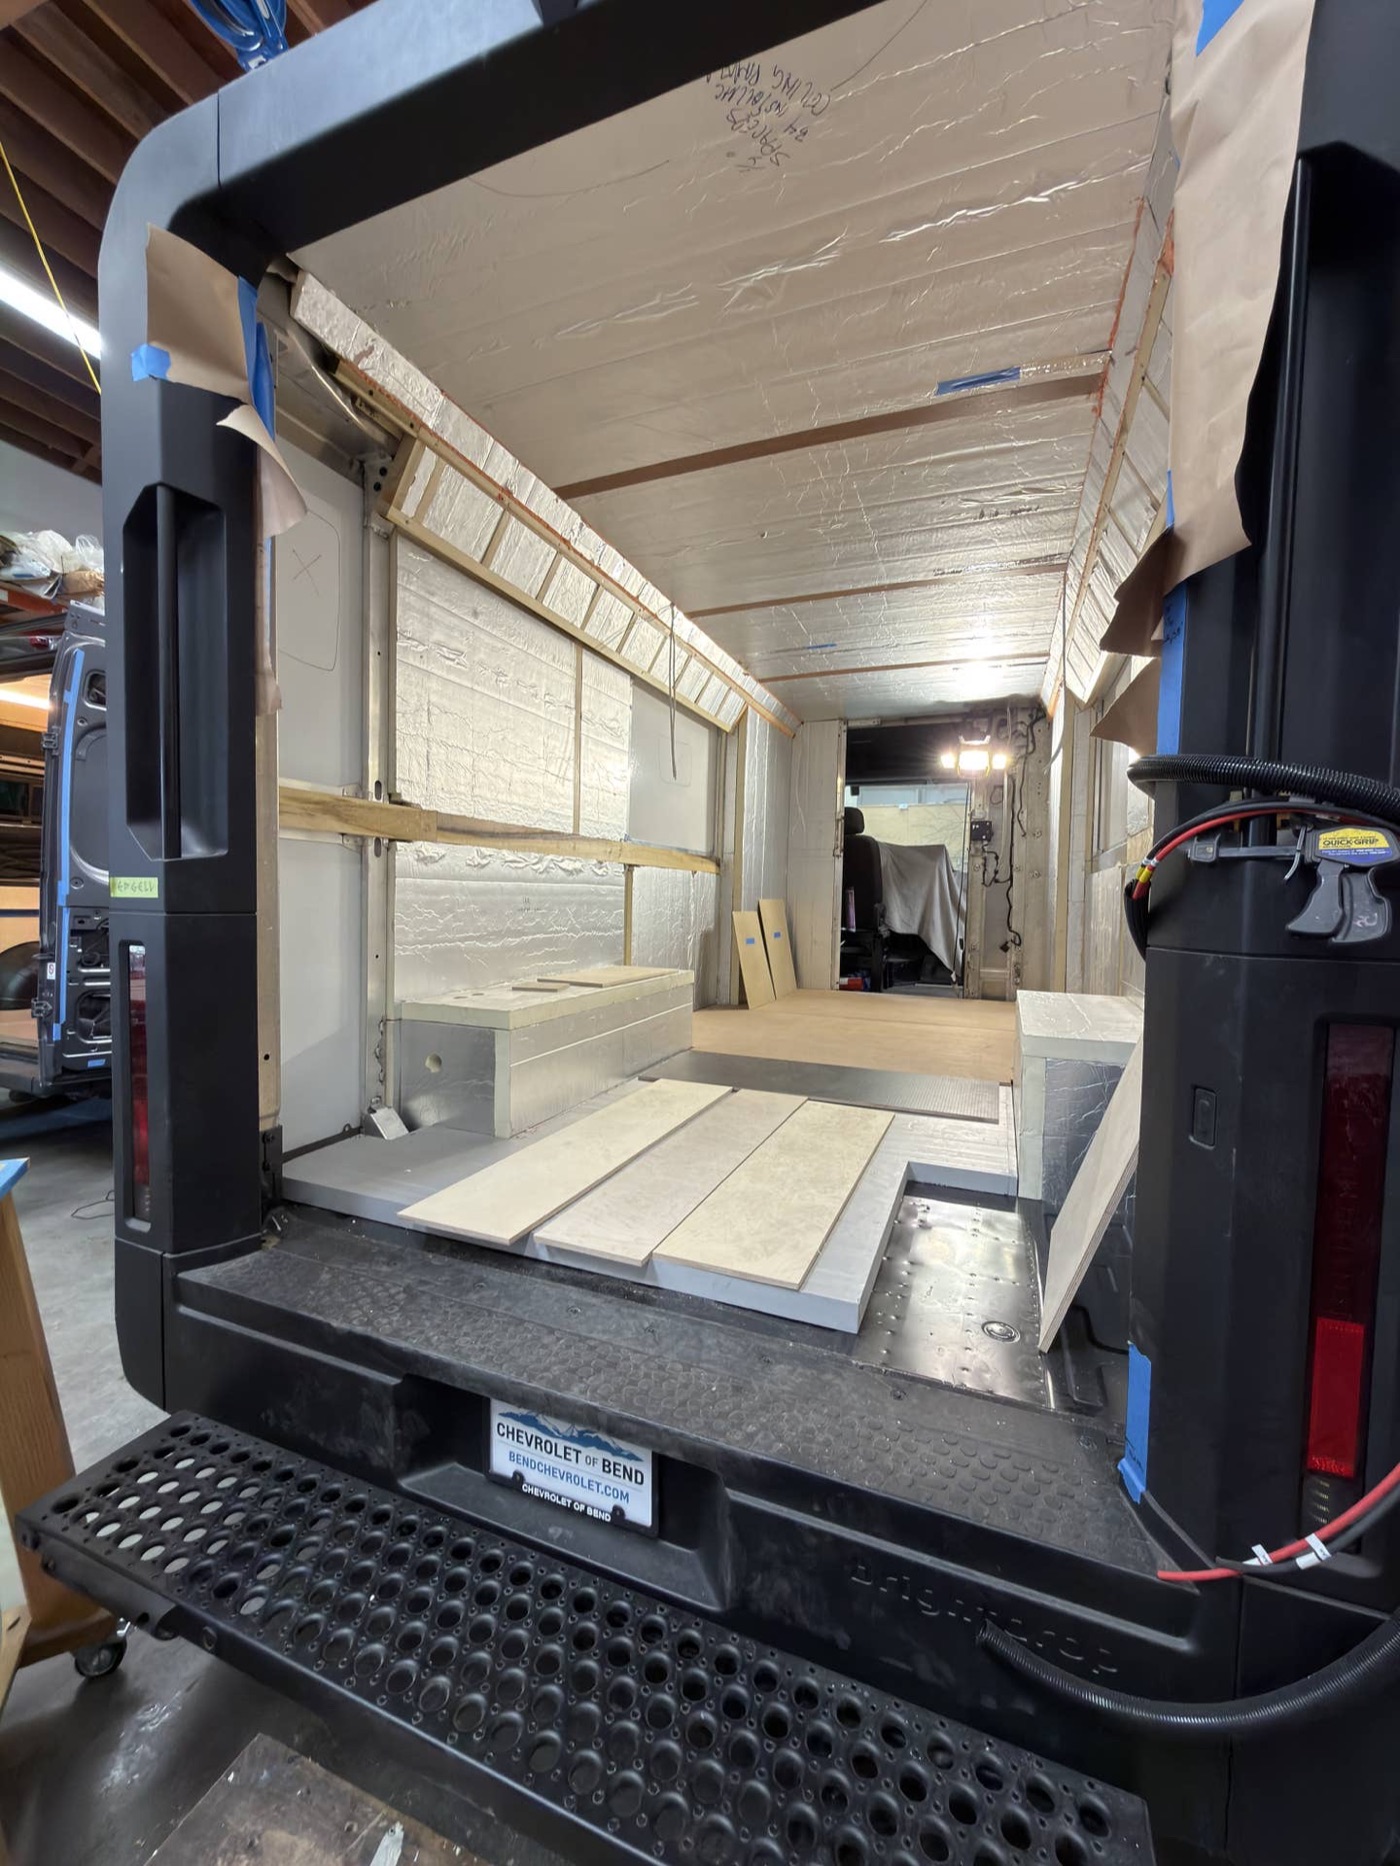
Insulation is pretty expensive these days, $900 for the van. 7 sheets of 2" XPS foam board, 7 sheets of 1", a bundle of fiberglass for the voids between the rear door supports and angled wall to ceiling supports. Looking at it again, I may need anoth
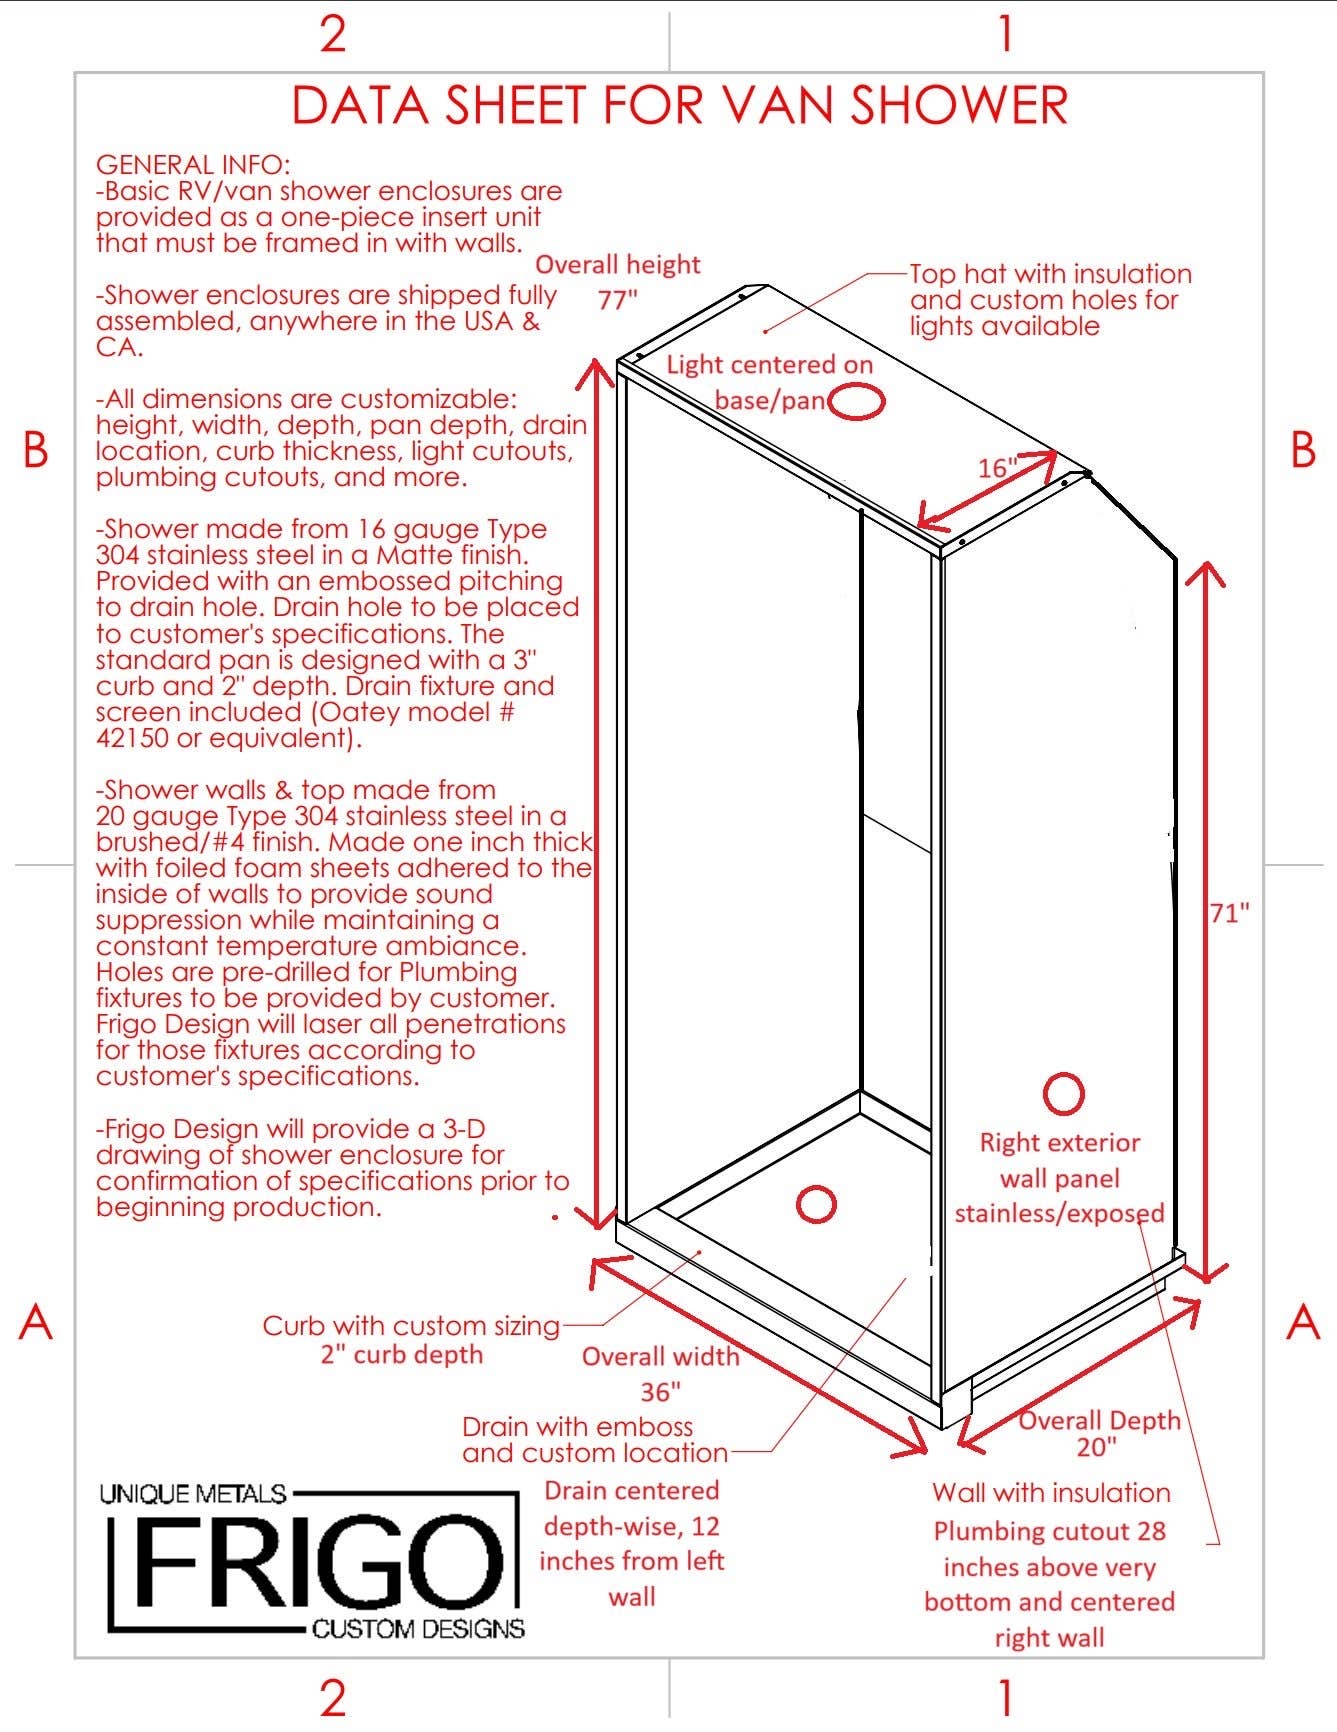
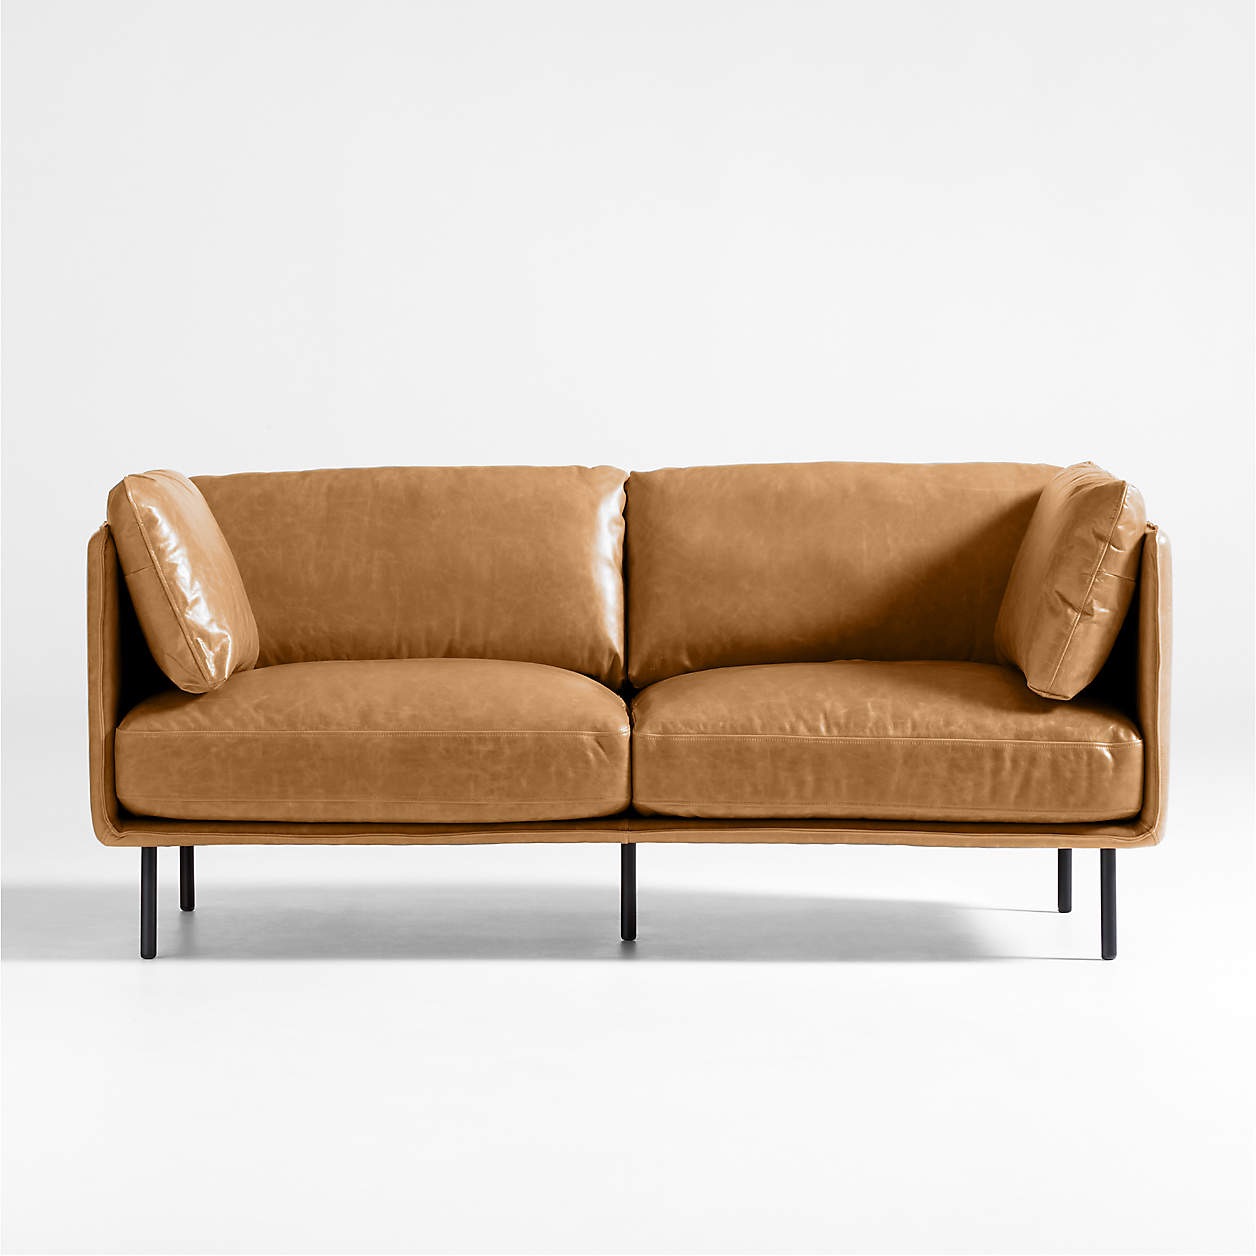
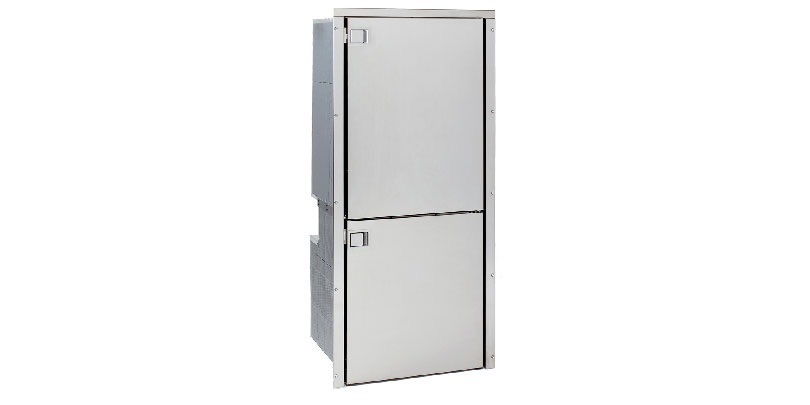
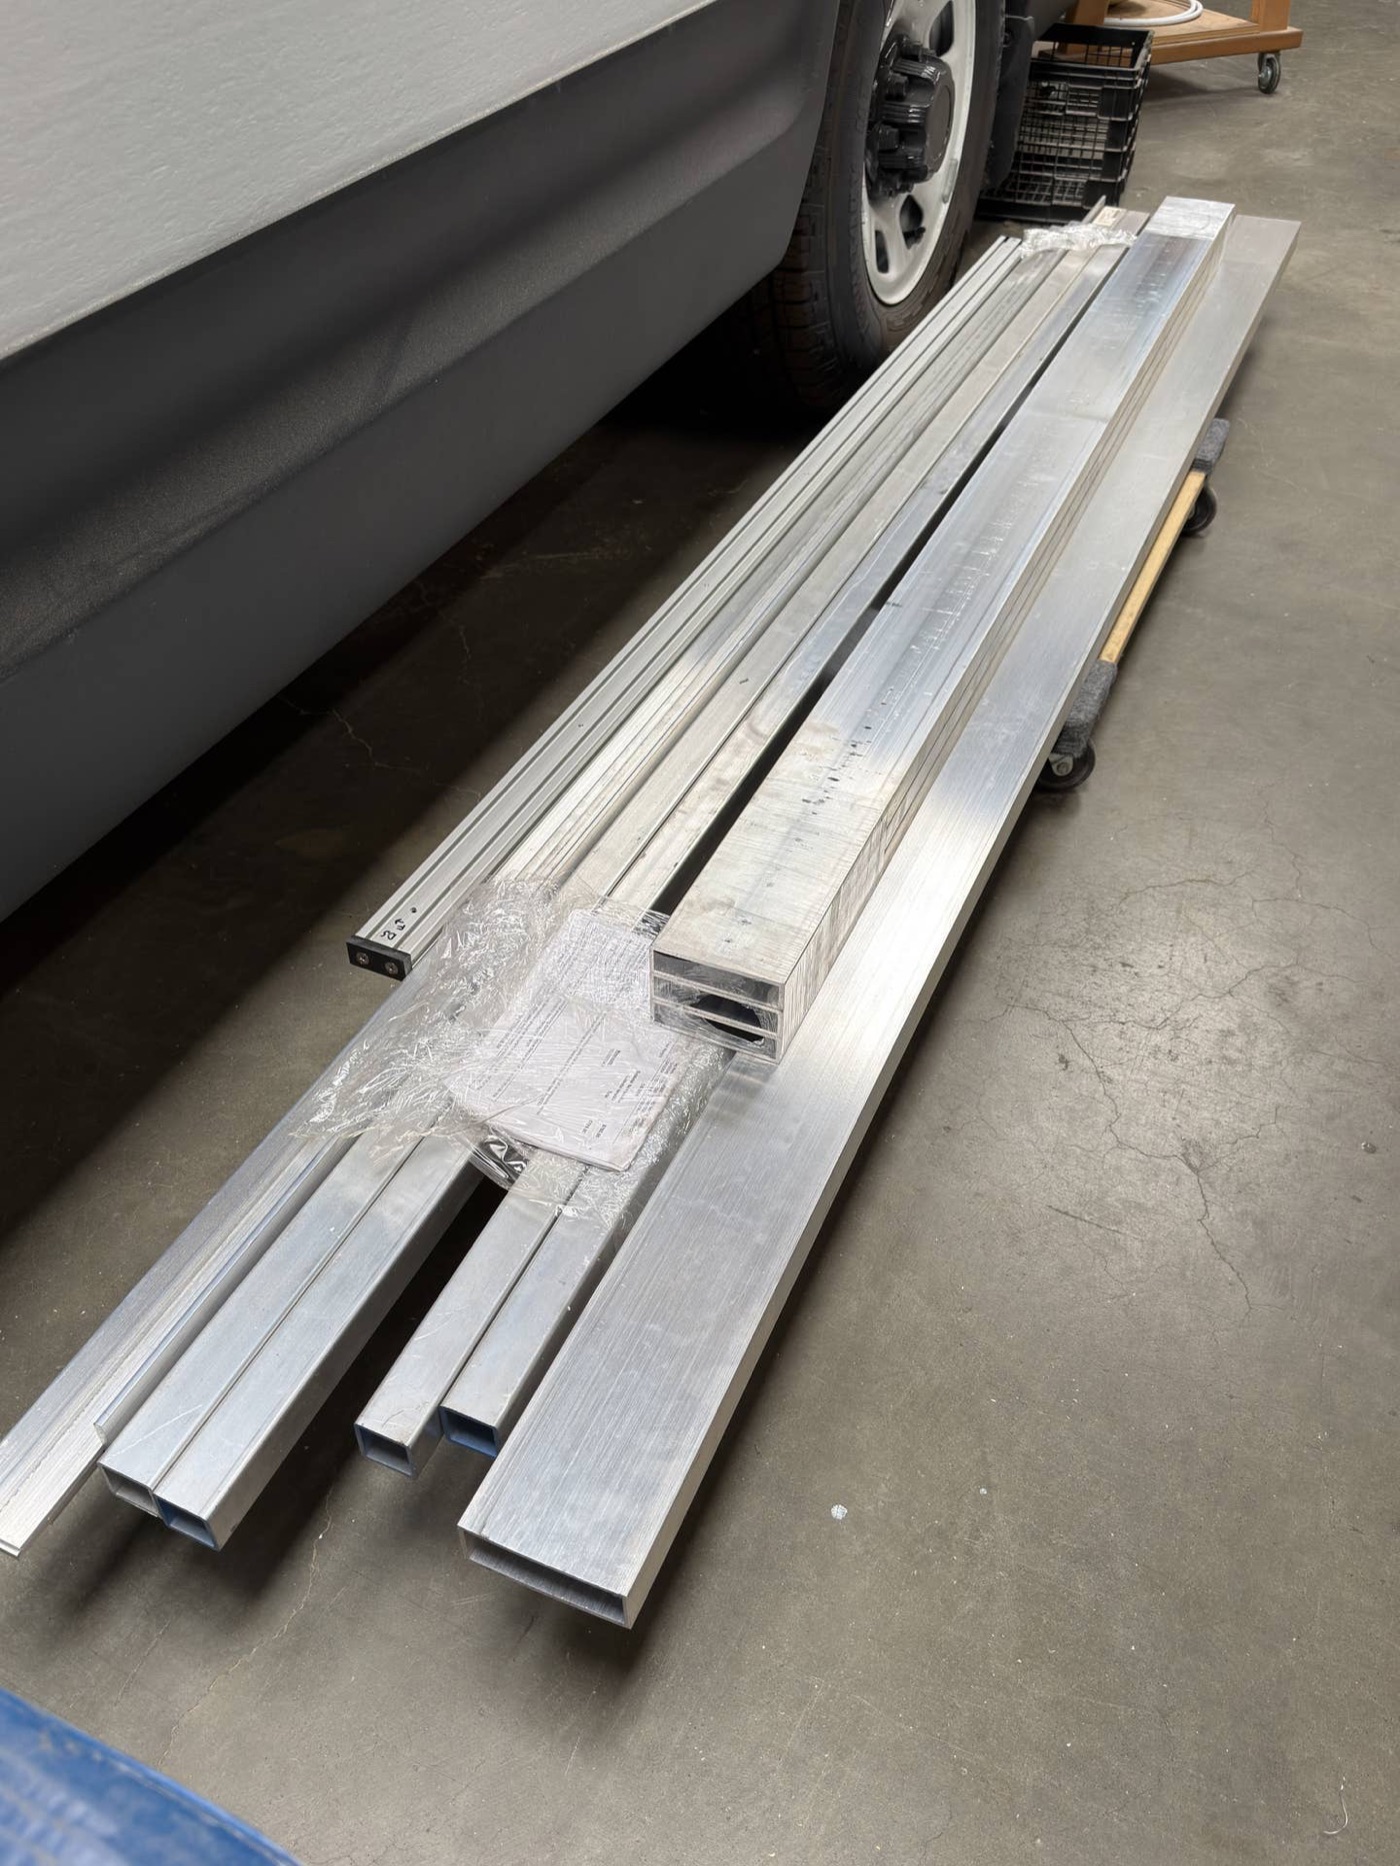
Just a few updates; Going with a custom stainless steel shower order for behind the right bulkhead: Also ordered the main living area couch, which will sit on 80/20 structure (OEM couch legs removed) and the power system will leave beneath. Went with
Here is my add a circuit install that I am tempted to do the same thing with to be able to turn off lights. I found a 24-in square shower pan with the drain in a spot that I can drill through the floor in front of the wheel well, but getting it to th
thread on brightdropforum.com →
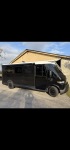
DolphinBD600 — This is what I have so far got it wrapped, tint, windows, Max, air, fan, and awning.
thread on brightdropforum.com →
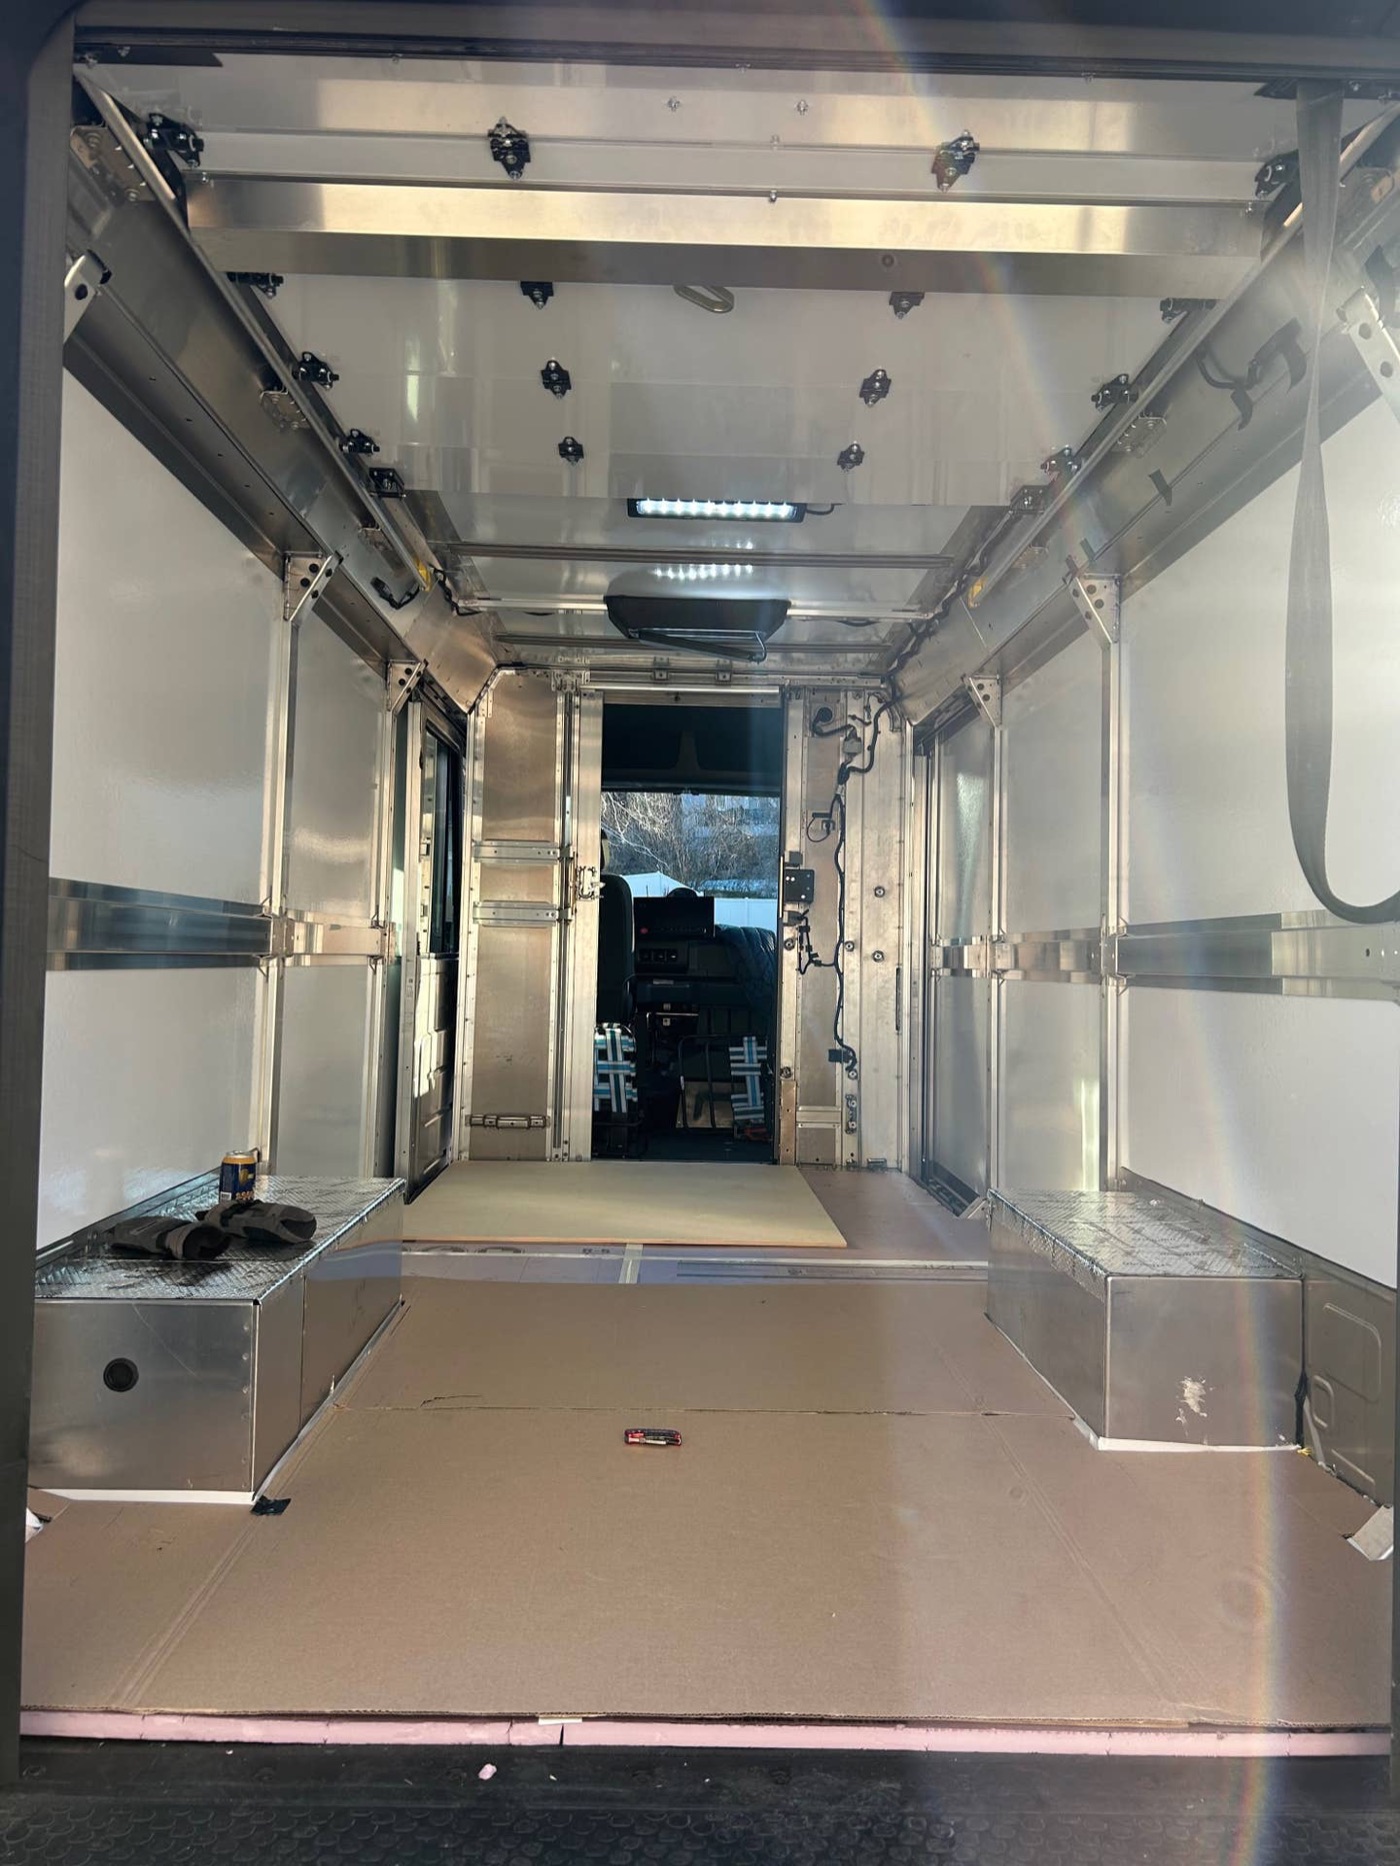
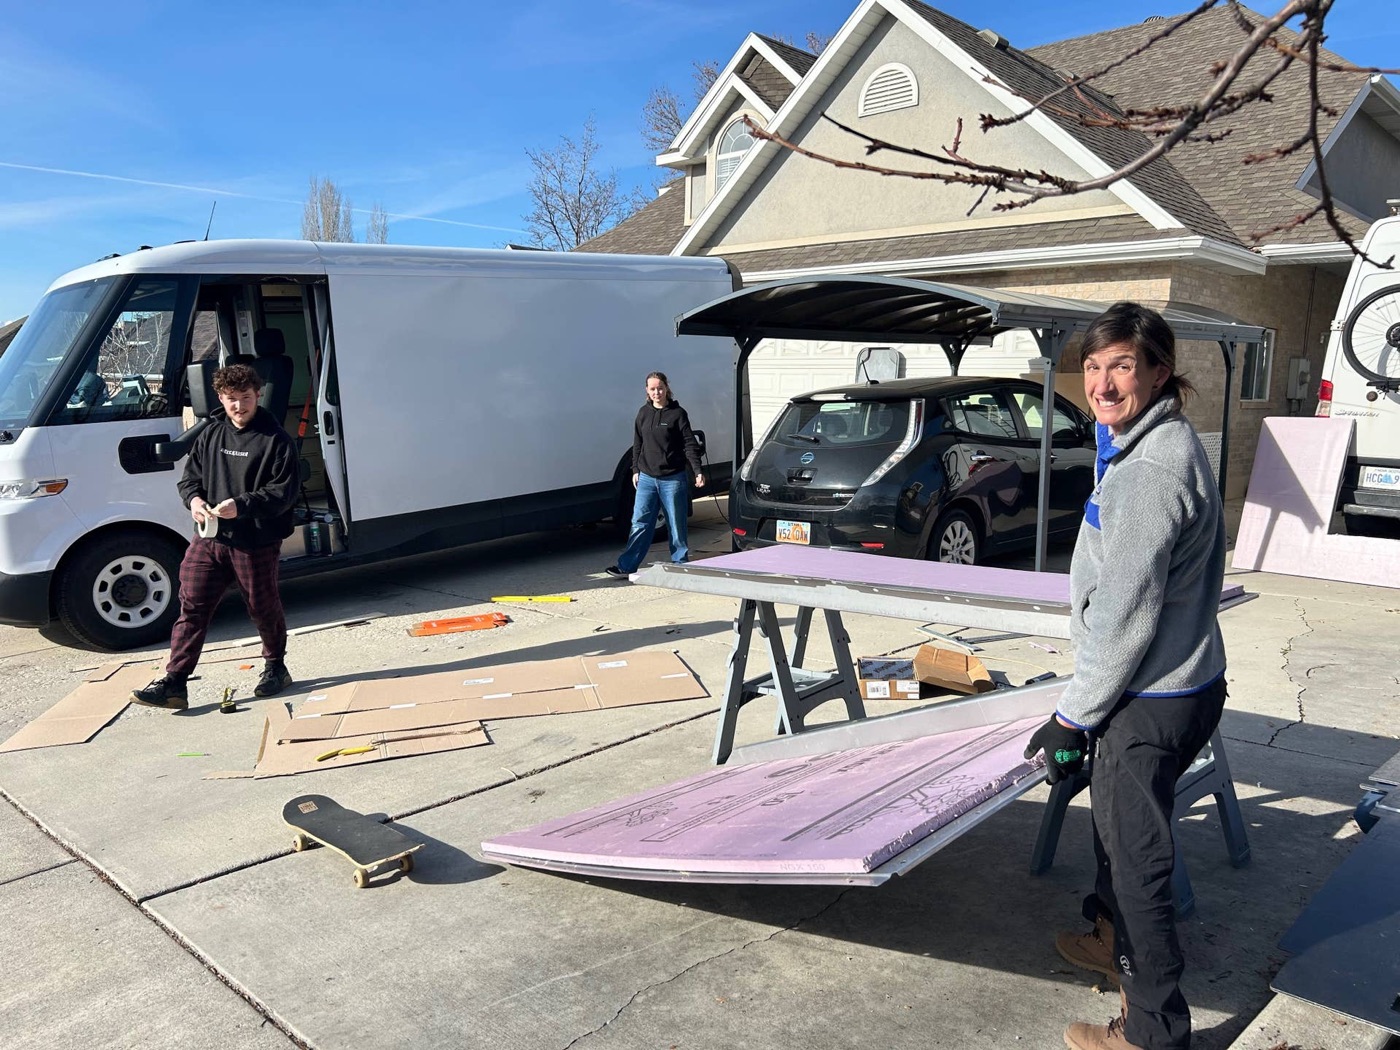
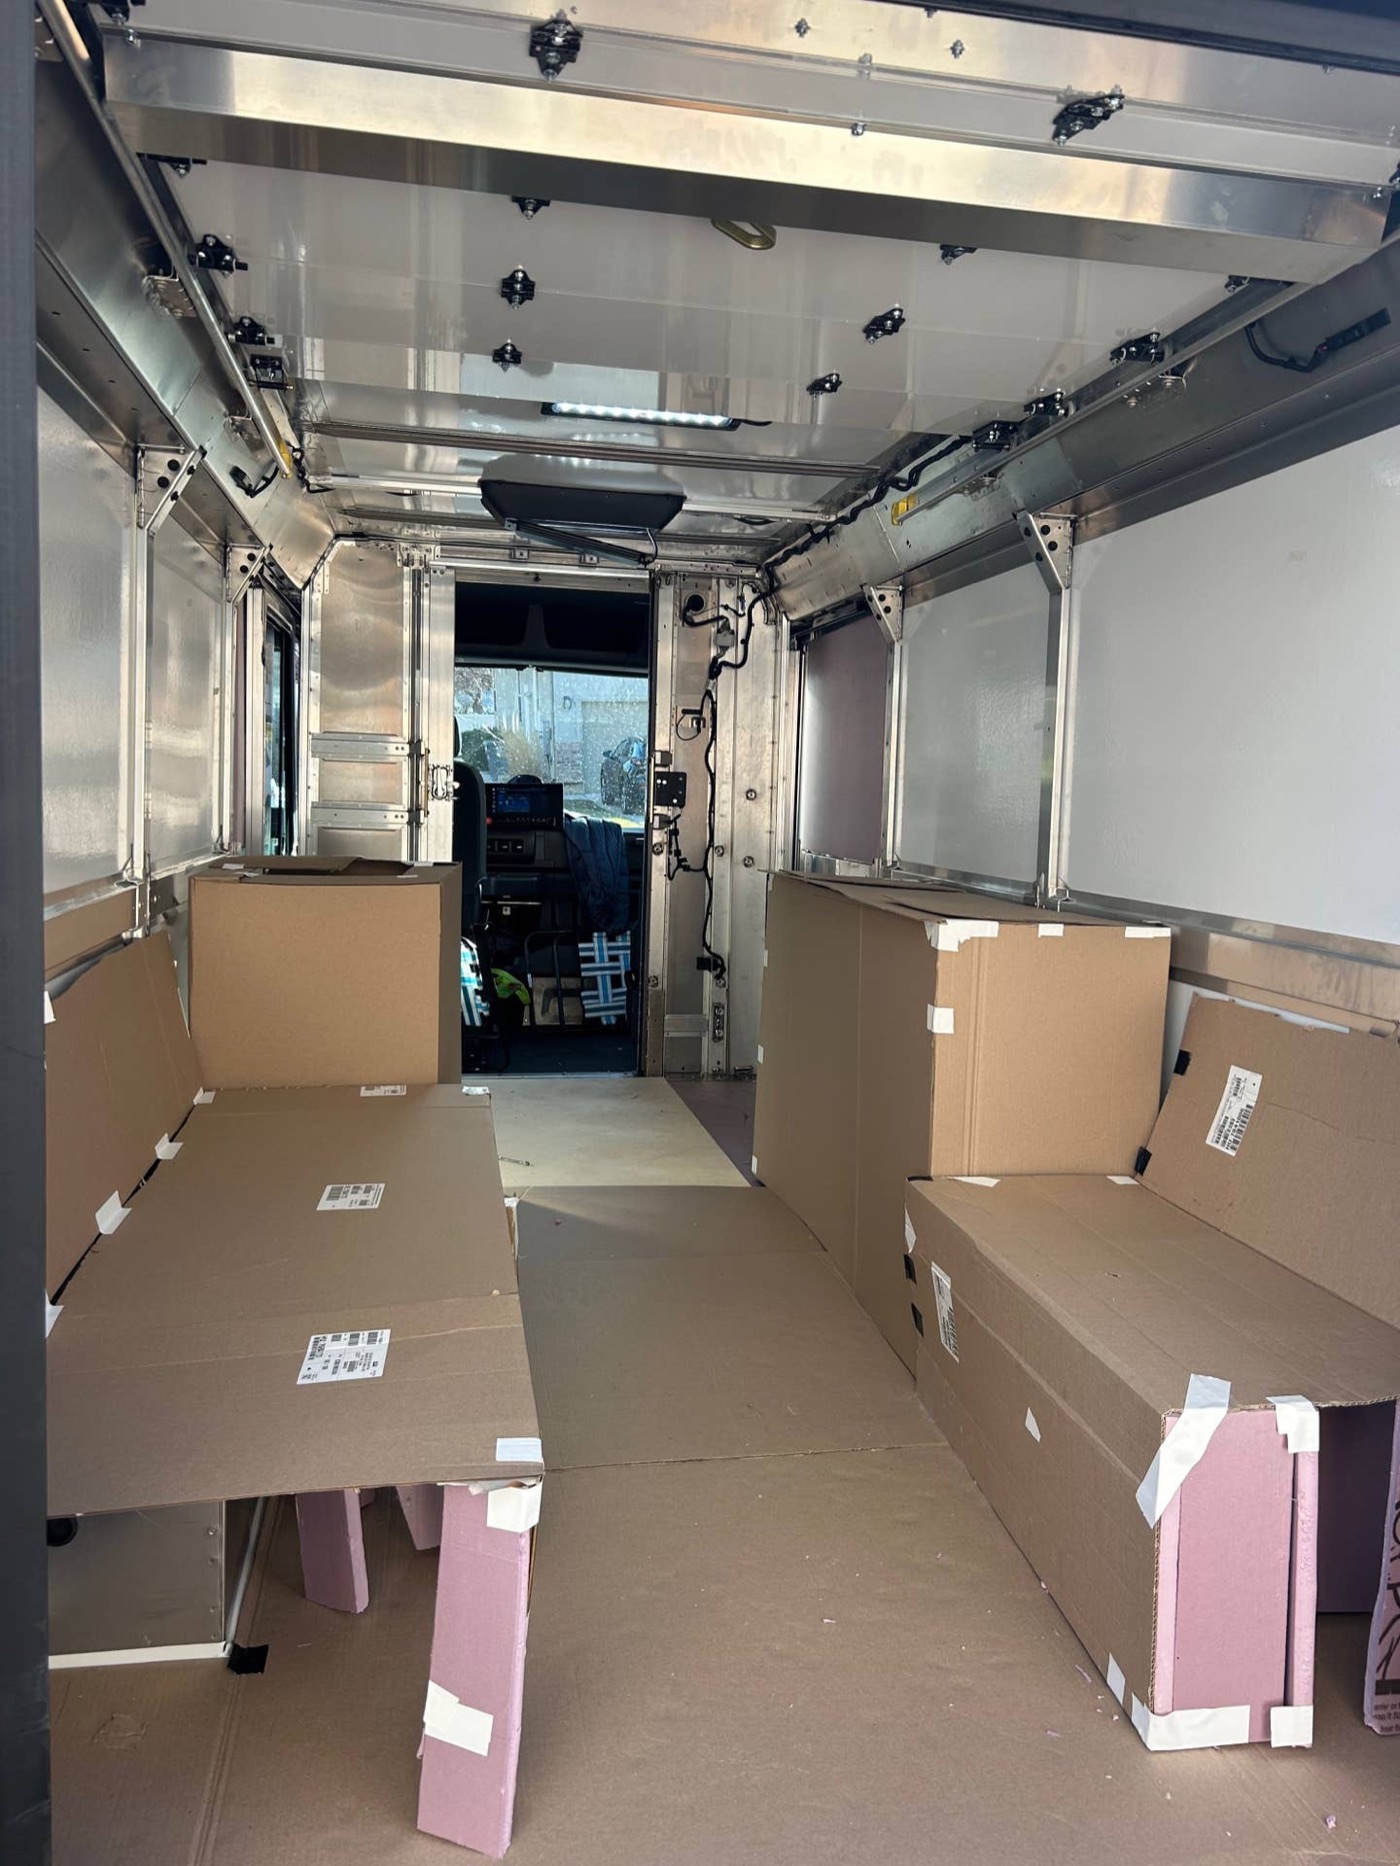
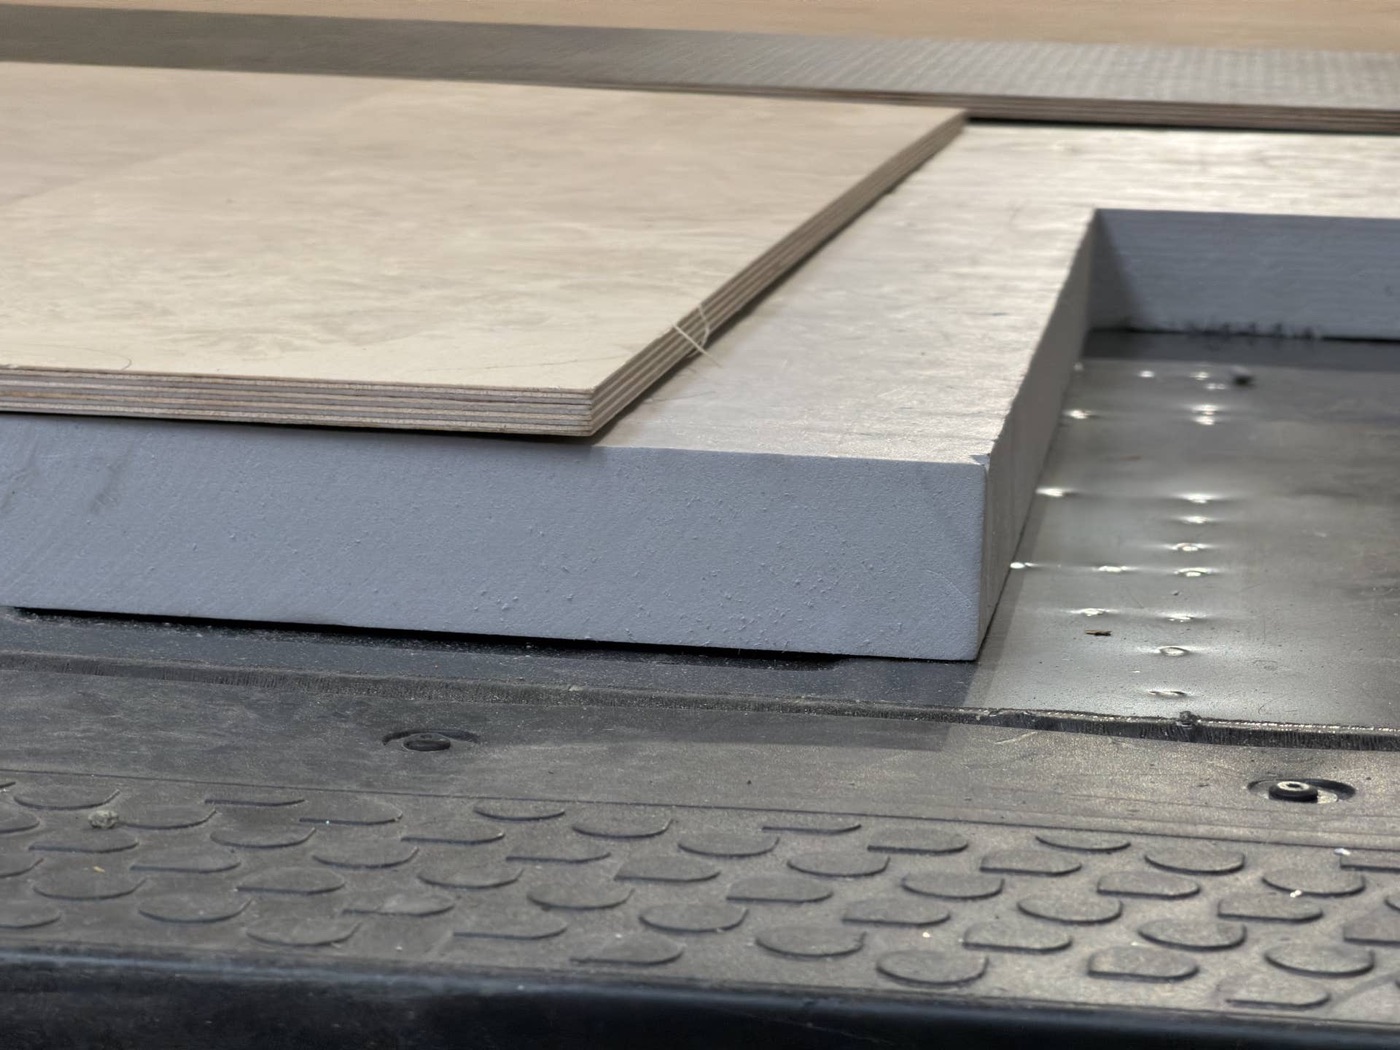
2dogs — Here are some early progress pics of our build. The van's name is Falkor, named after the luck dragon from Never Ending Story. We started building the subfloor using 1" rigid foam and 1/2" baltic birch. The baltic birch is still surprisingly heavy, d
It helps, mine have been insulated for about a month, i insulated the fiberglass walls and the aluminum cover with CCF foam, as well as a few strategically placed CLD and MLV tiles for acoustic insulation. Did you notice the big 5 inch circular hole
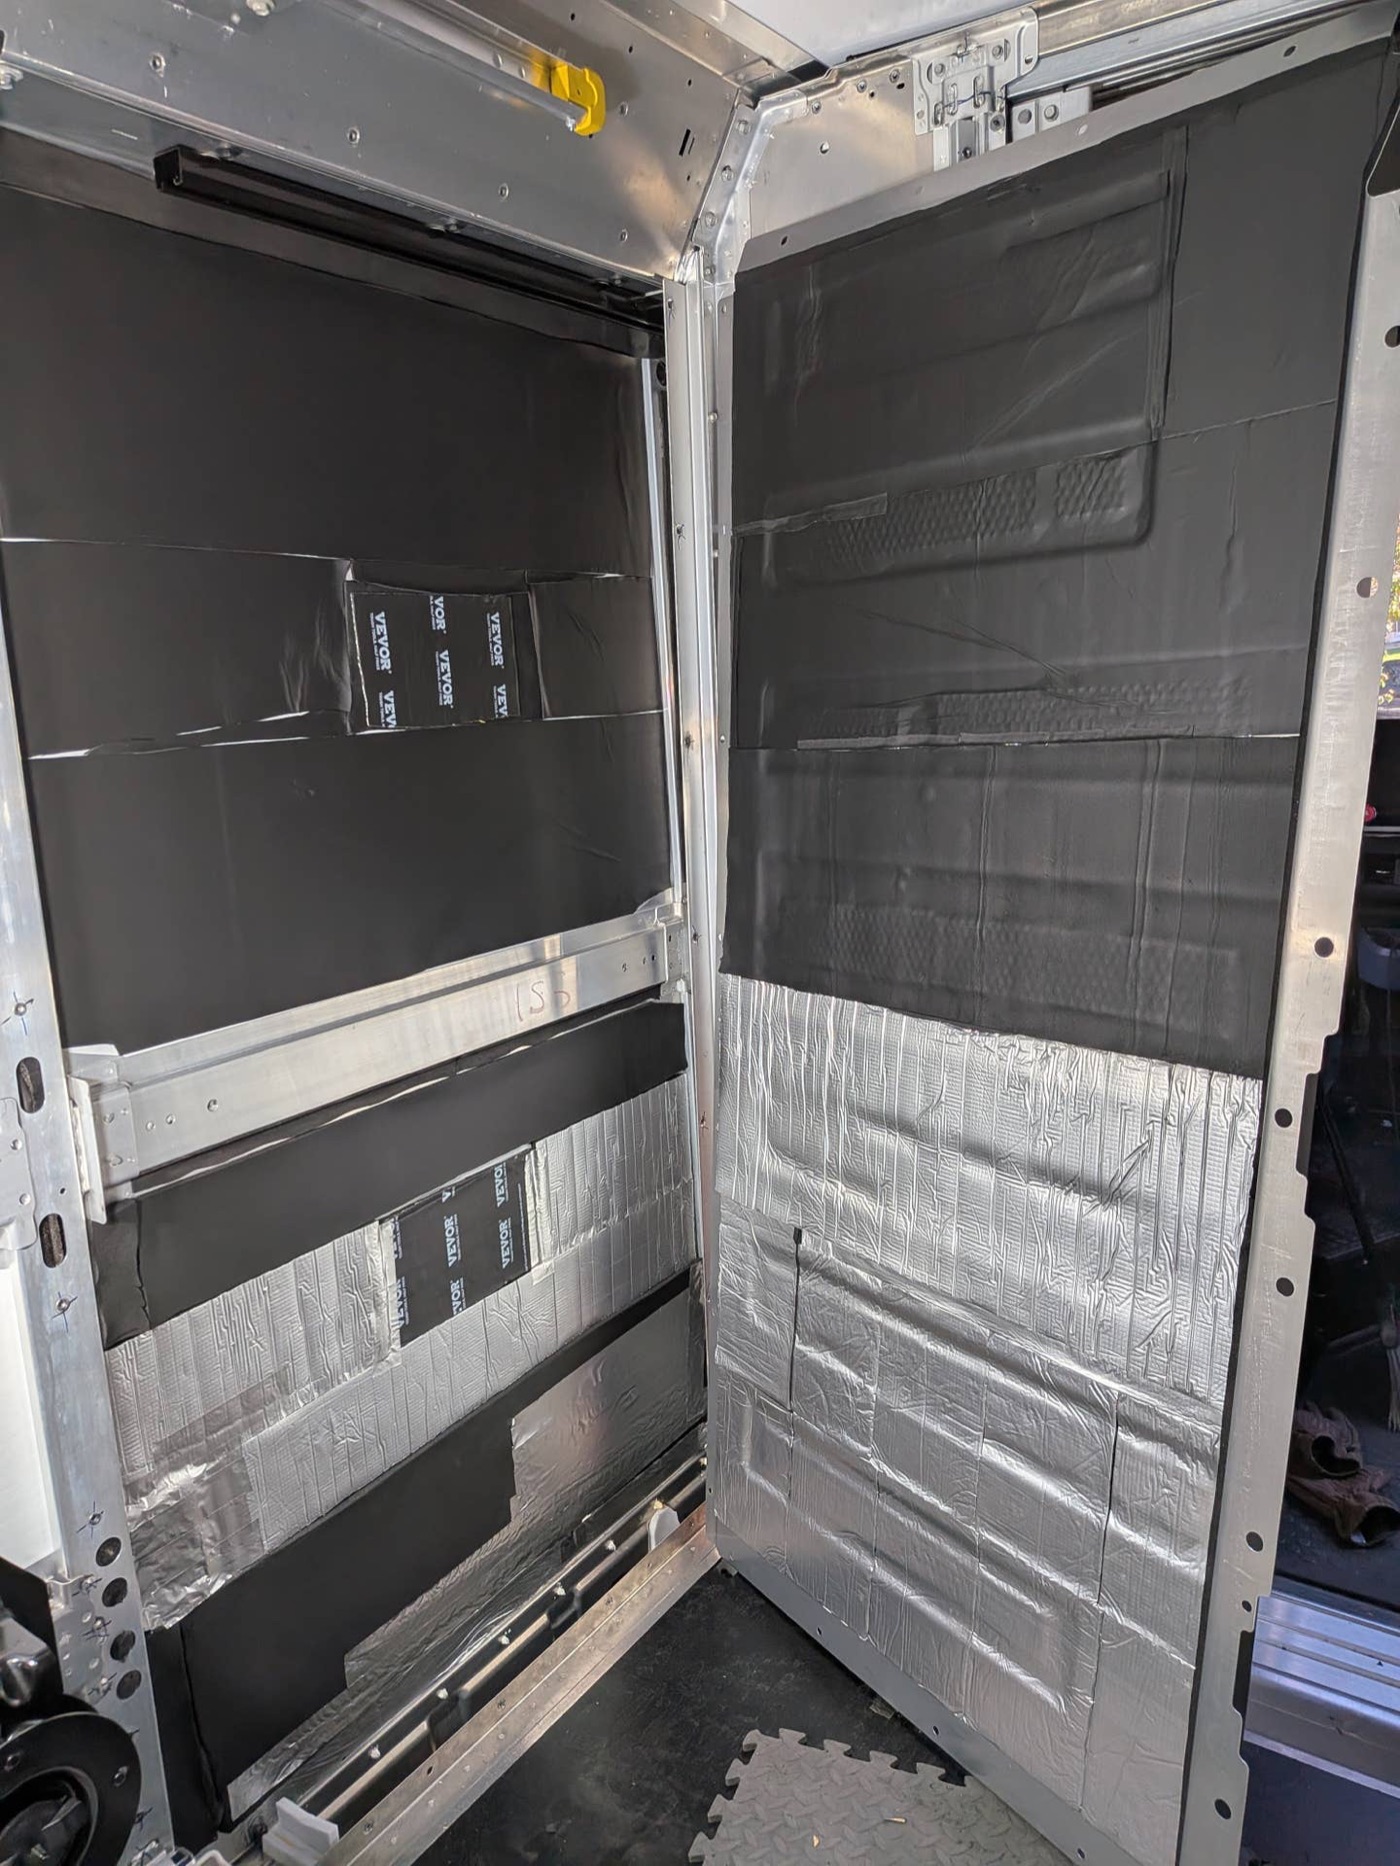
Mist EV said: View attachment 1583 It helps, mine have been insulated for about a month, i insulated the fiberglass walls and the aluminim cover with CCF foam, as well as a few strategically placed CLD and MLV tiles for acoustic insulation. Did you n
thread on brightdropforum.com →
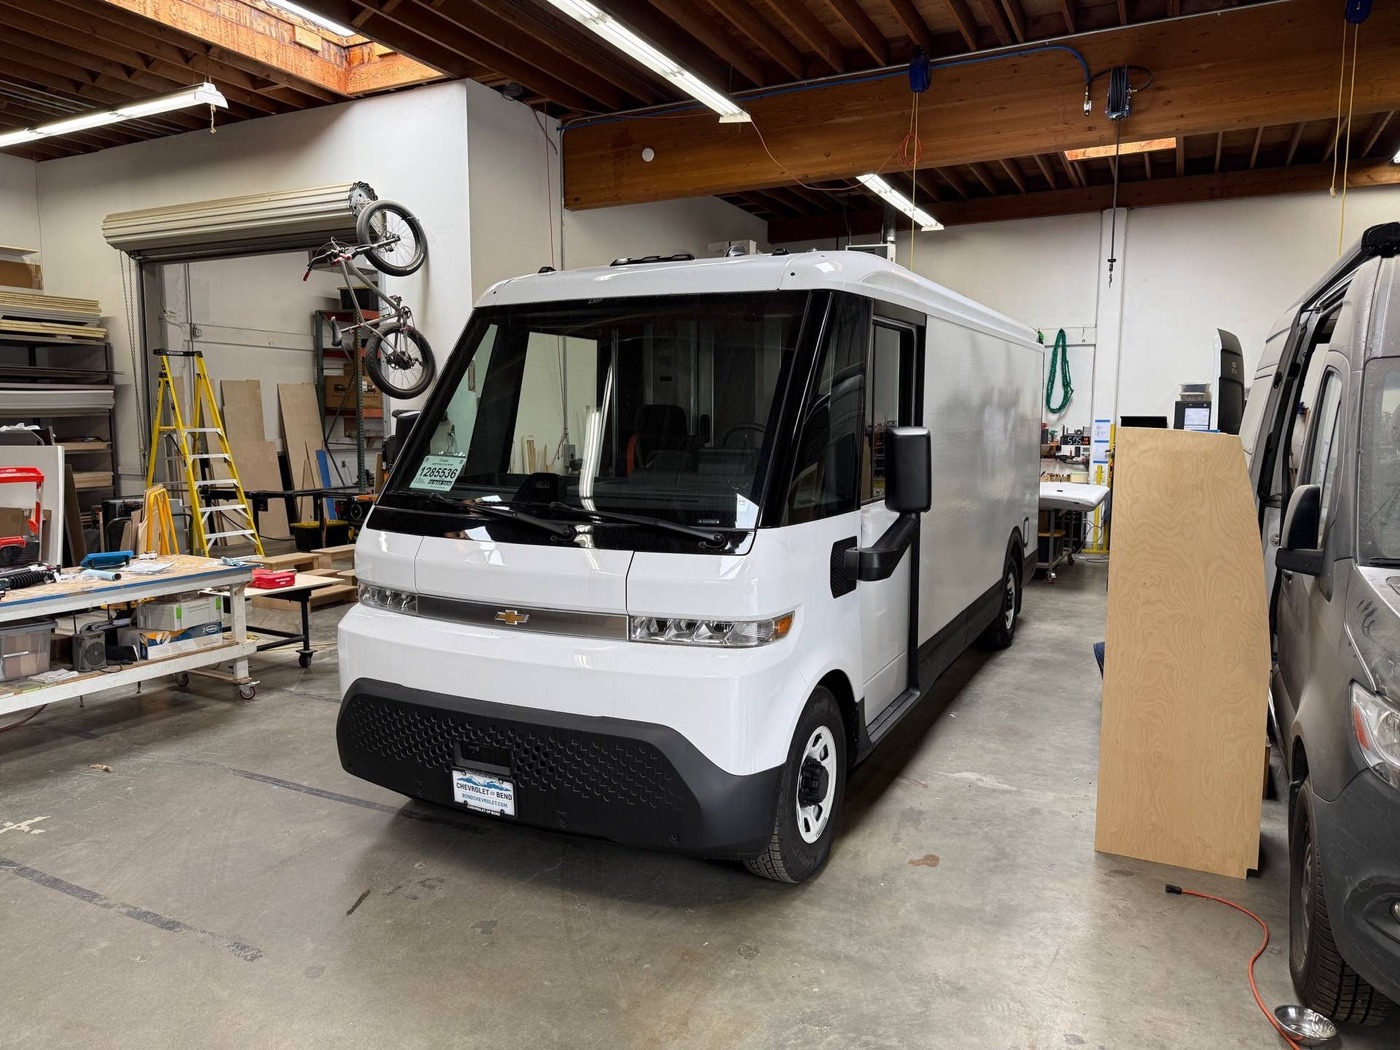
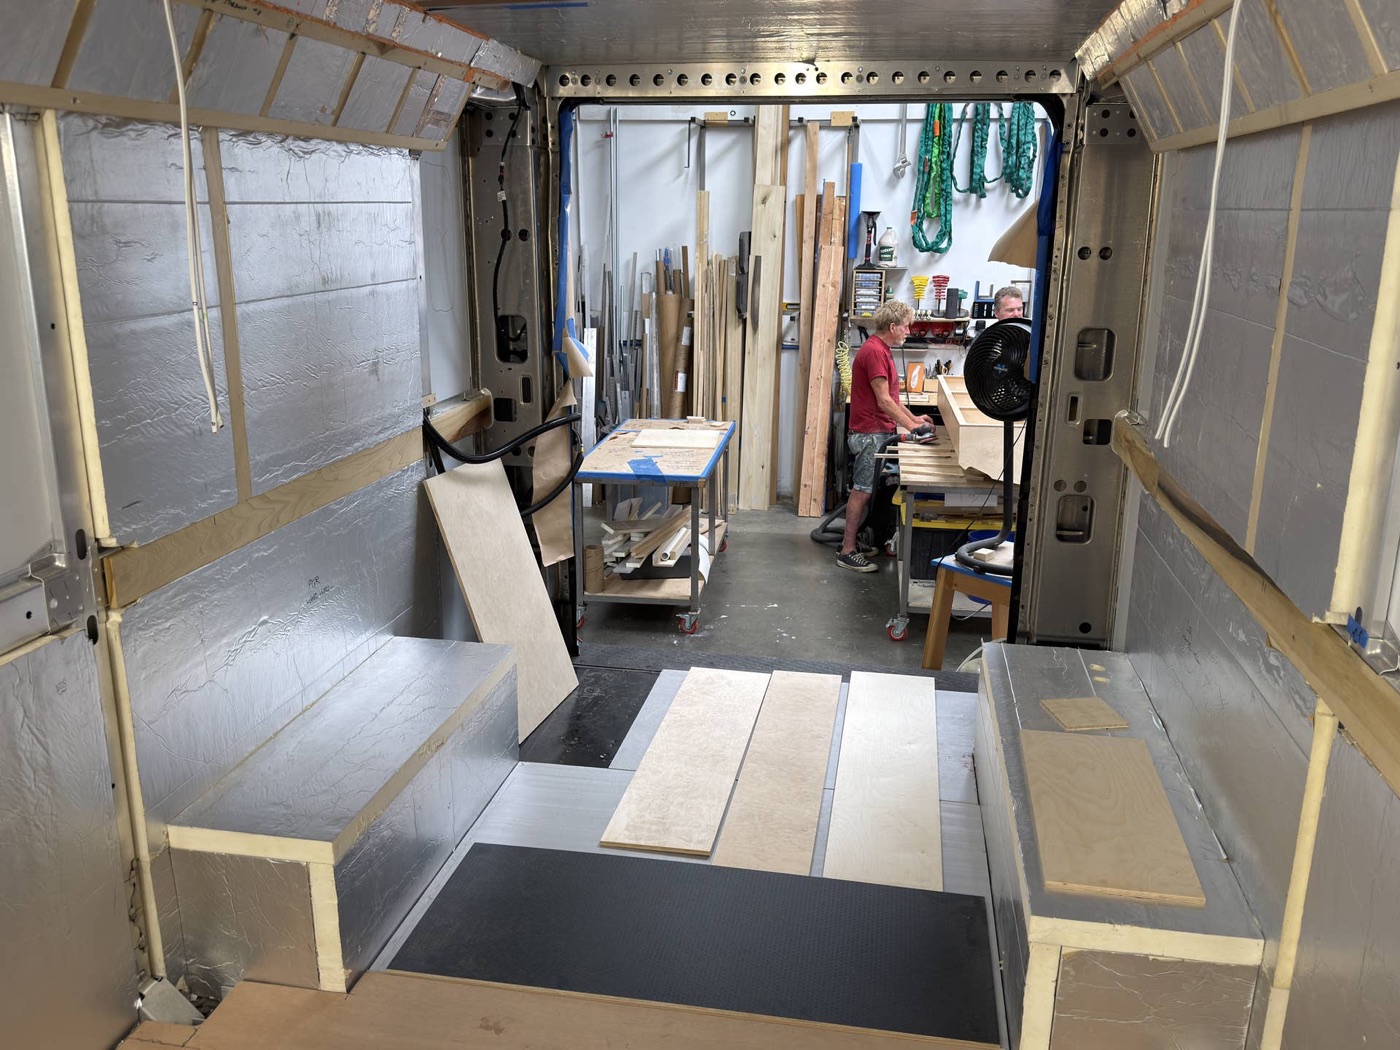
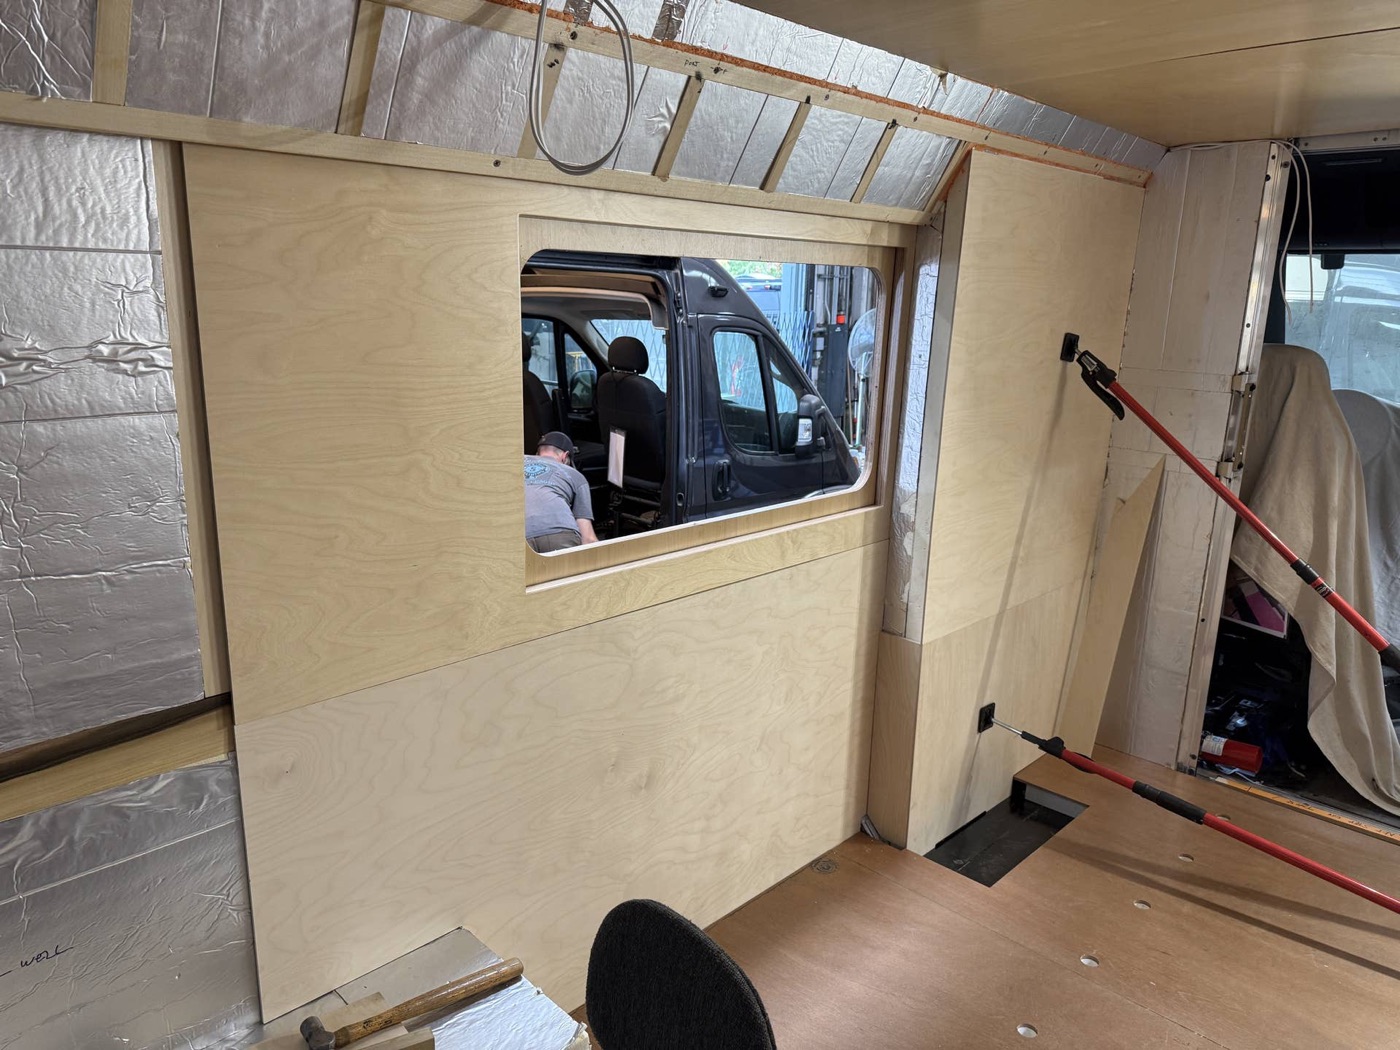
bainbridgeislandroad — It's been over a year that we've been waiting for this build to start due to problems with our original Brightdrop, but alas, our build has begun! Derek moved our Brightdrop into his shop recently so the final design and build can begin. Since I'm no
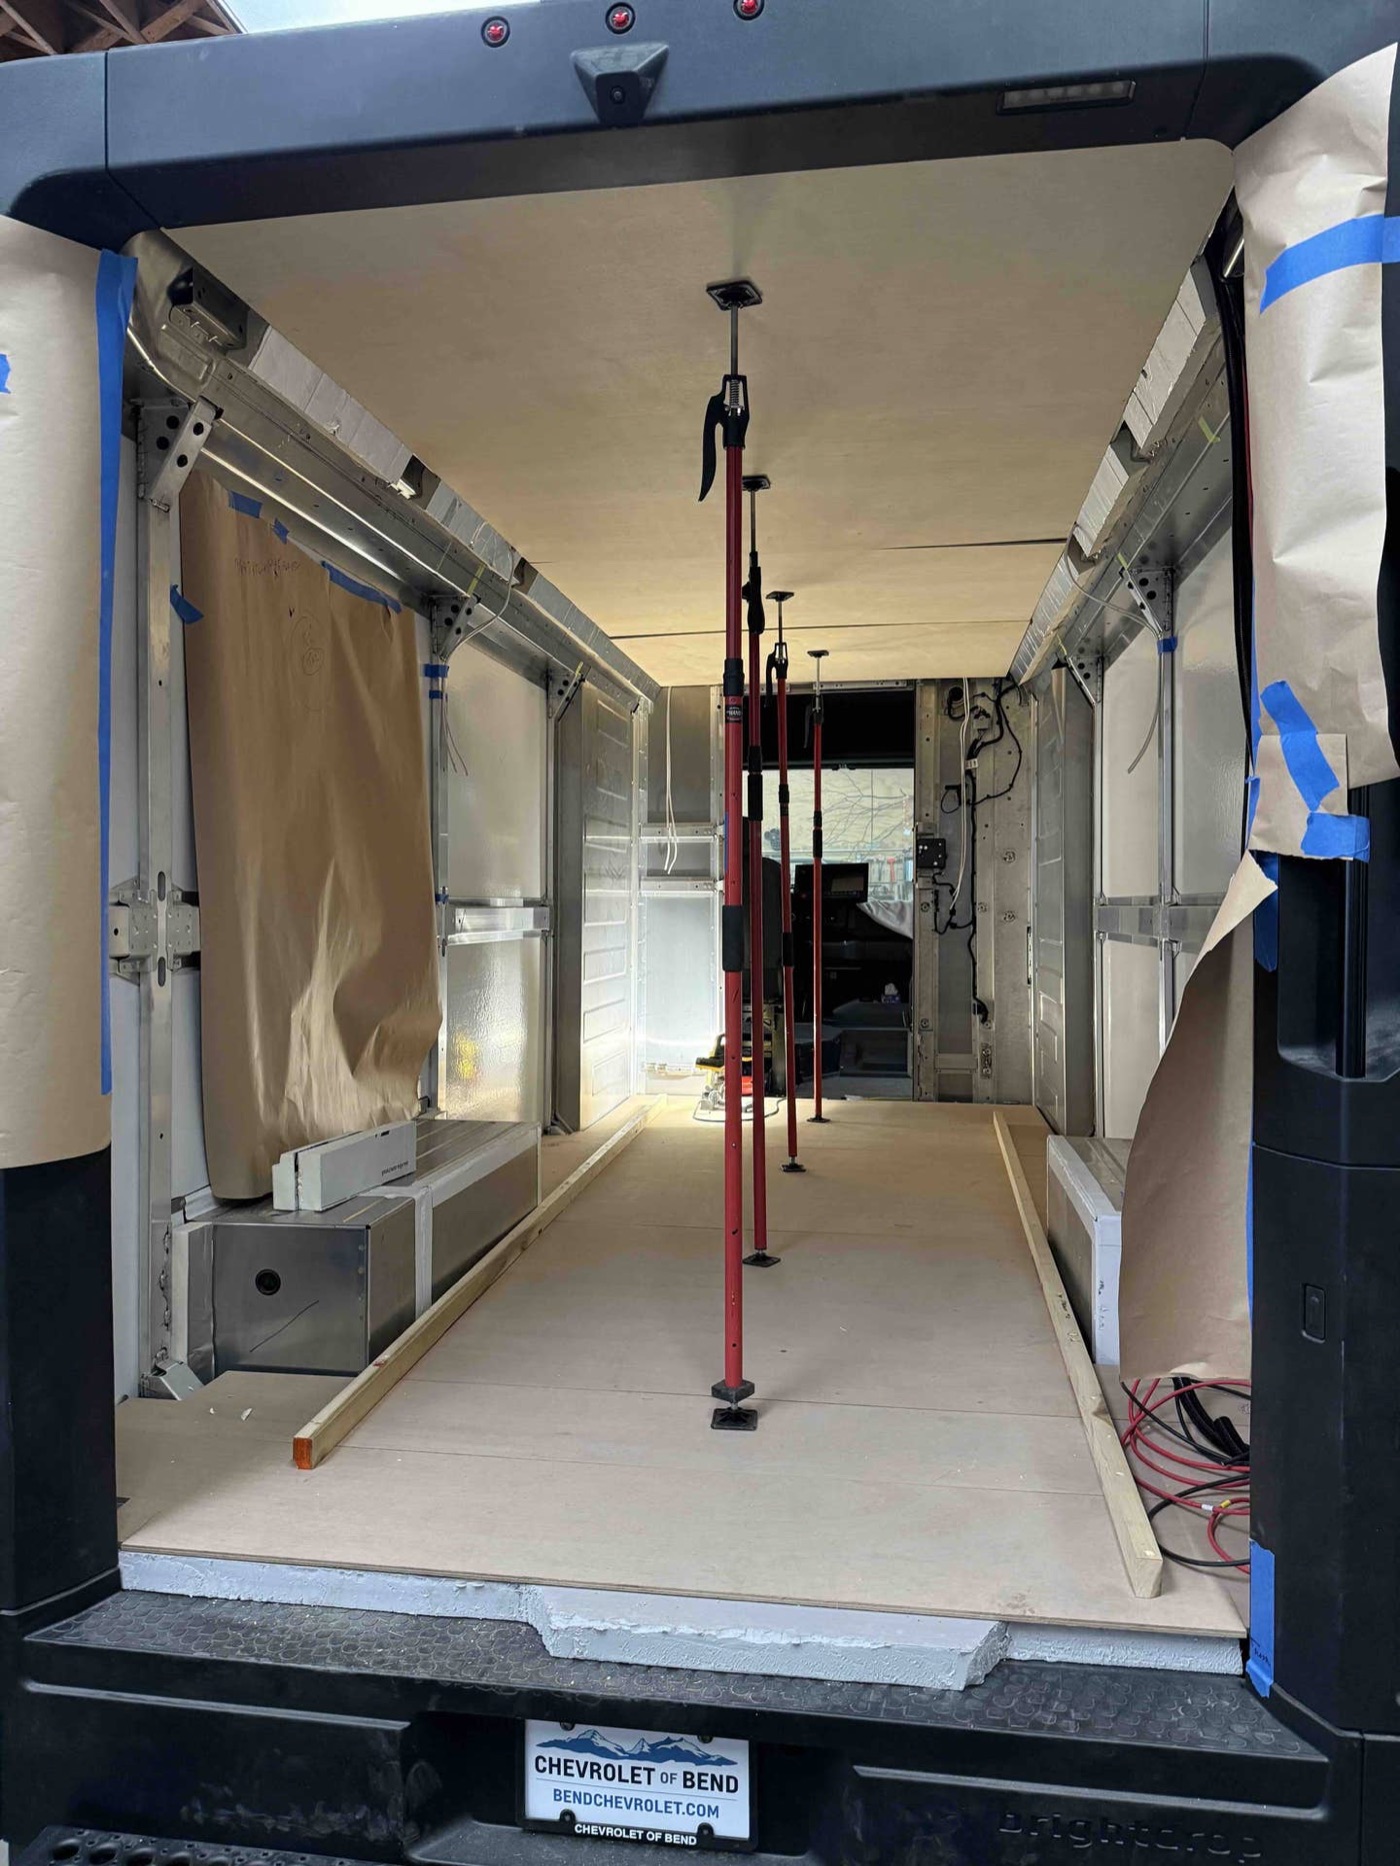
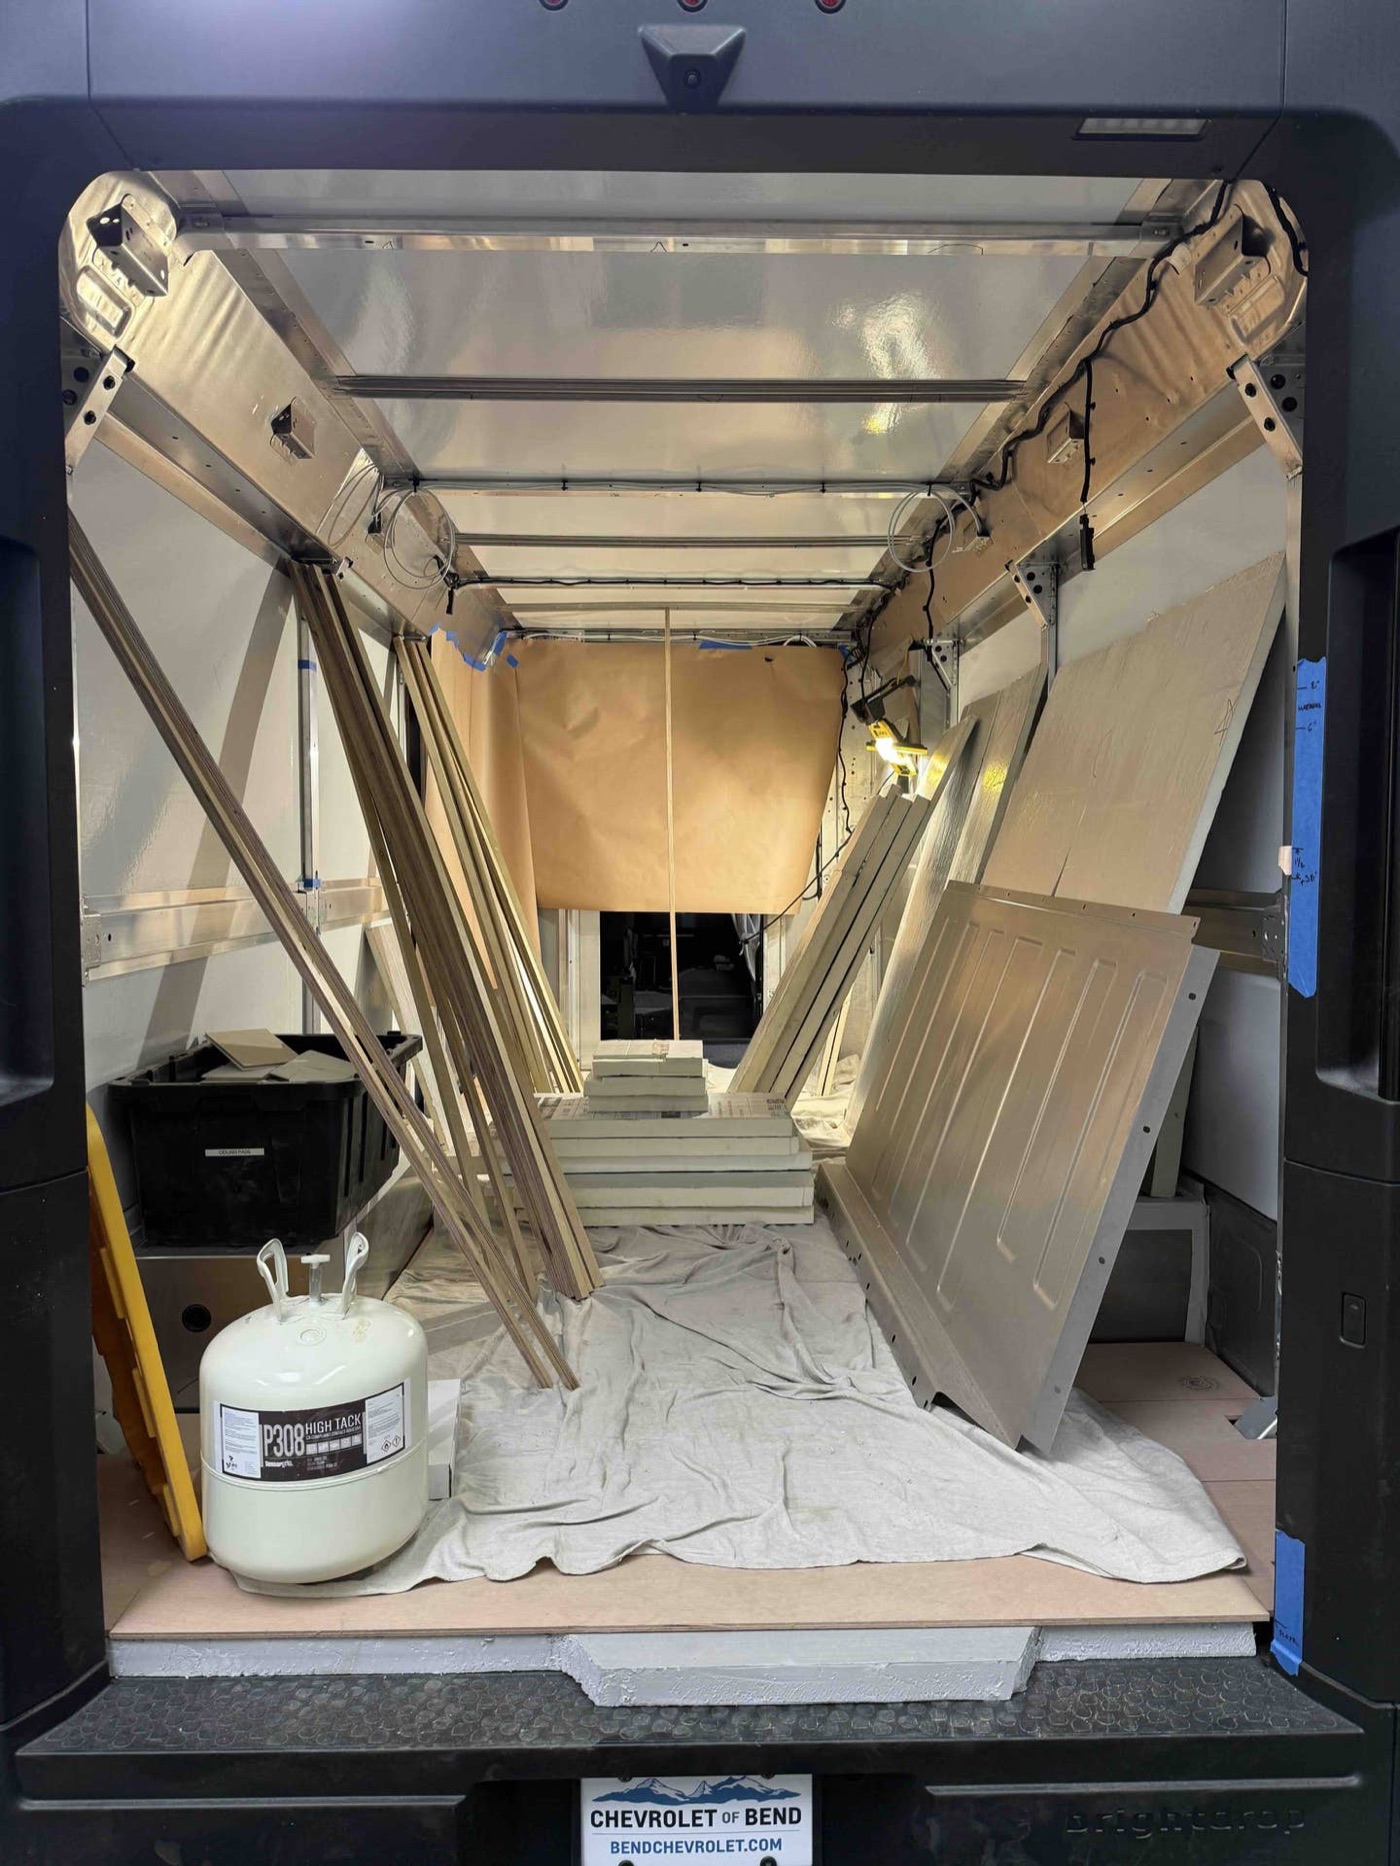
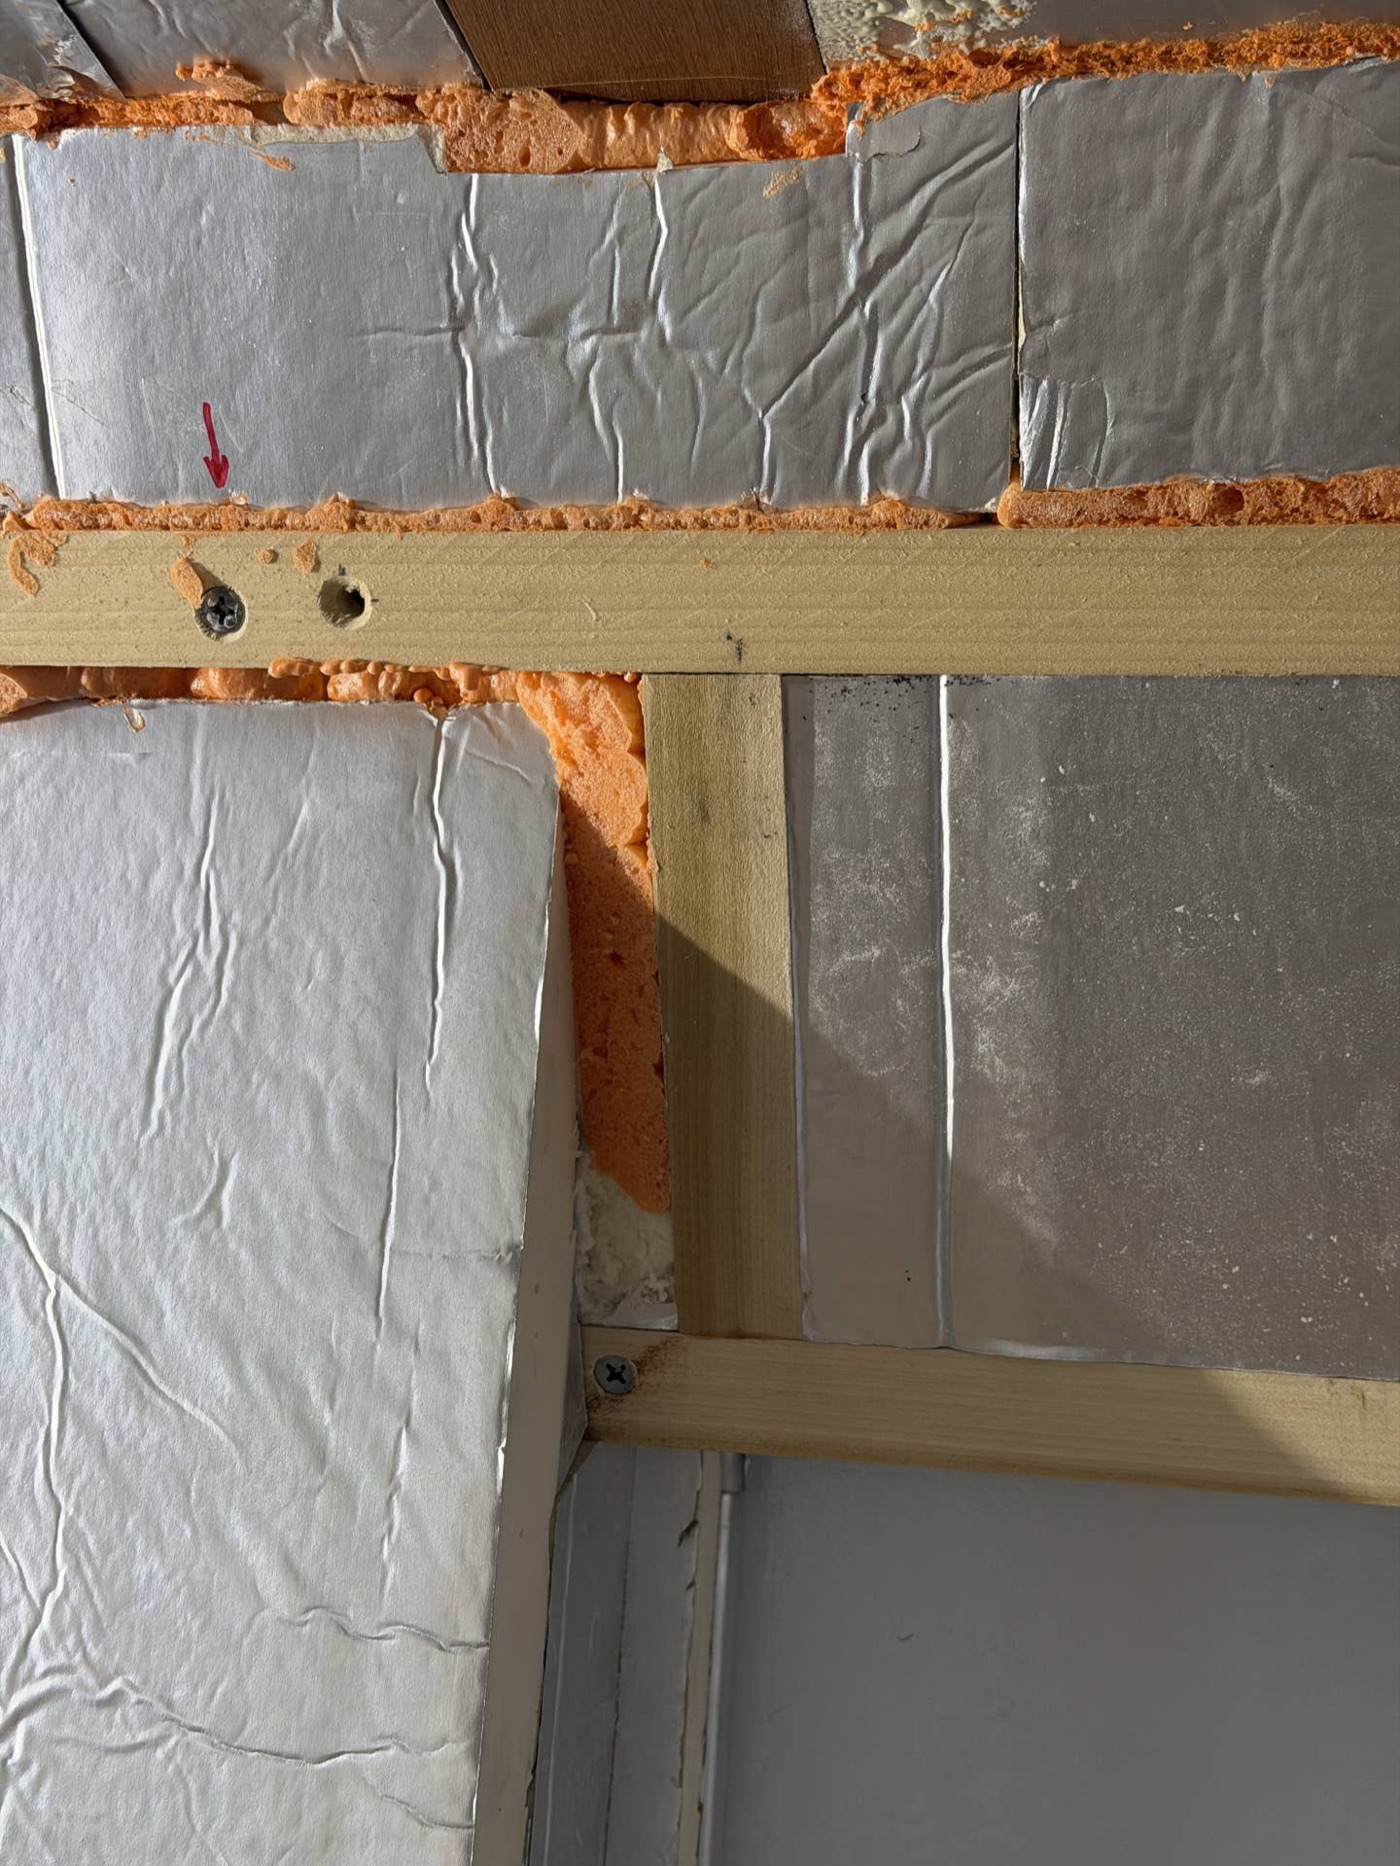
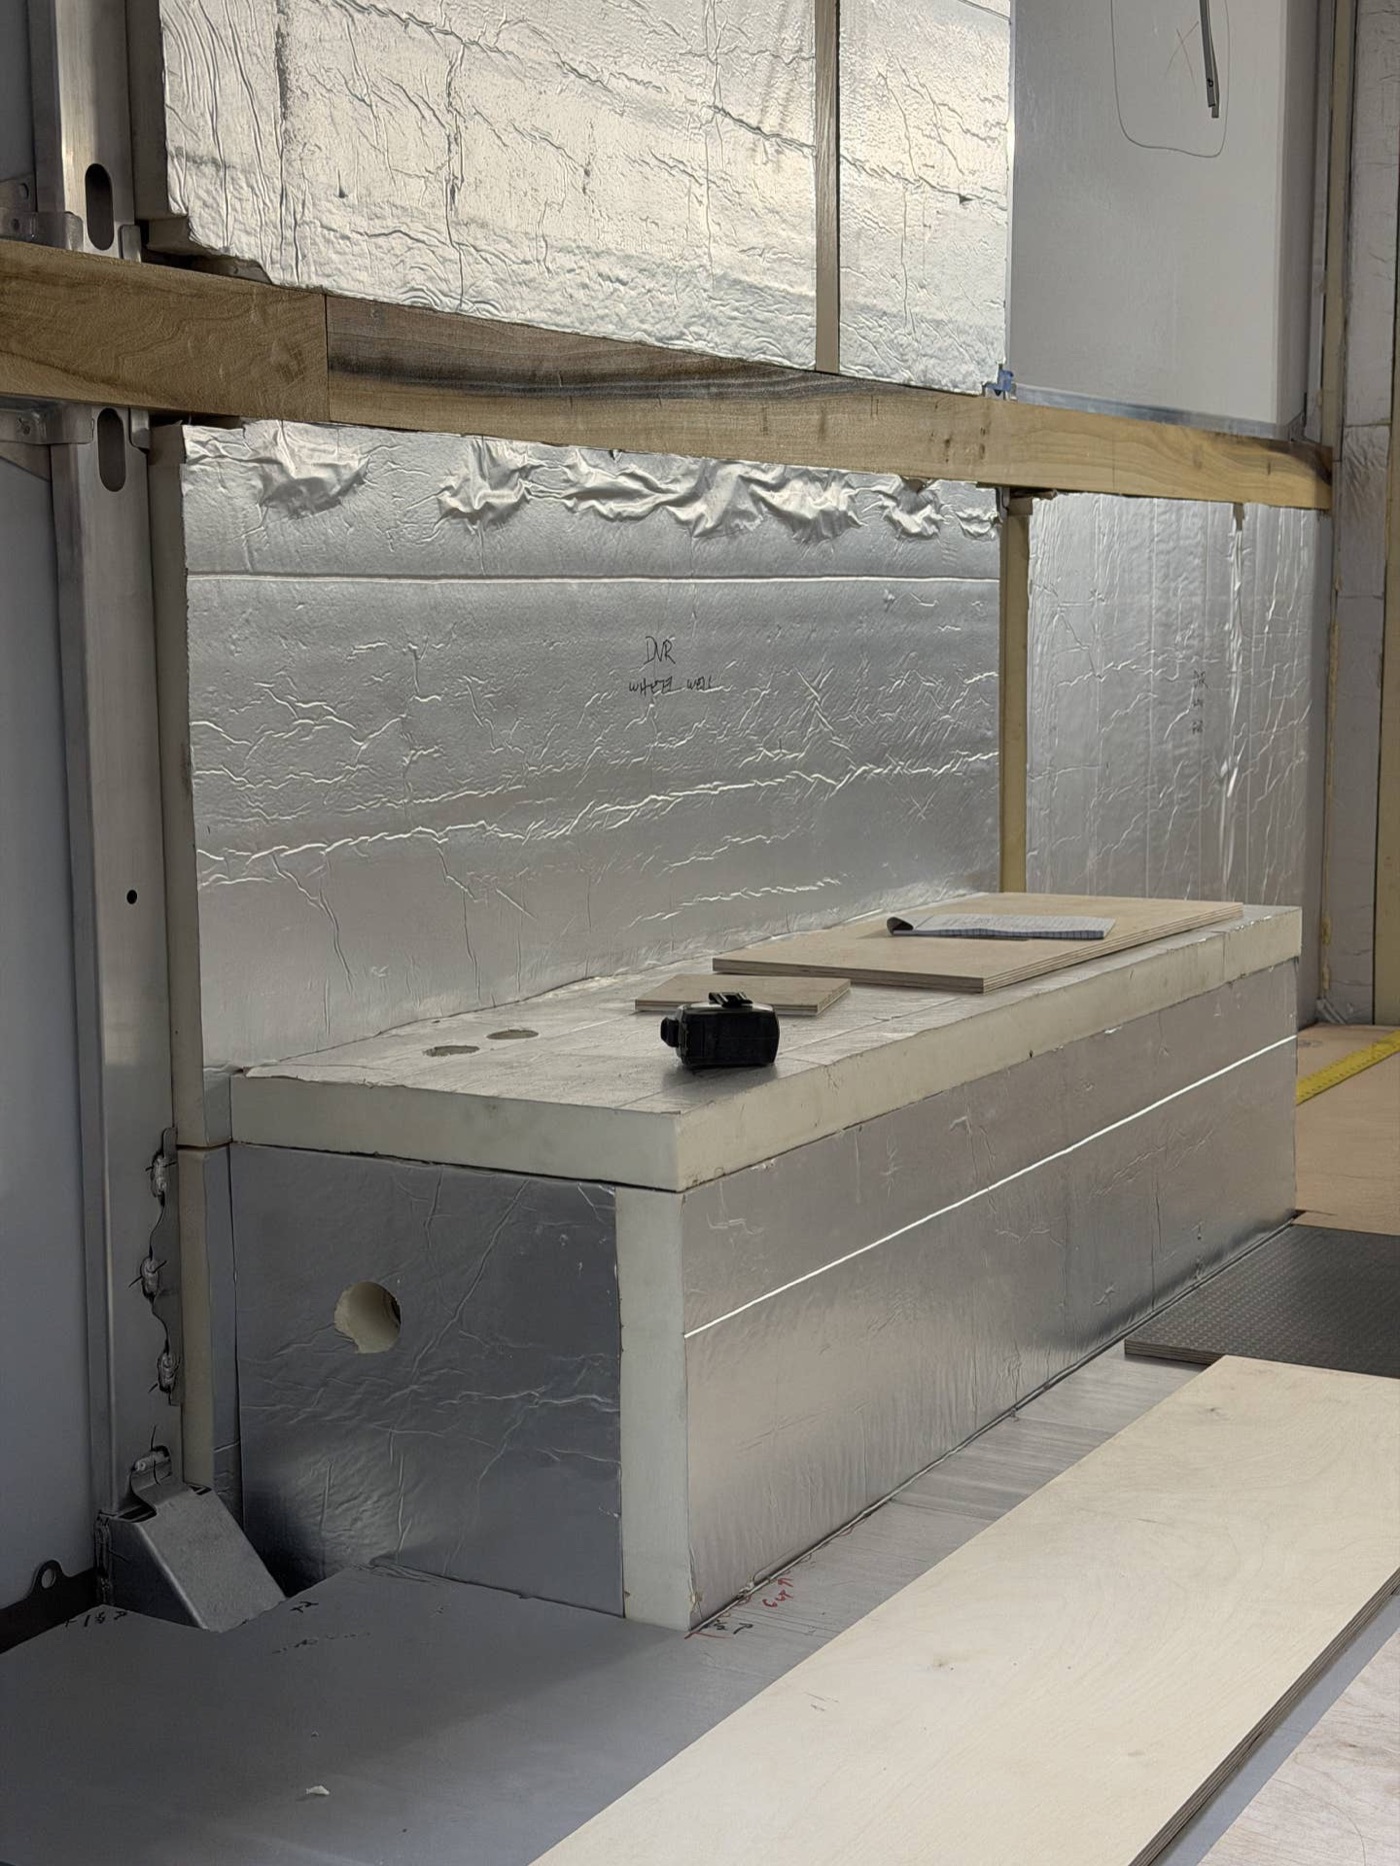
And it’s time for the next round of BI Build photos. We have had some minor delays, but @builtAF’s crew is making excellent progress getting the ceiling and floor installed. Derek and I meet next week to discuss next steps and make some final product
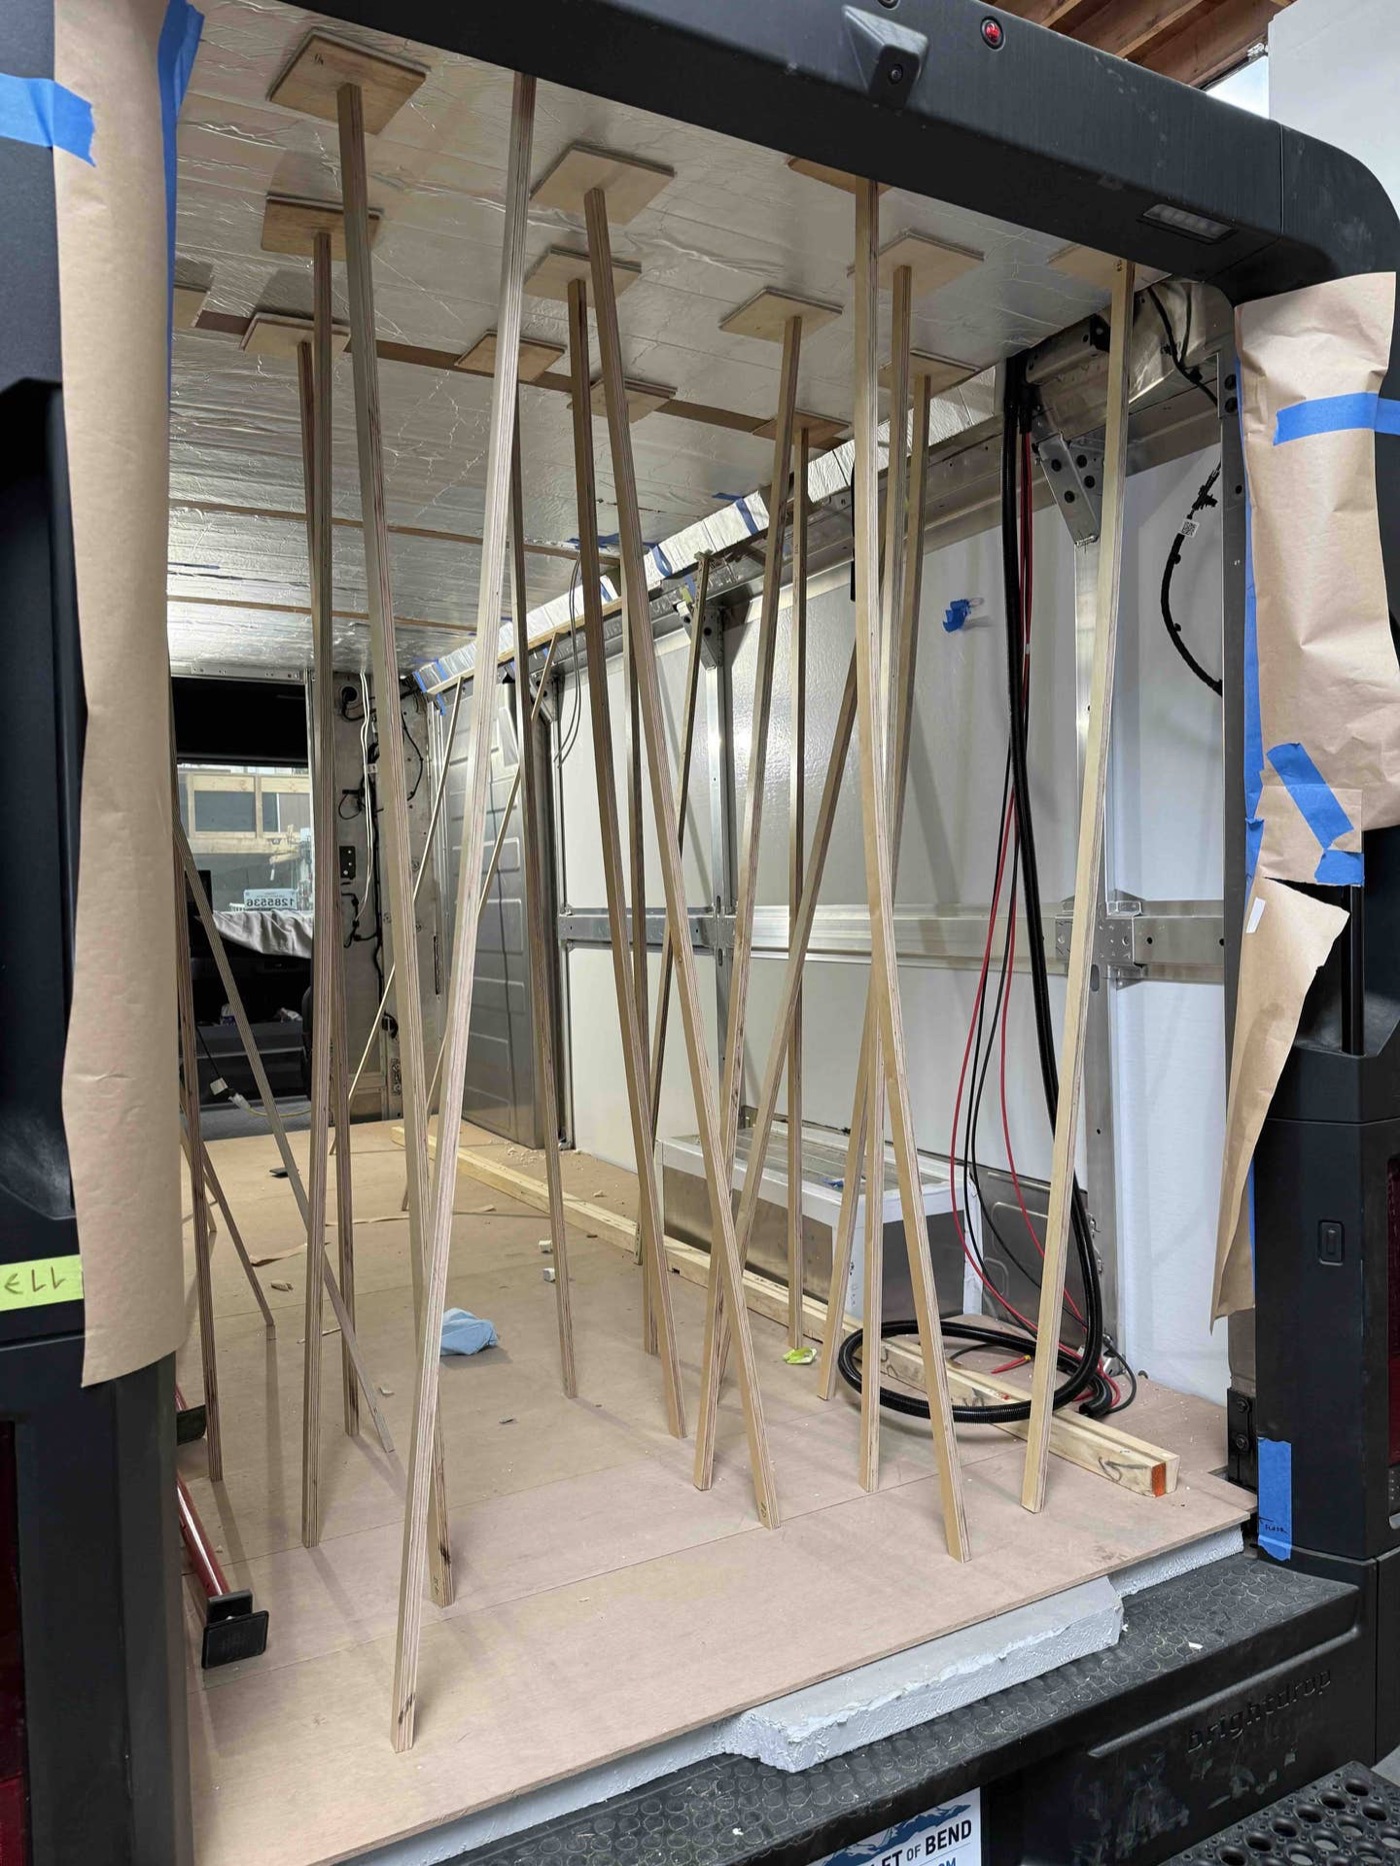
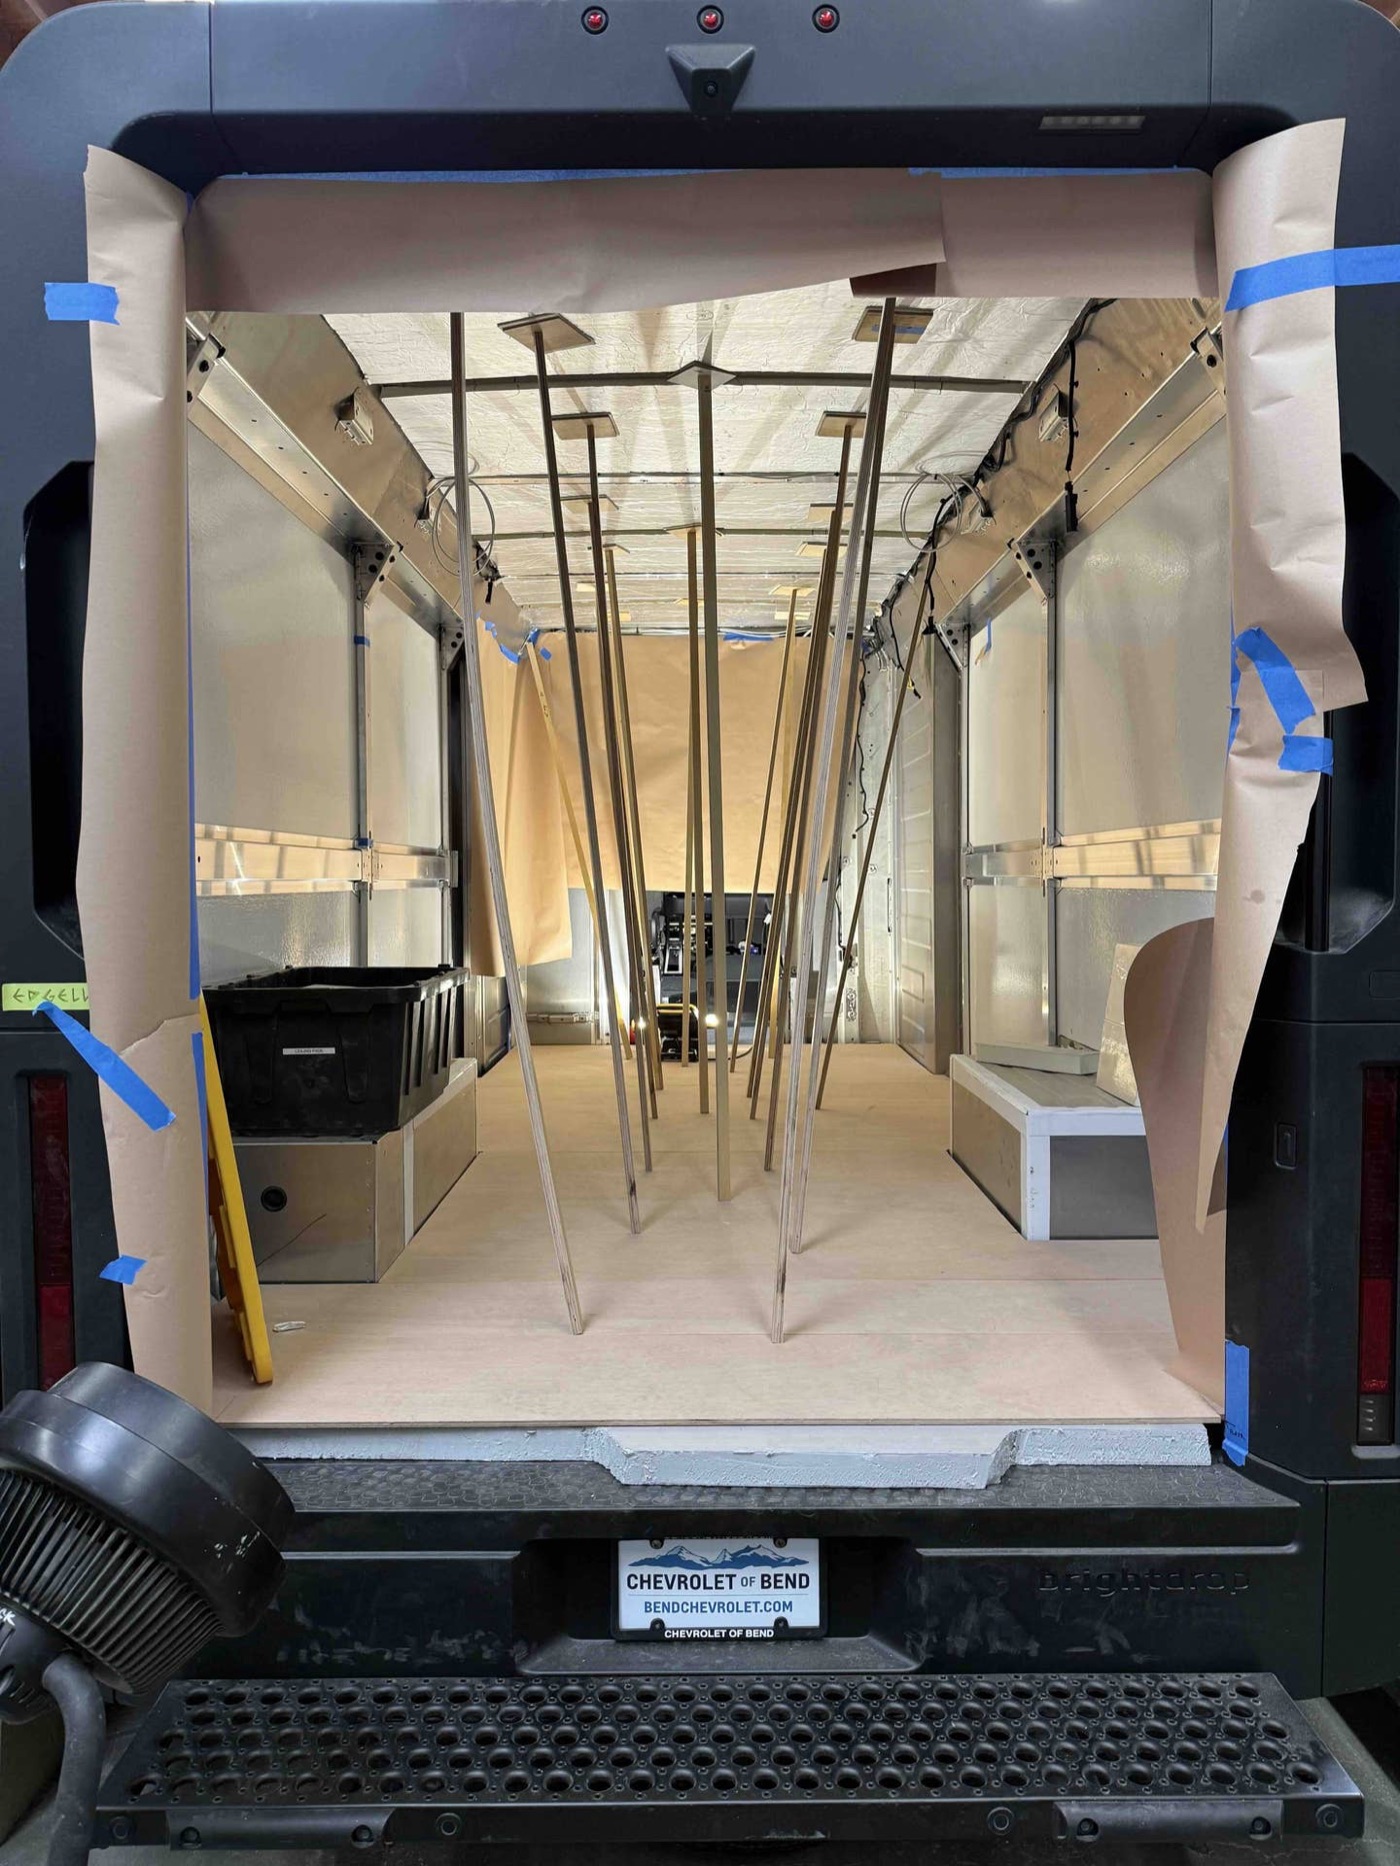
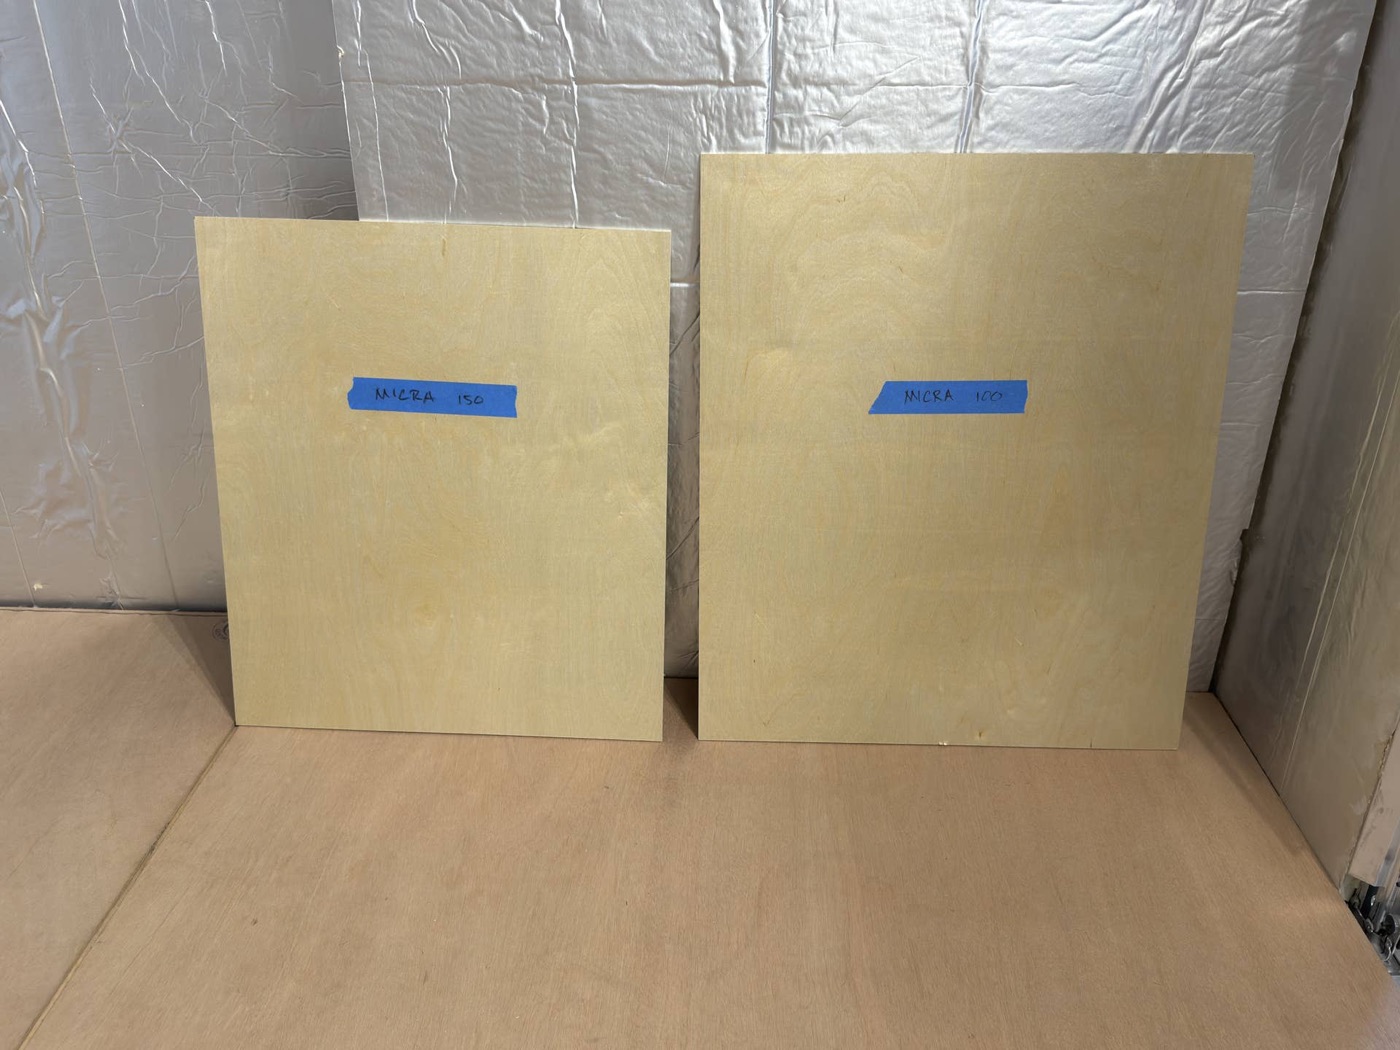
Derek and I met this week to go over a number of items. Topping our list was where we were going to put the heat recovery ventilator, or HRV. We decided to go with a larger unit (the Micra 100 or Micra 150) due to its higher flow volume and better fu
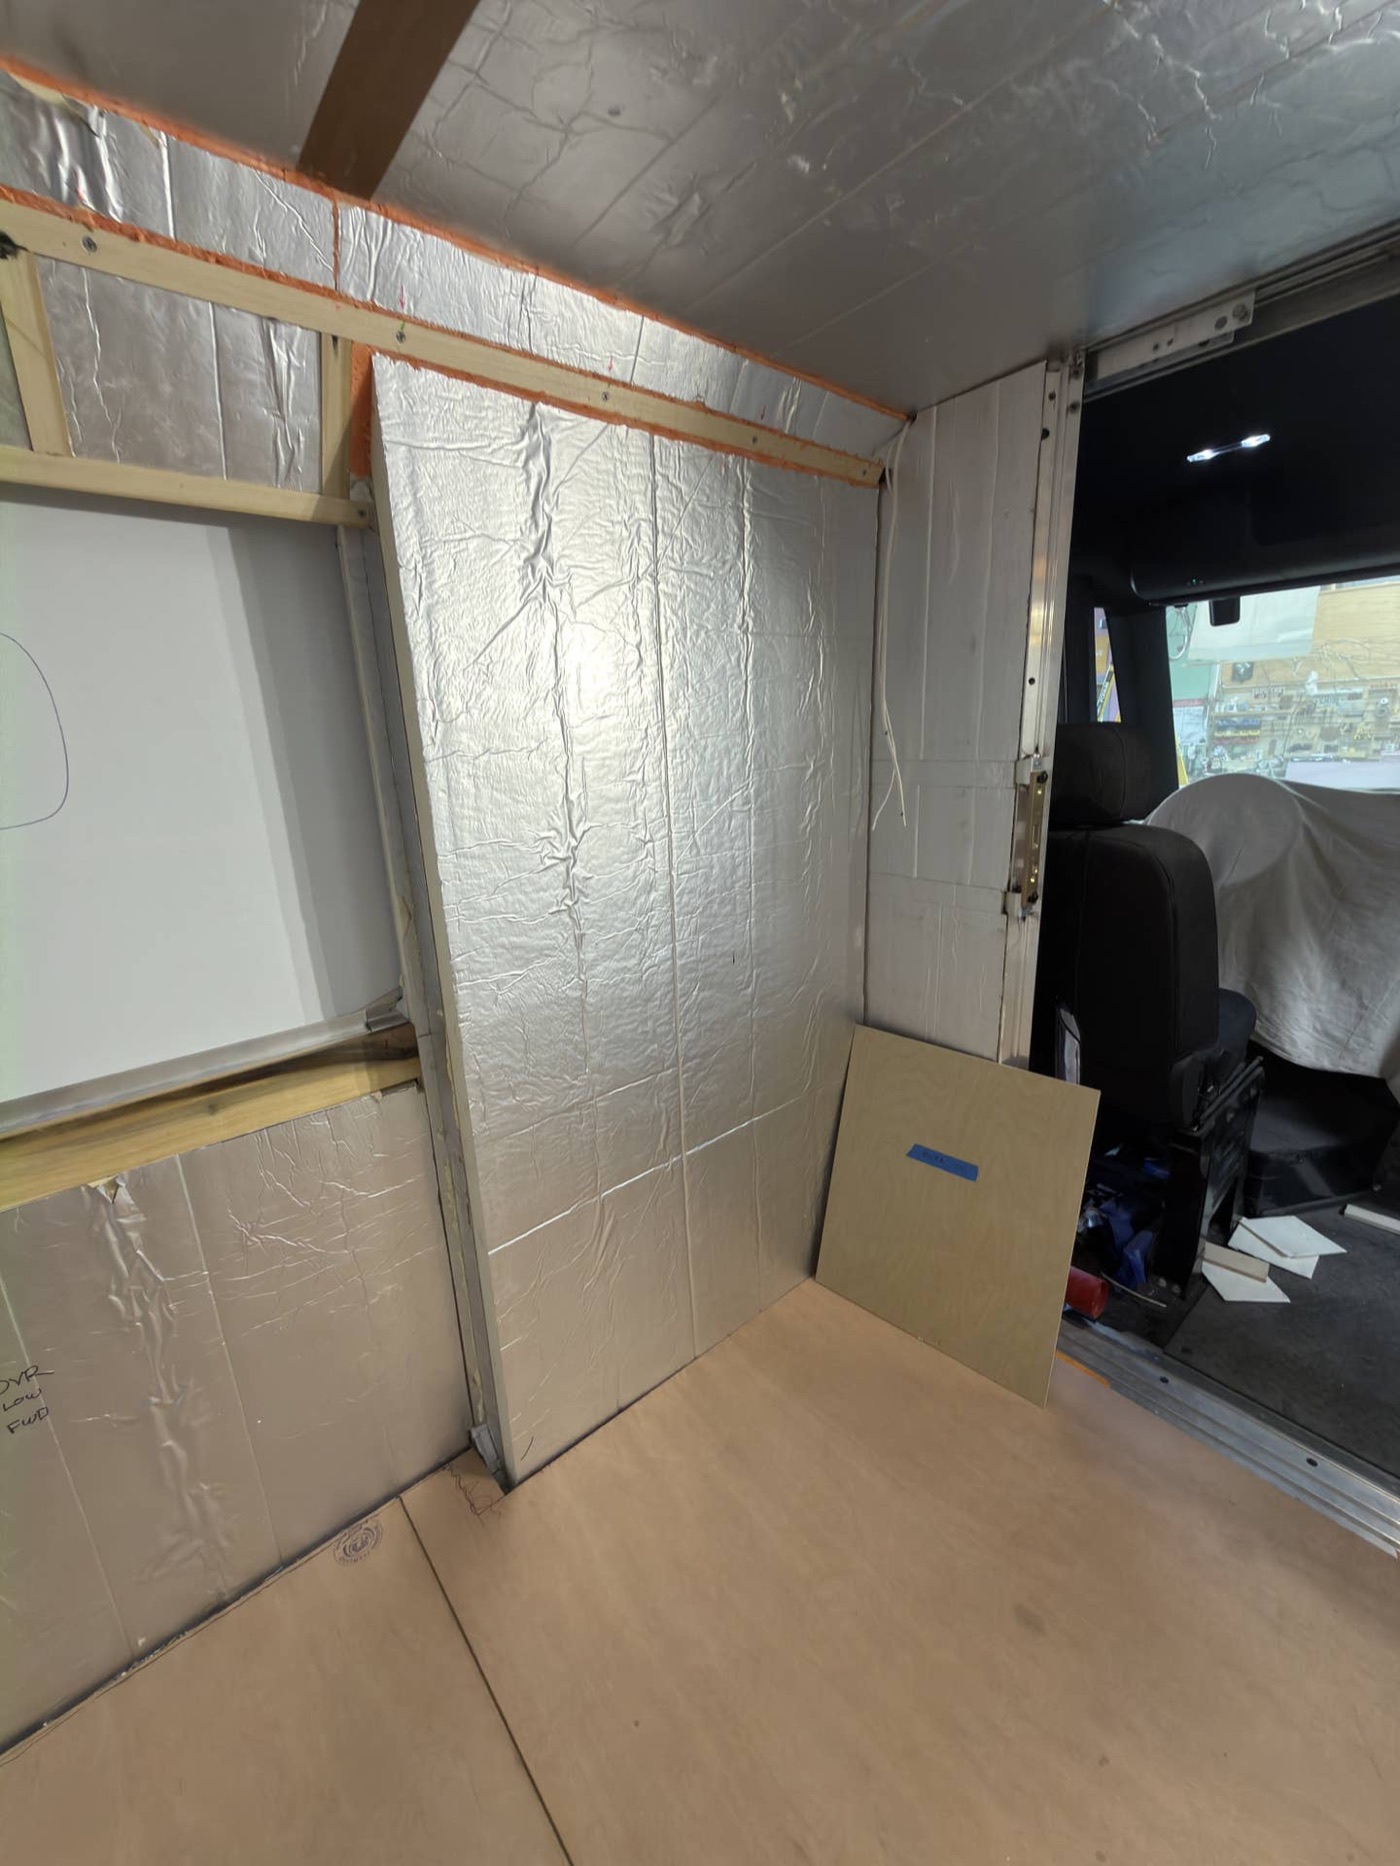
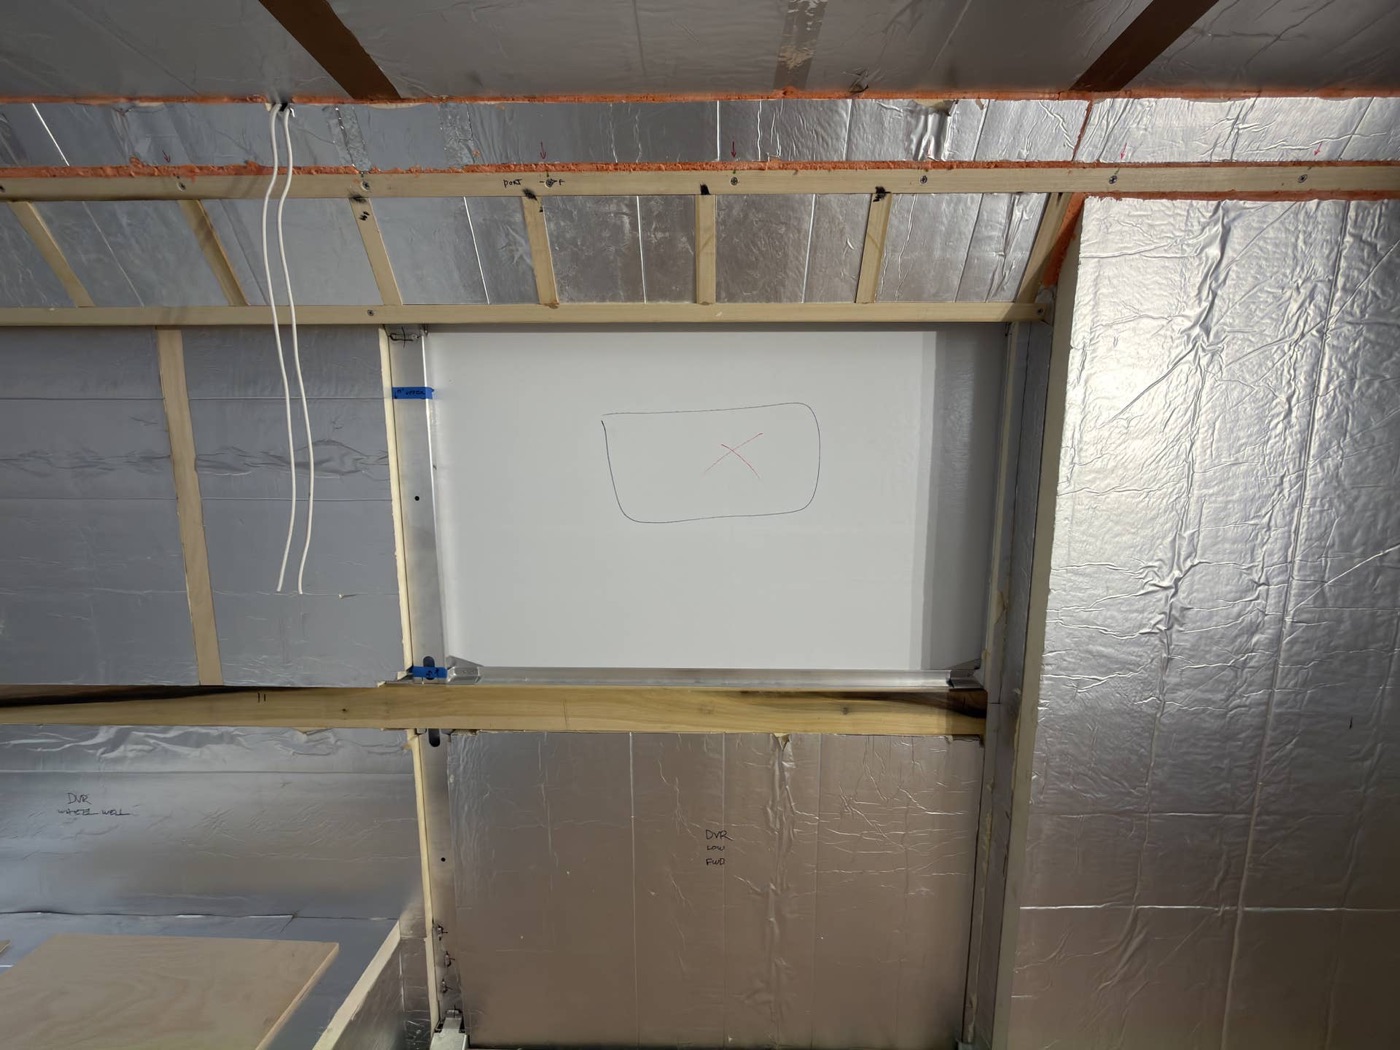
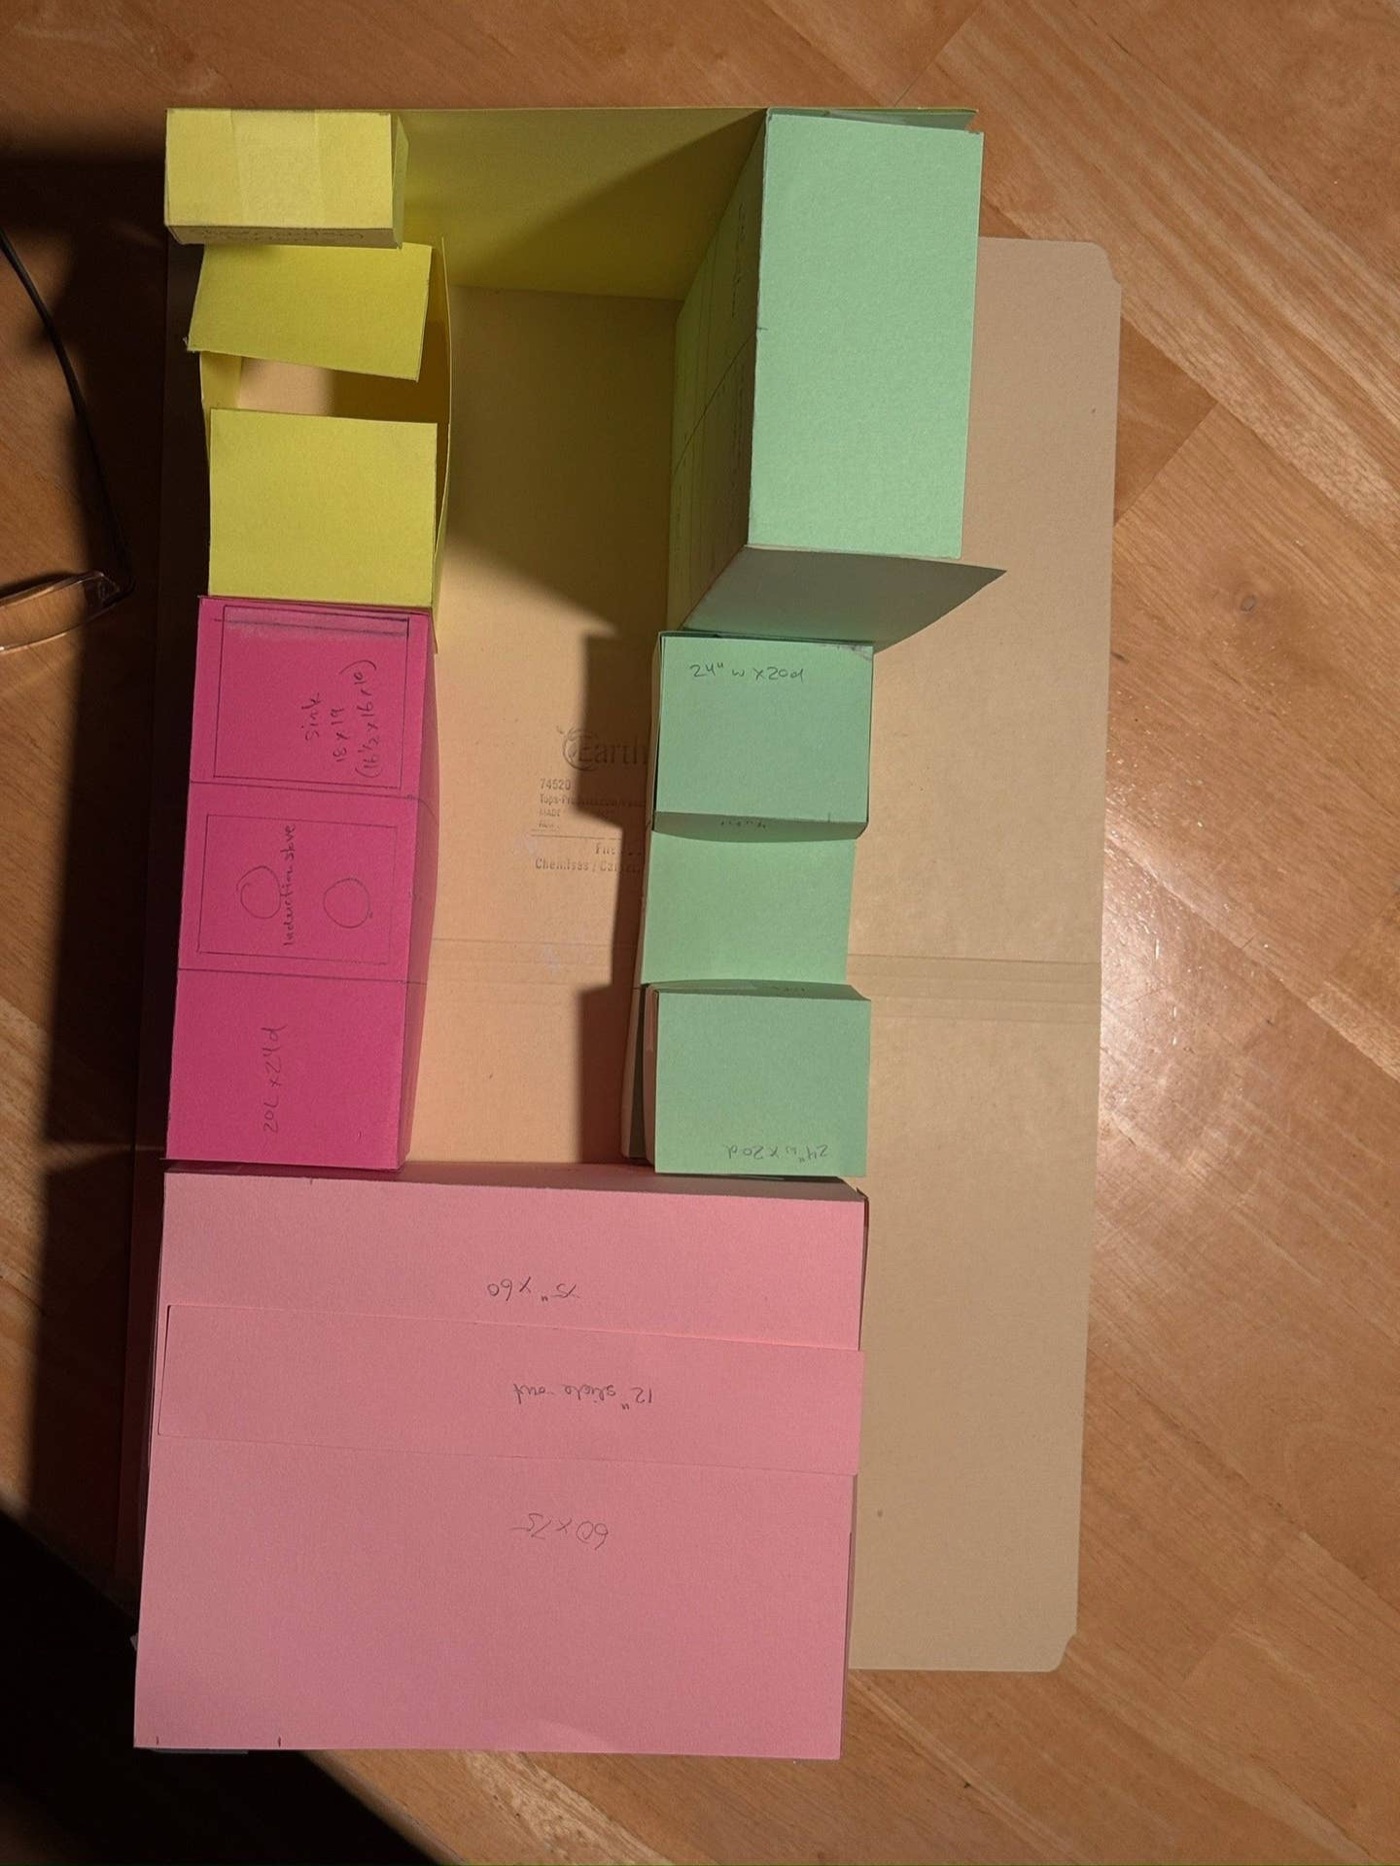
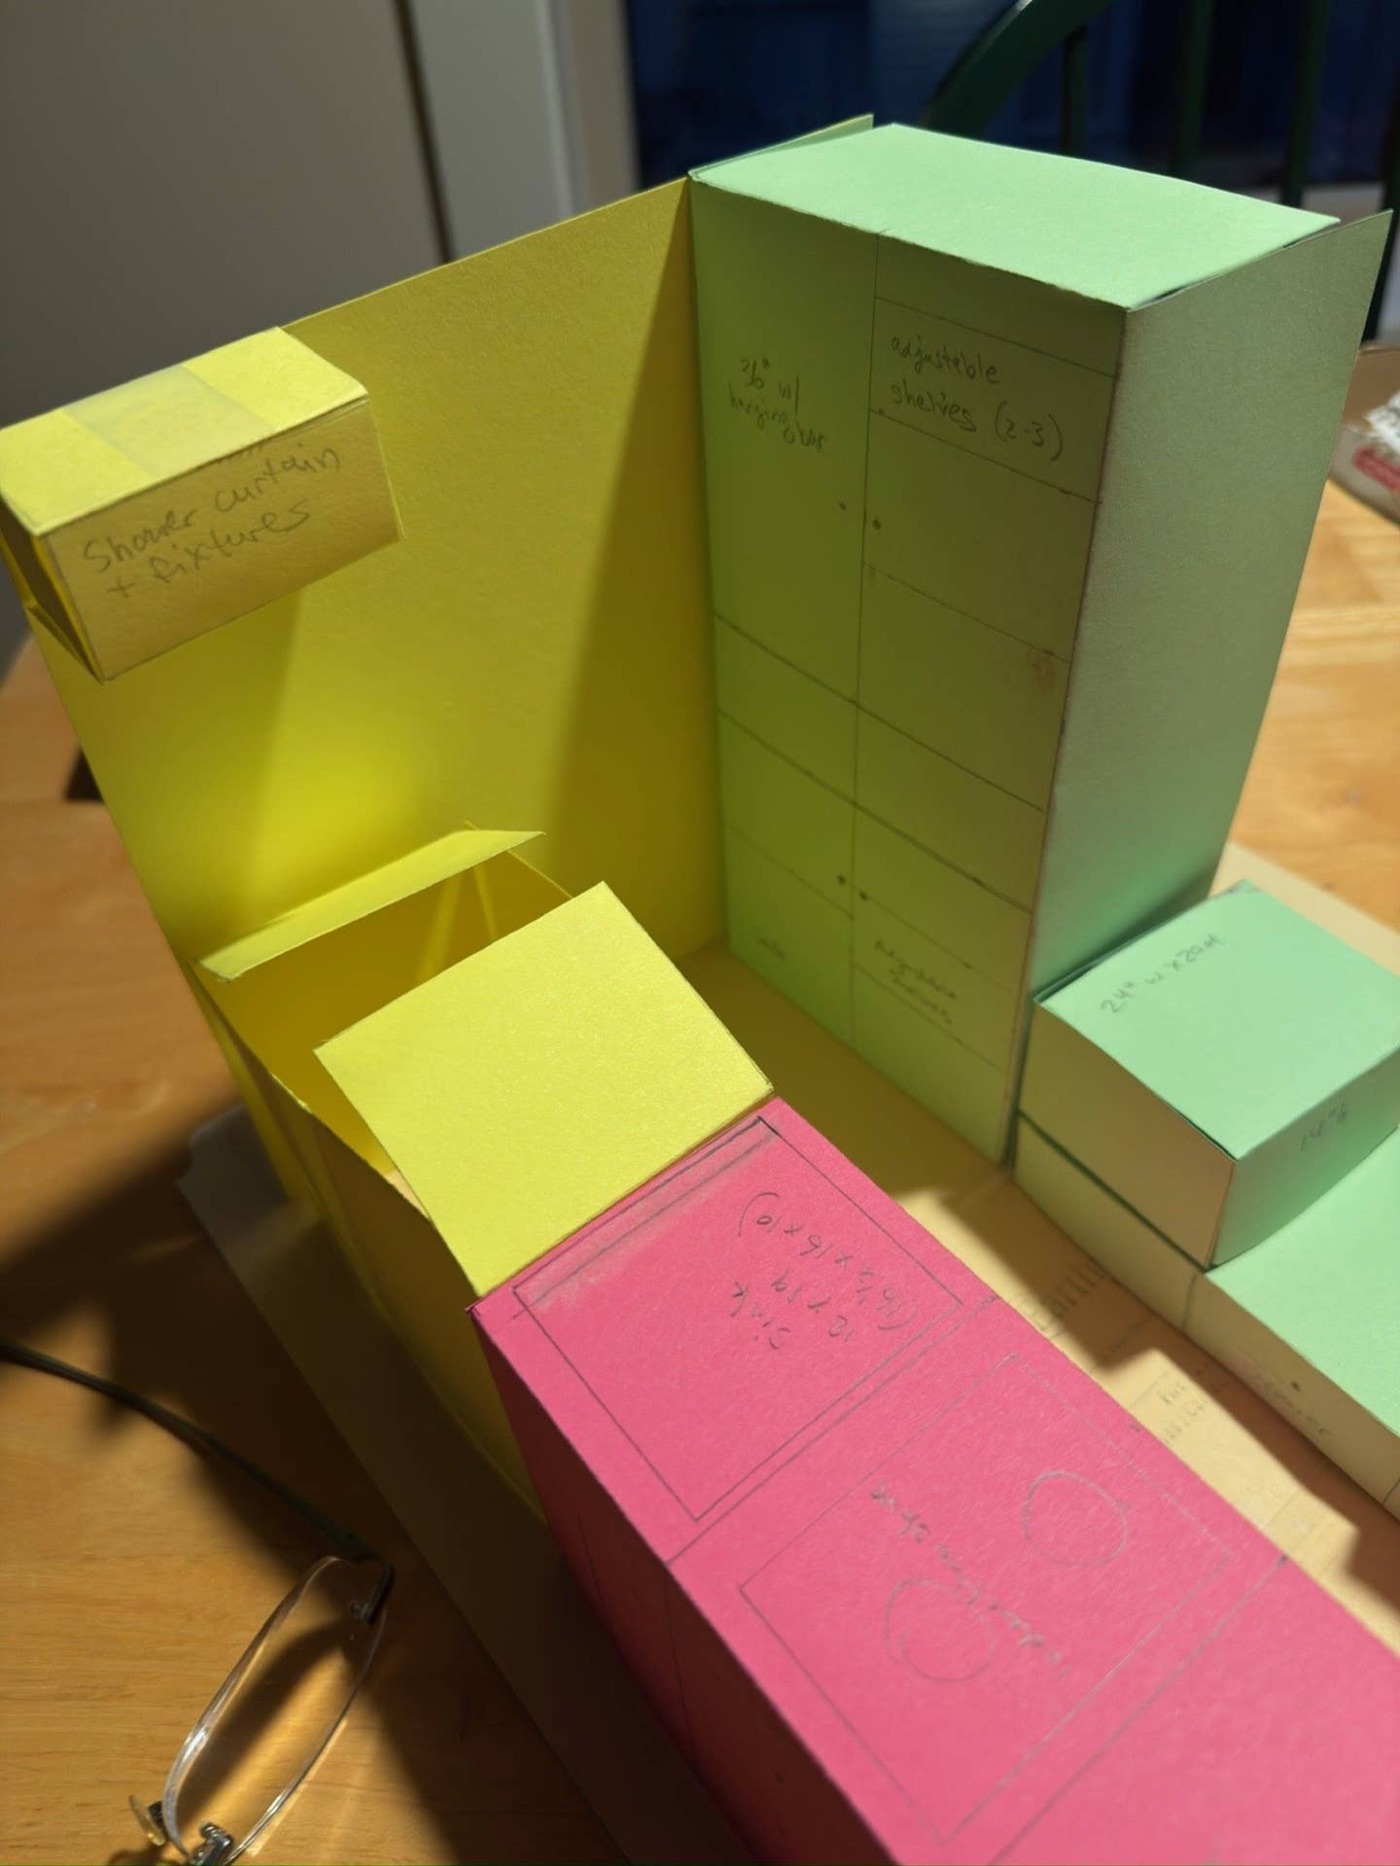
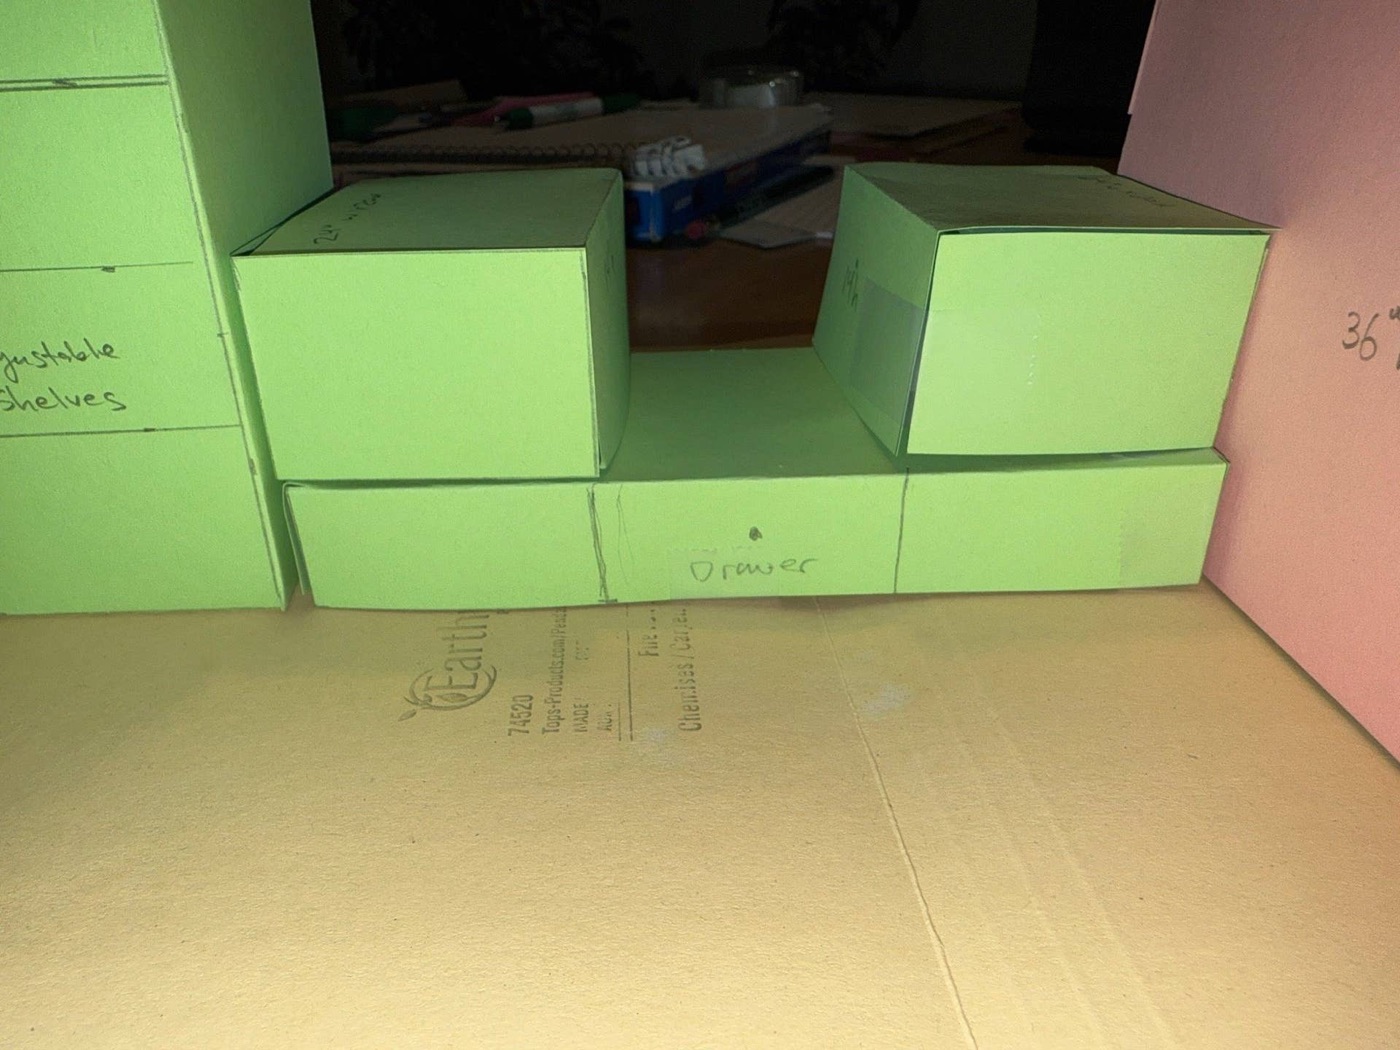
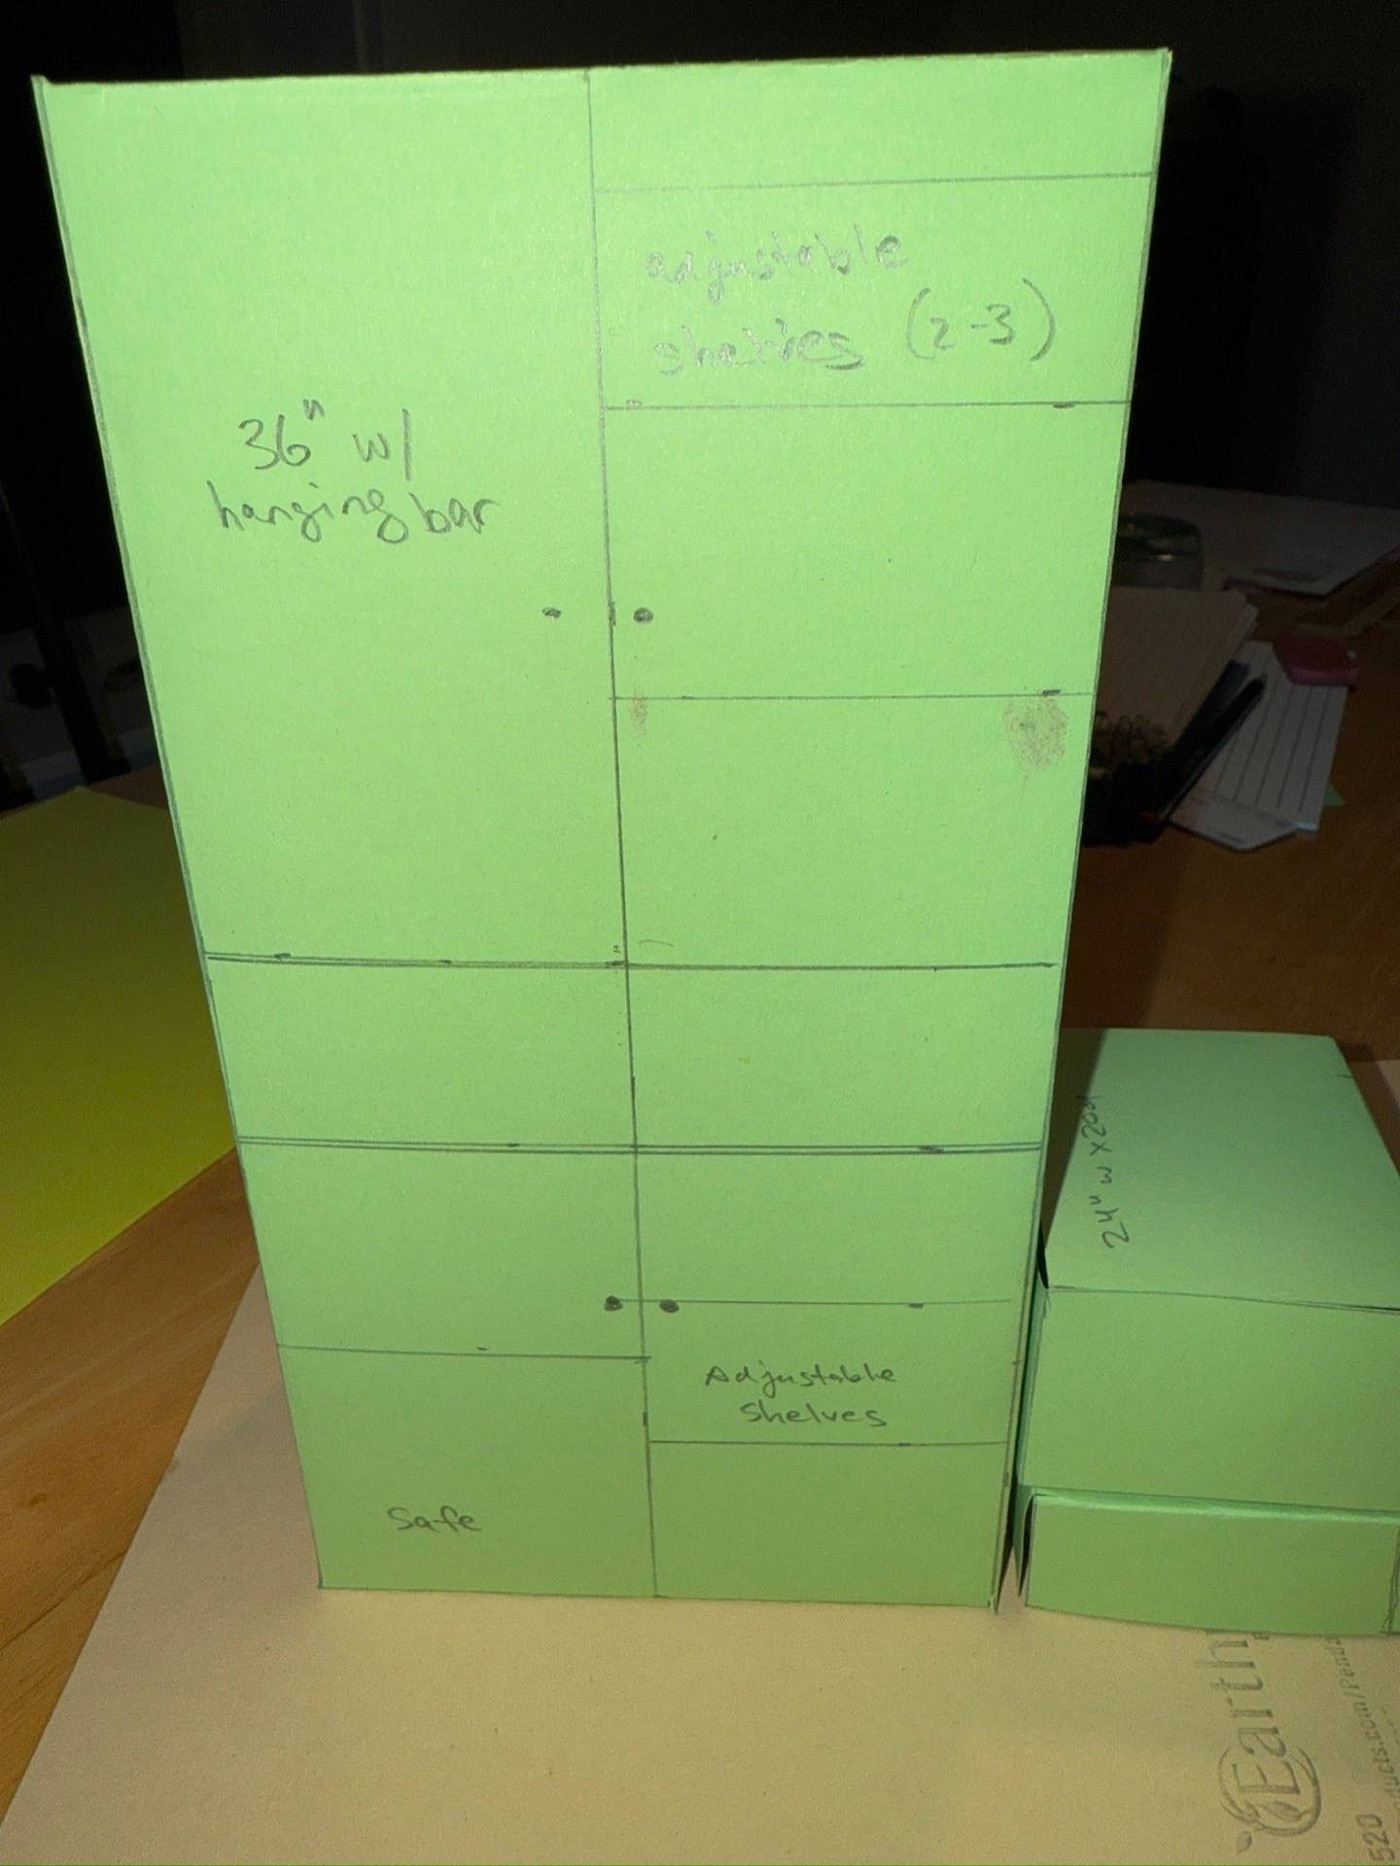
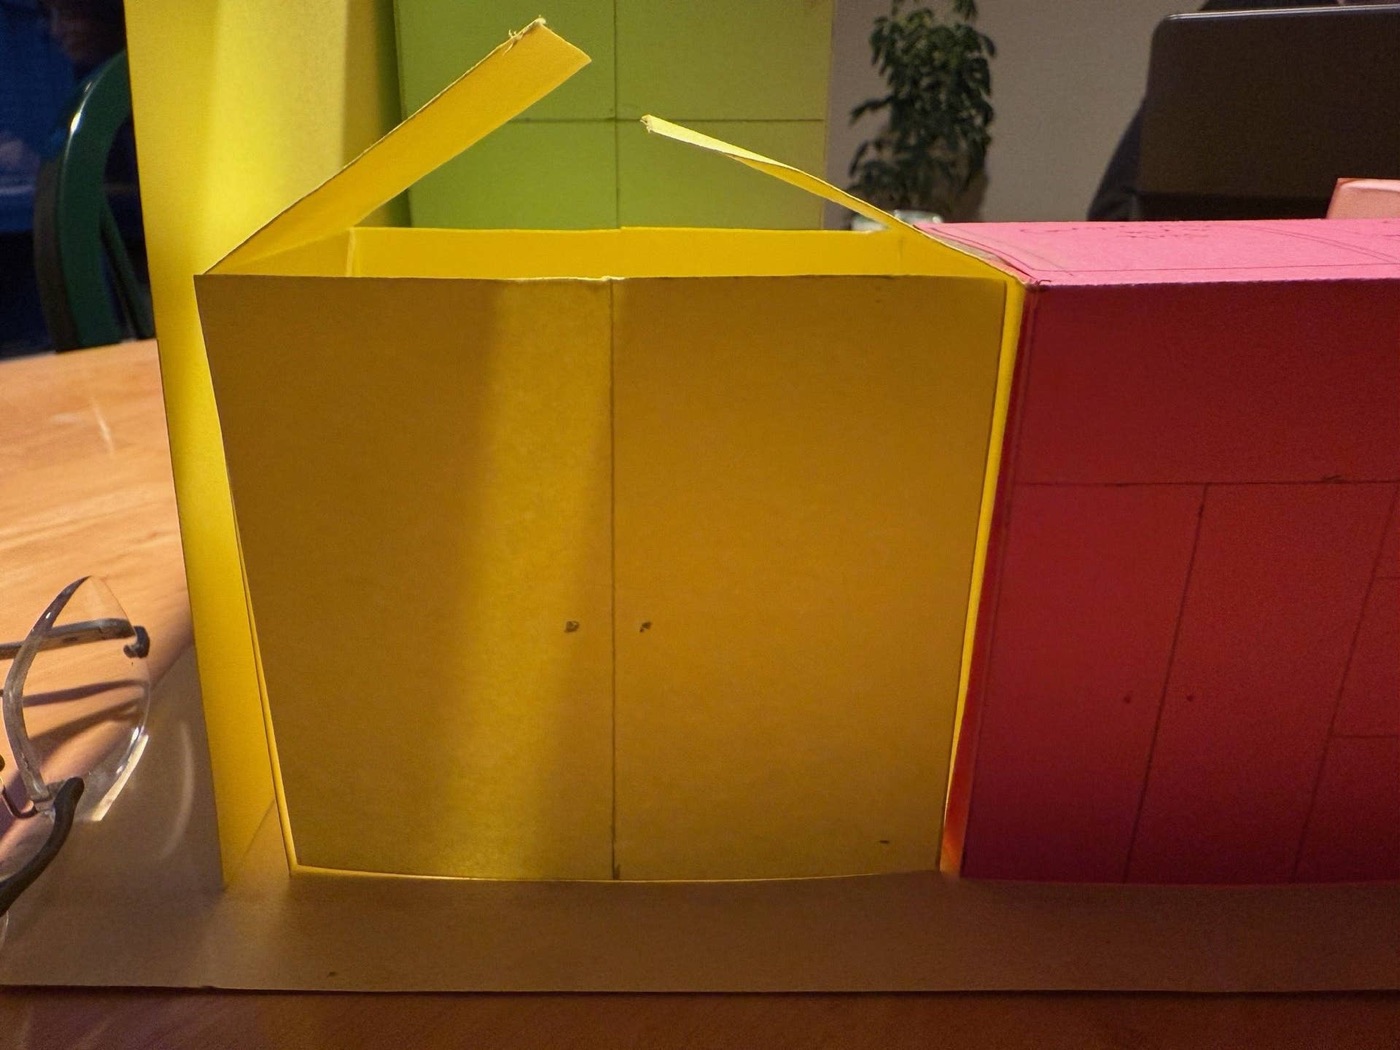
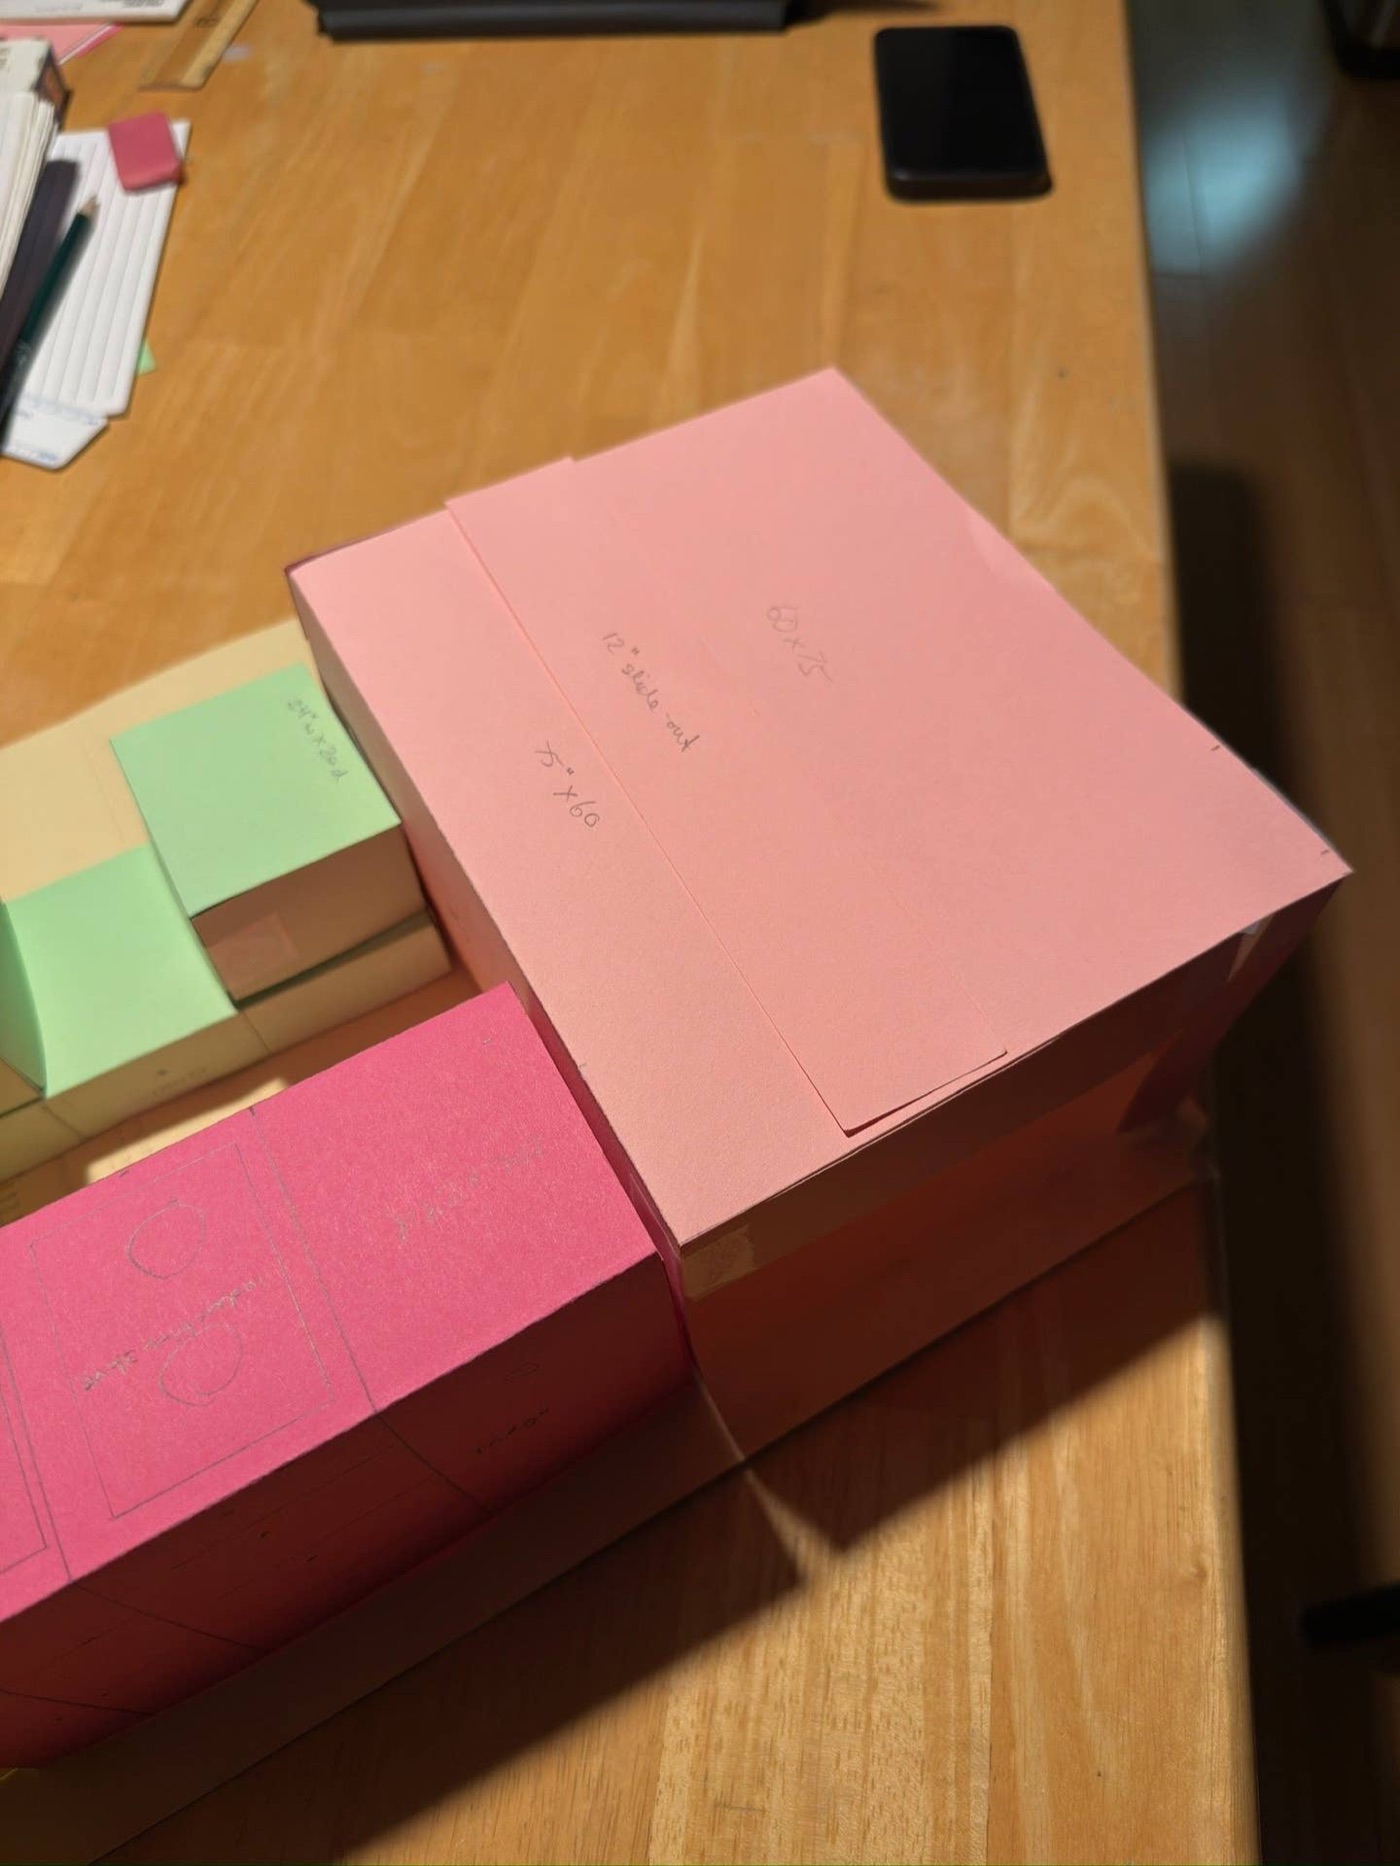
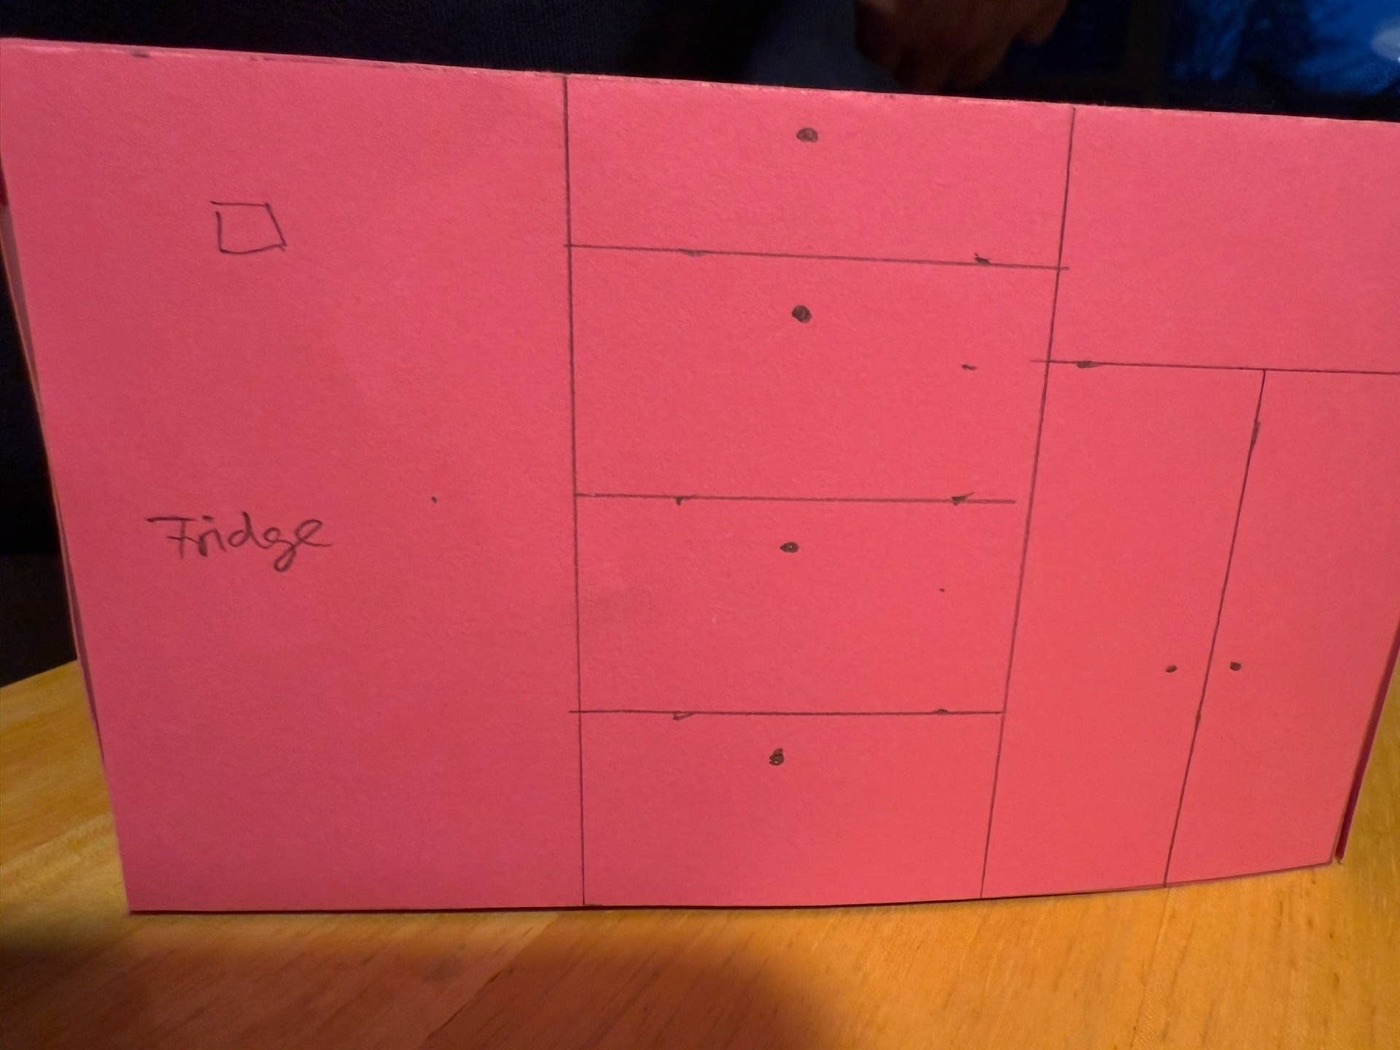
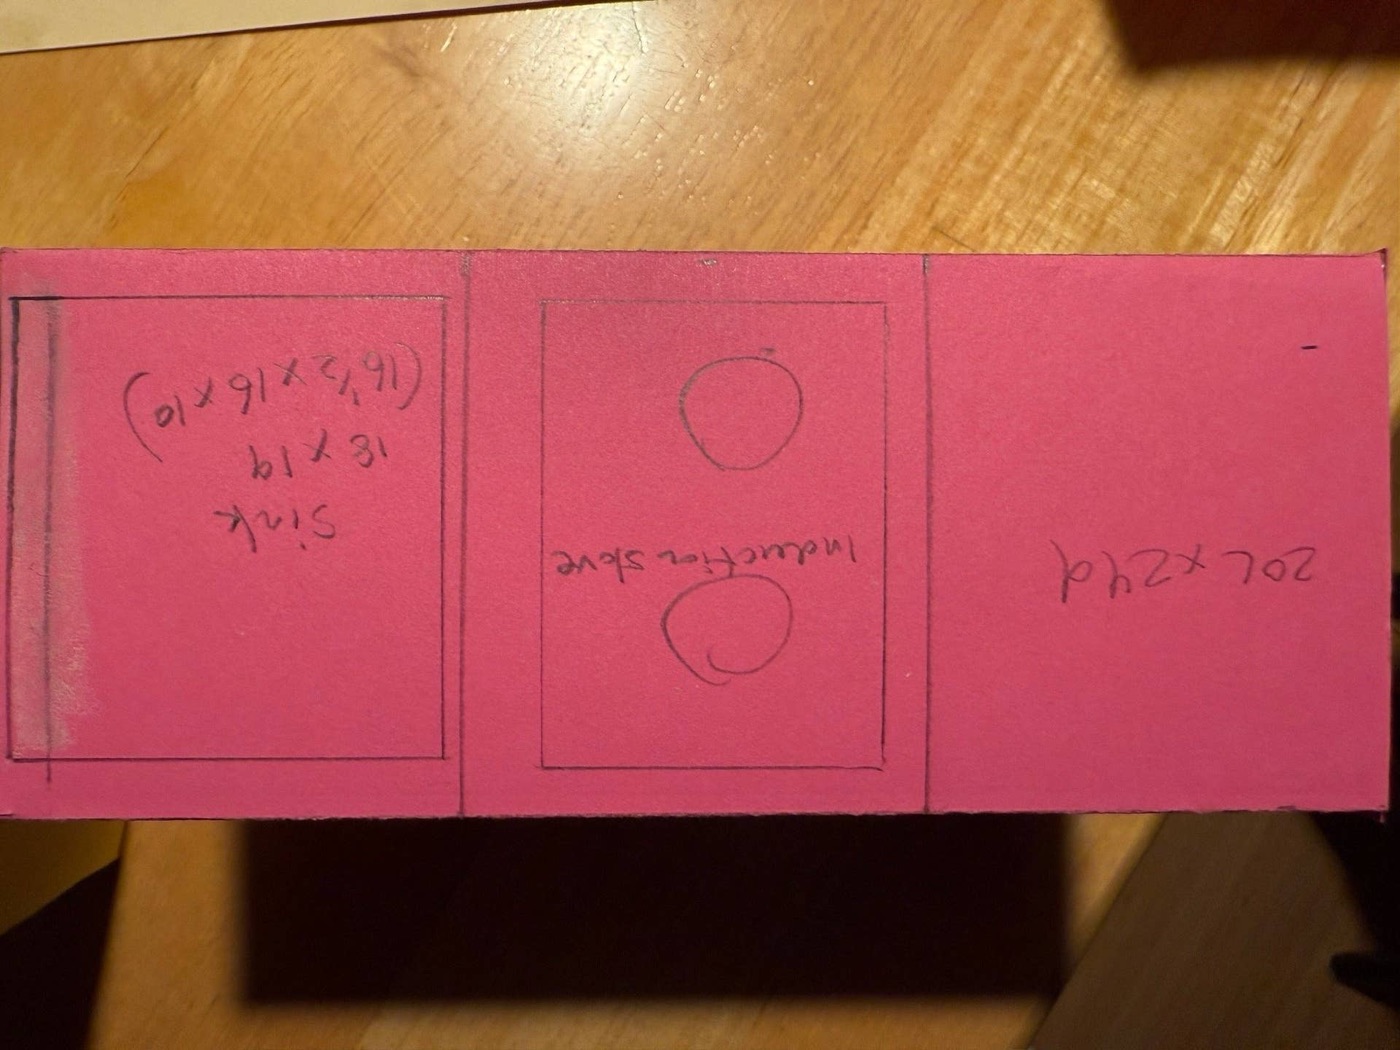
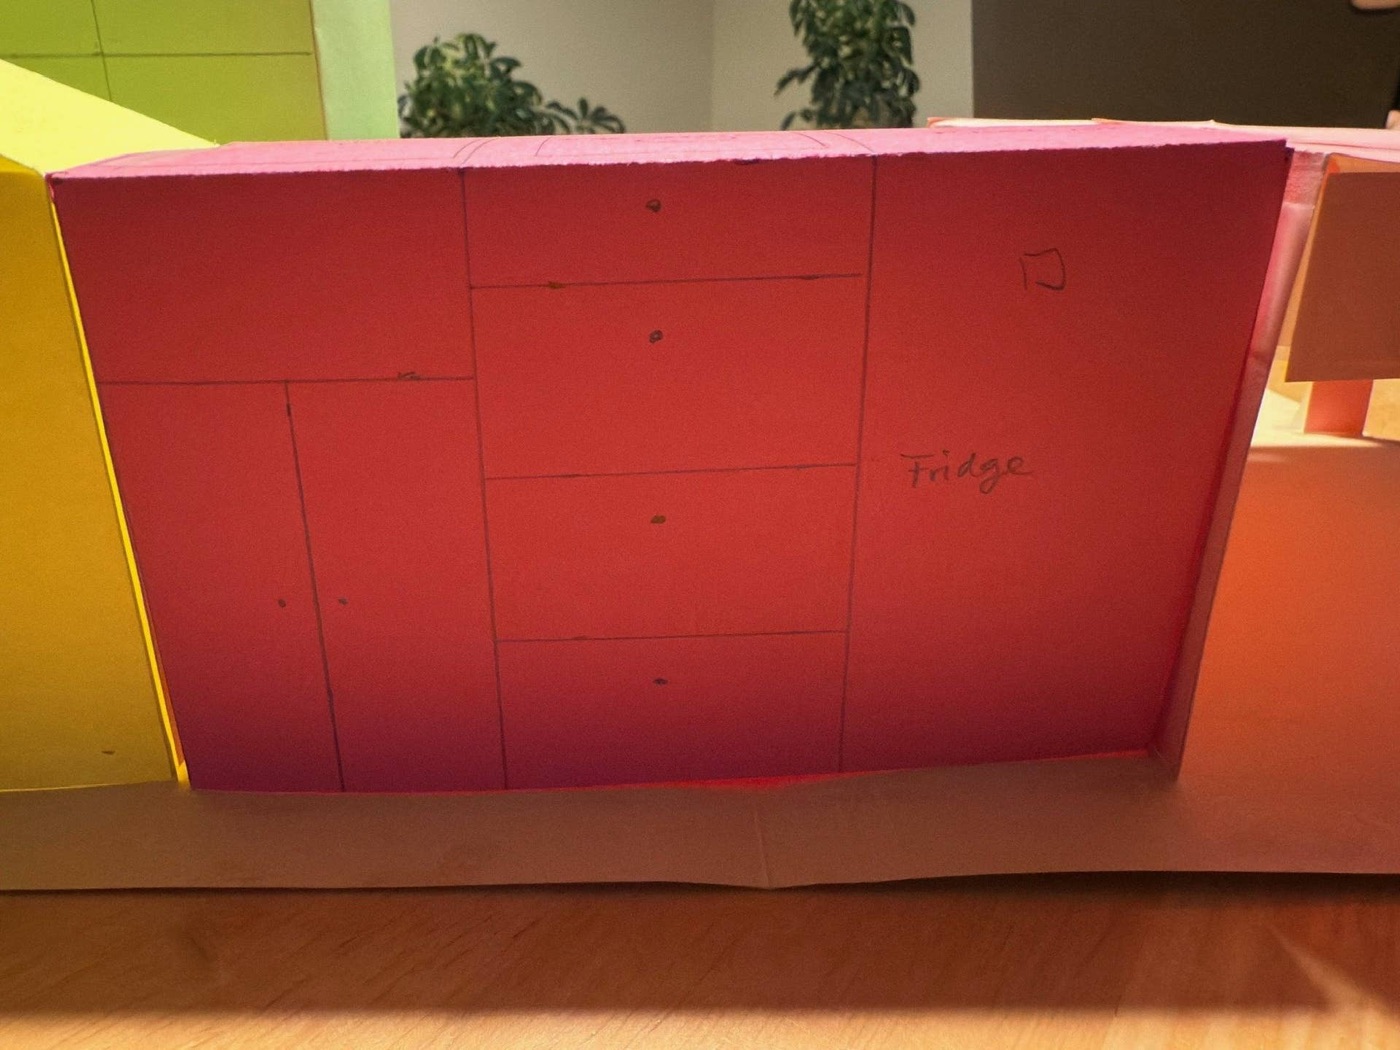
If you’re curious, here’s a 3D physical mockup my spouse made to get an idea of how stuff fits together.
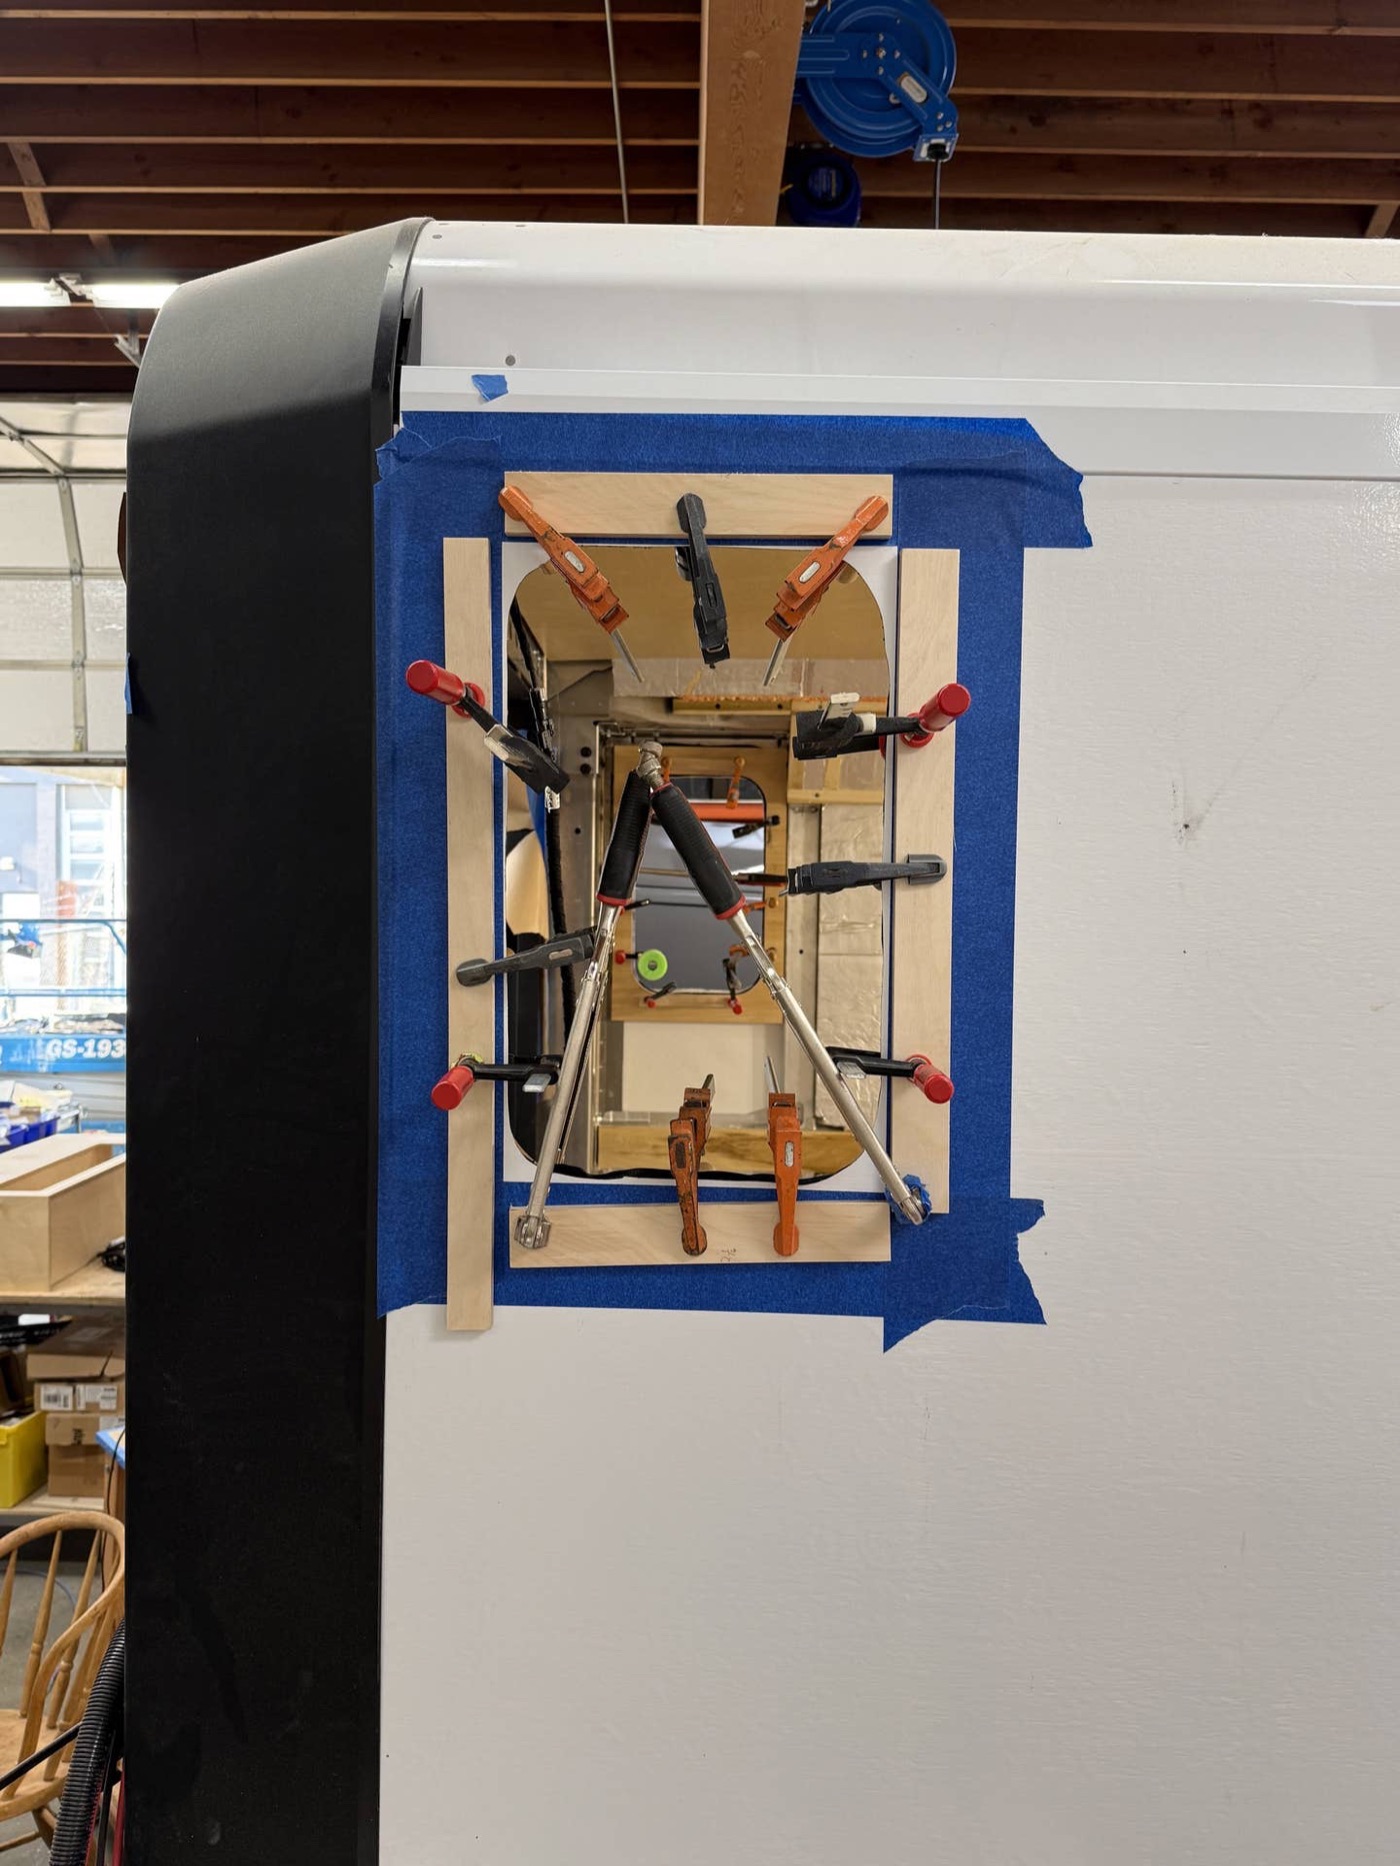
Woo hoo!!!! Holes cut for windows. Very excited!!!! Also, ceiling going in.
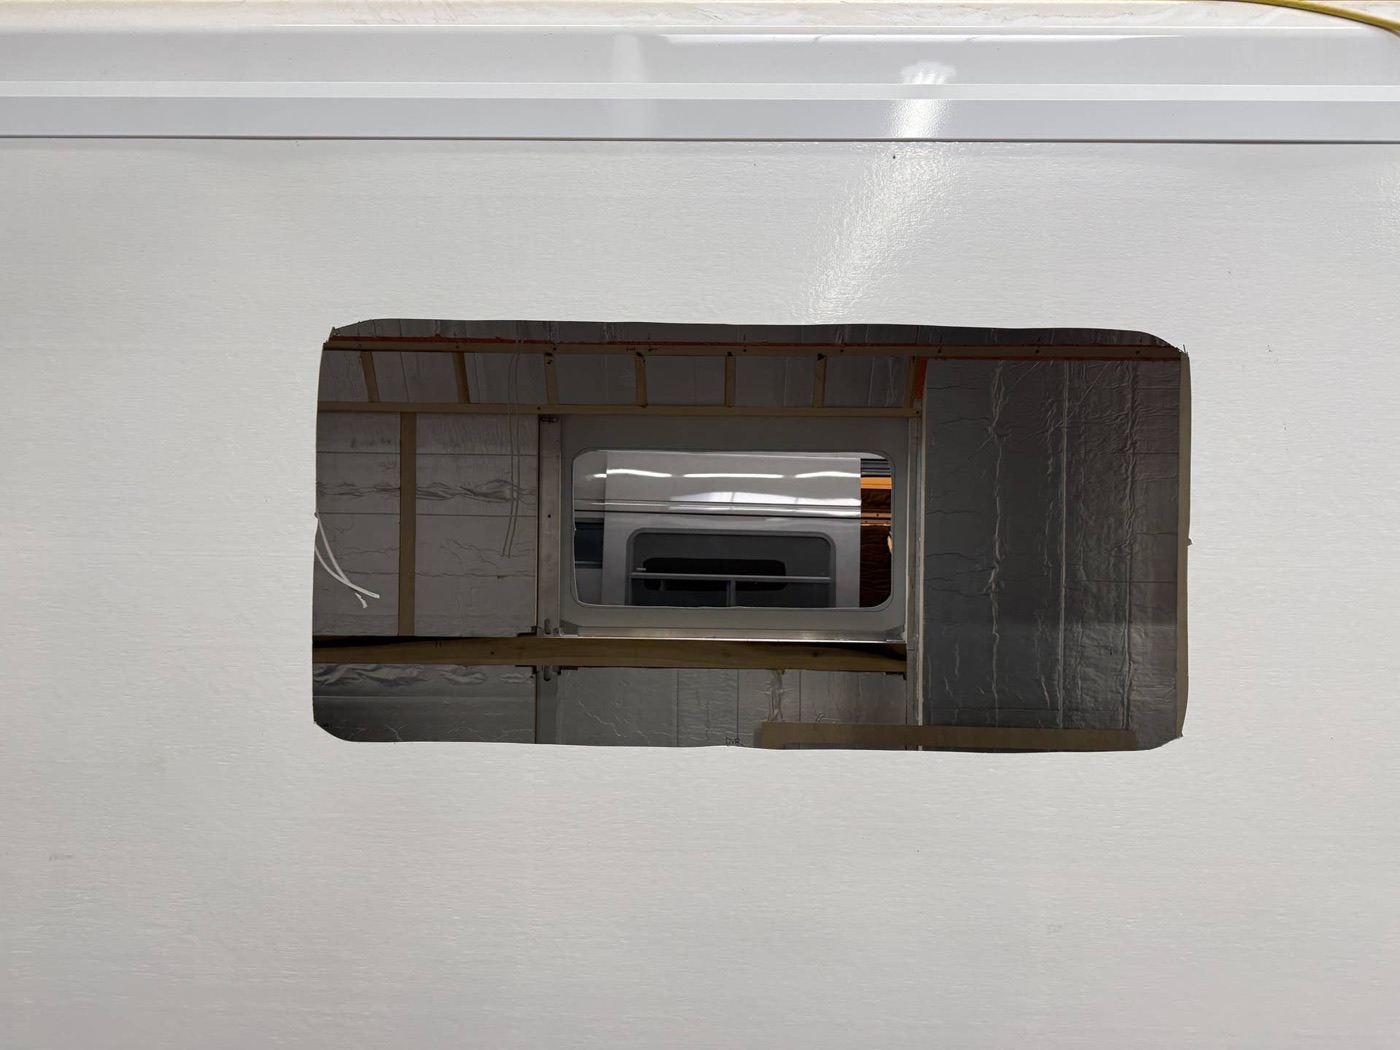
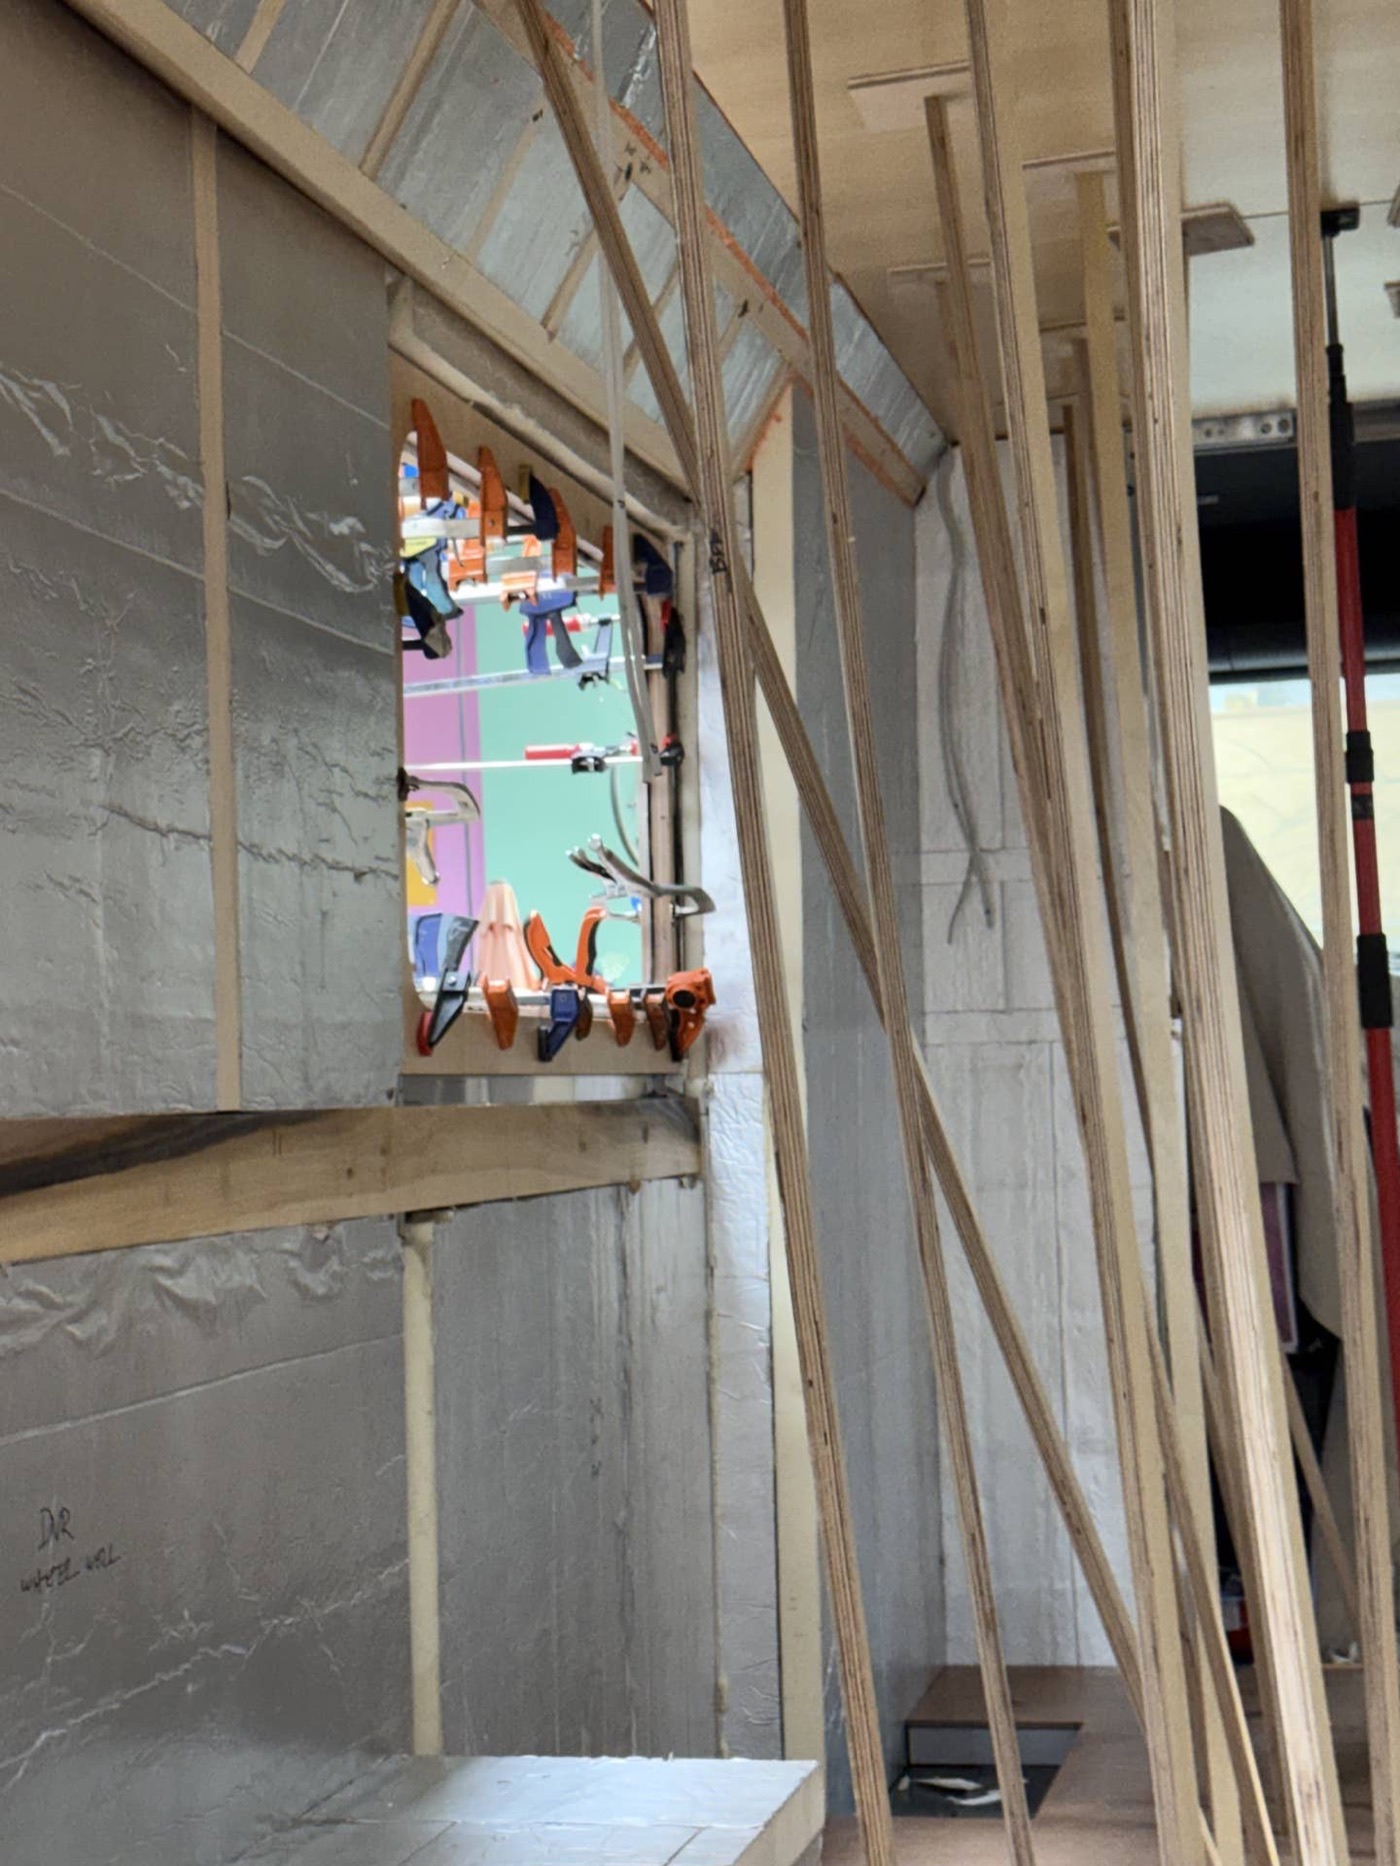
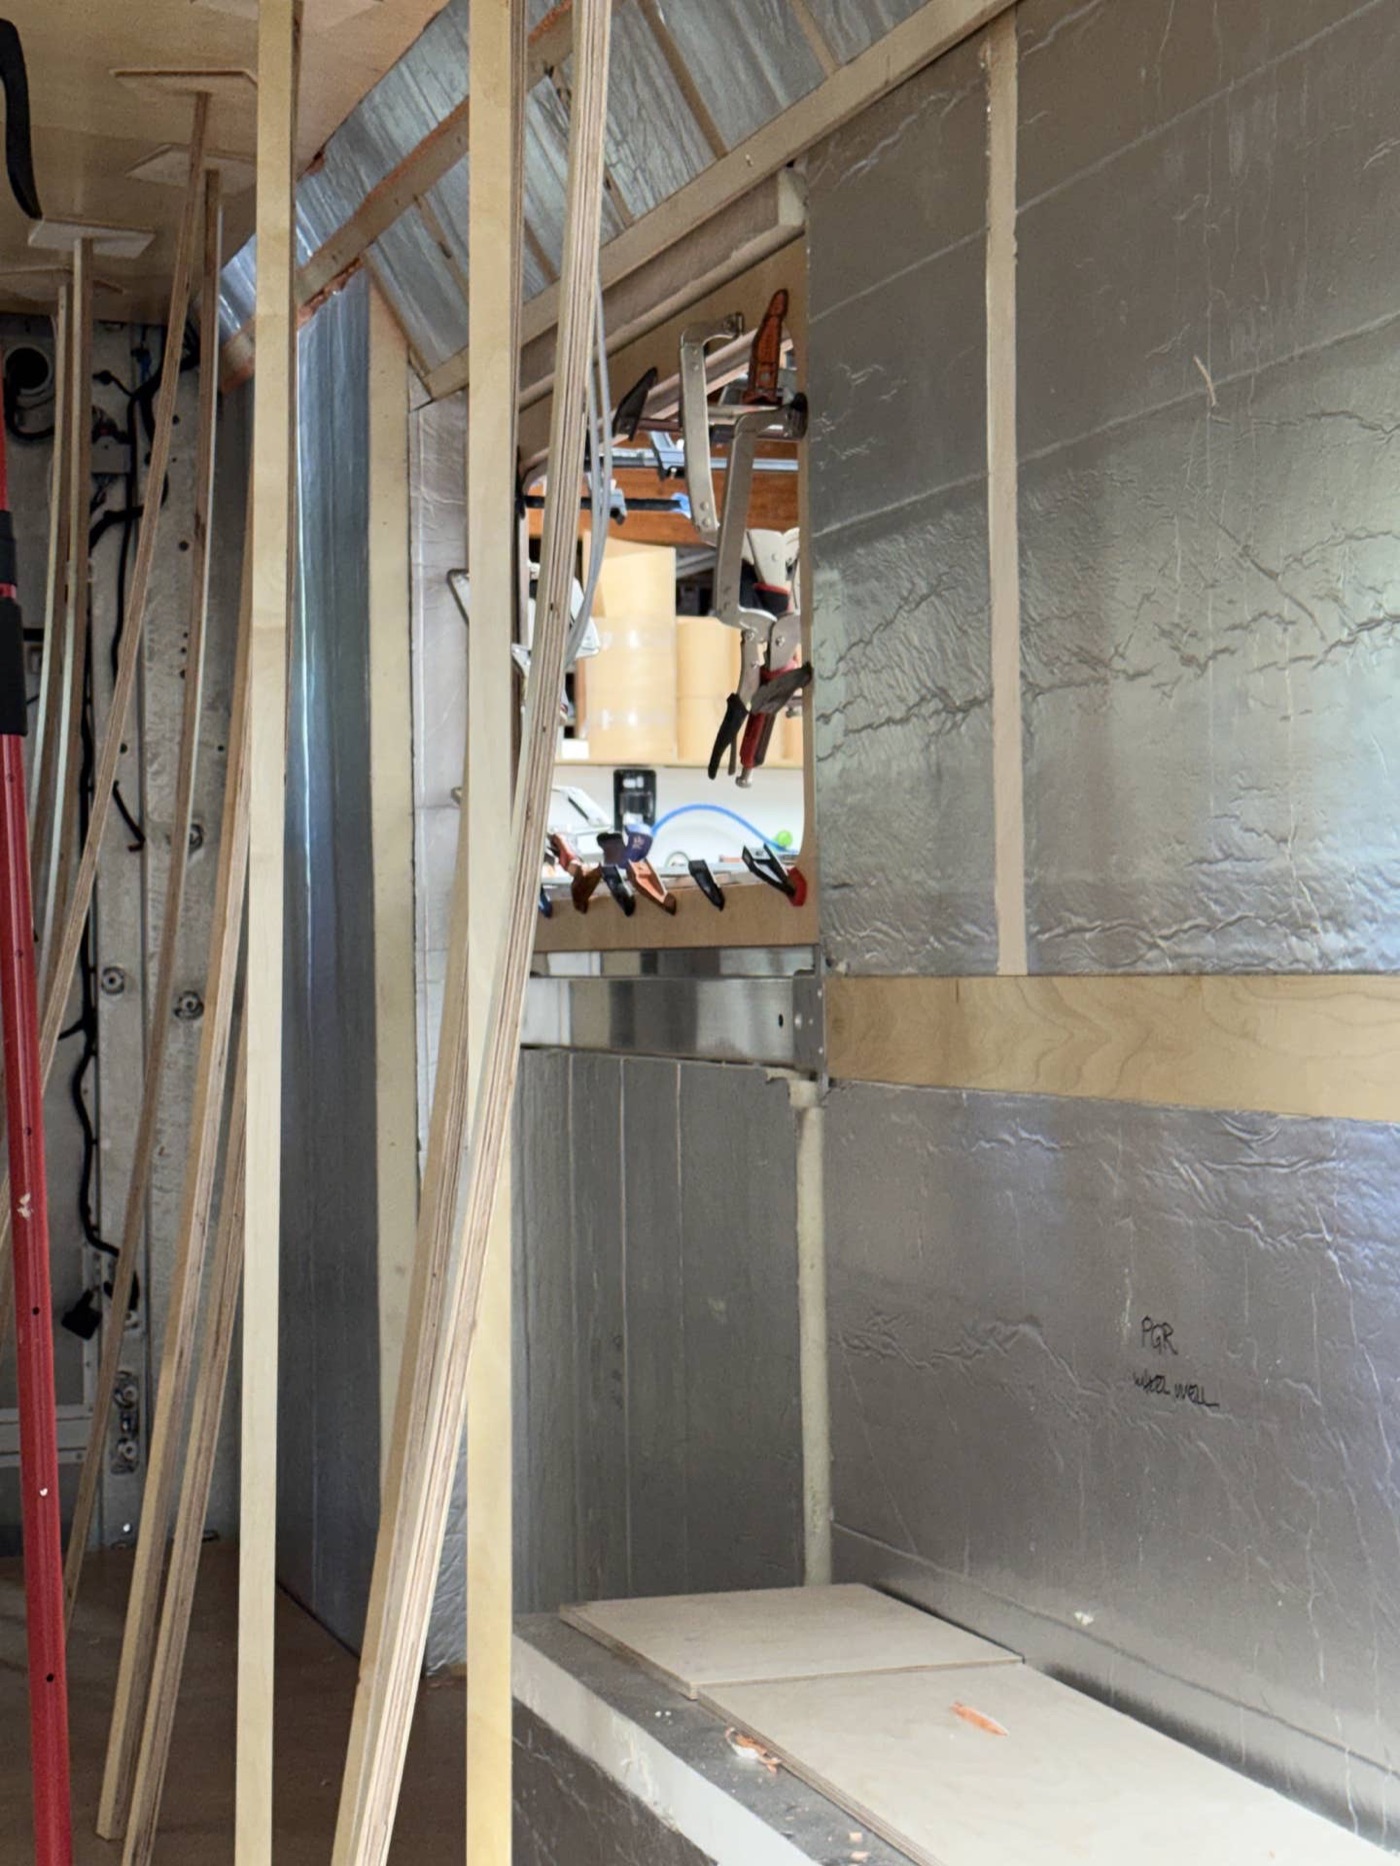
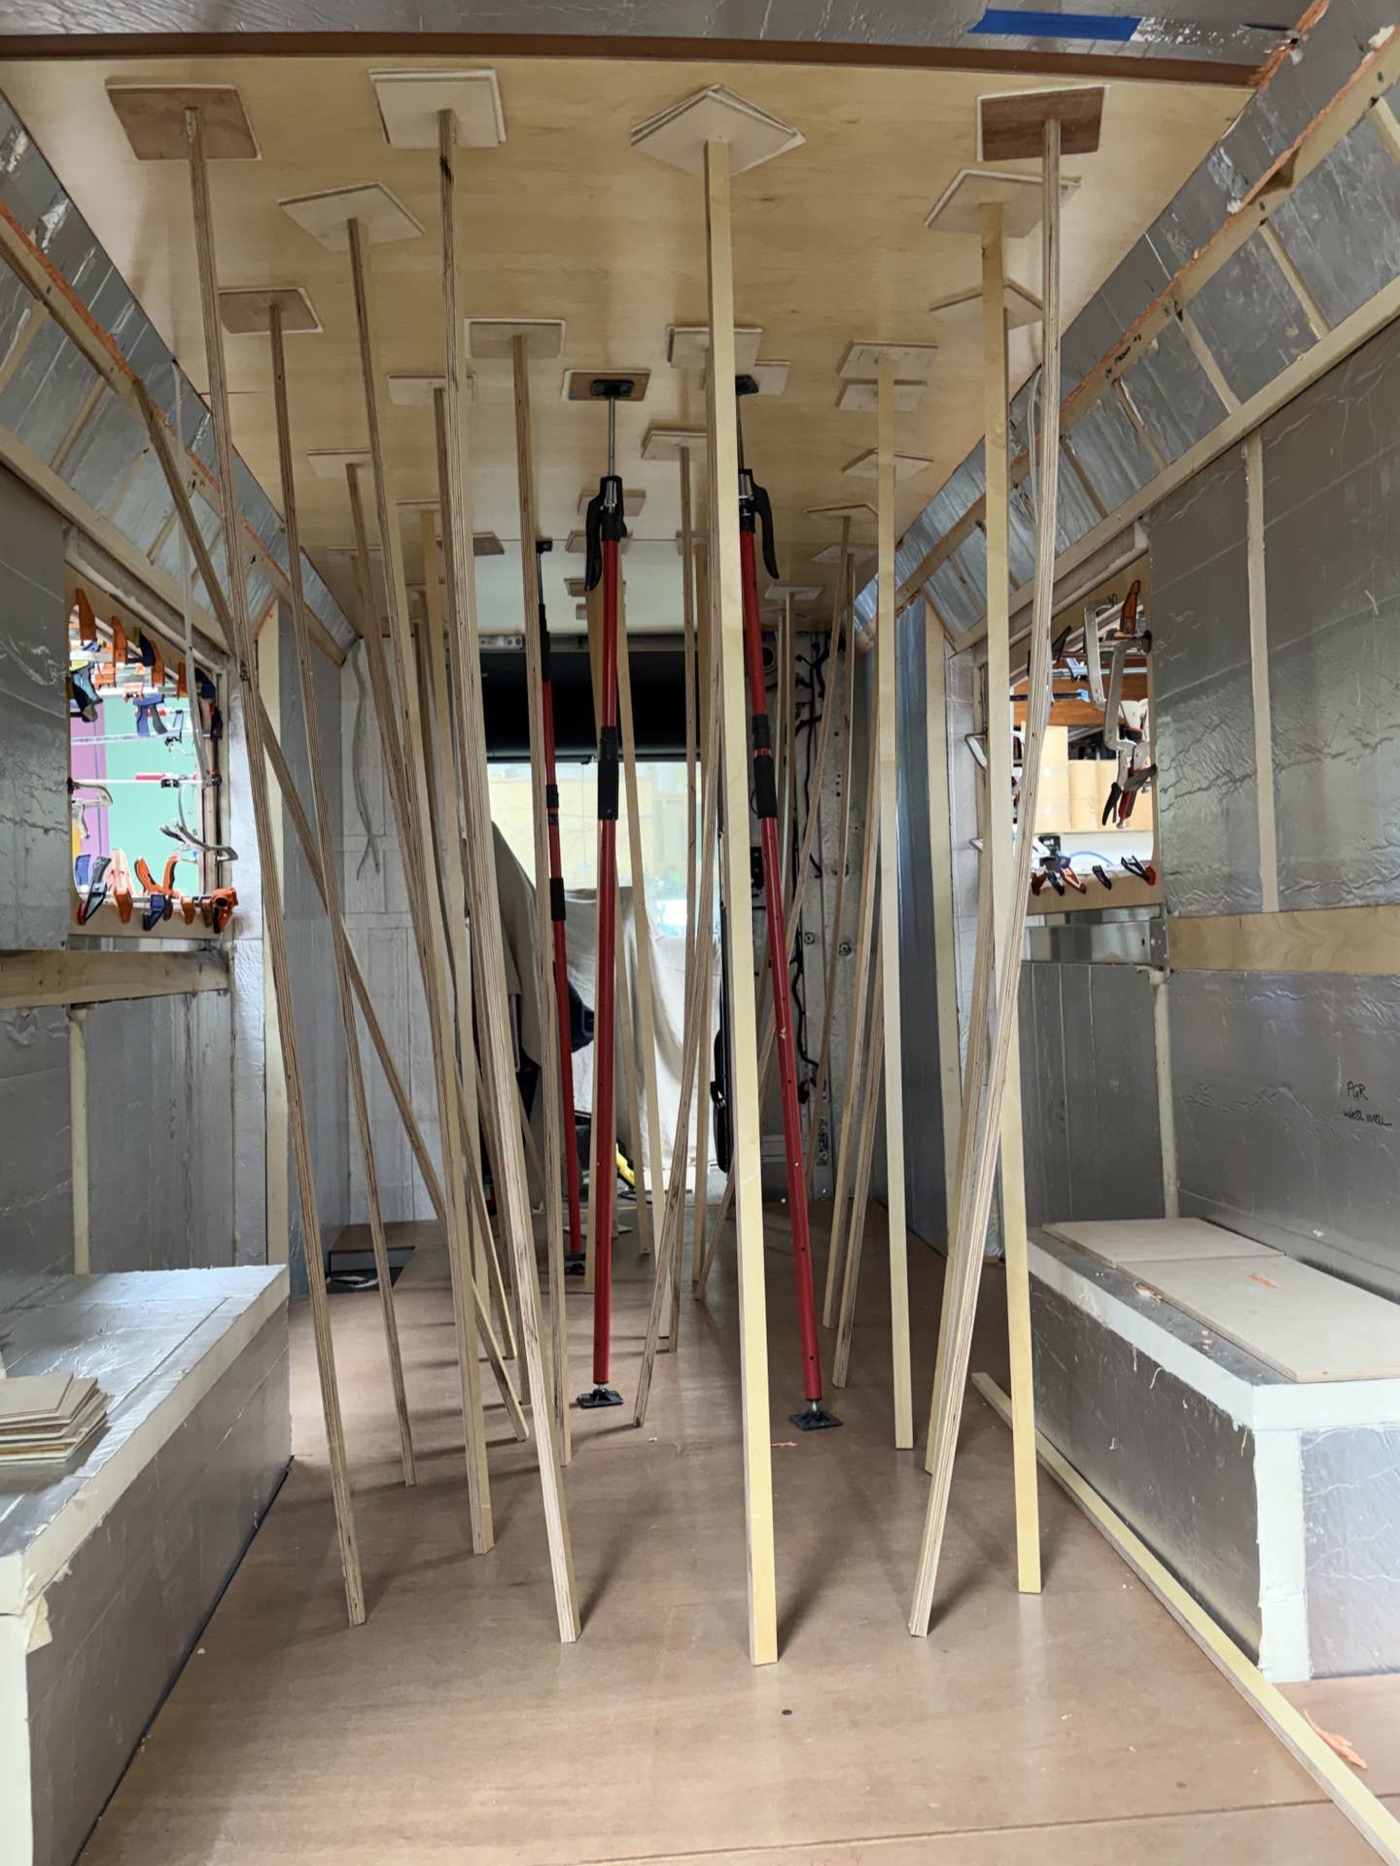
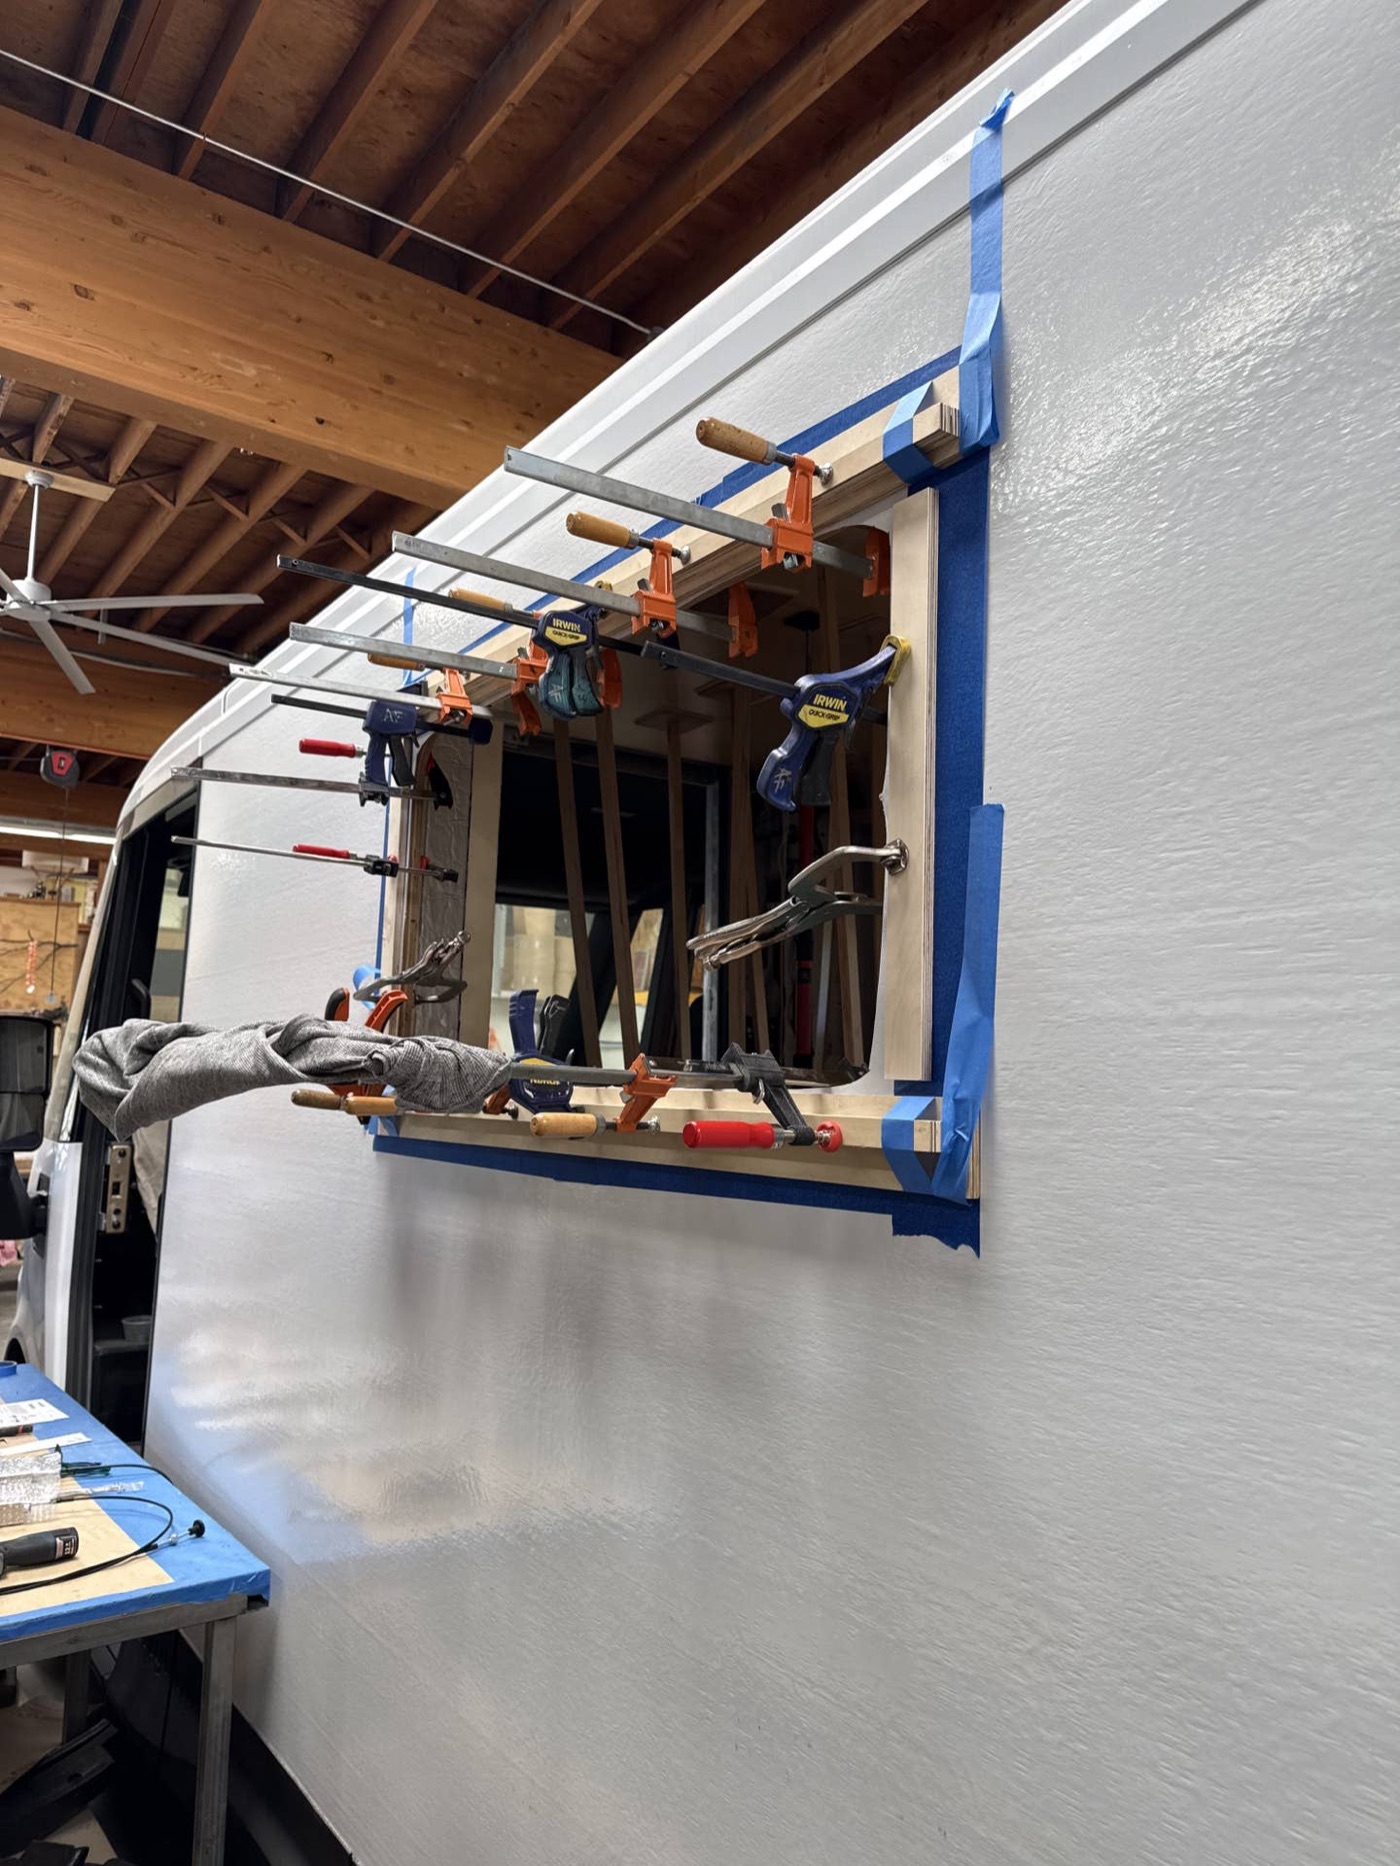
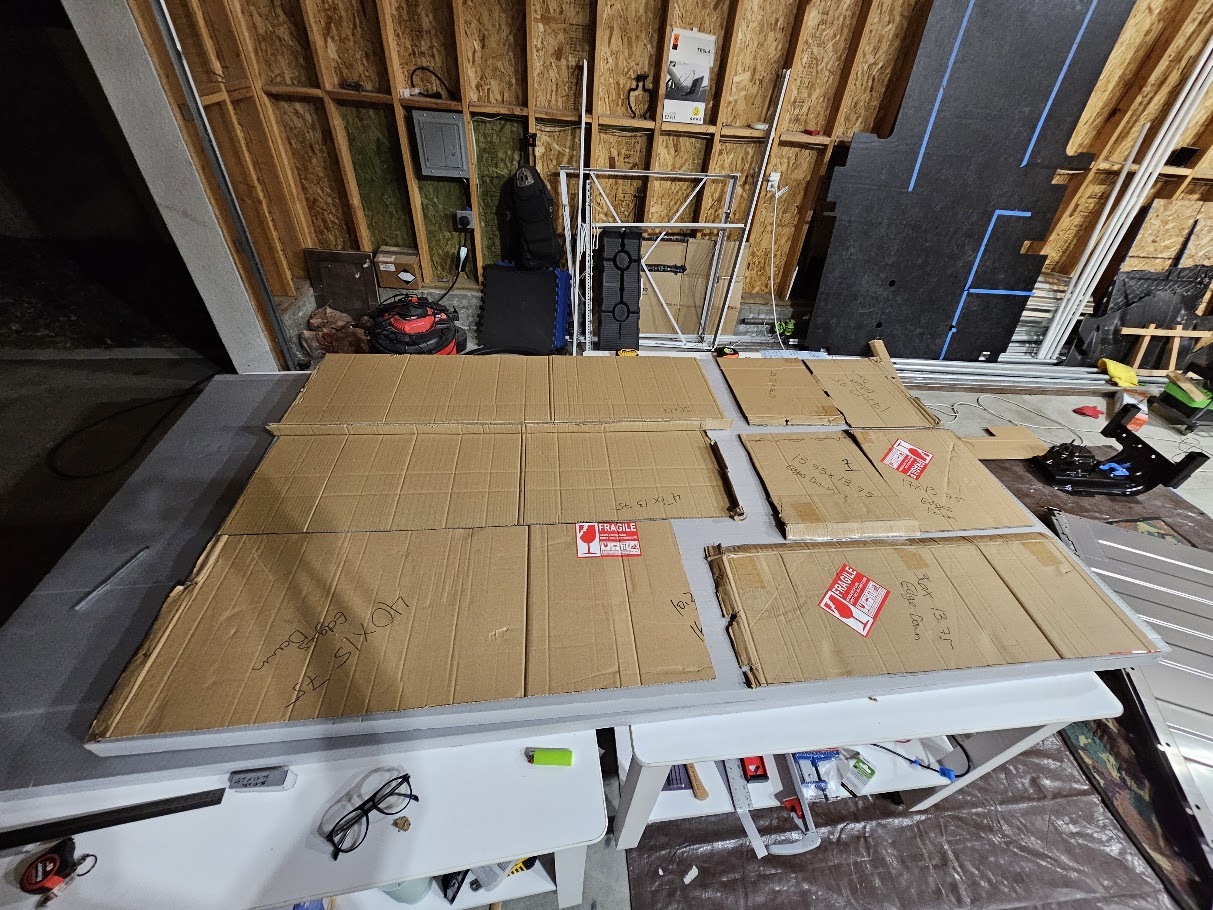
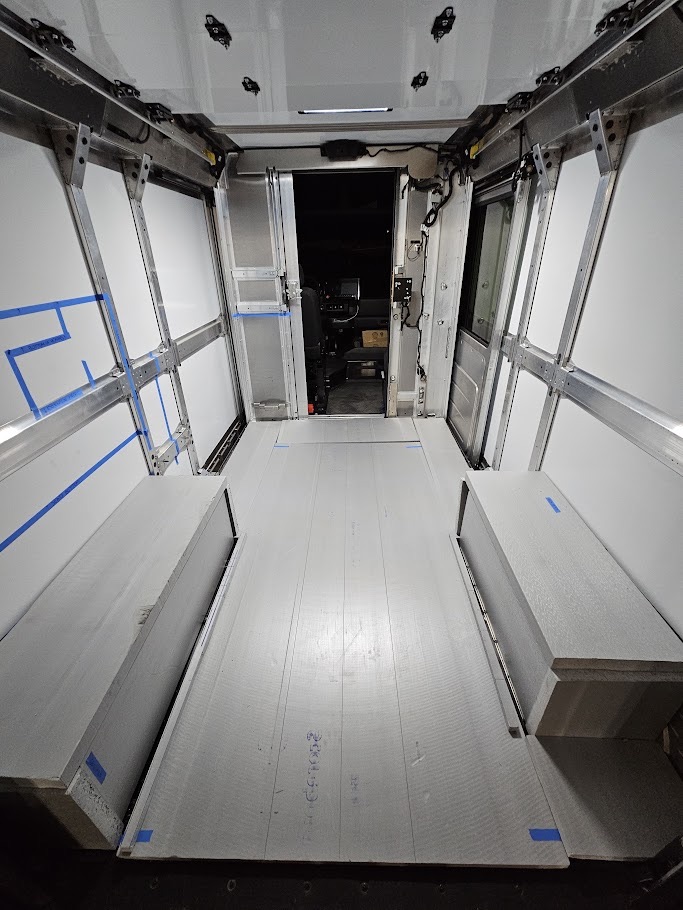
Time for the next batch of photos! Windows cut out. Ceiling and floors going in….
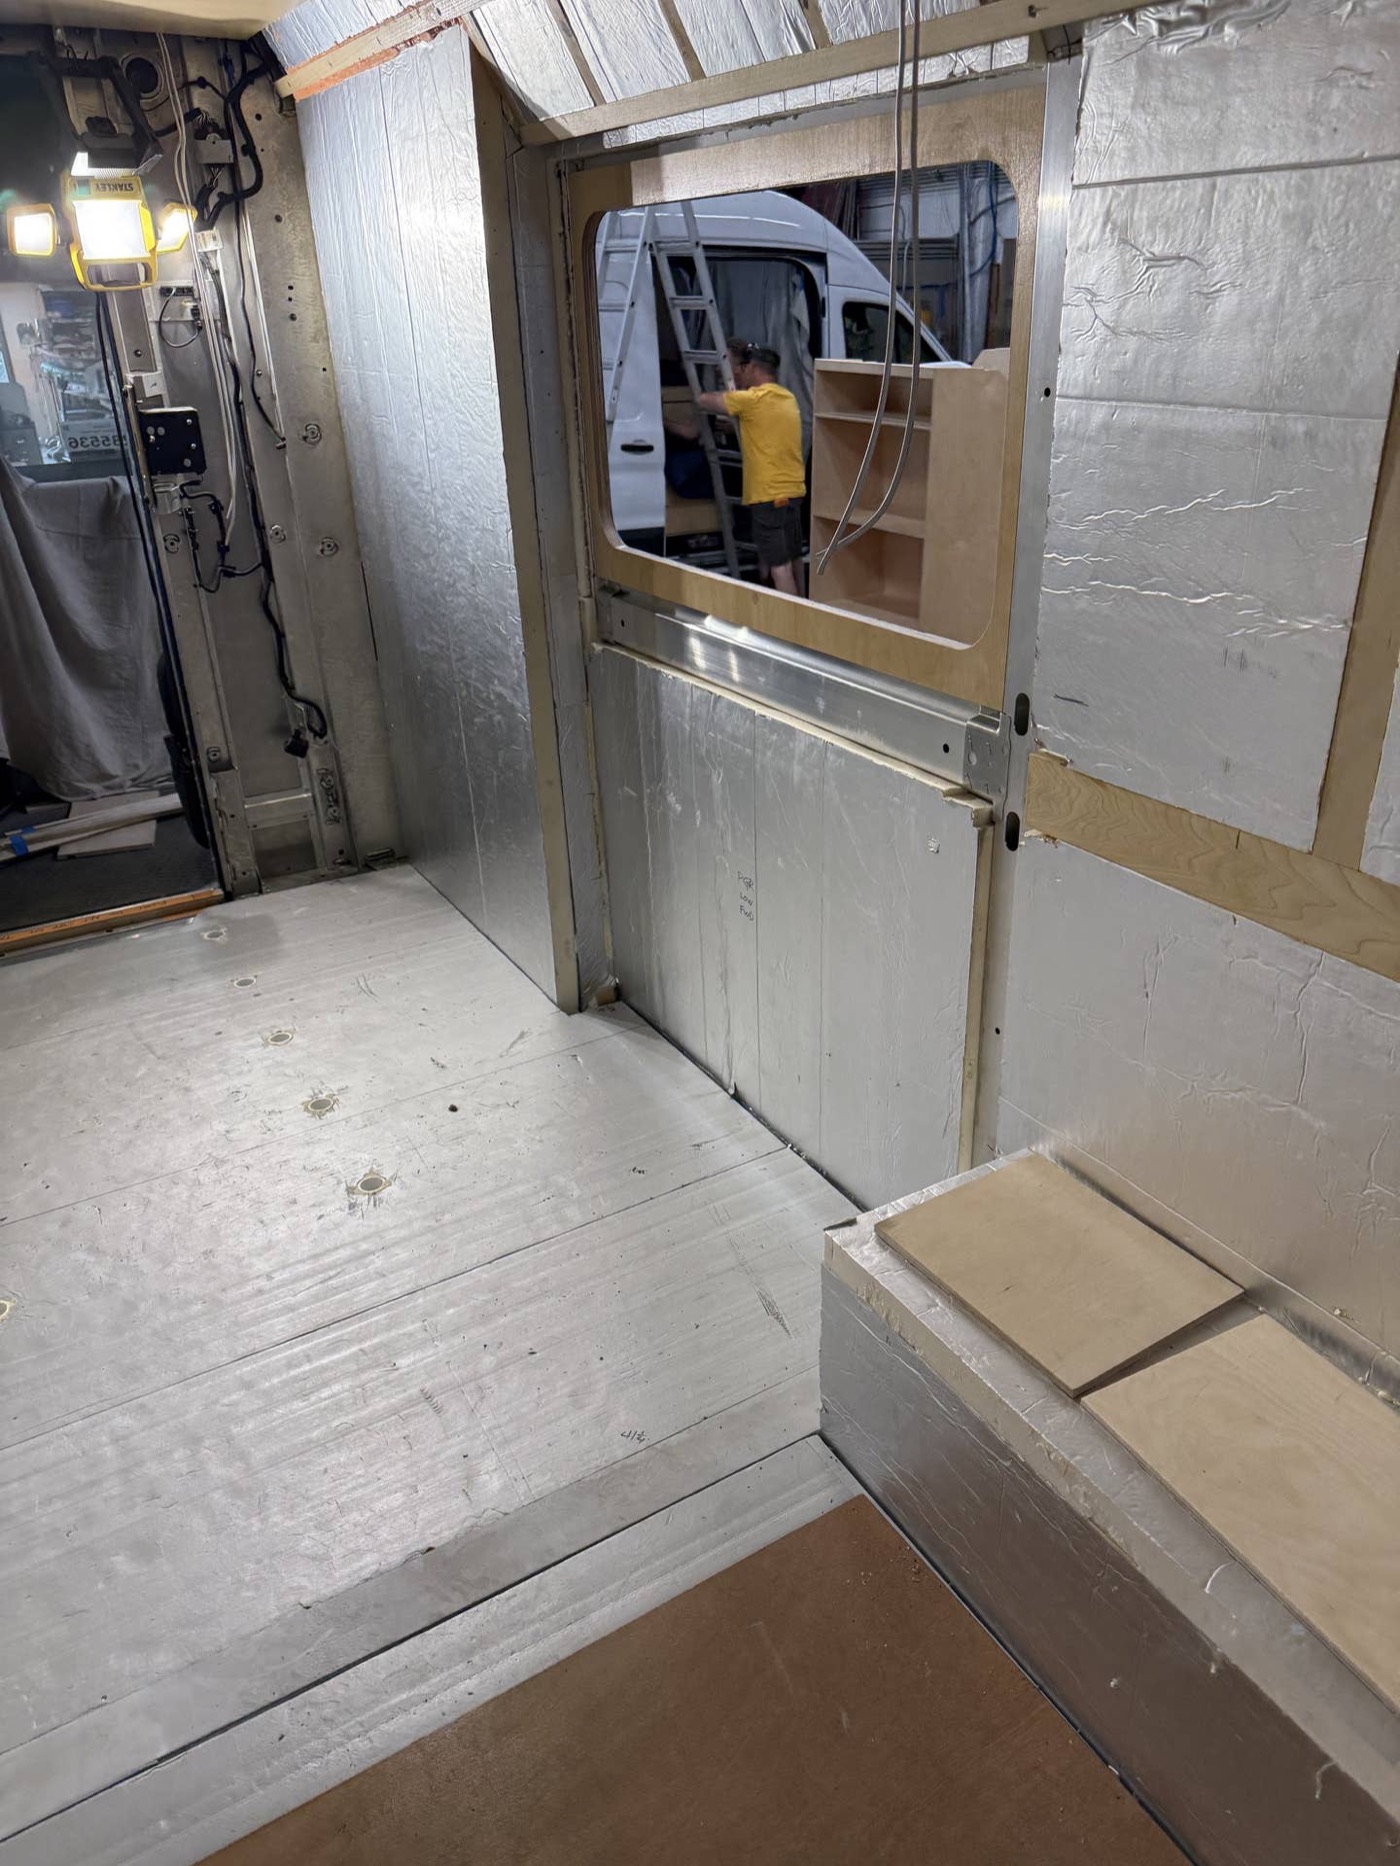
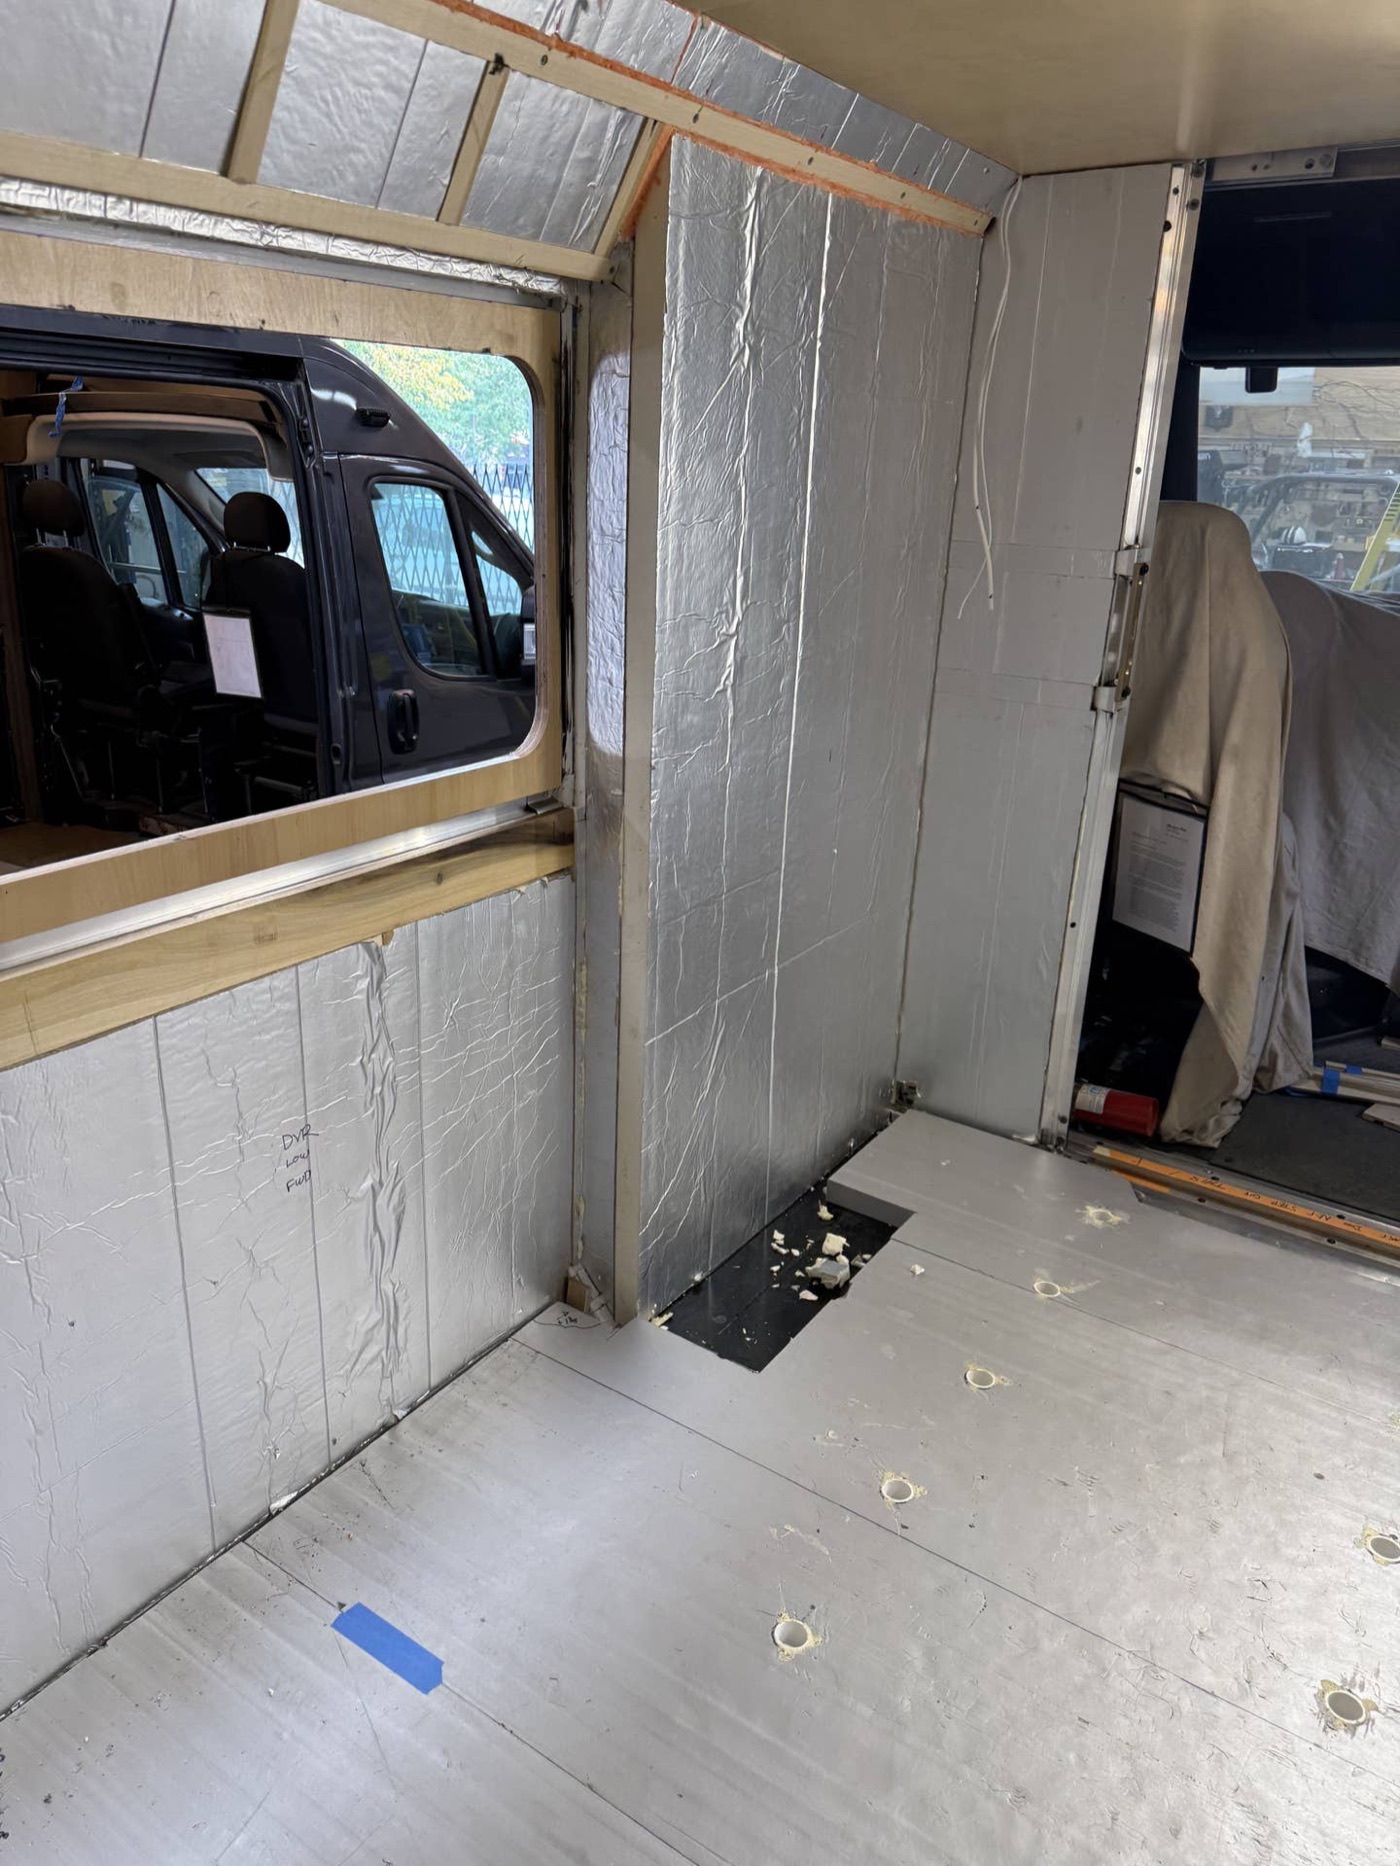
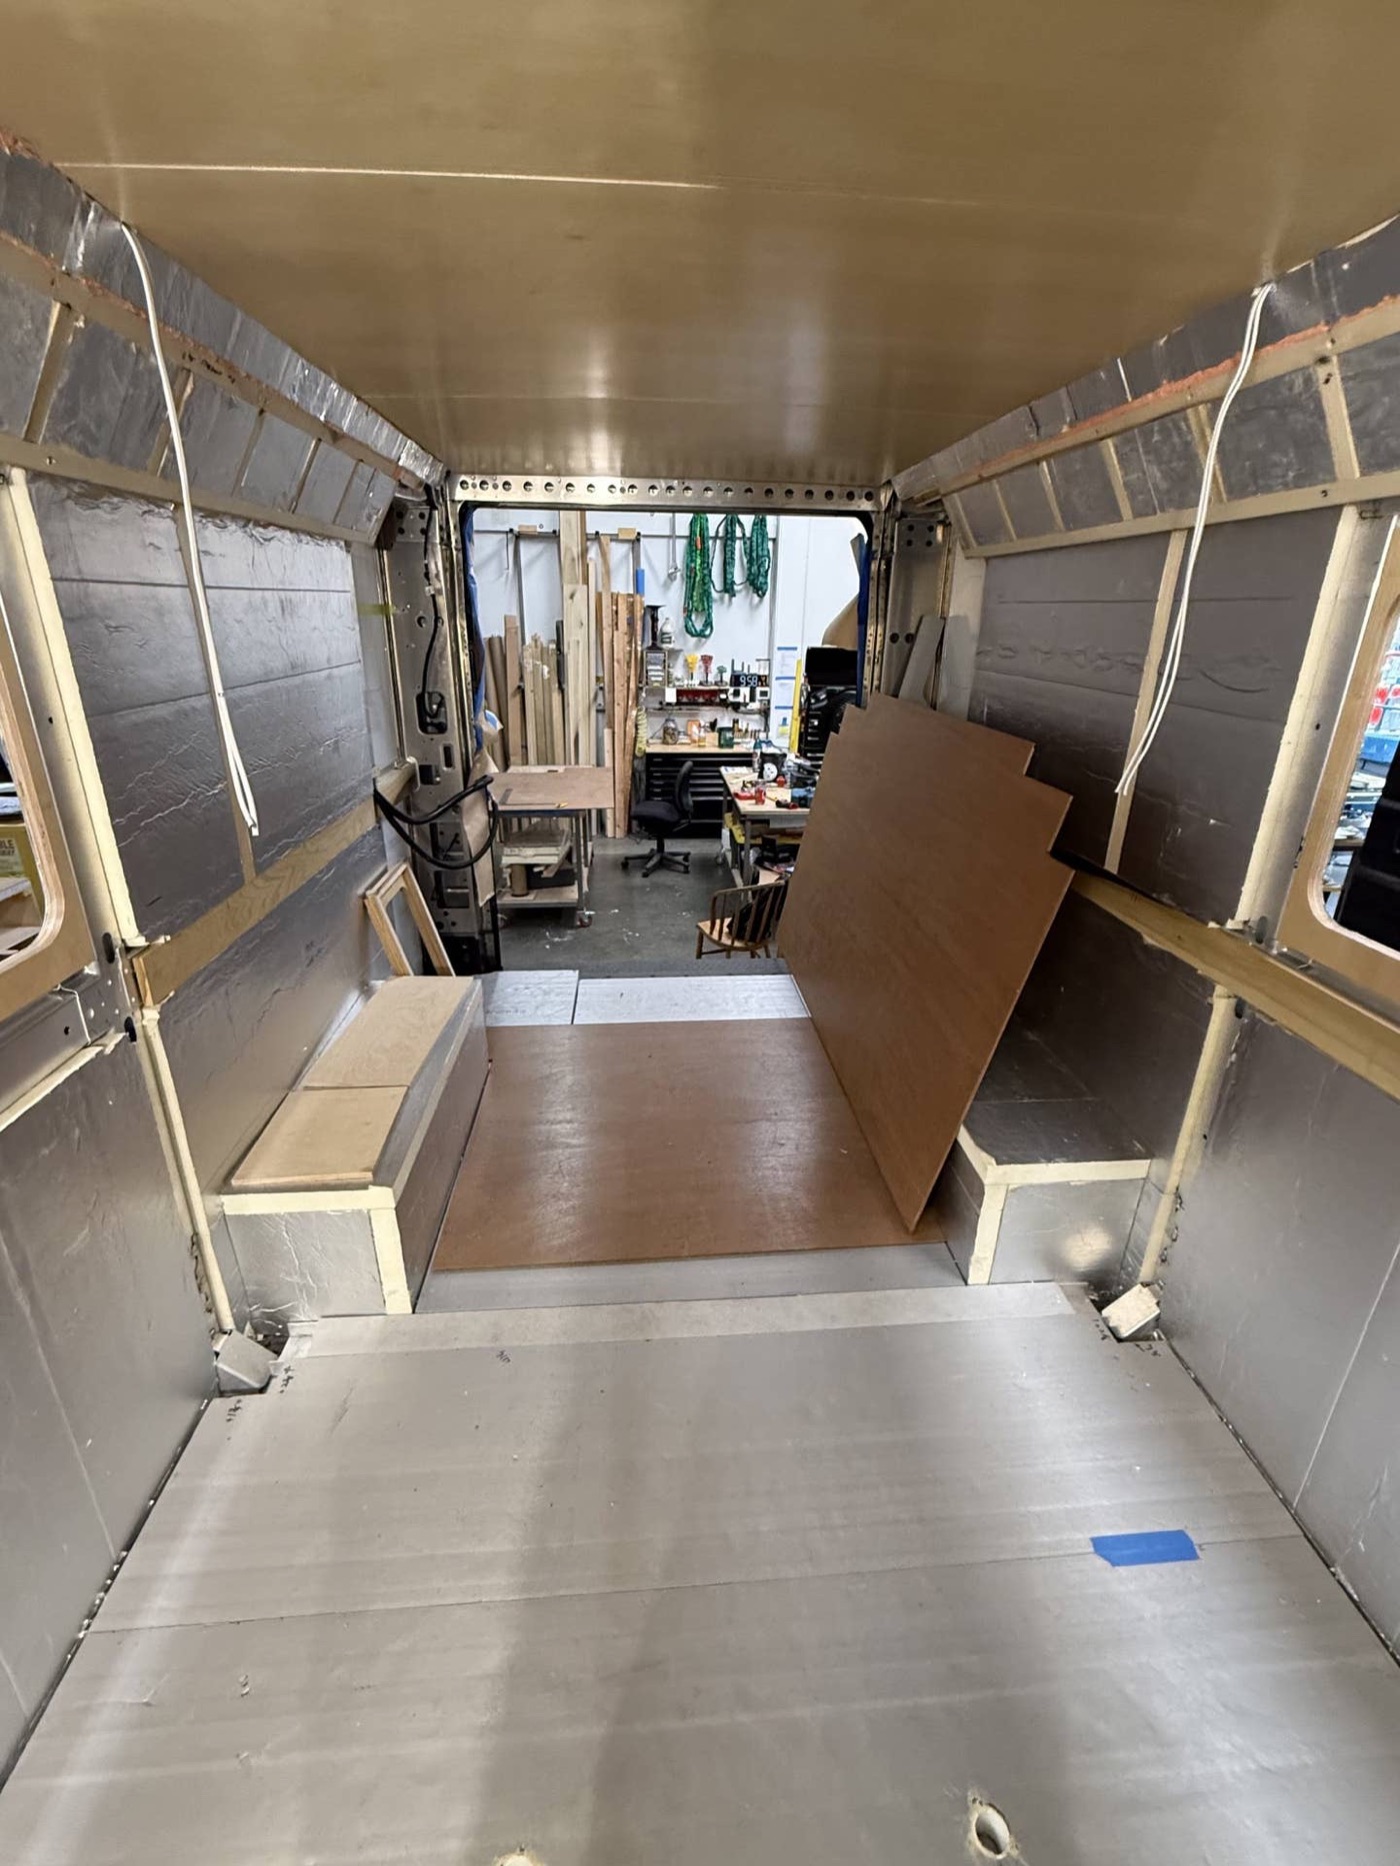
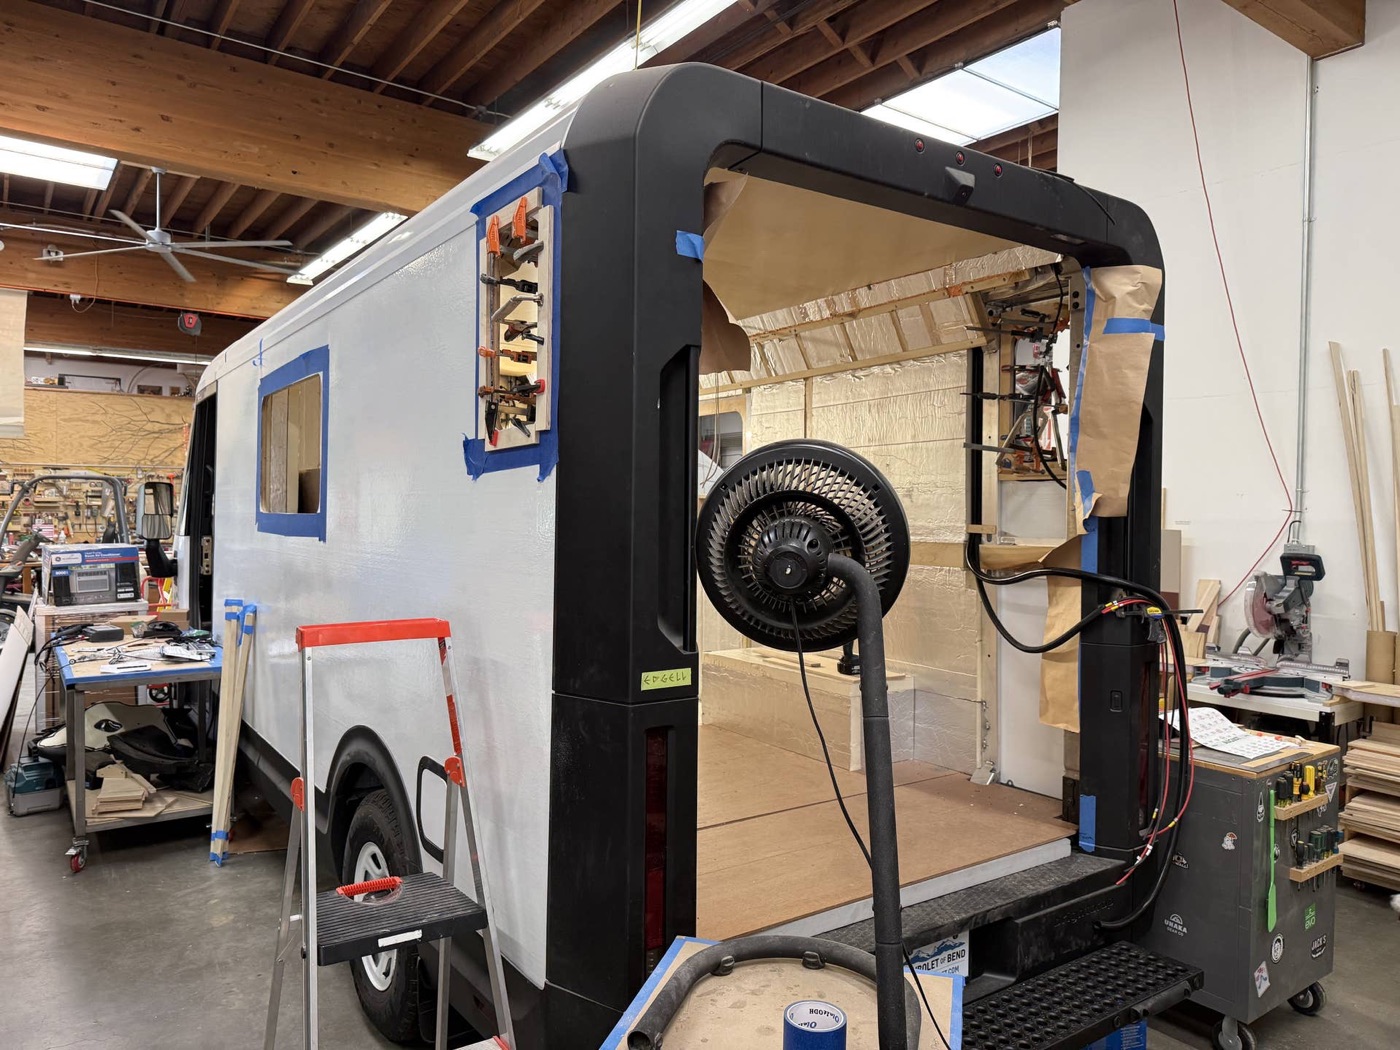
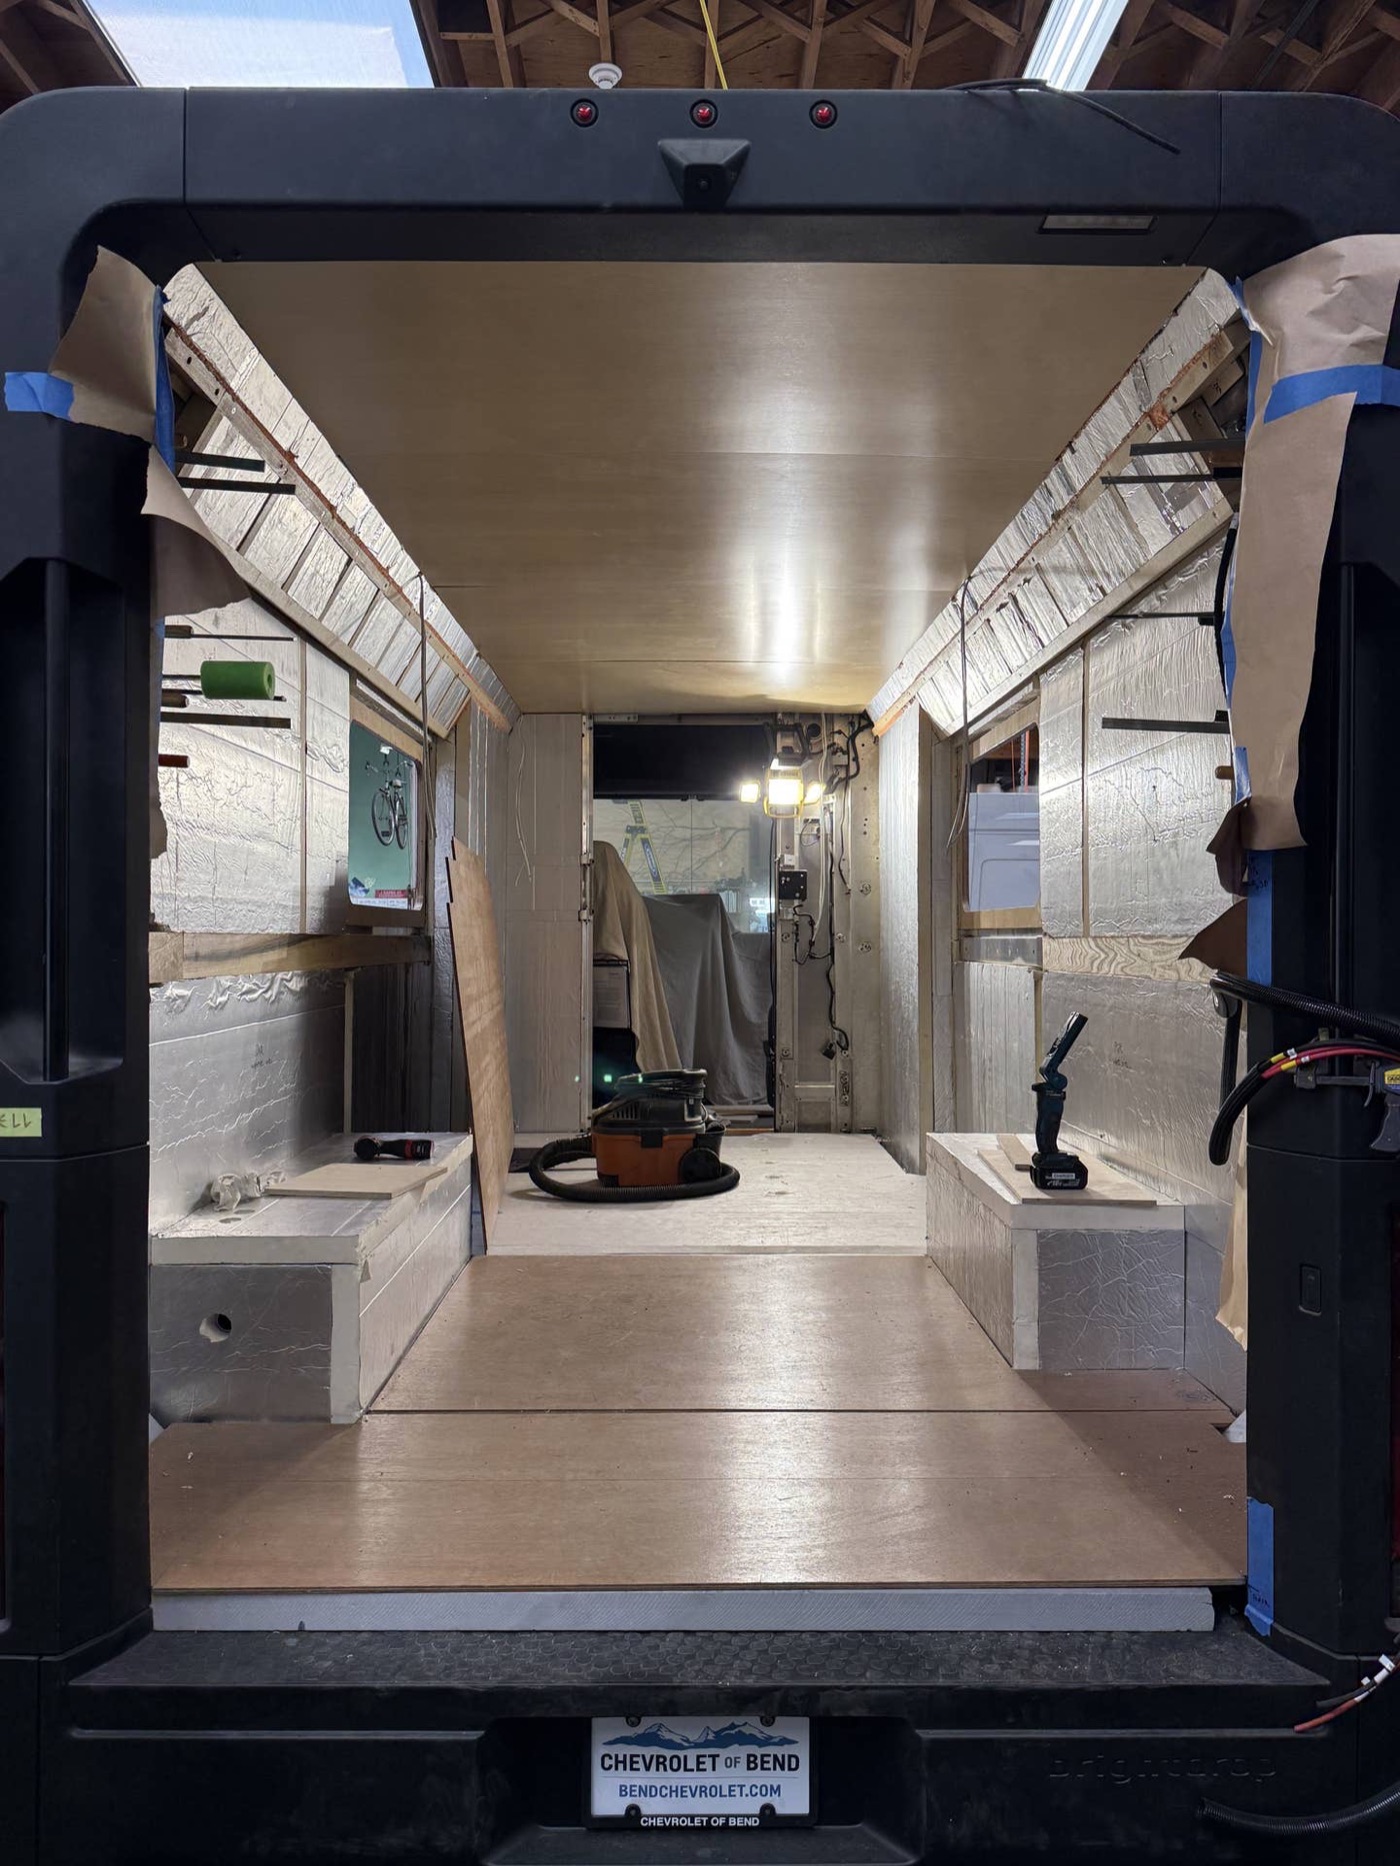
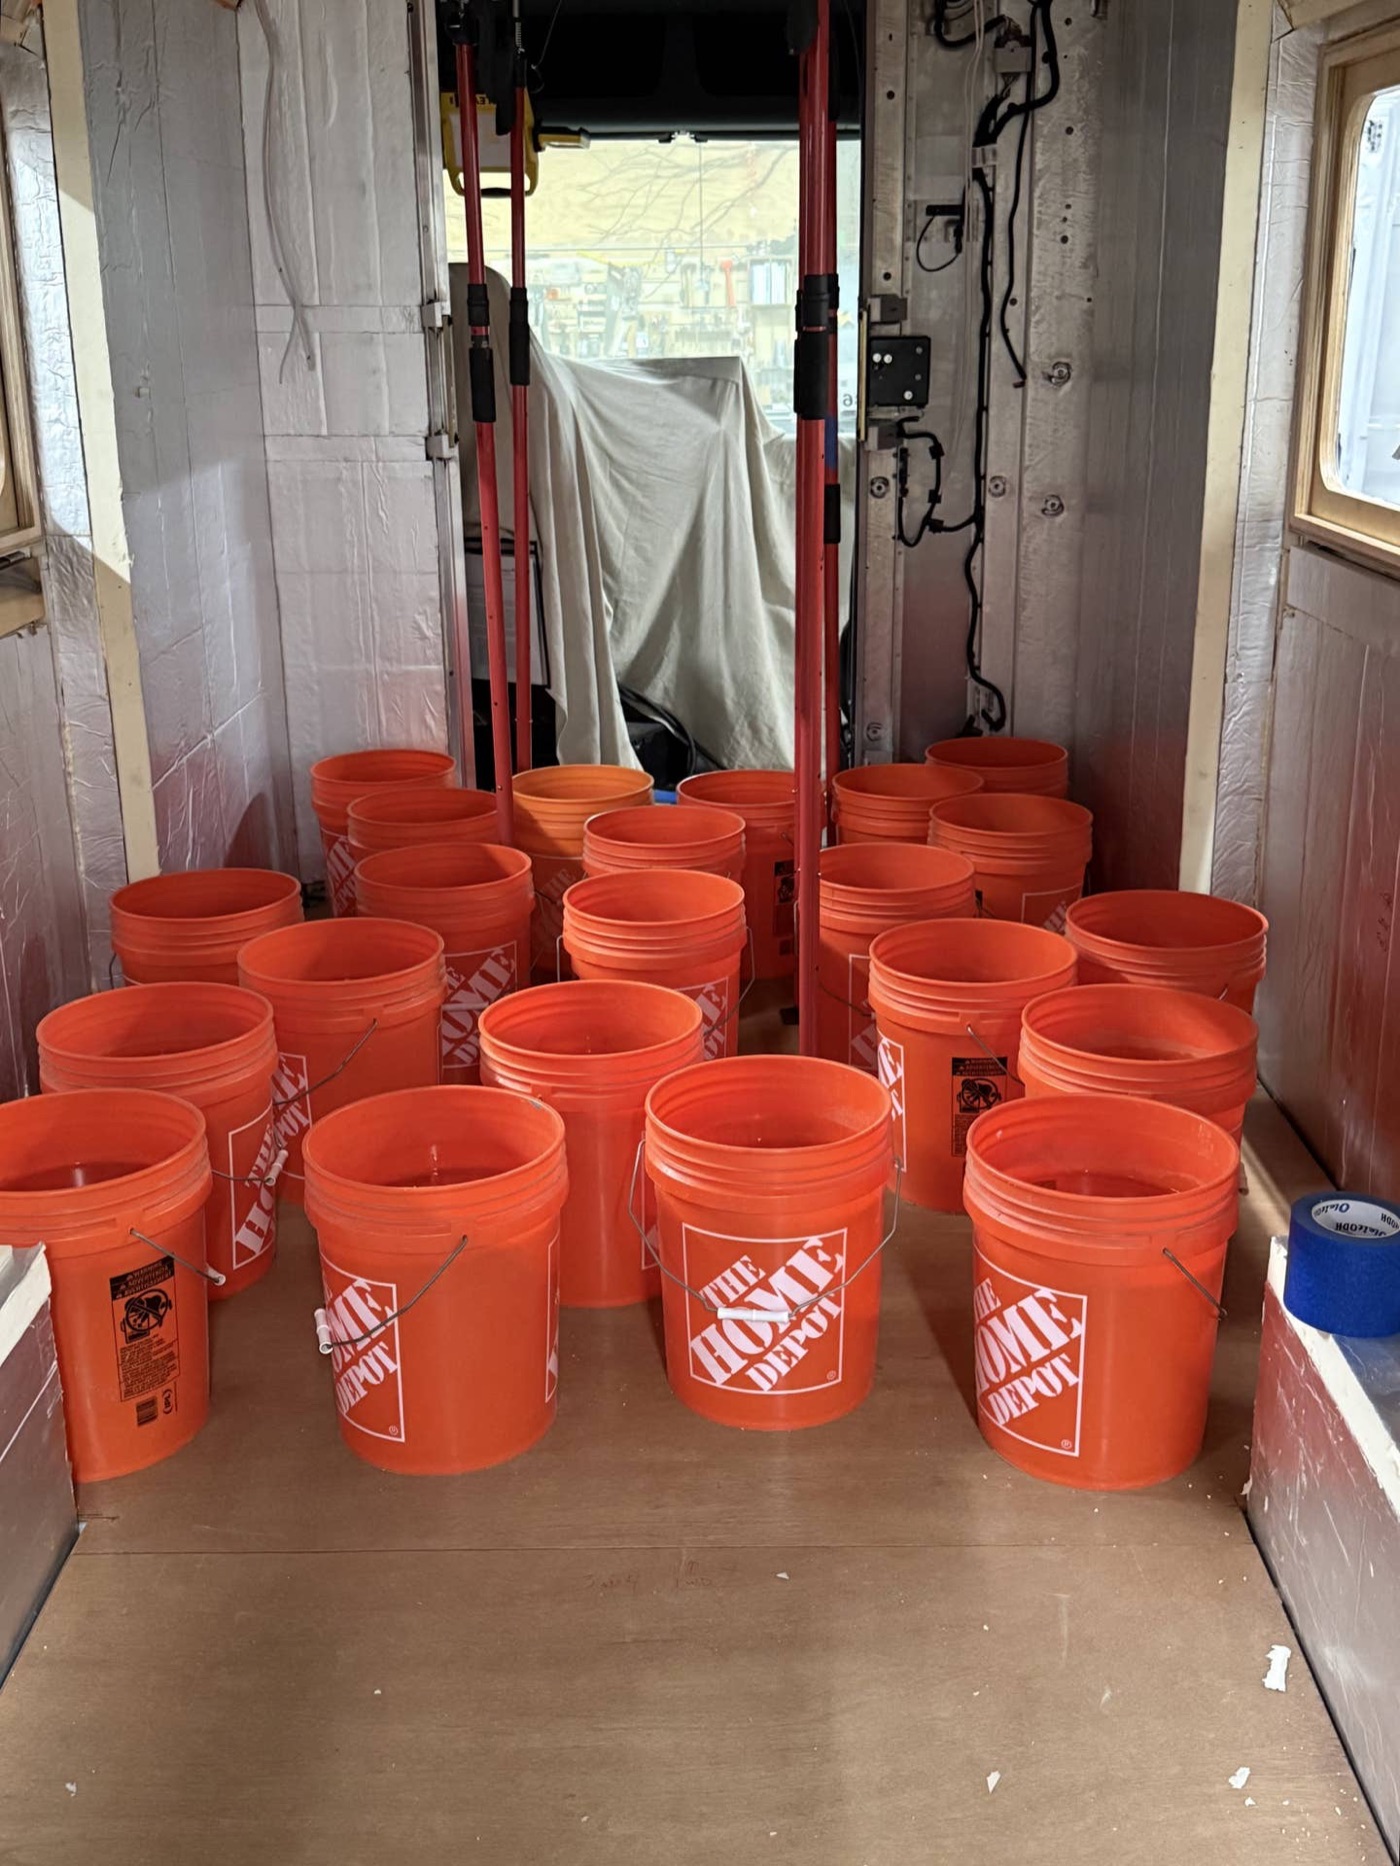
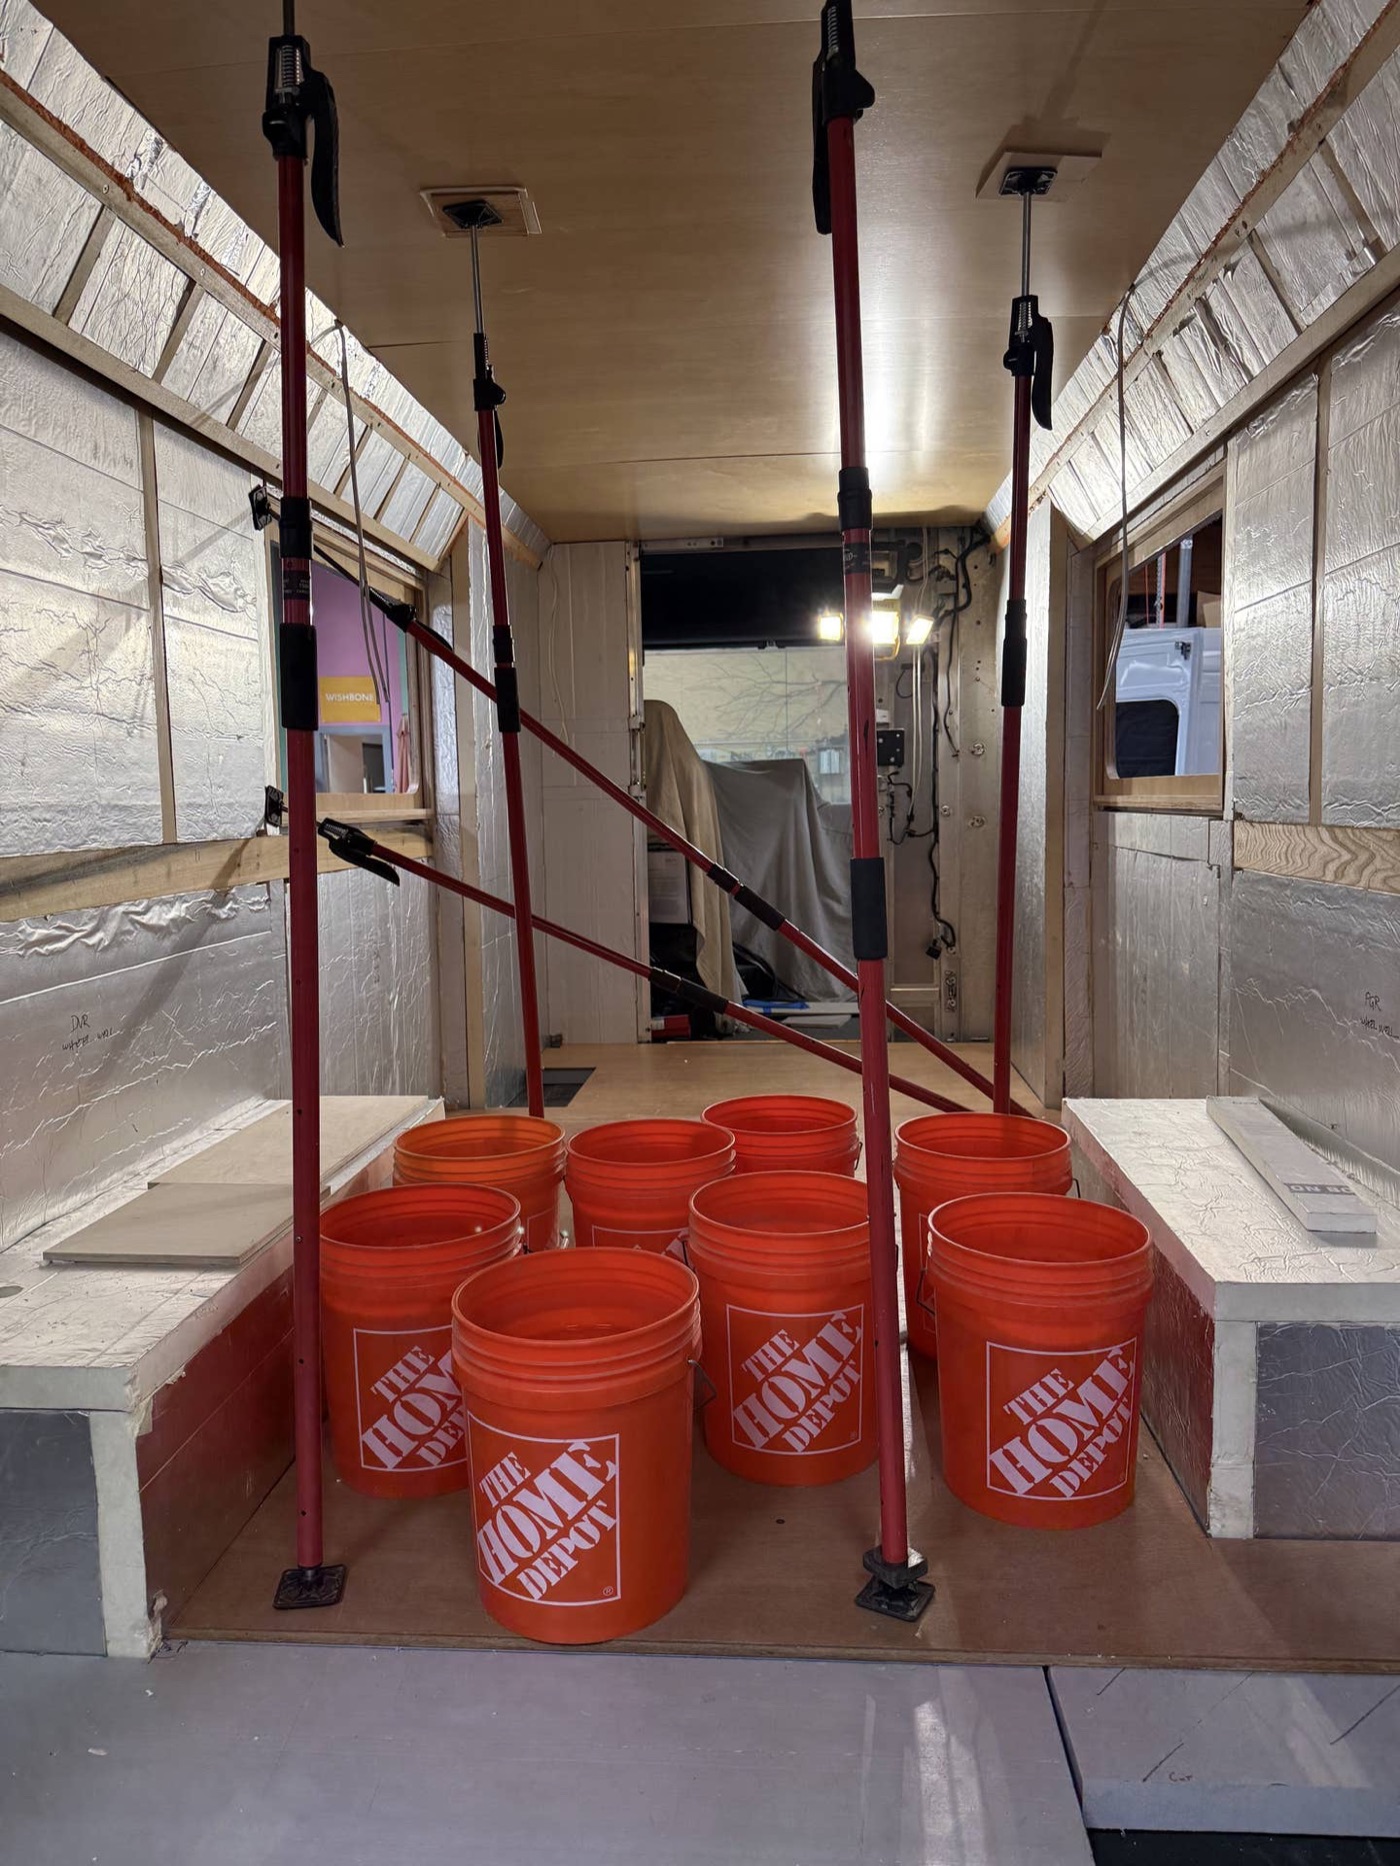
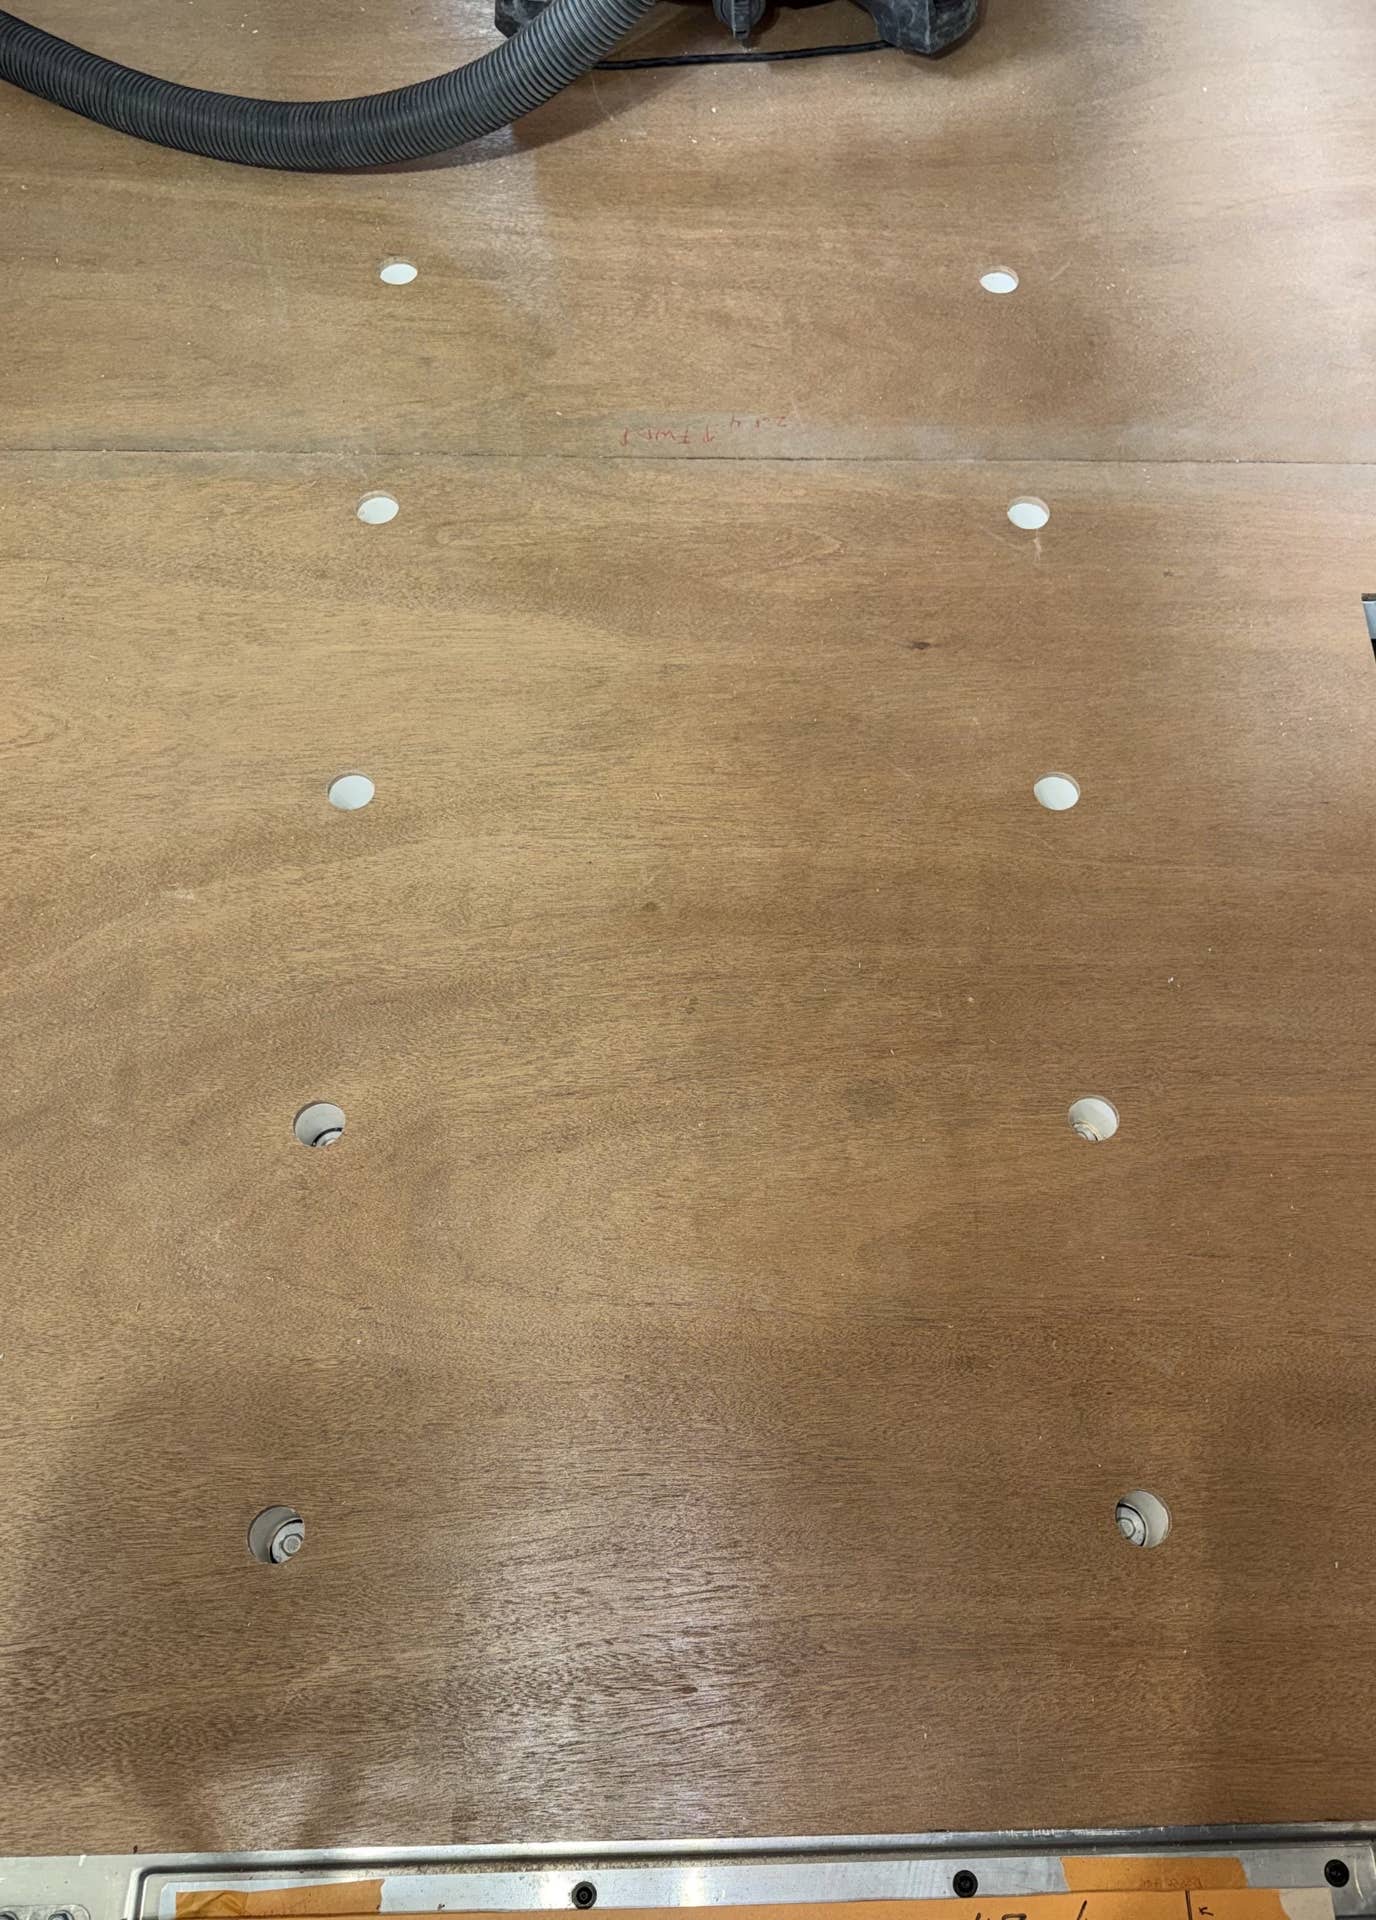
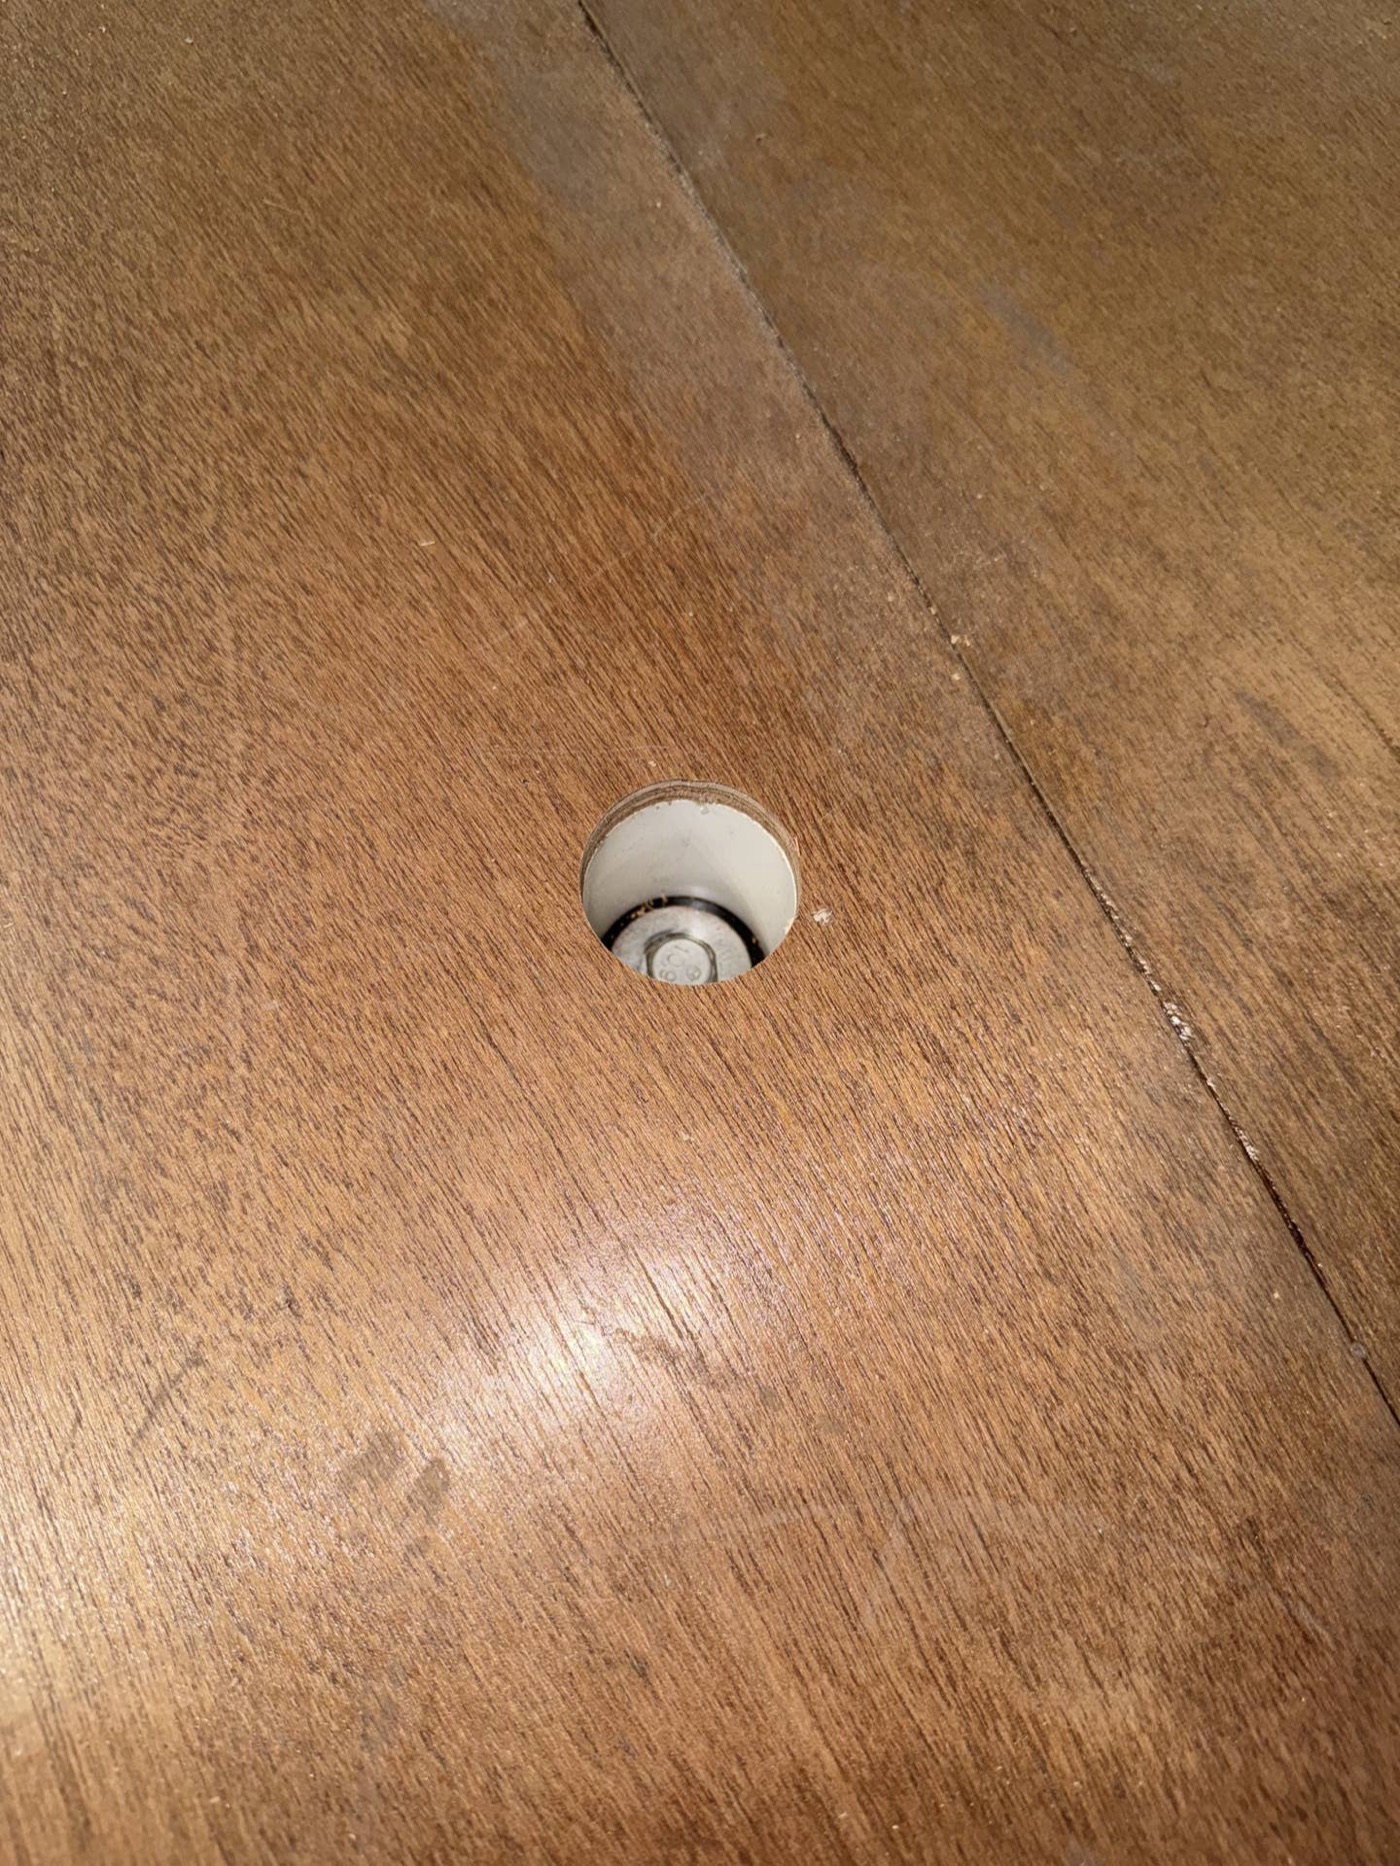
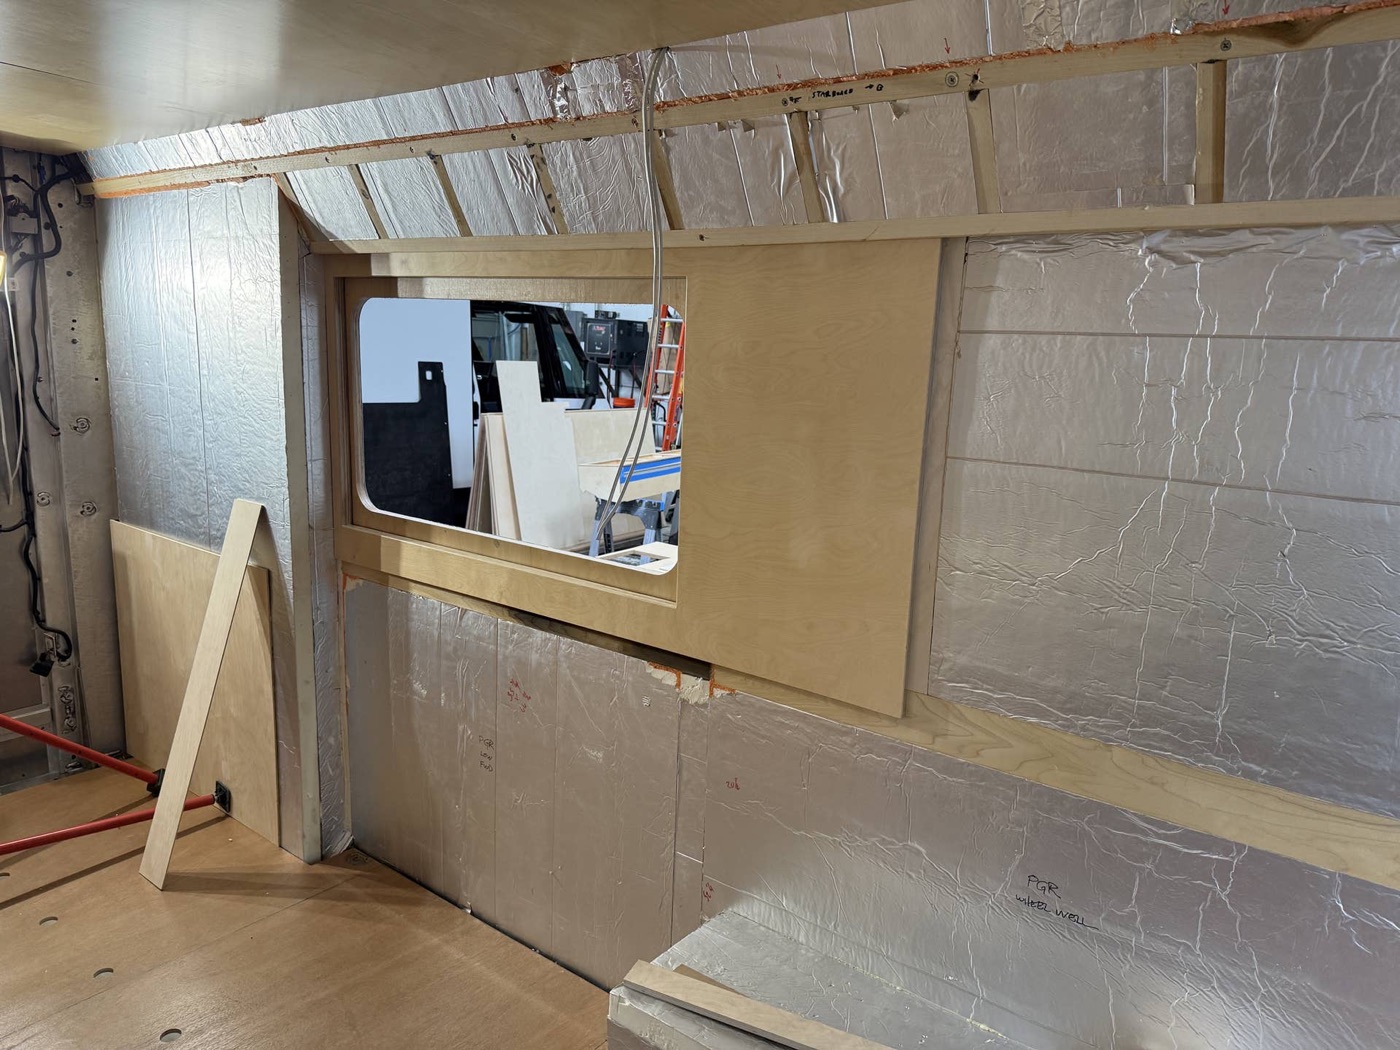
Time for this week’s photo update. Not big progress to show as the crew is doing a lot of fitting and we’re working on equipment placement, but trying to keep everyone interested!
thread on brightdropforum.com →
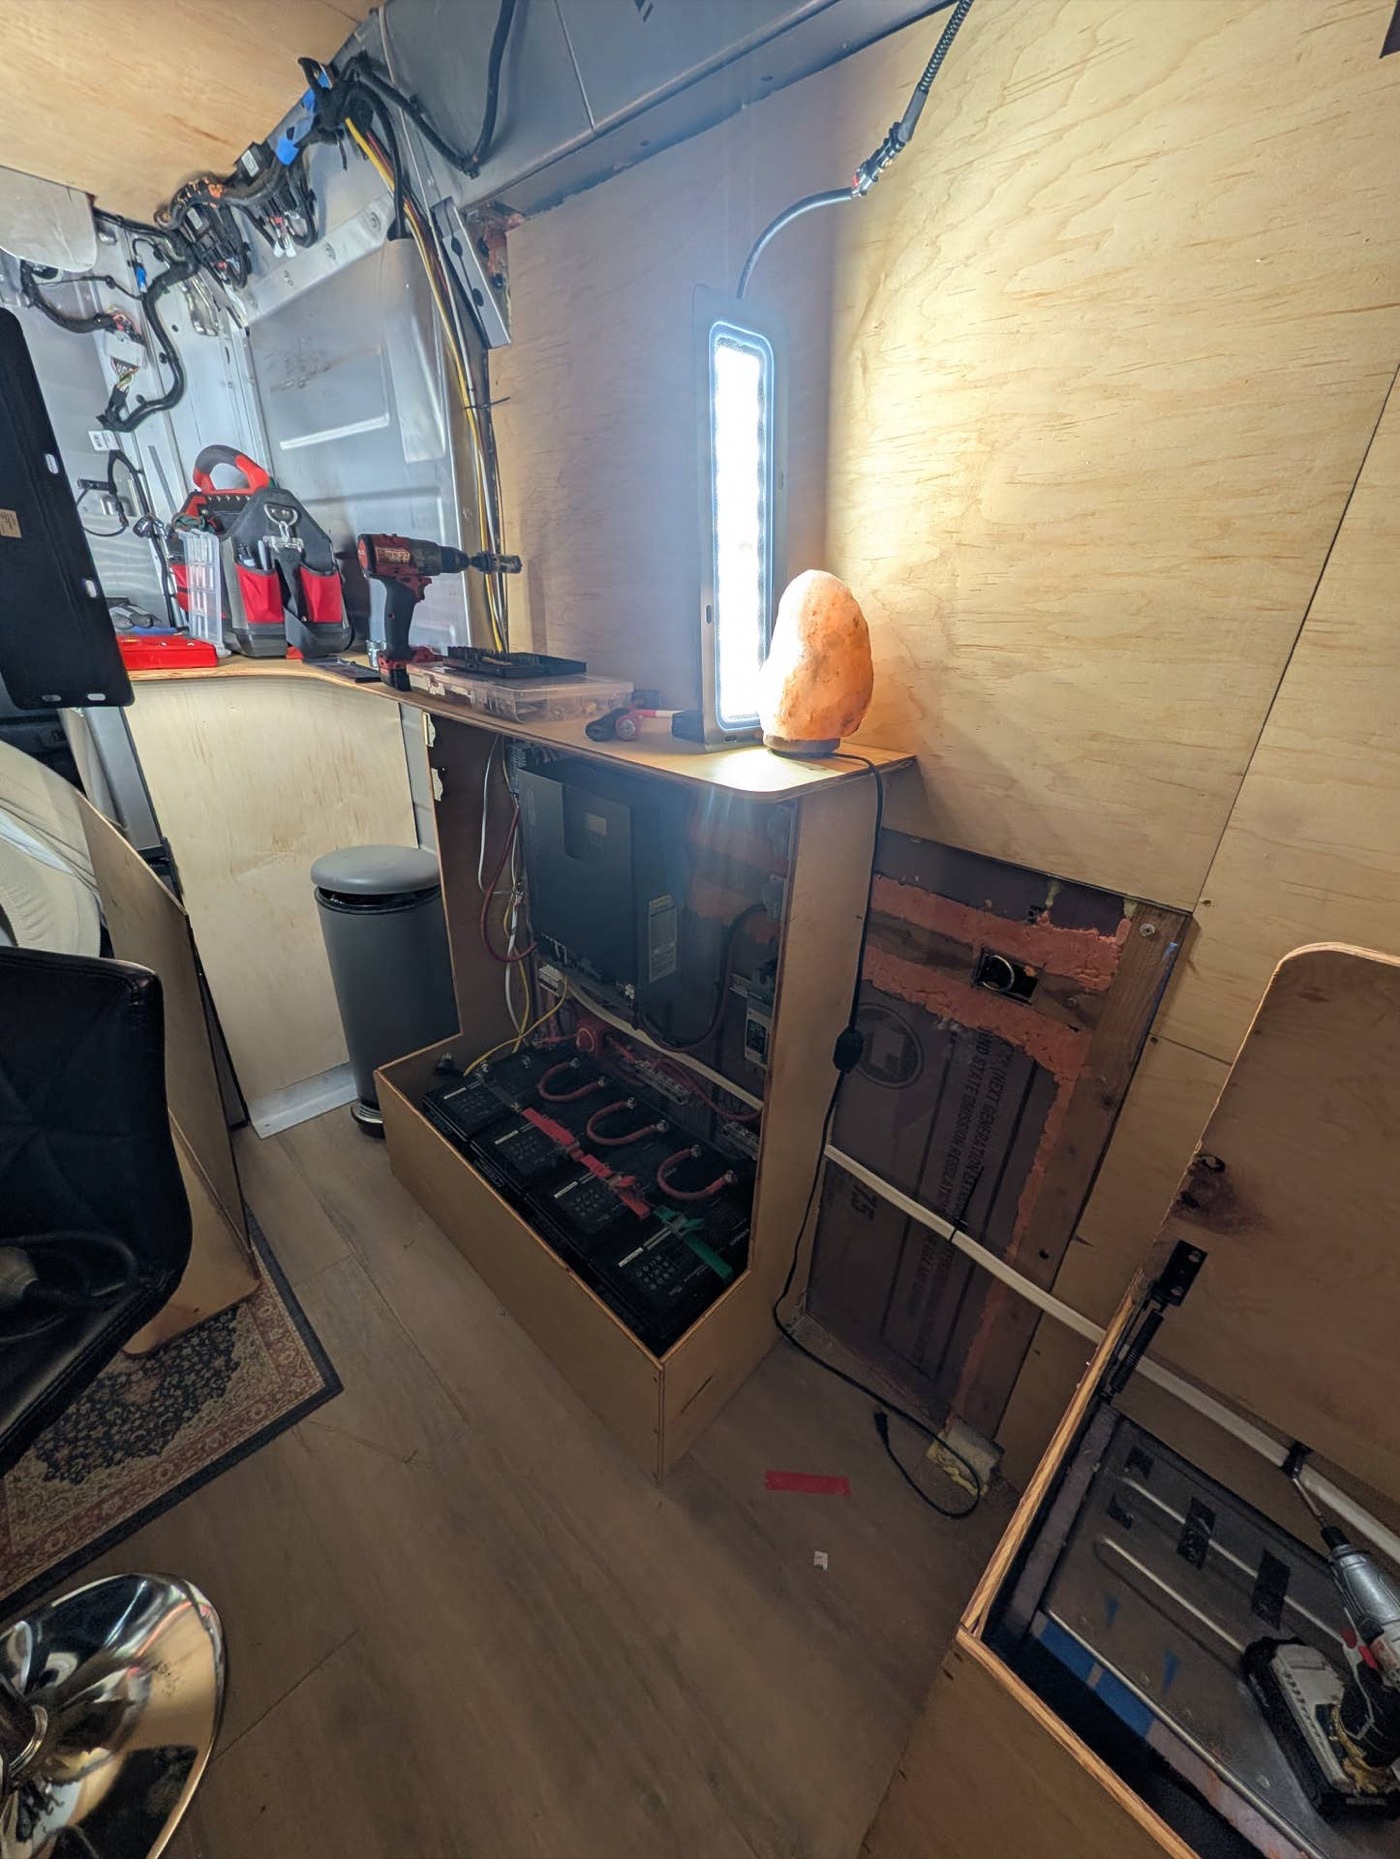
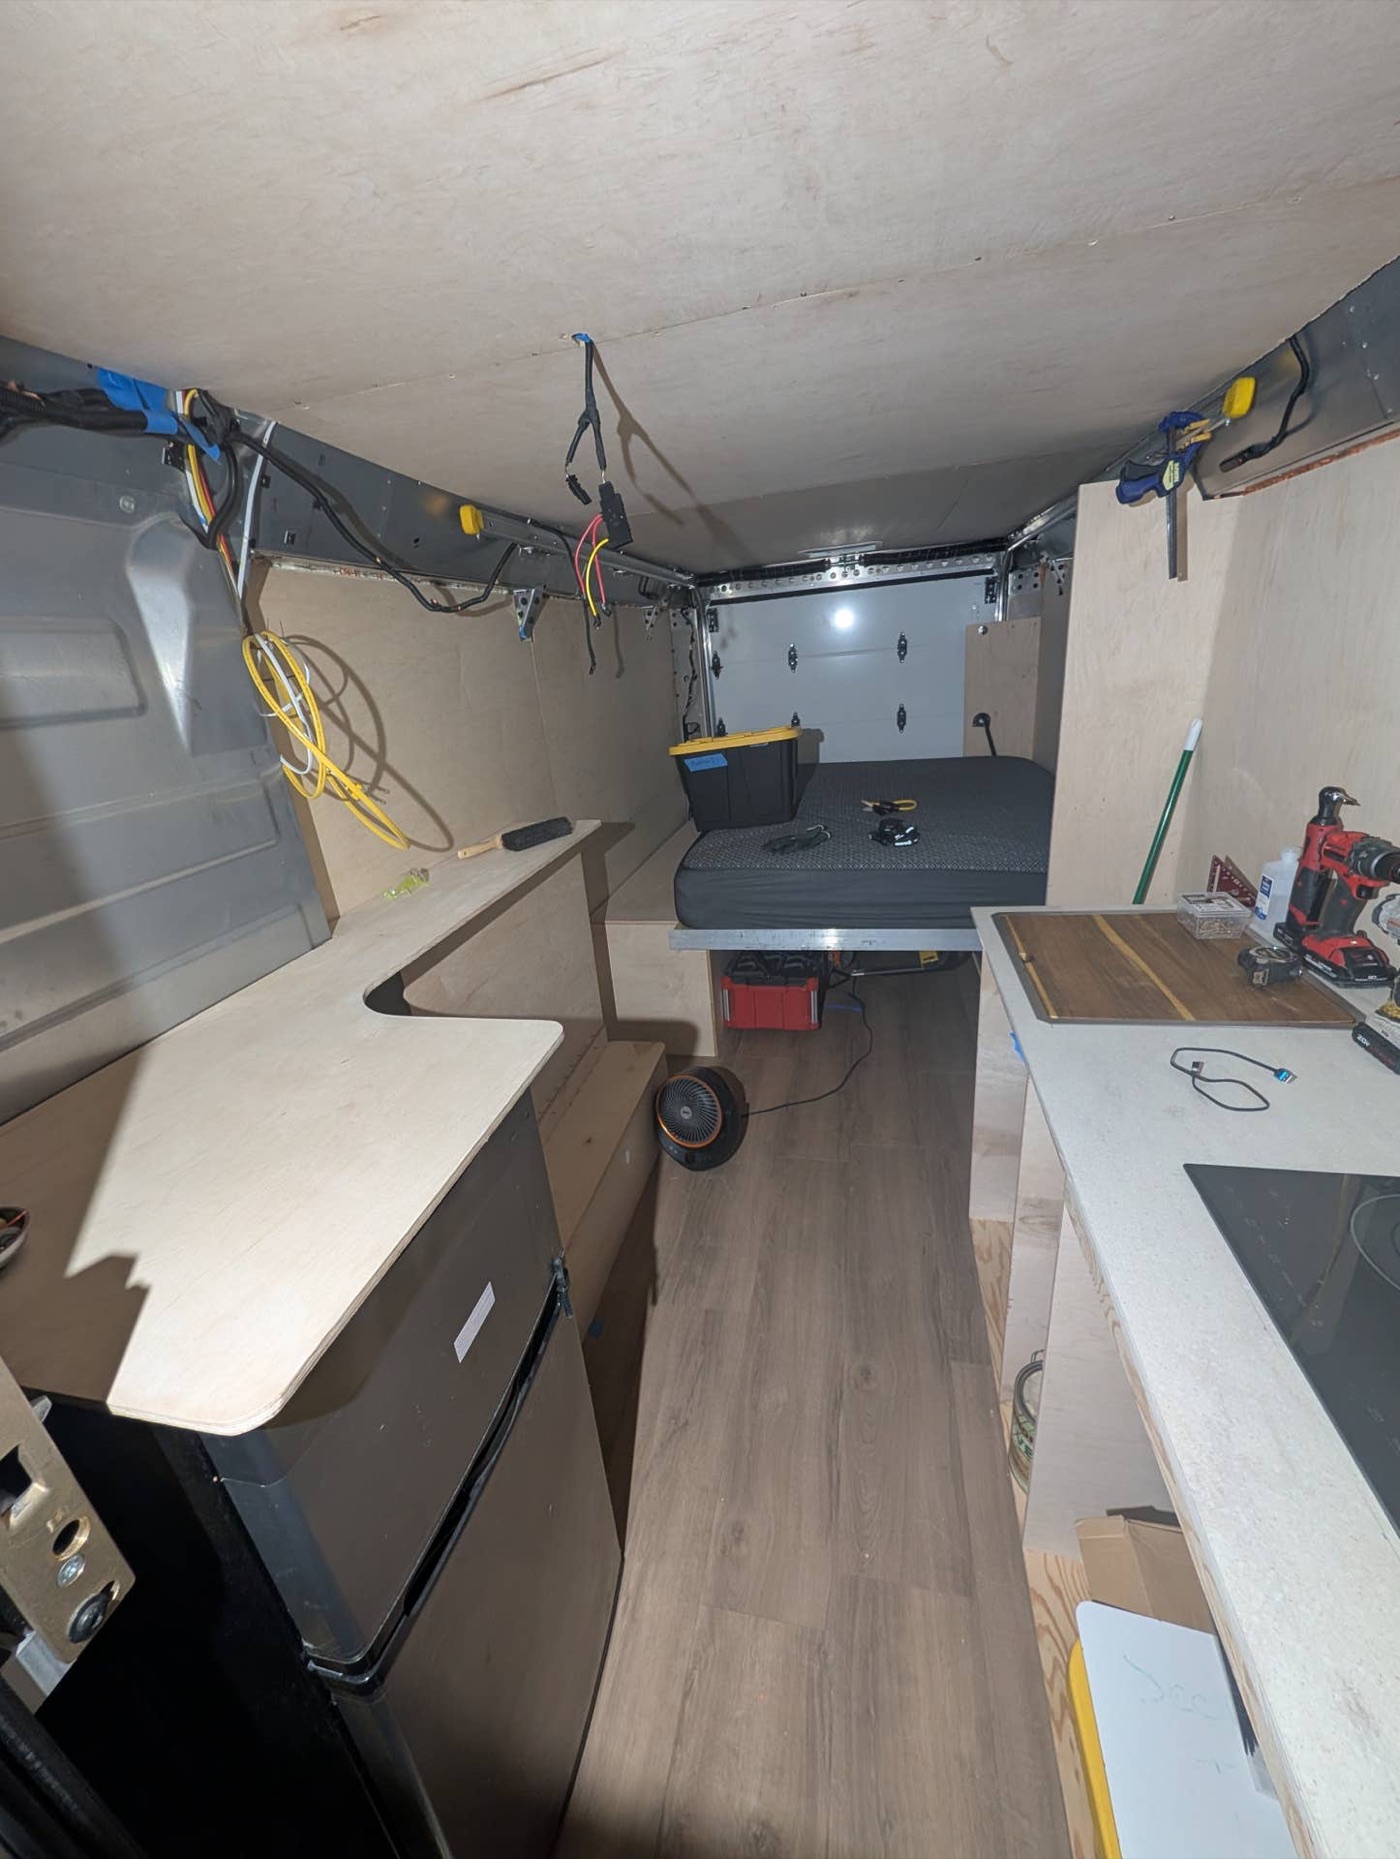
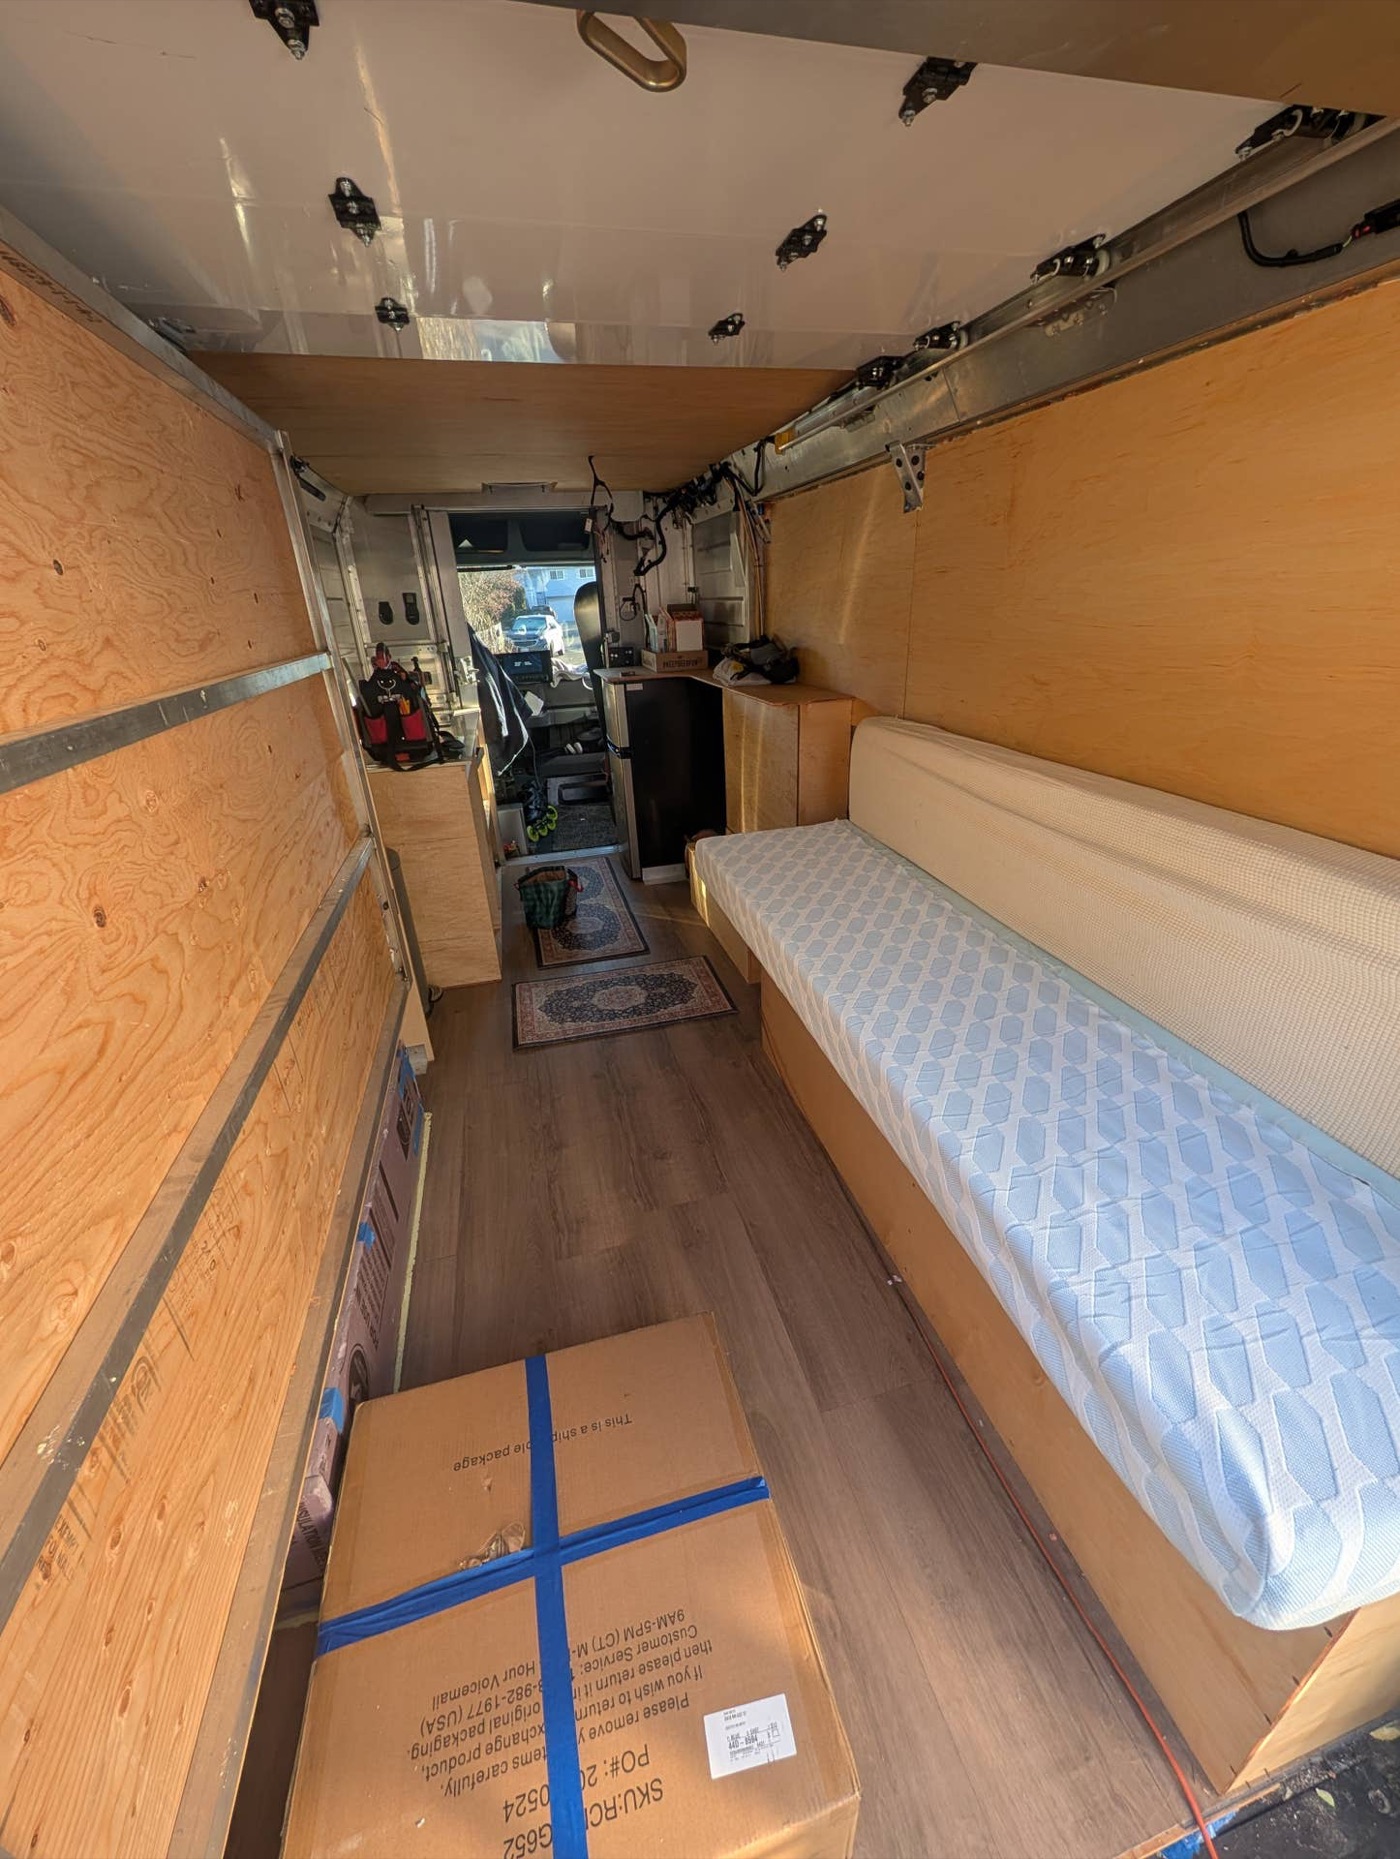
derekmay360 — Hi there! Wanted to share some pics of my ongoing build. Started in September 2025 and having a blast. Absolutely love this van. I've had a sprinter, pro Master, and transit and this is by far my favorite van. Next steps for me is adding a toy hauler

thread on brightdropforum.com →
techlewisoz — Hi all, I'm Marc. Finally getting around to creating an account and sharing the current state of my build! I bought my BrightDrop 400 back in February. Was hoping to buy an MPDV2 EV delivery van from Canoo, but they went bankrupt. I've been slowly co
thread on brightdropforum.com →
3D of my walk thru. Front half Temp controlled.
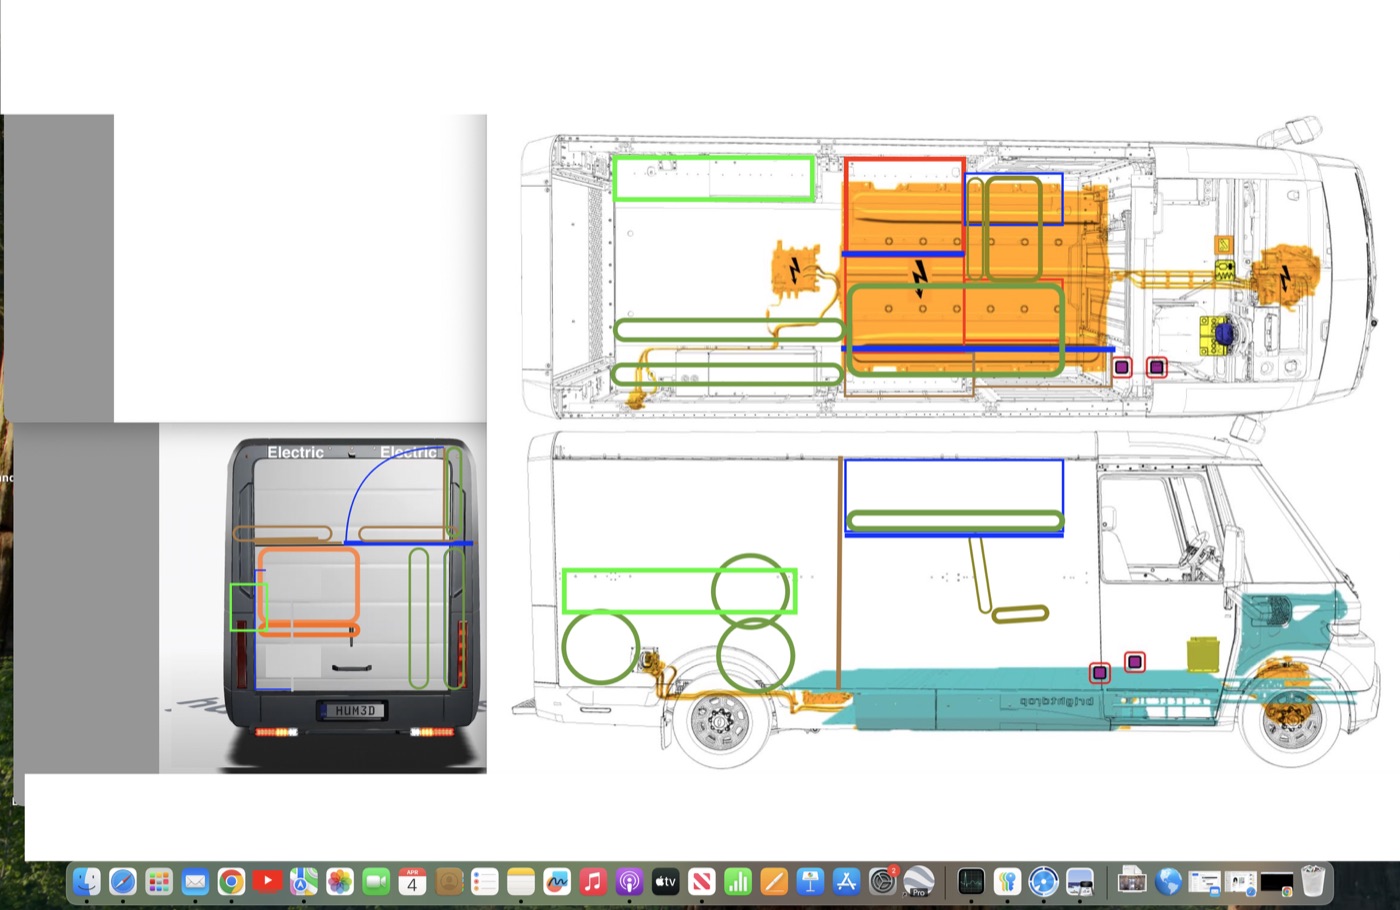
I forget how the GM cooling system is s architectured, but a SIB would need far less of it vs LFP or NCMA. The need to cool during fast charging IS technically what limits the Ultium battery, and BrightDrop charging speeds, currently. Plus, the charg
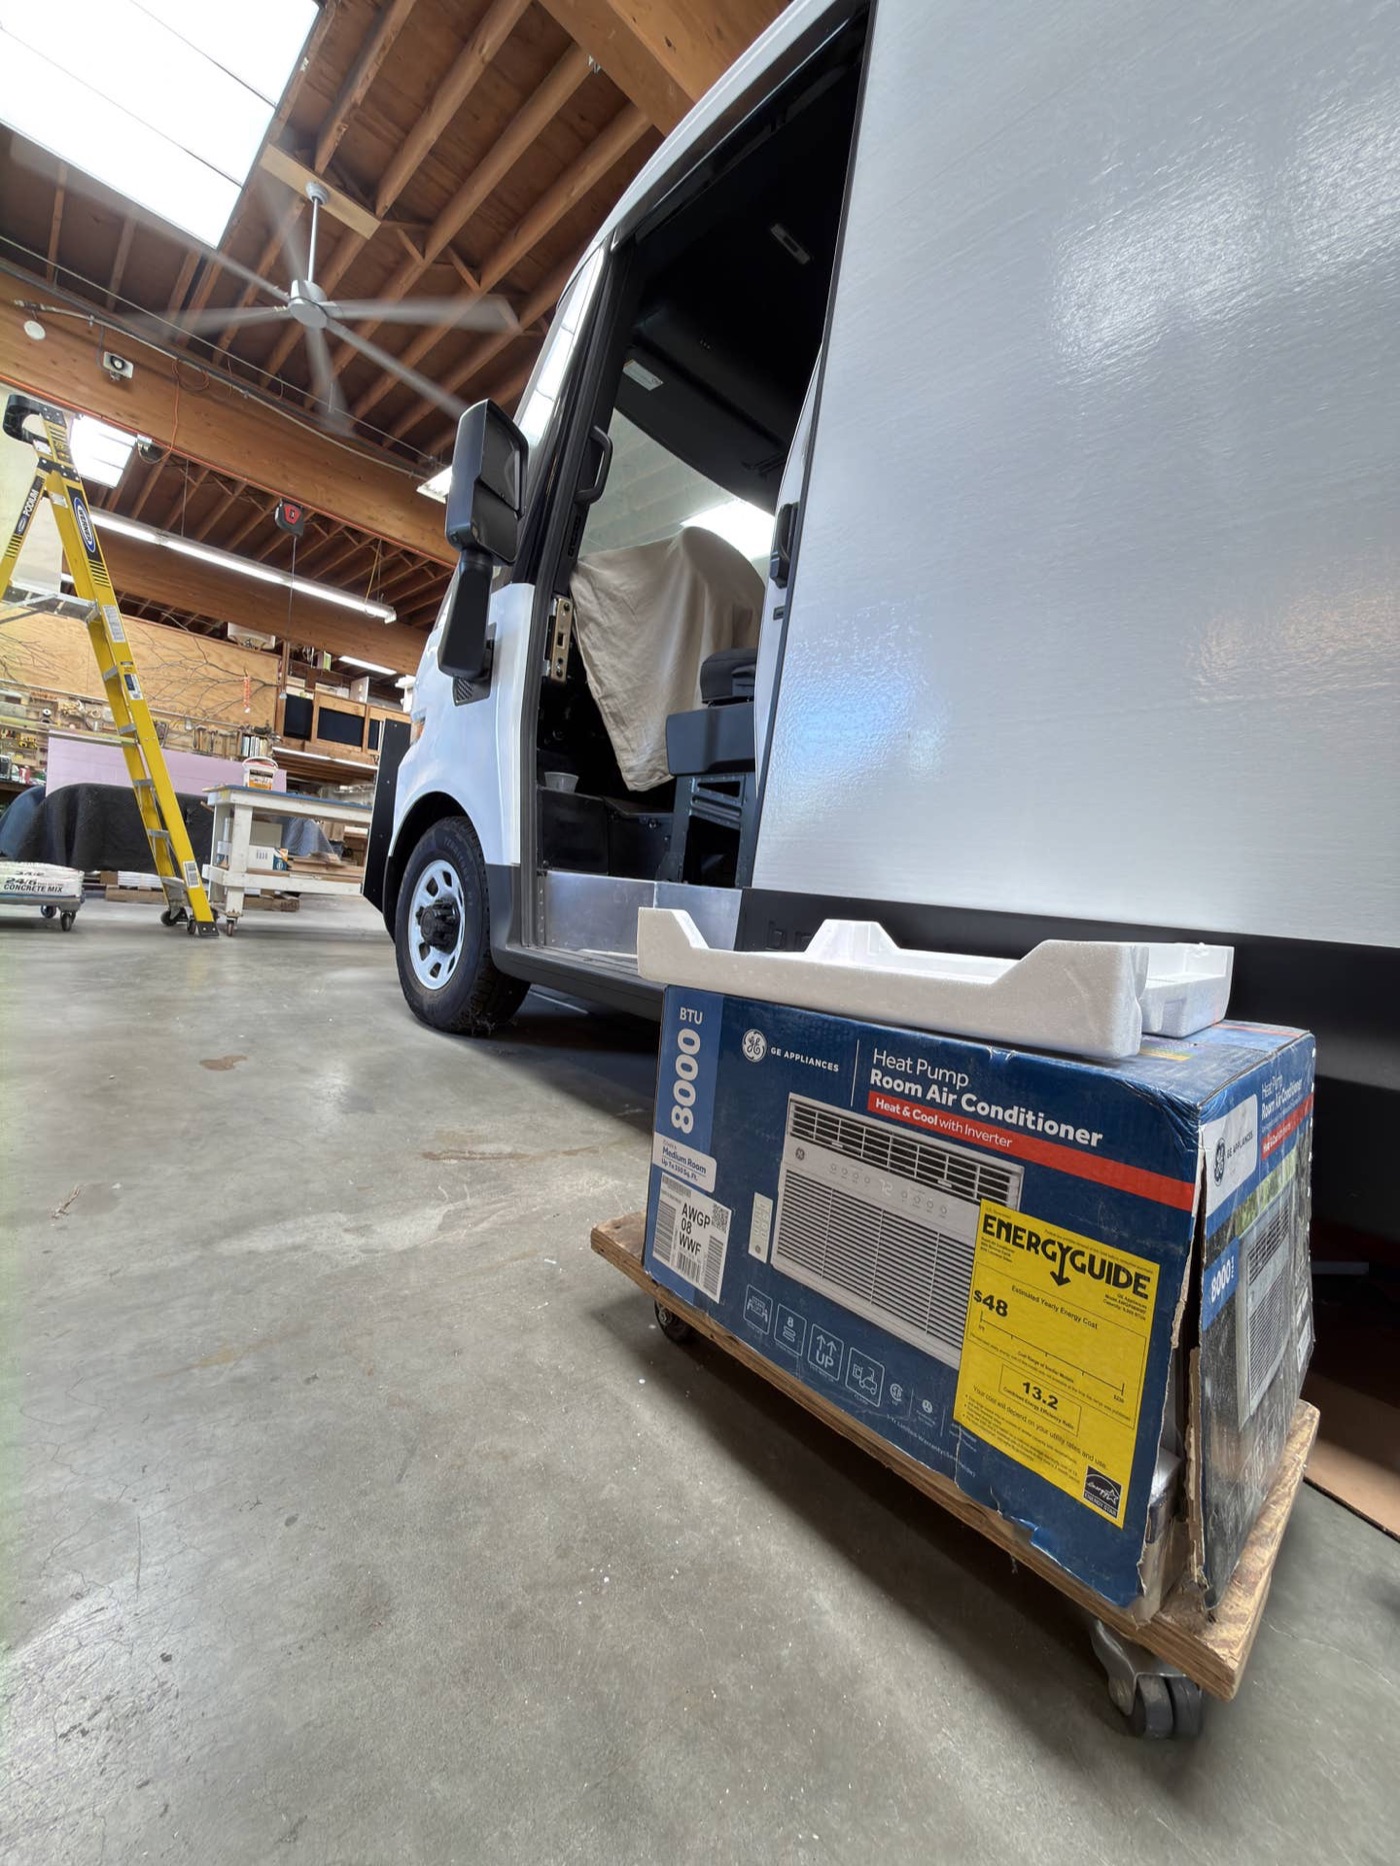
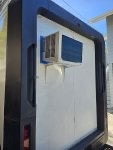
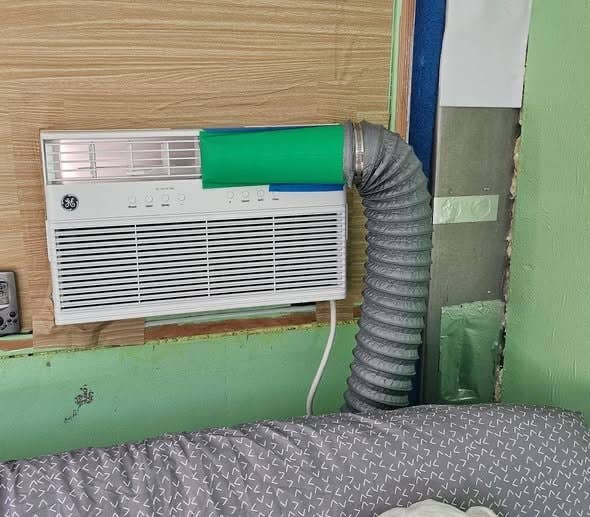
I installed a GE AWGP08WWF window heat pump in my Chevy Brightdrop 400 van camper conversion. I am pleased with the results. This is a 8,000 BTU 13.2 CEER window inverter airconditioner that is also produces 8,300 BTU as a heat pump. Can be bought fo
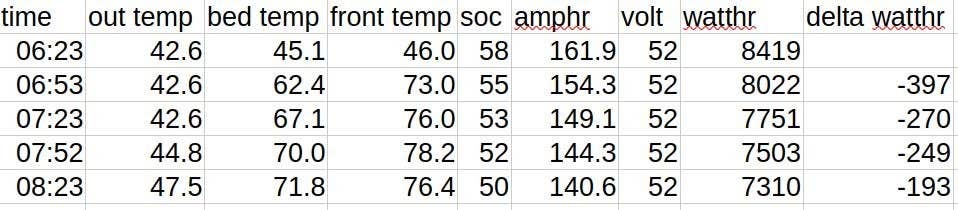
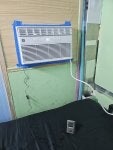
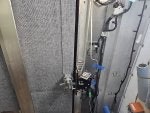
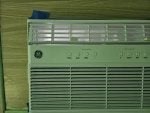
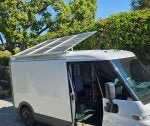
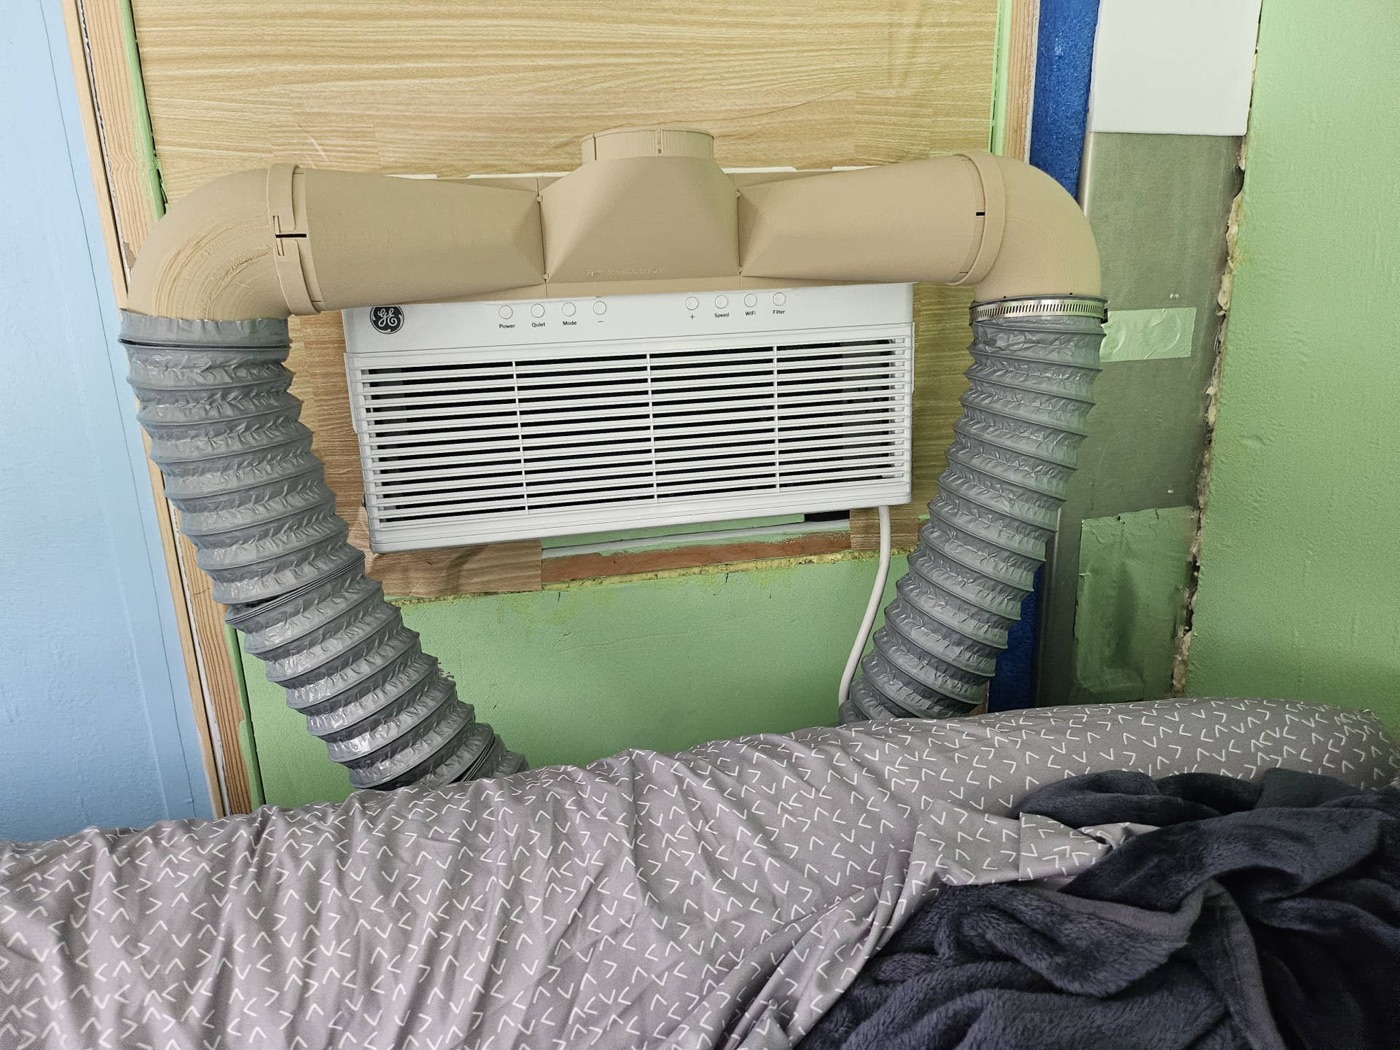
Continuing my build thread. Mounting the airconditioner/heatpump high on the wall can make sense when cooling. But when heating this configuration tends to just heat up the upper 3-4ft of space leaving the floor cold. Not good for the battery and wat
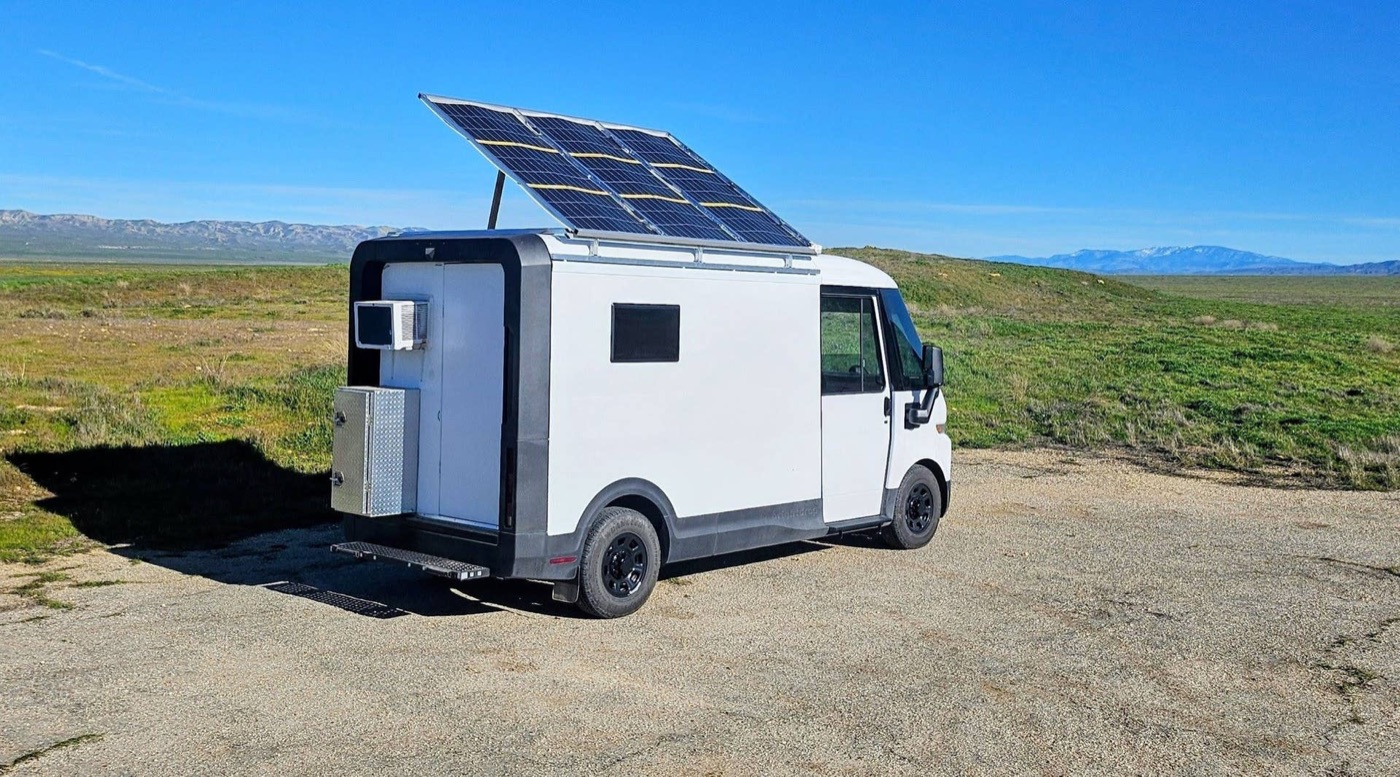
Current status of my build.
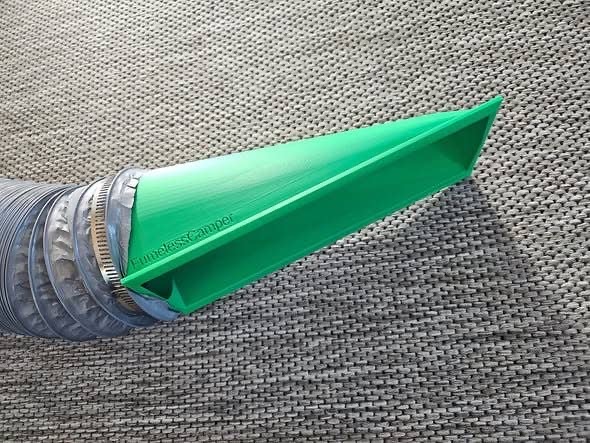
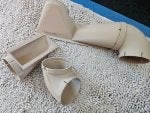
Improved heatpump ducting. Snap together pieces. Sensitive content, not recommended for those under 18 Show Content
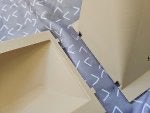
Platform details, in pictures
thread on brightdropforum.com →
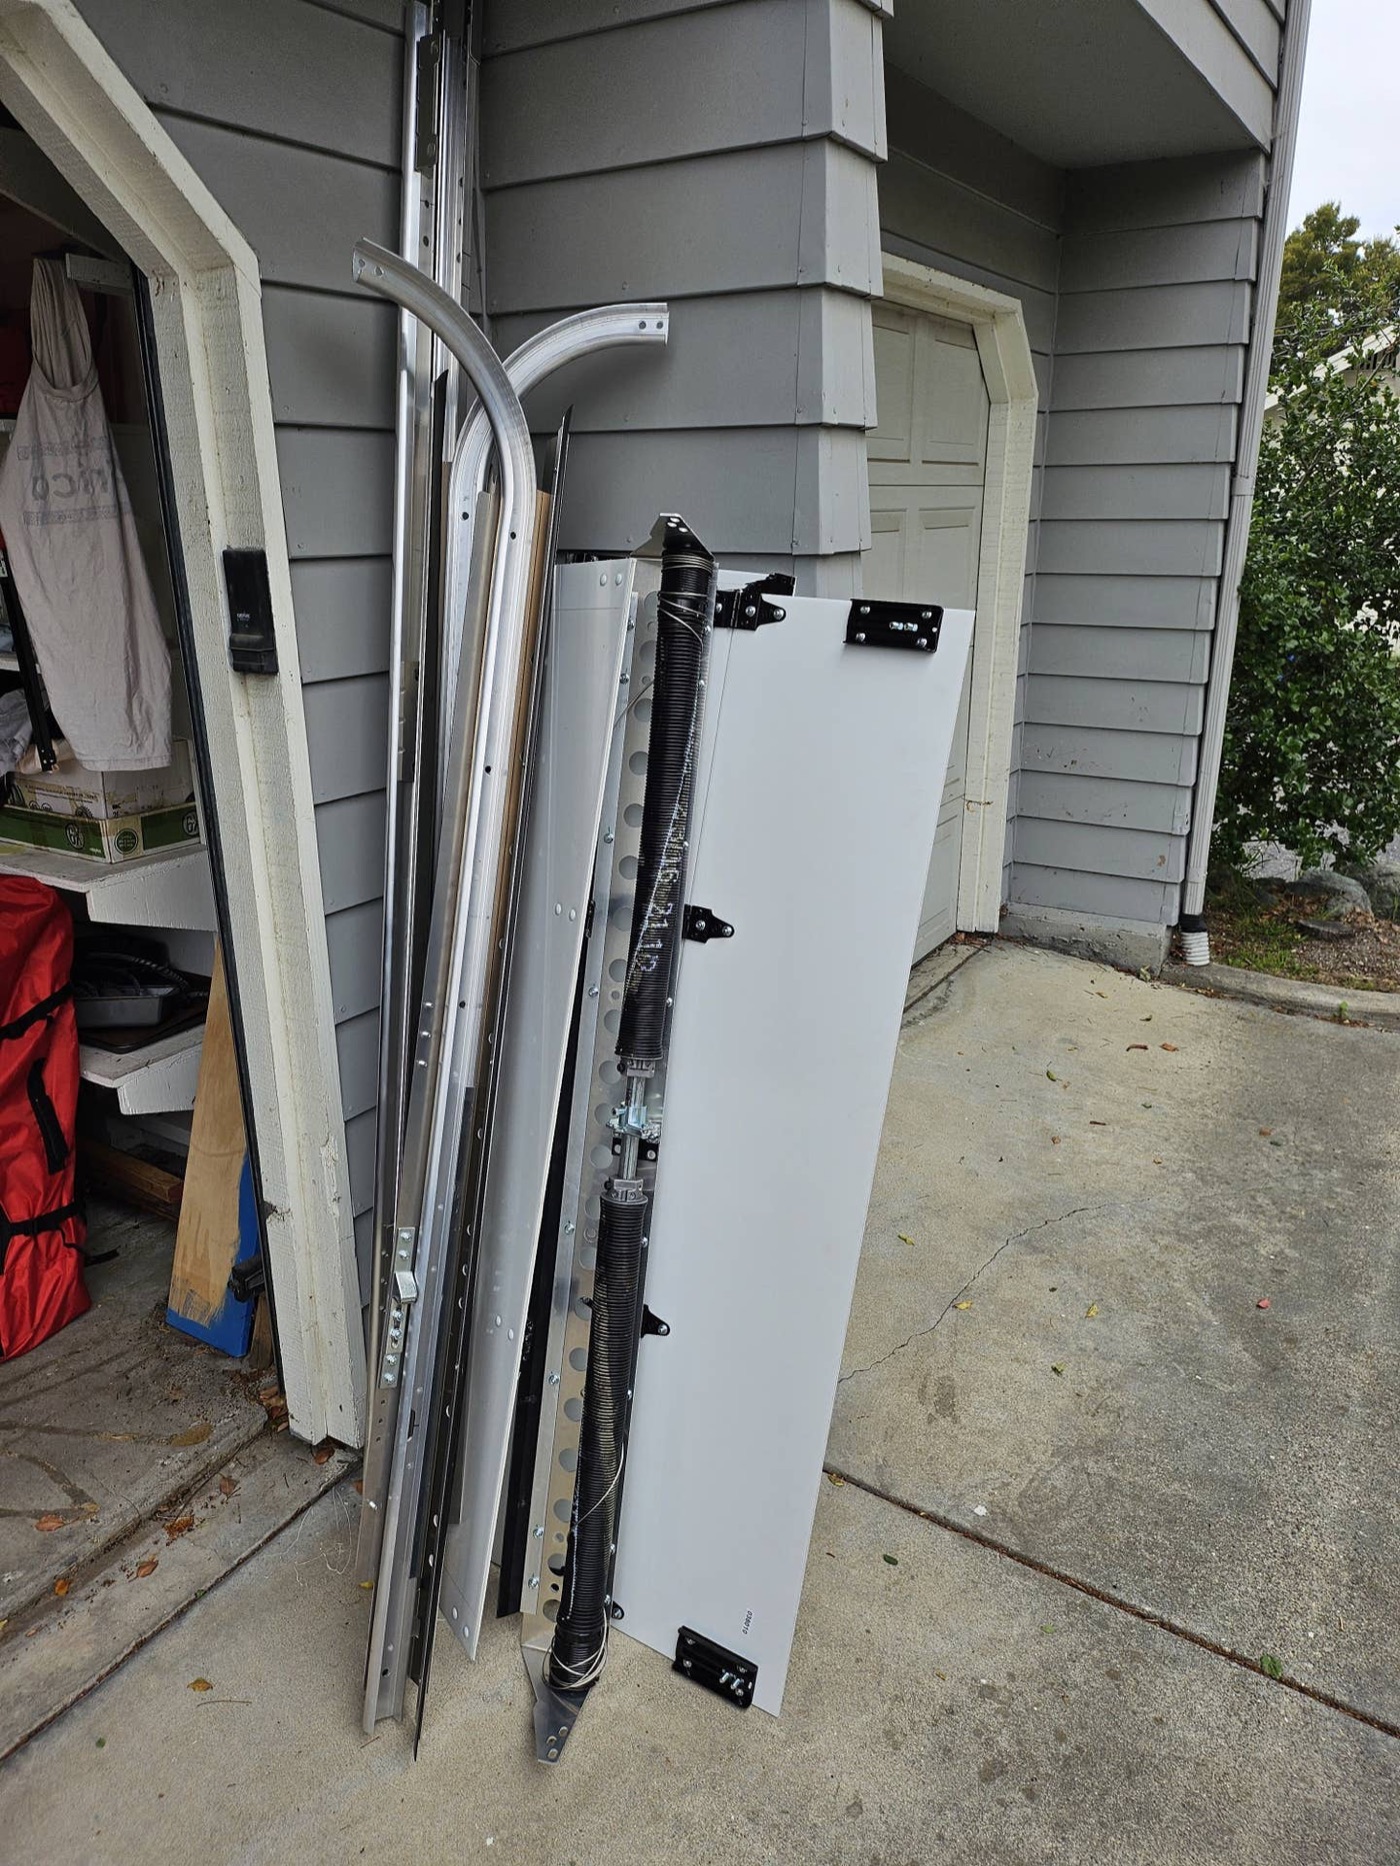
FumelessCamper — Removing the rear roll up door is pretty easy to do without drama. The torsion springs can be very VERY dangerous, so please do not attempt unless you are familiar with them. I found it relatively easy to de-tension the springs with the door in the f
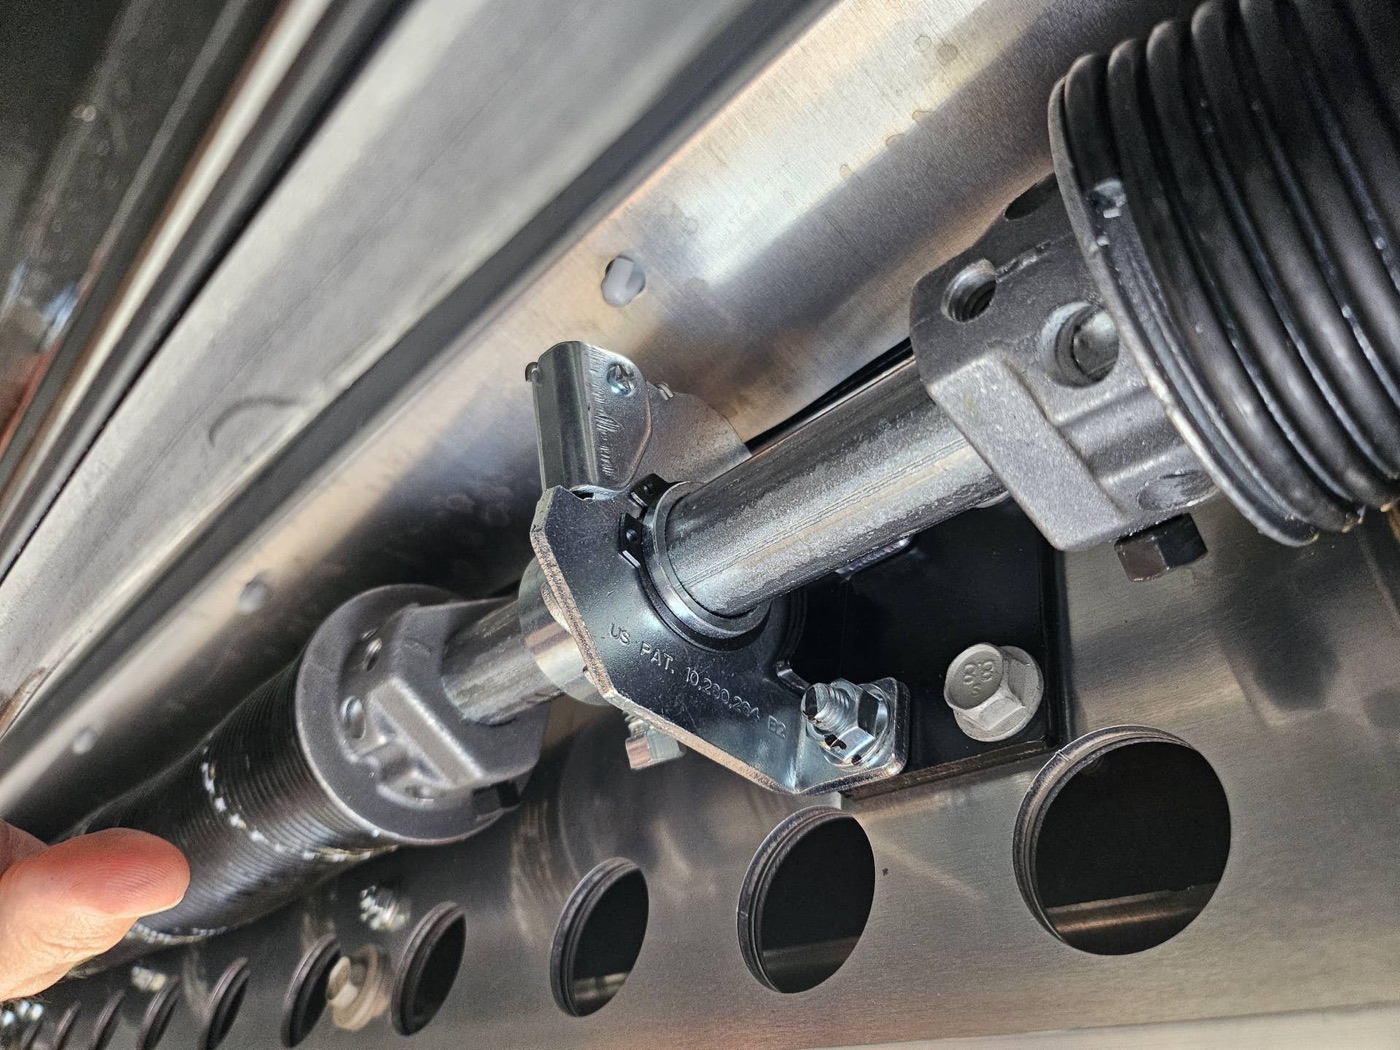
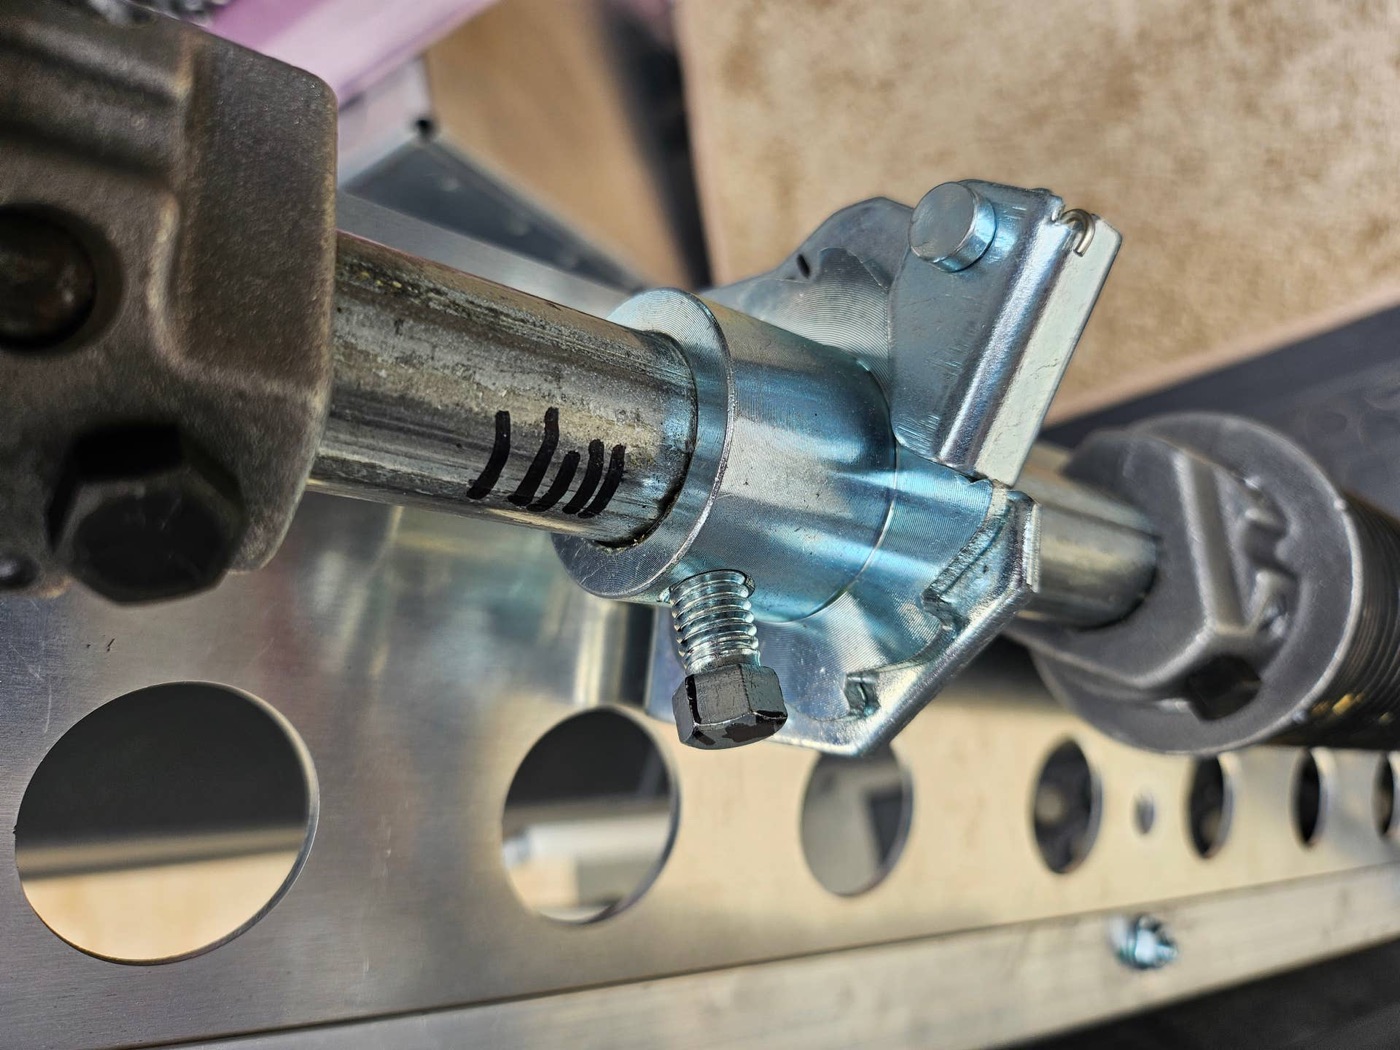
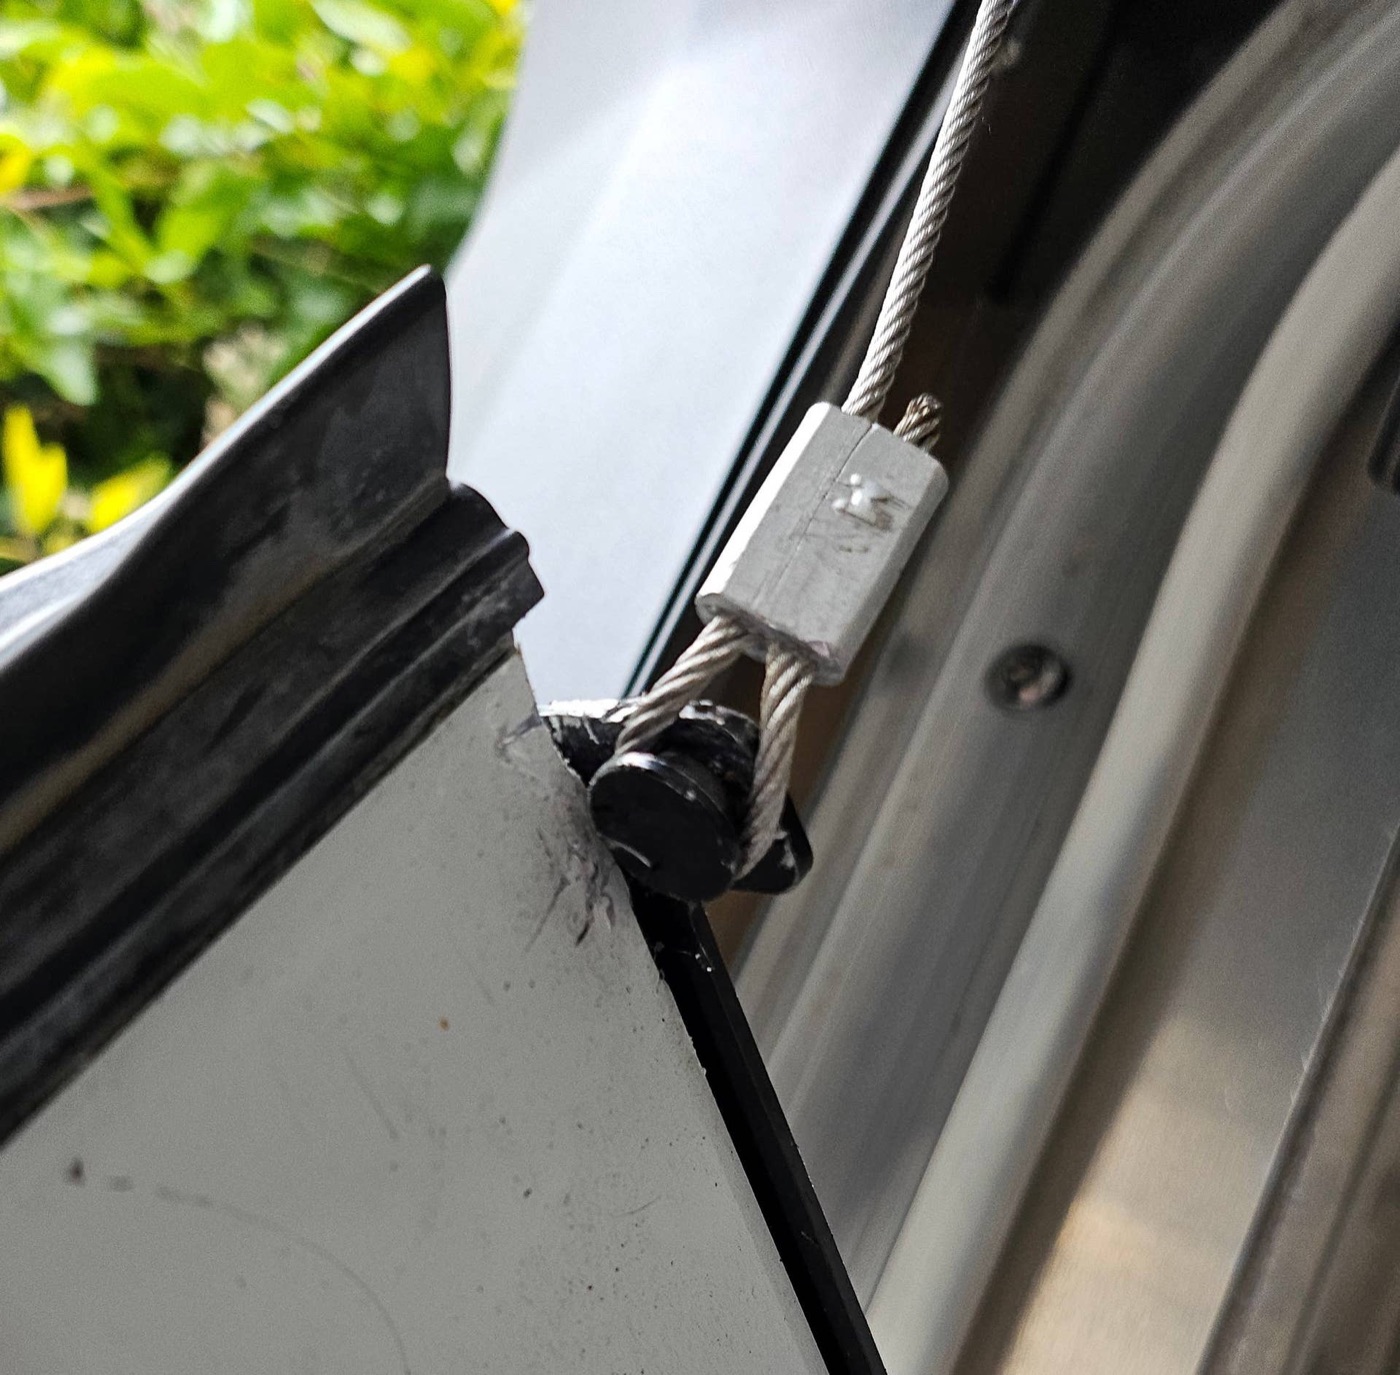
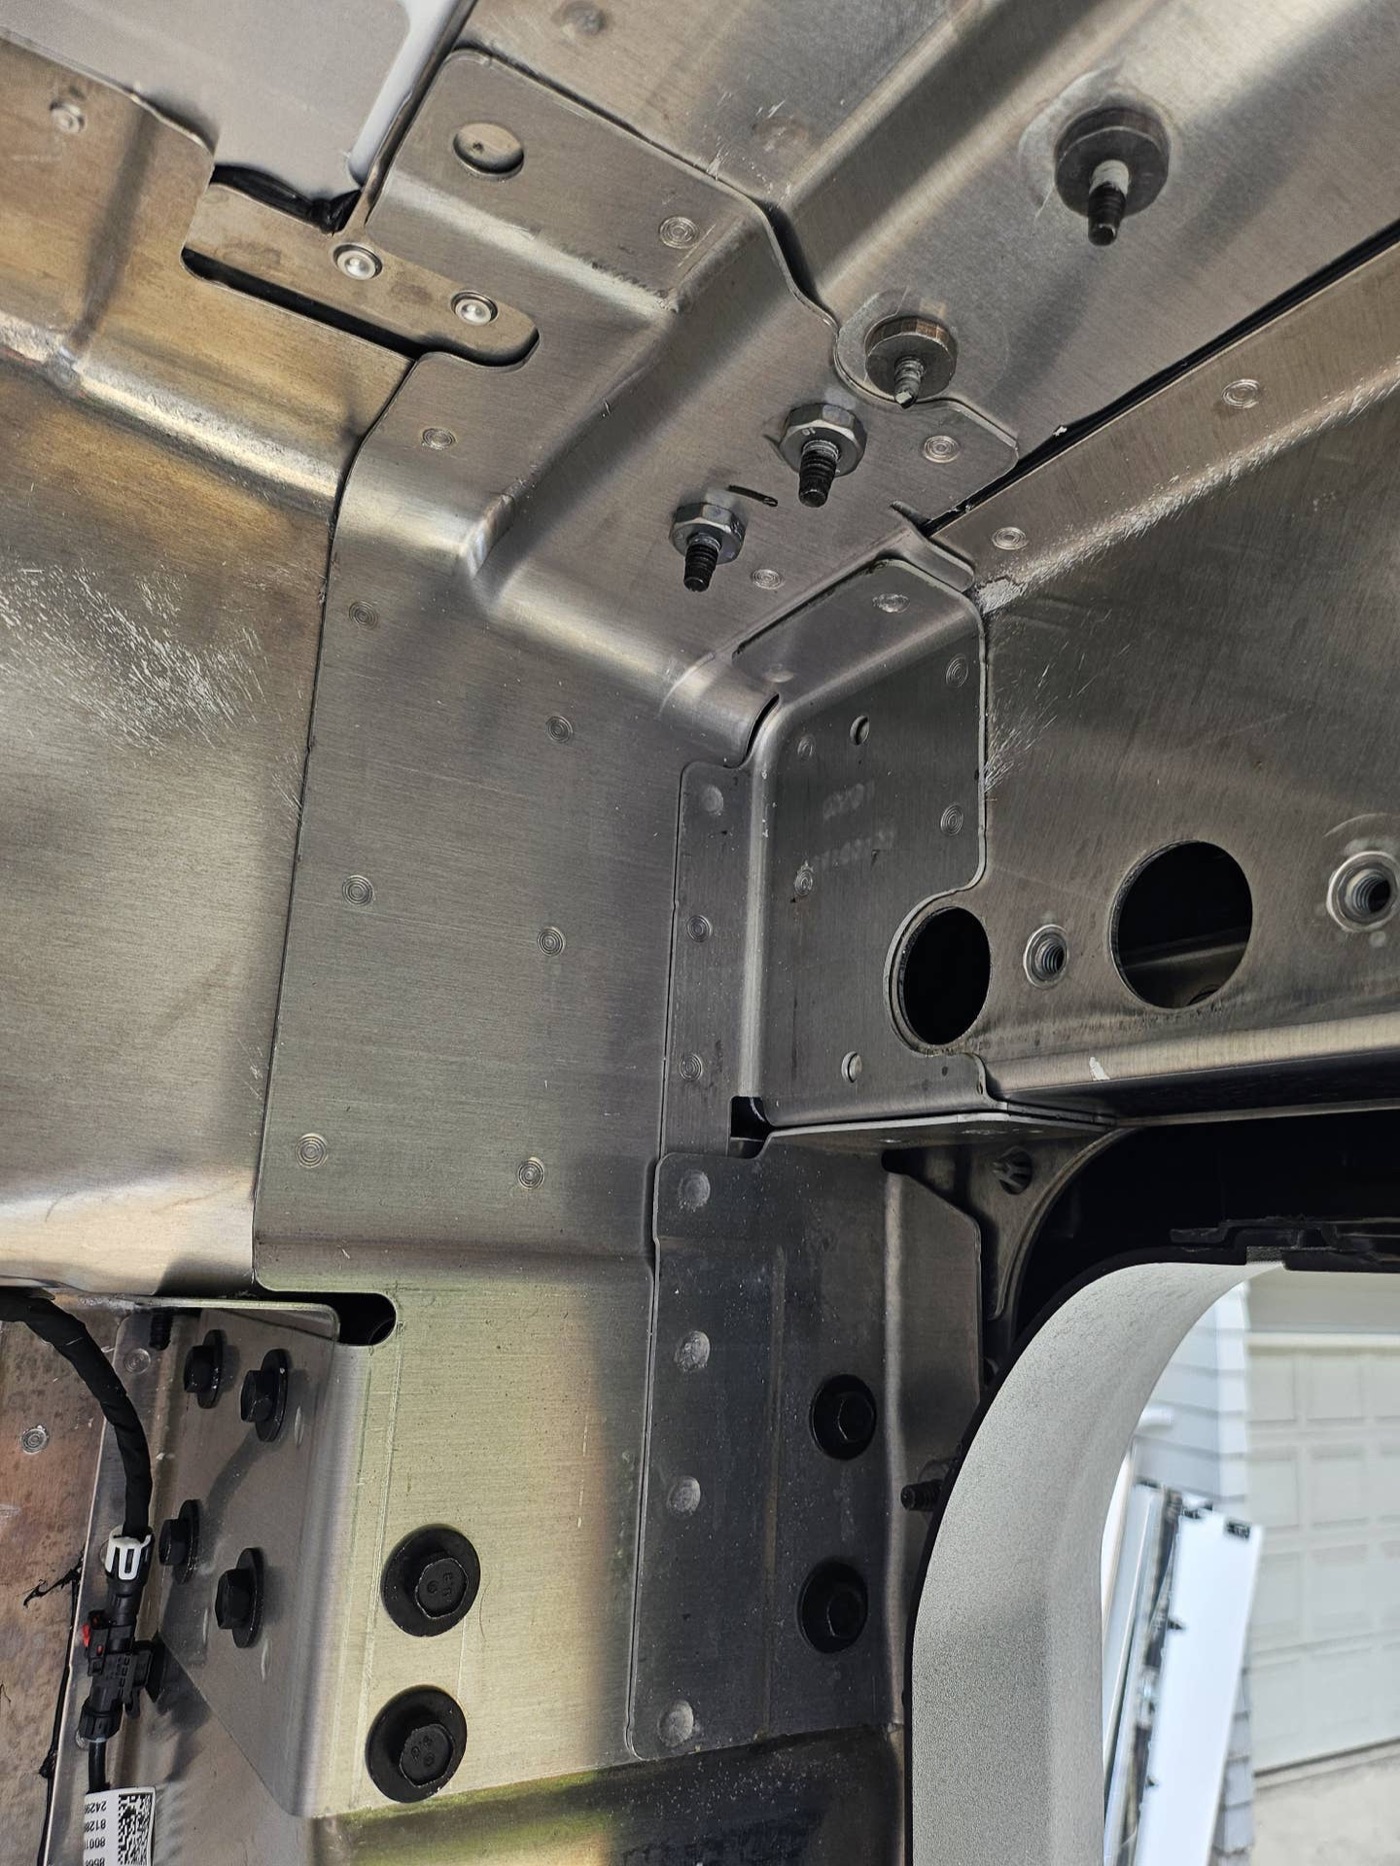
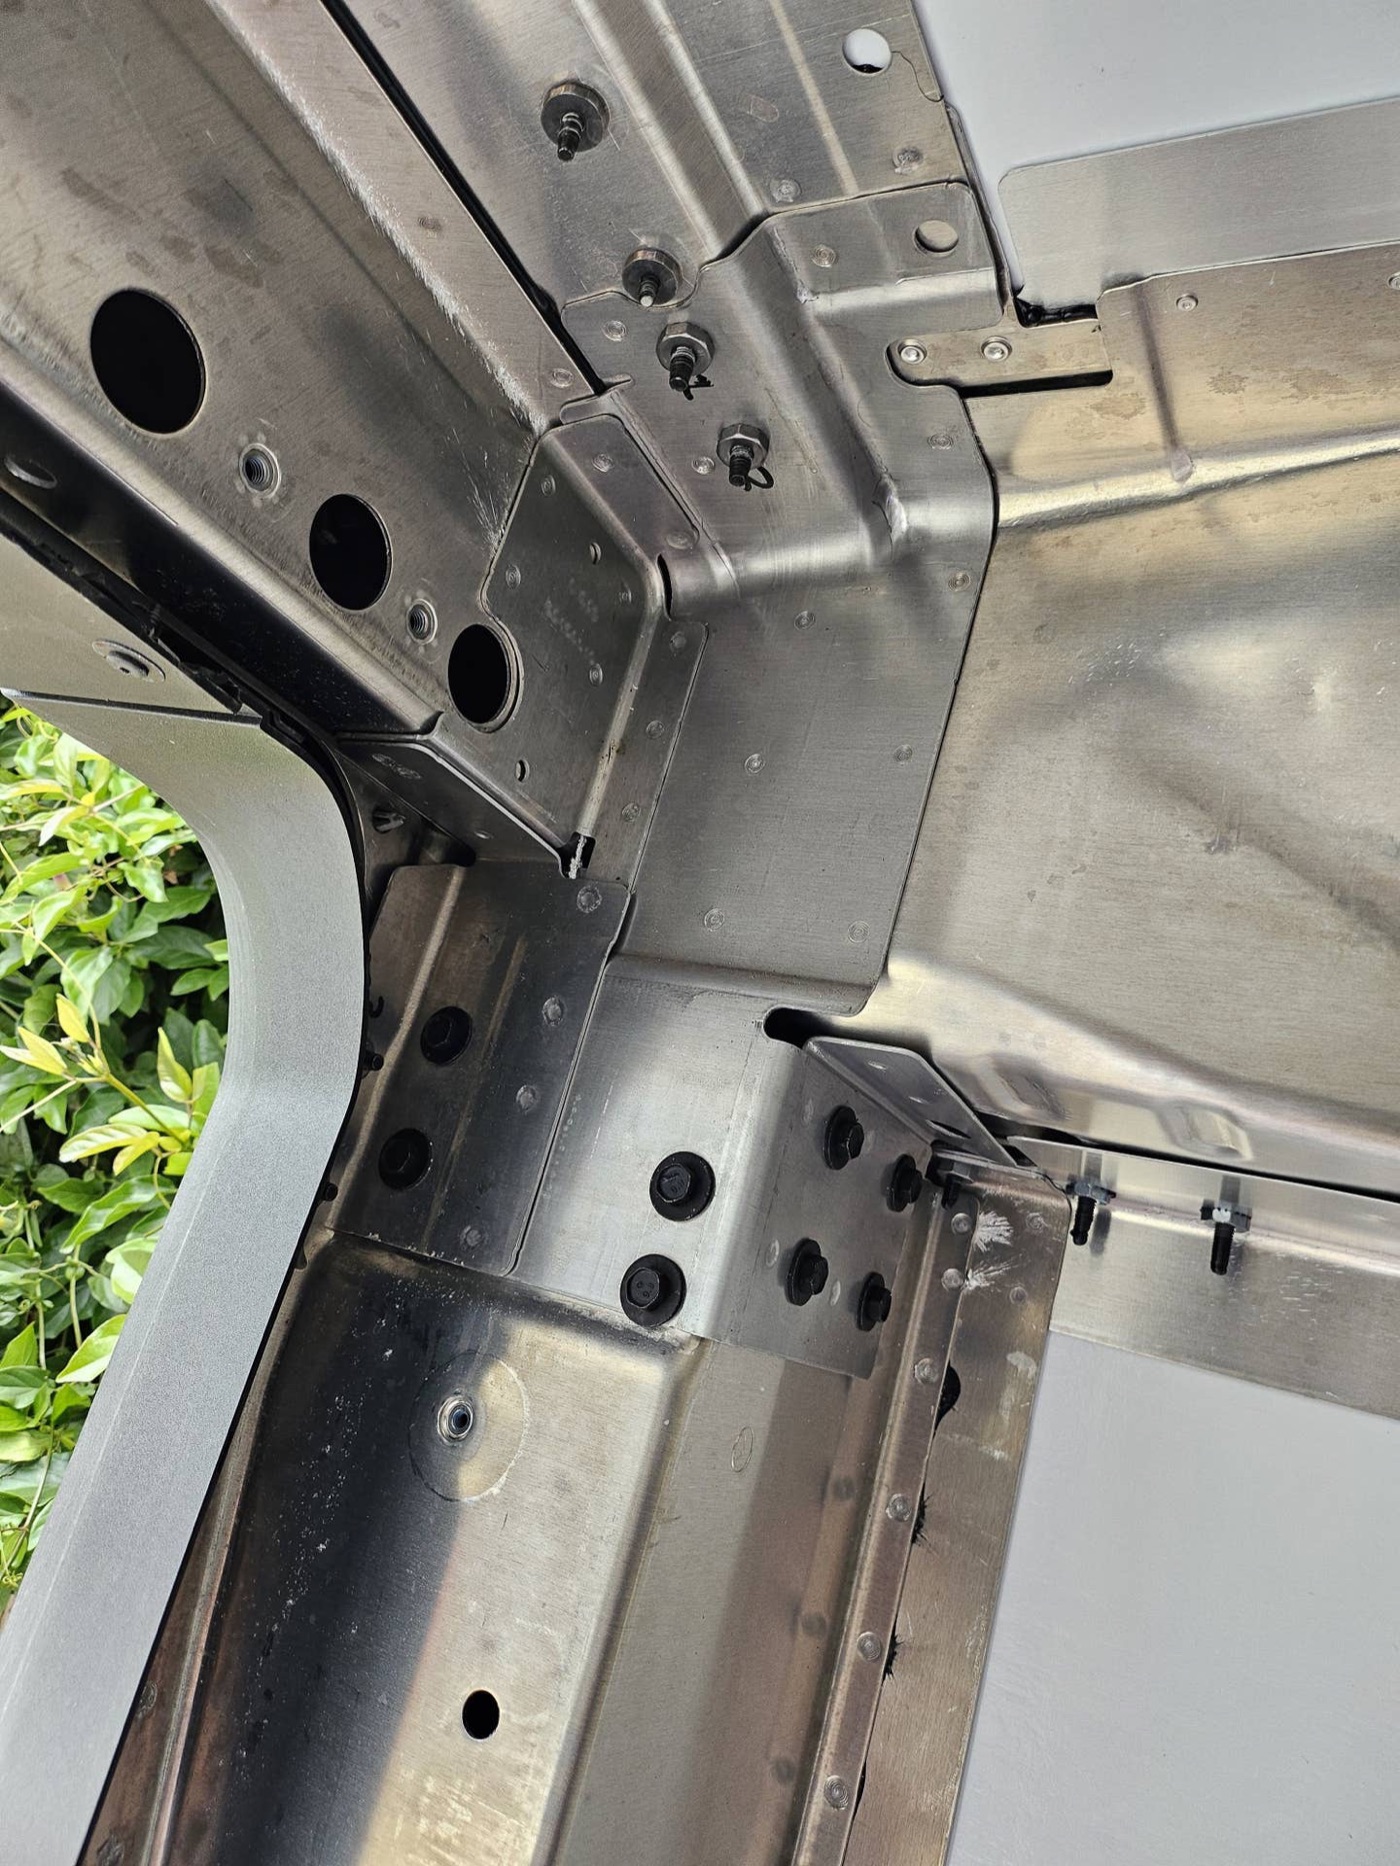
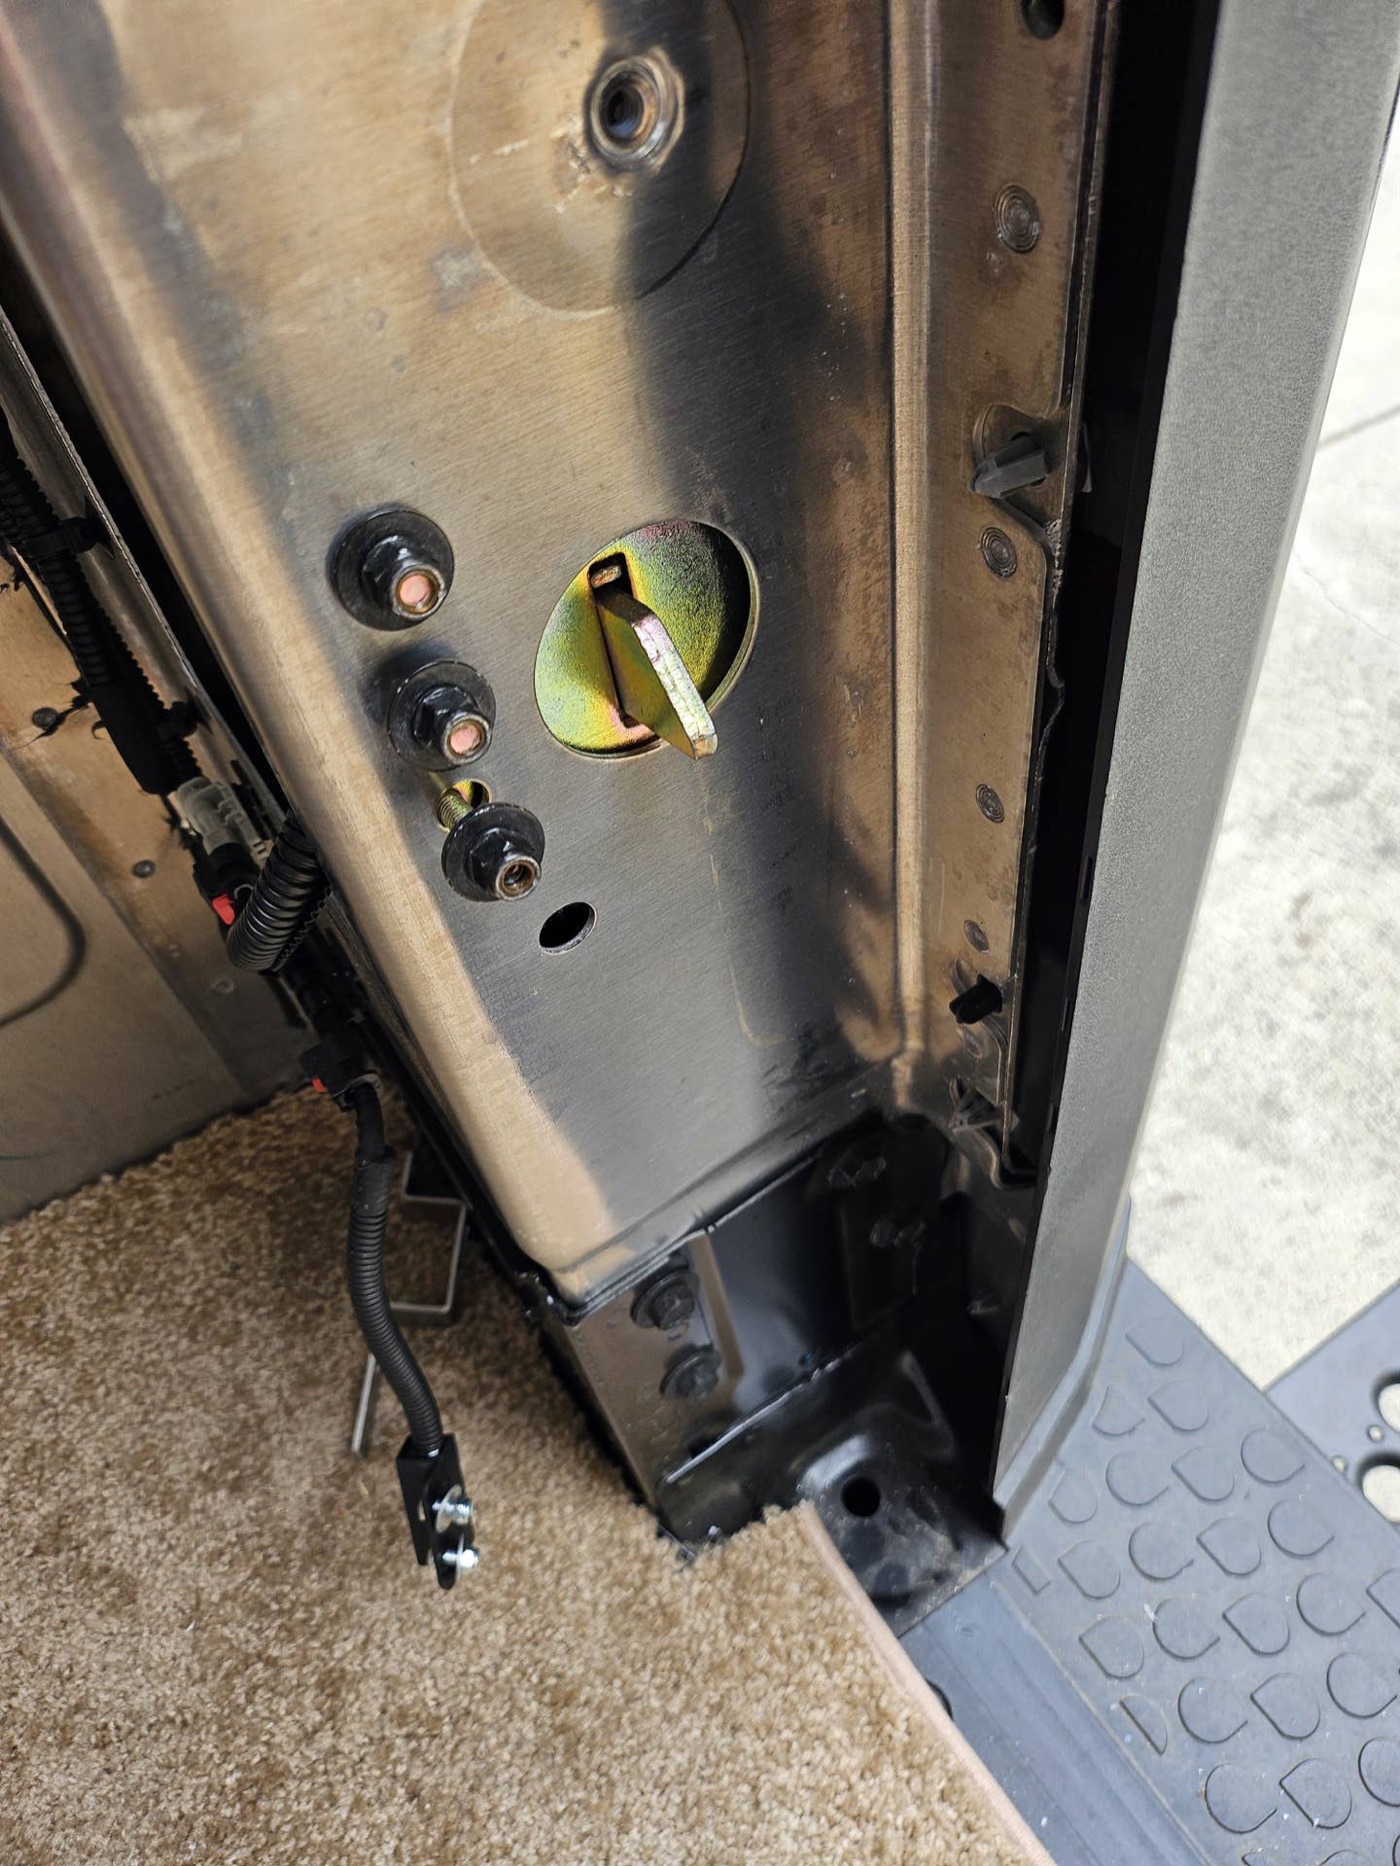
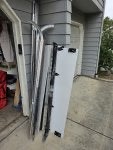
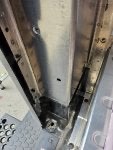
The weight of the removed components: bottom door 21.4lbs rails 27.2 lbs torsion spring assy 25.8 lbs 3 doors together 45.6 lbs door with lock bar 25.2 lbs assorted wheels hinges bolts 8.2 lbs Total removed hardware: 153.4 lbs
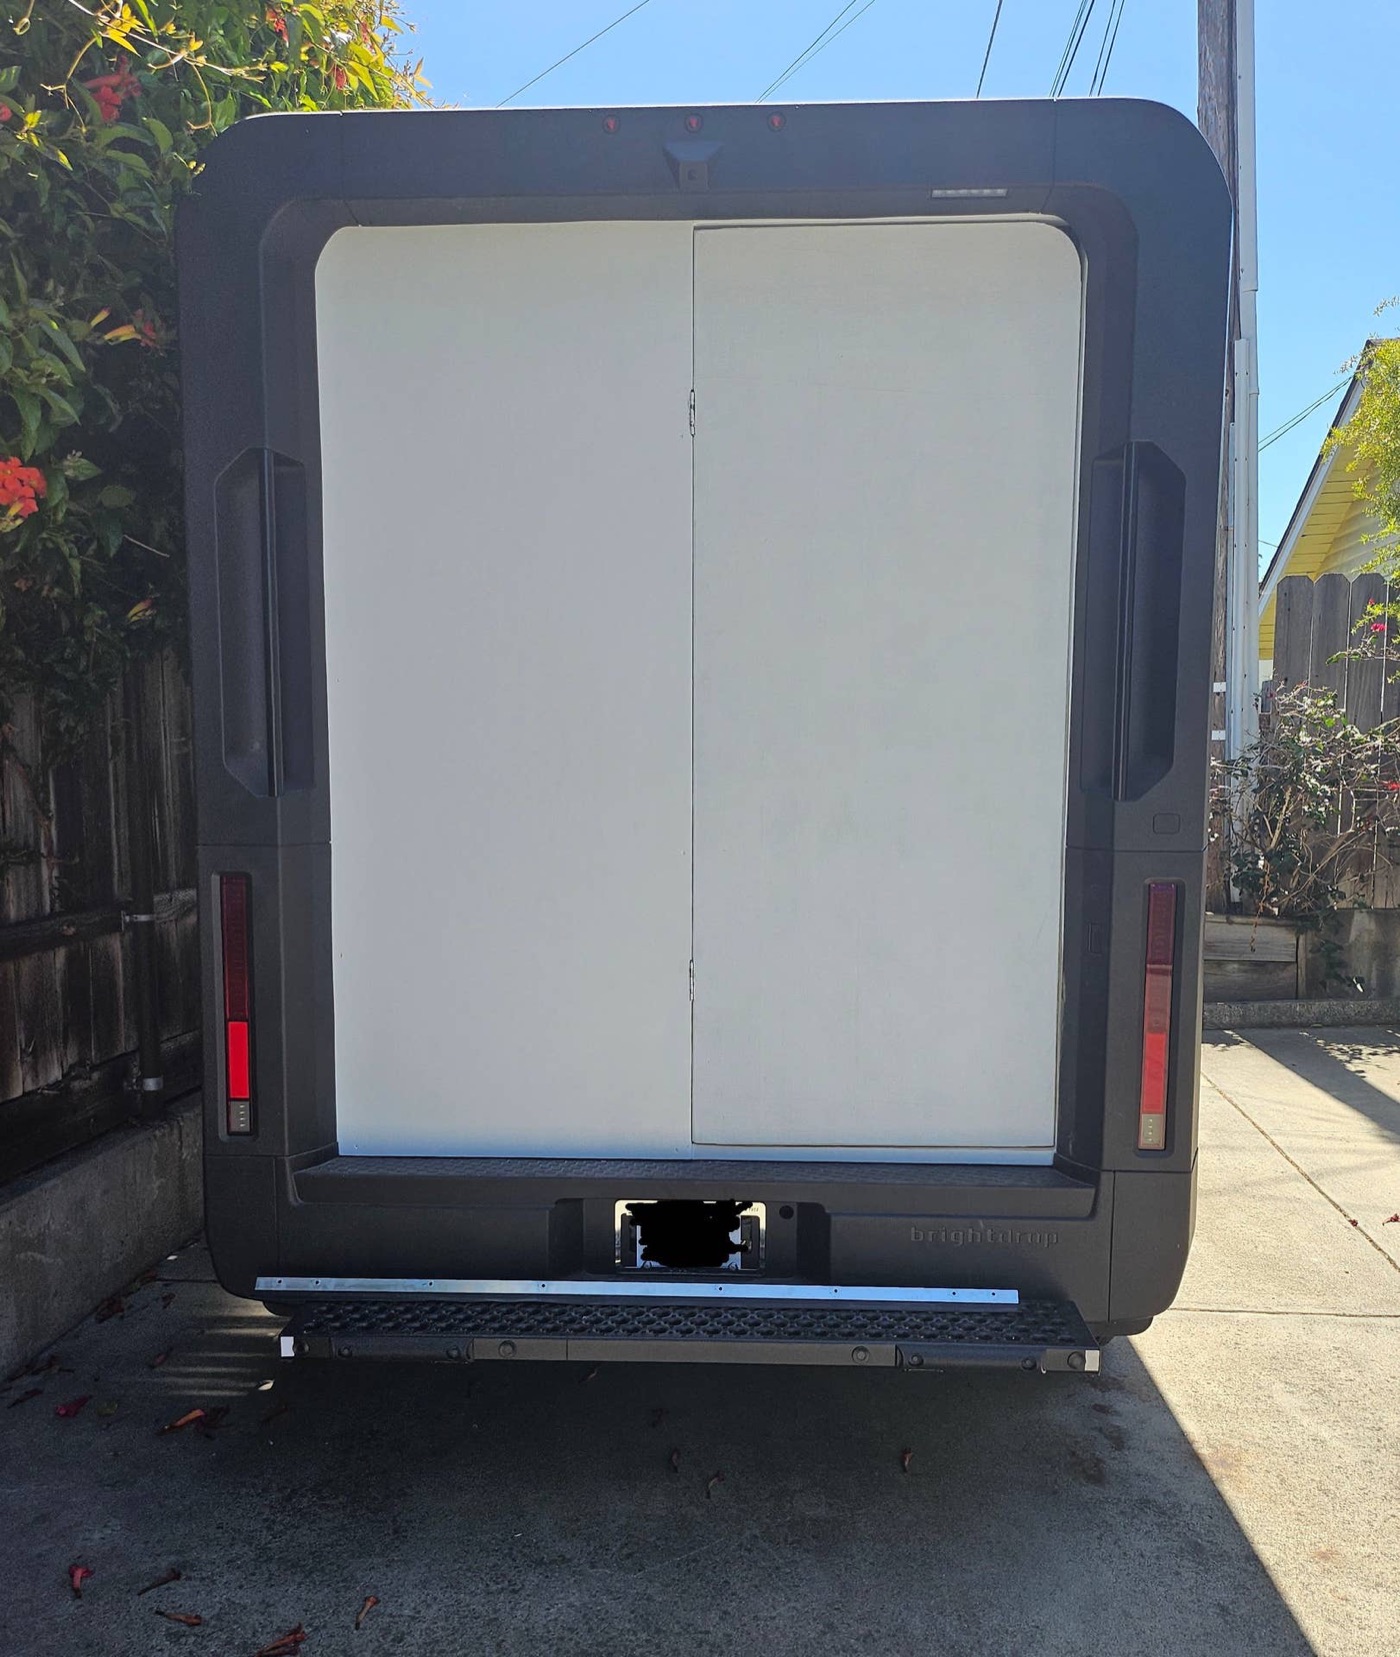
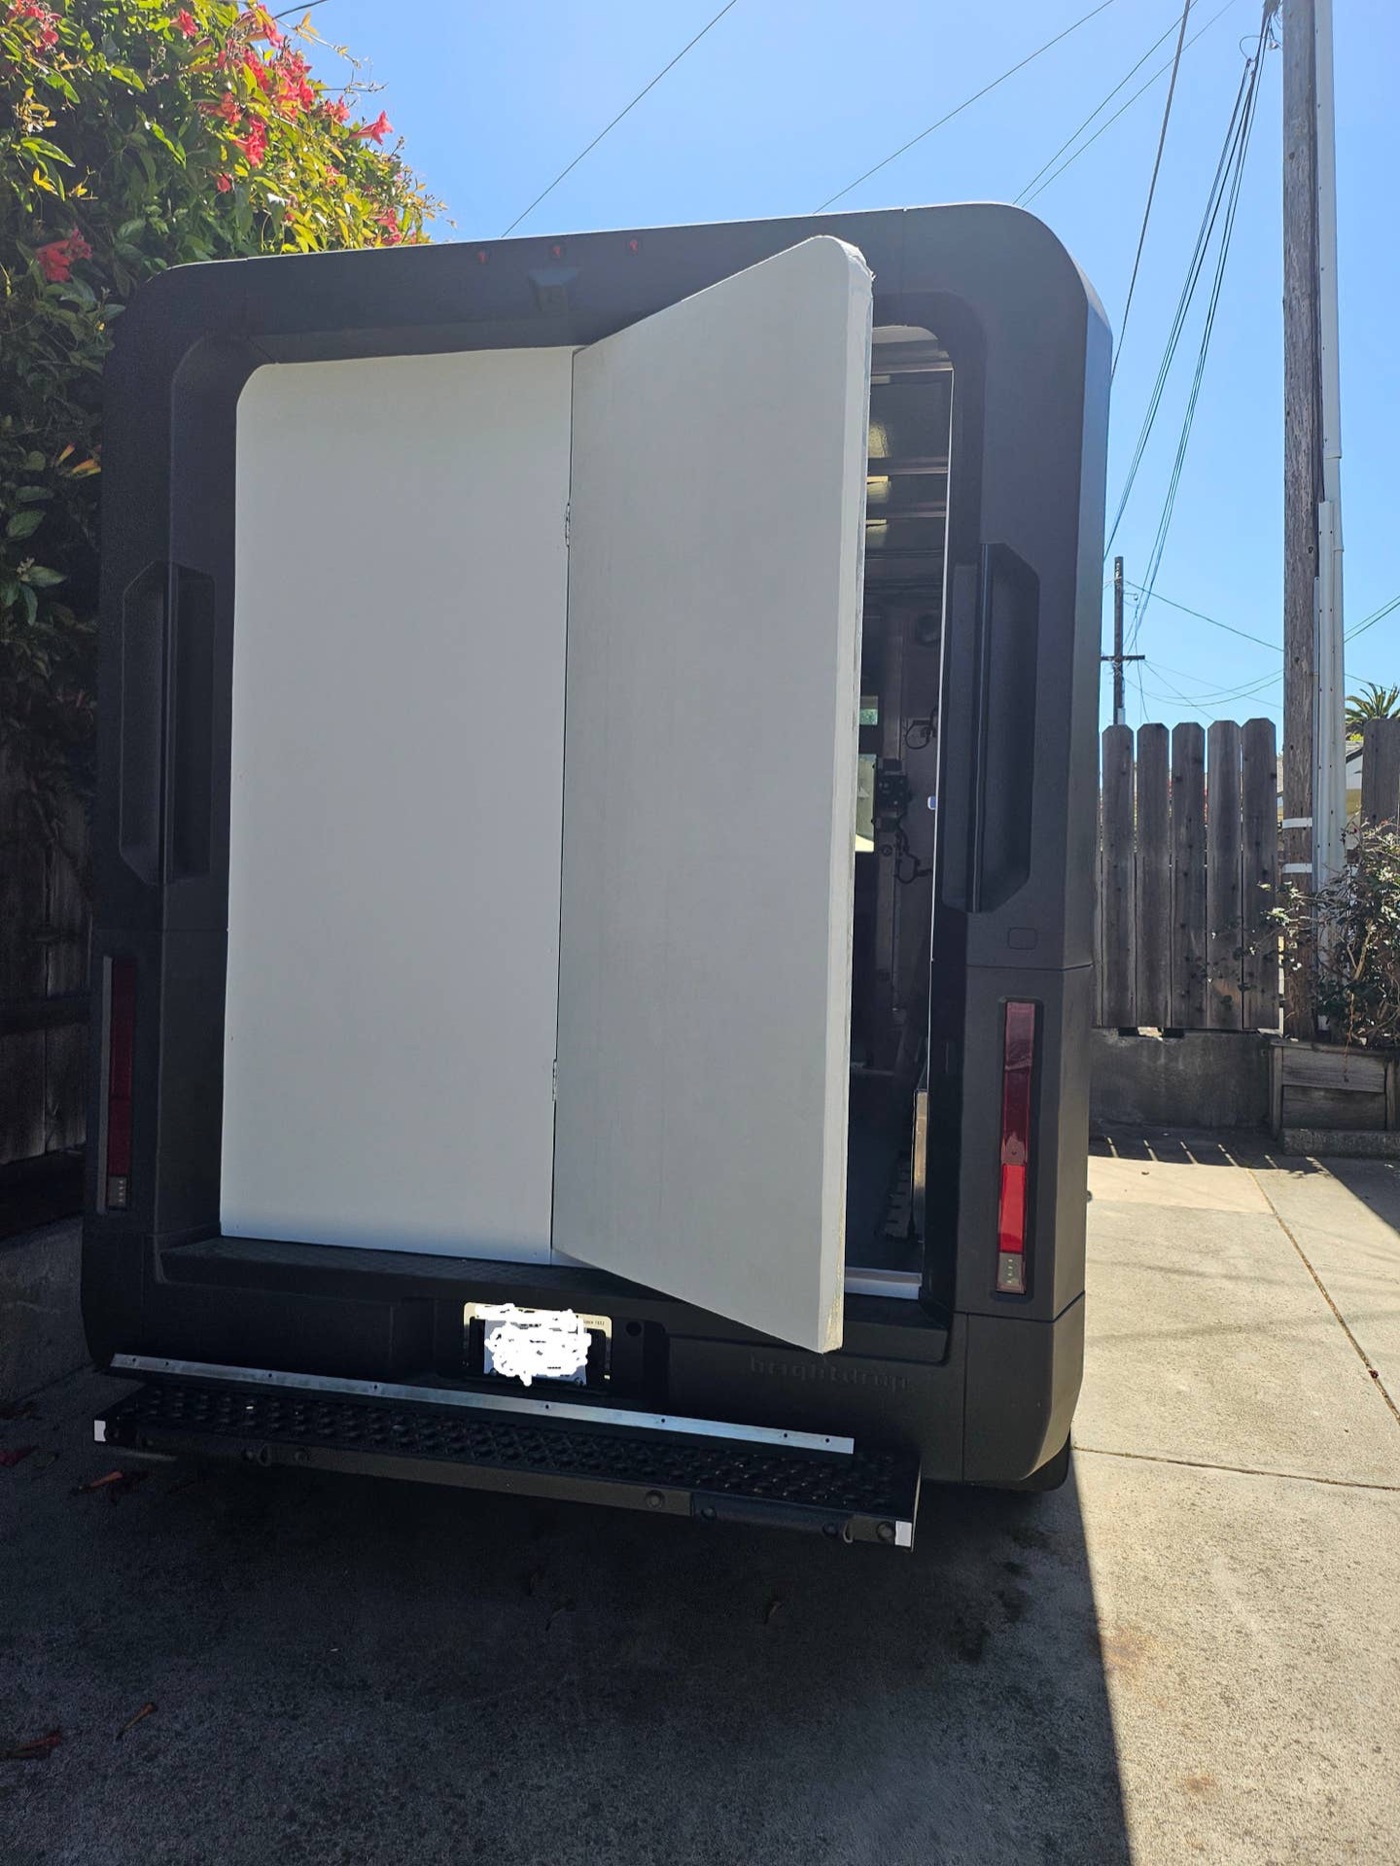
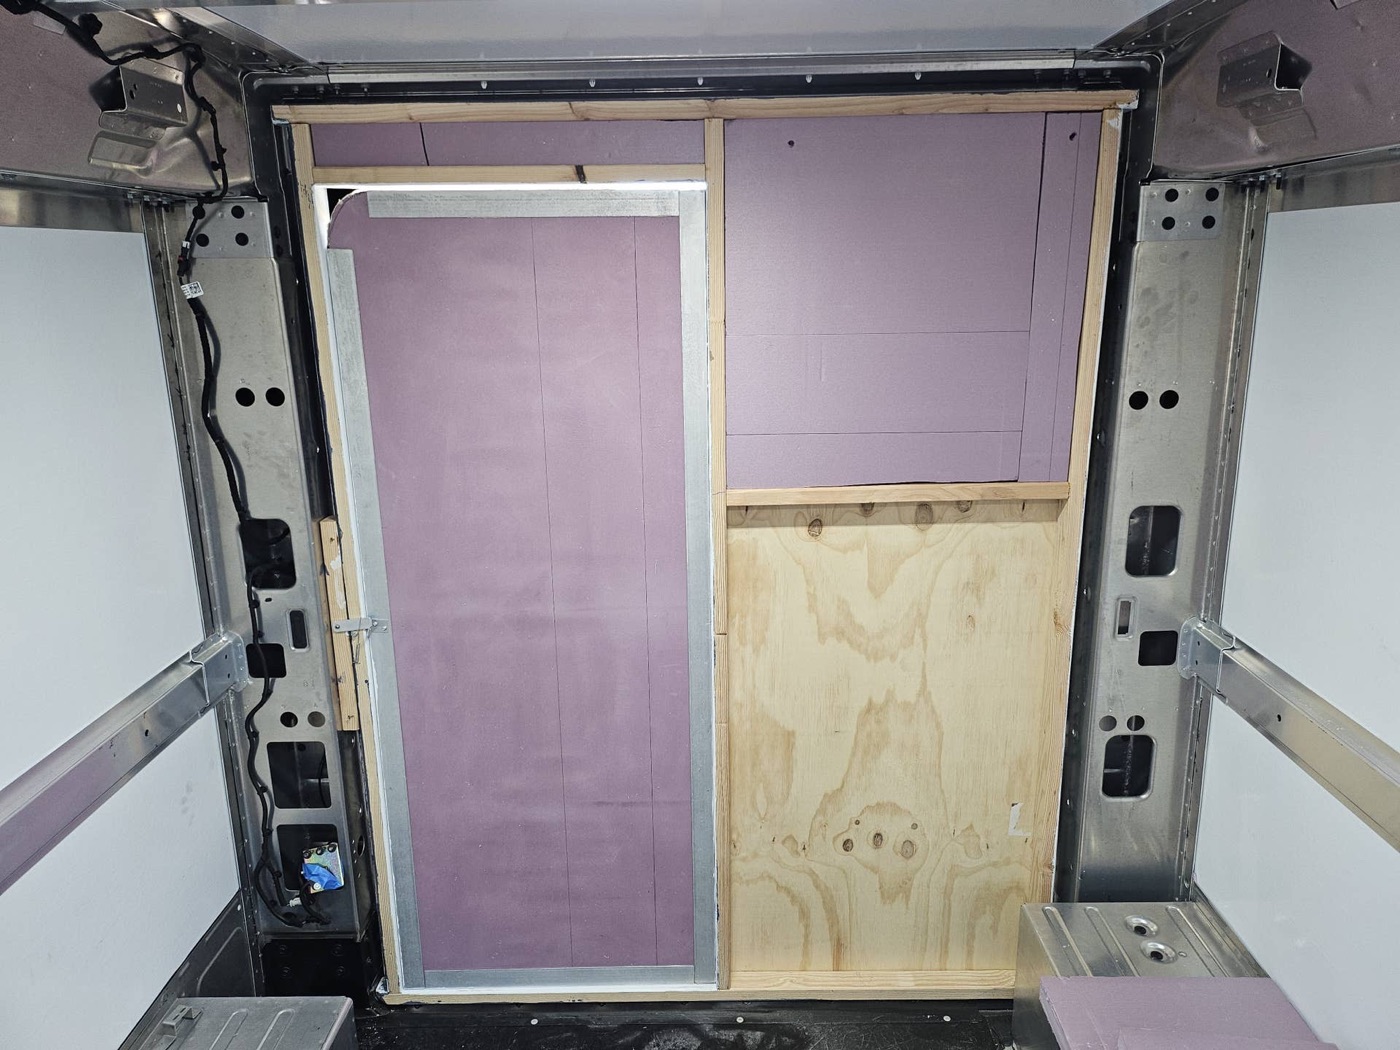
My replacement wall and door. I wanted it to not look like a door, not have a way to open it from the outside. Meets my minimum requirements for now. Oh, it will look a bit better with the salvaged weather strip rubber seal attached across the bottom
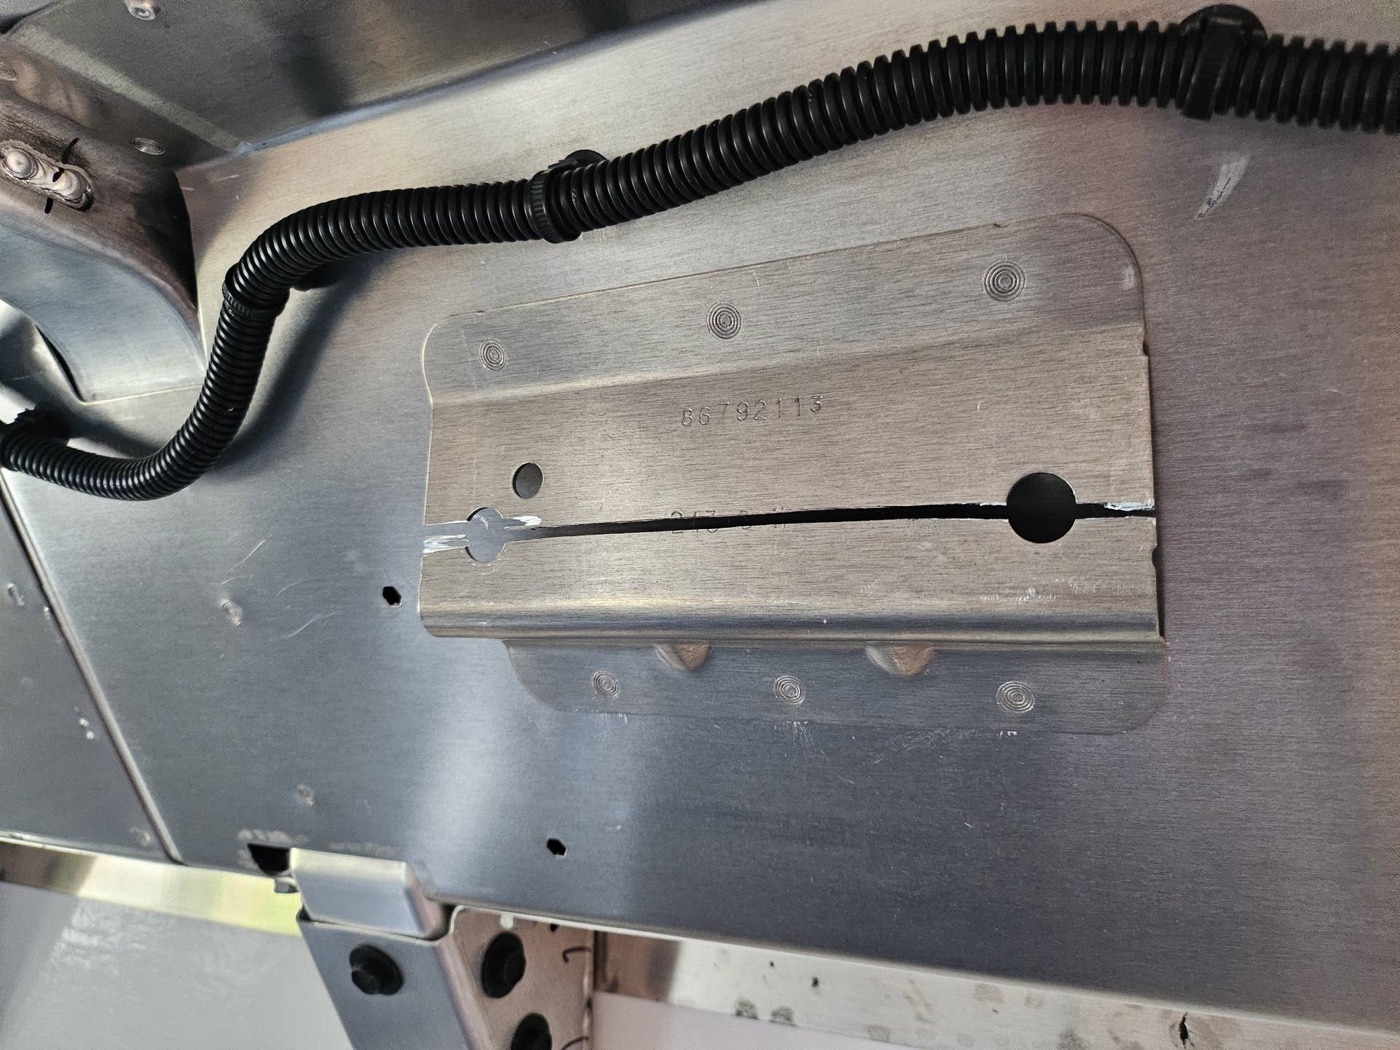
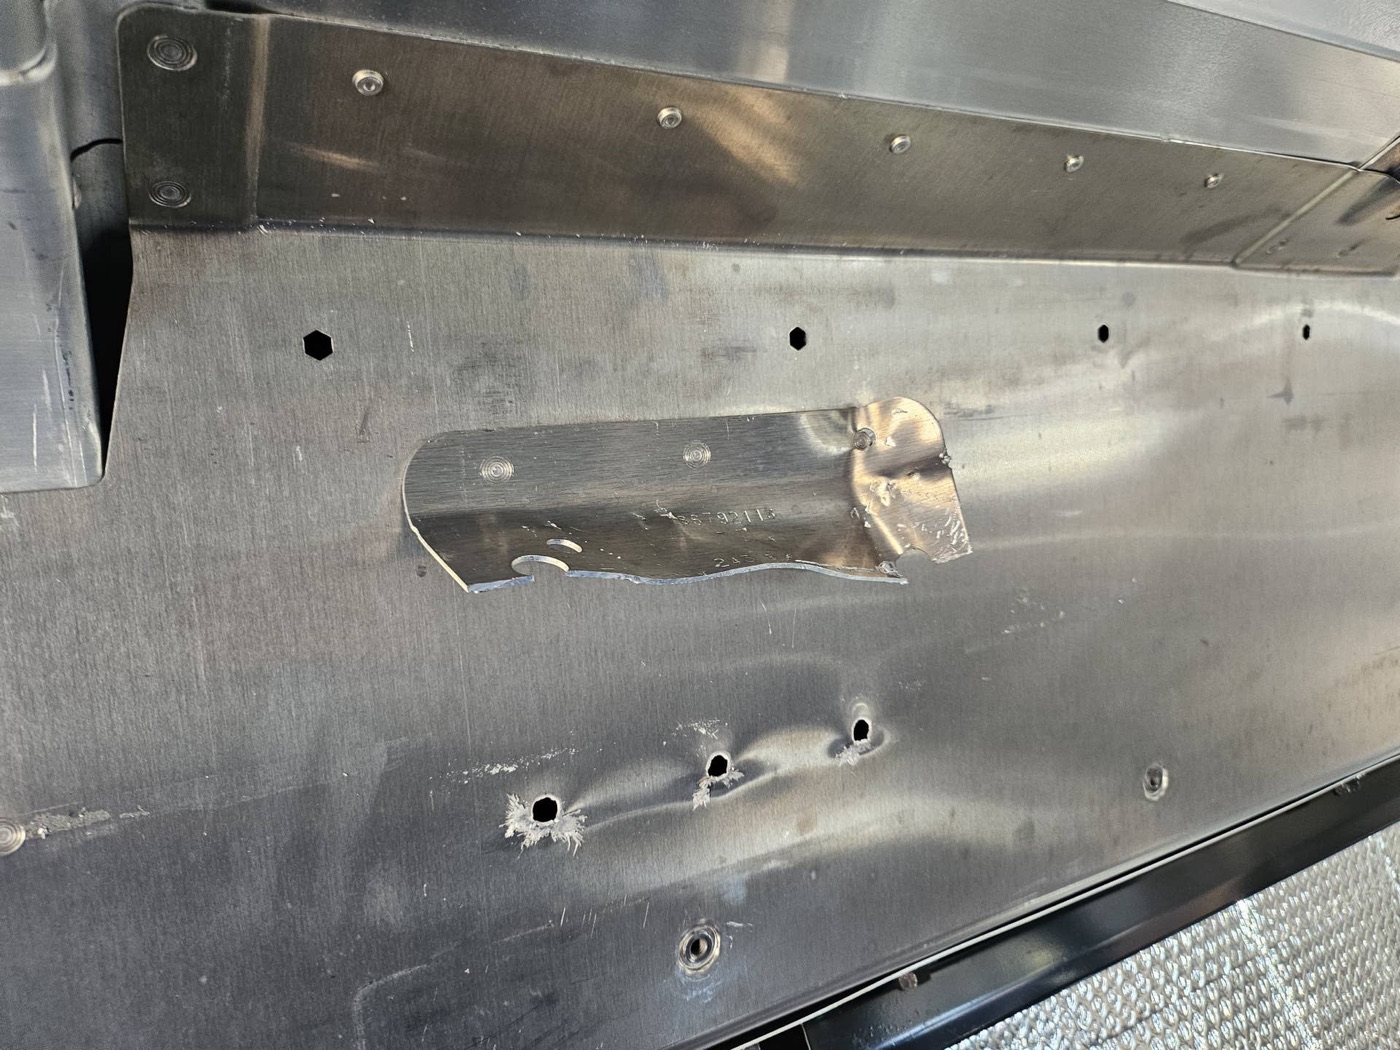
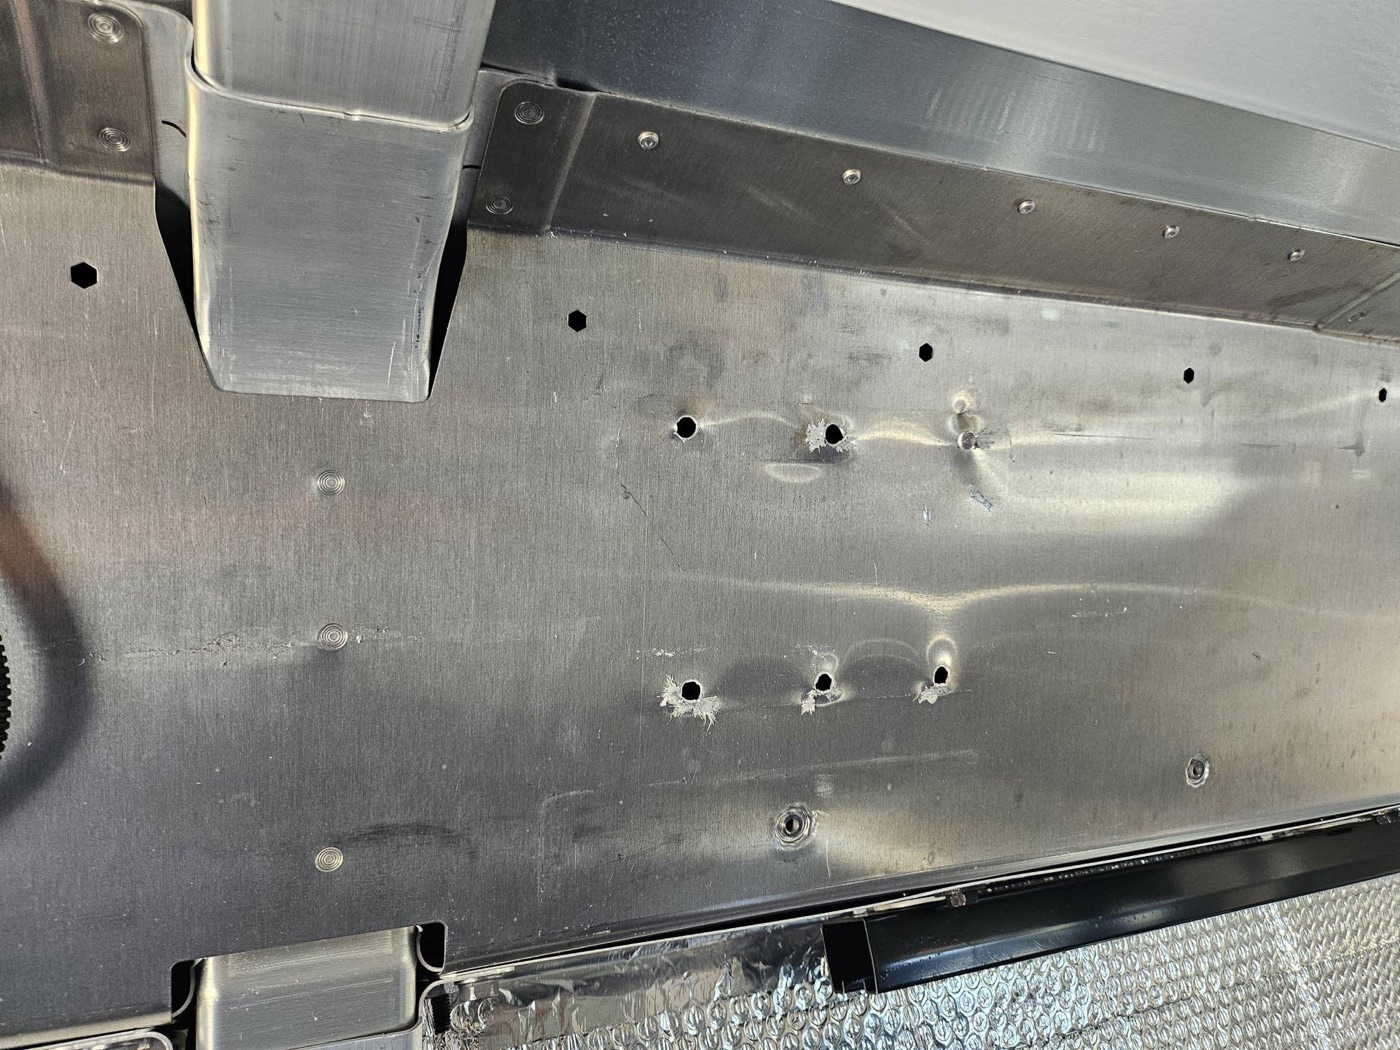
Completing the roll up door removal: I cut off the brackets that held up the rails for the roll up. I did this by cutting through the middle then repeatedly bending until the spot welds failed. I decided the brackets were not in a useful place, inter
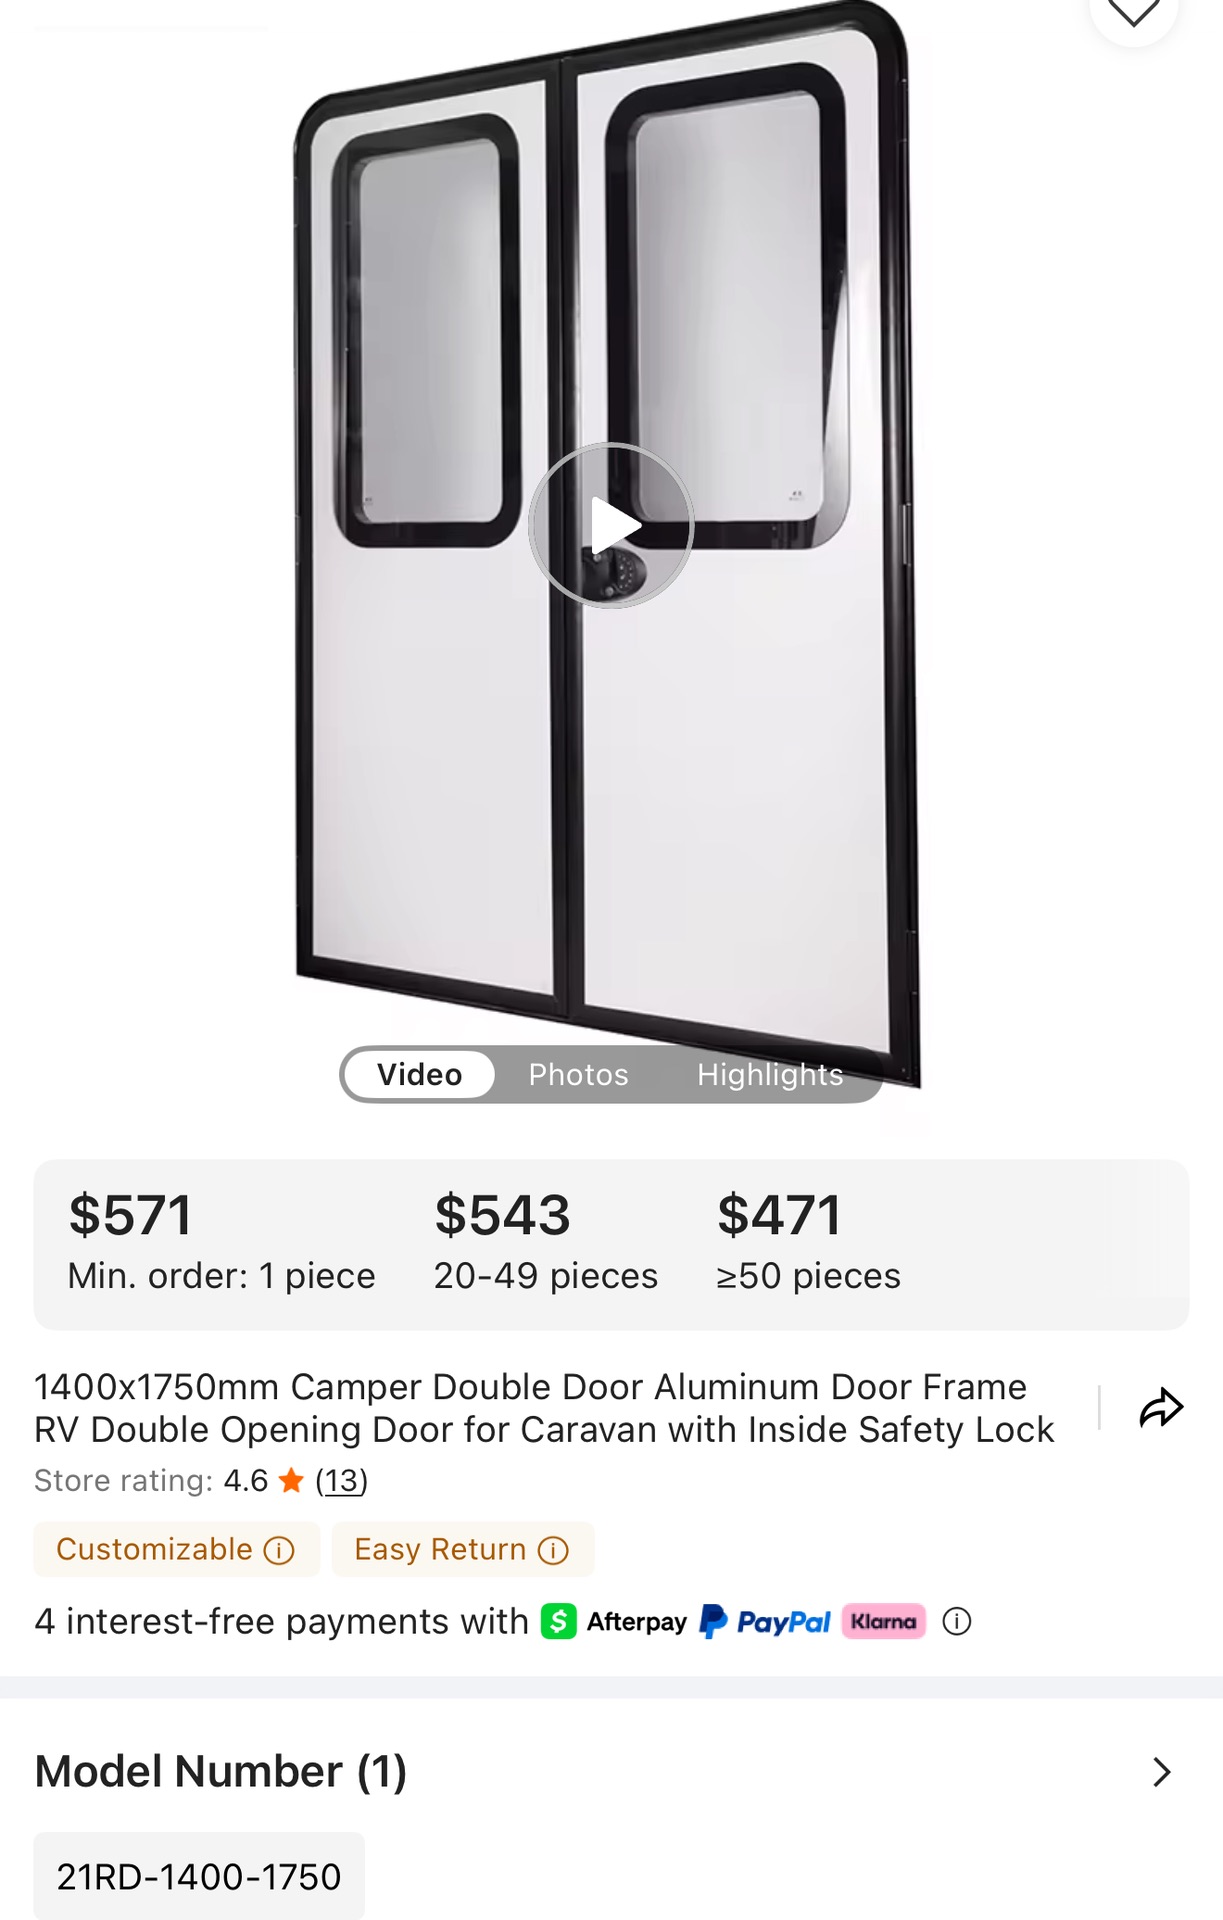
I just found this on Alibaba. Seems like it could fit. Any thoughts @FumelessCamper based on what you saw during your removal and install?
thread on brightdropforum.com →
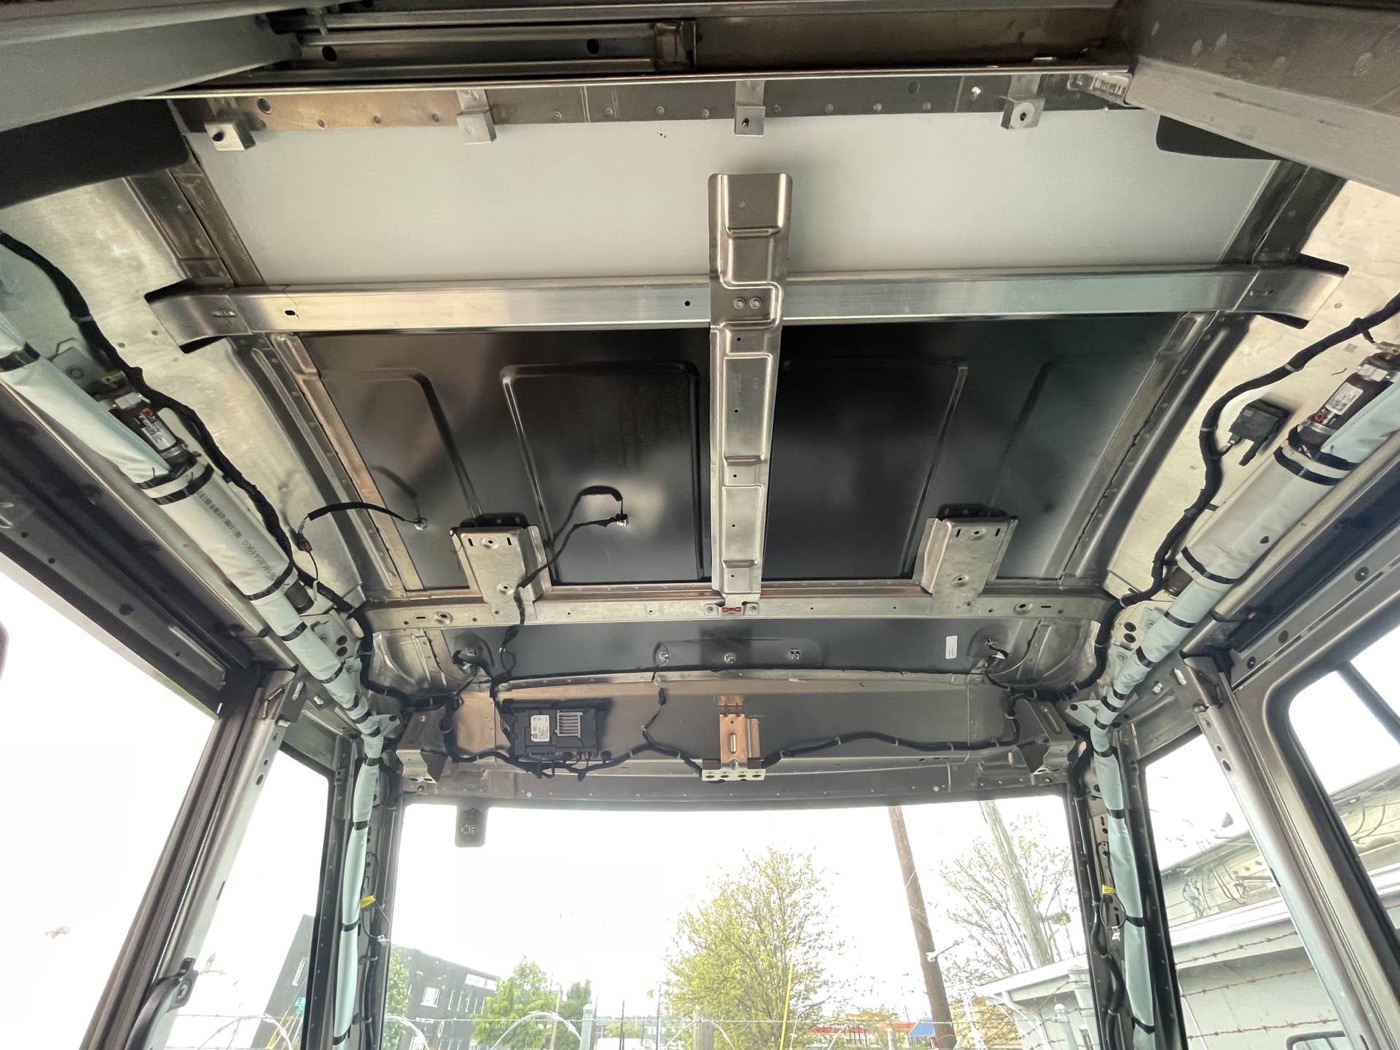
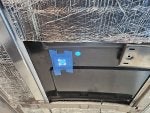
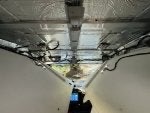
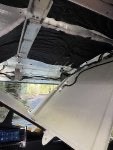
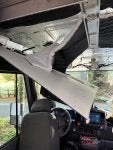
bainbridgeislandroad — If you've ever wondered what the top of the BrightDrop cab looks like with the headliner removed, take a look in all its glory! I'm trying to track down that leak, so this is the first step.
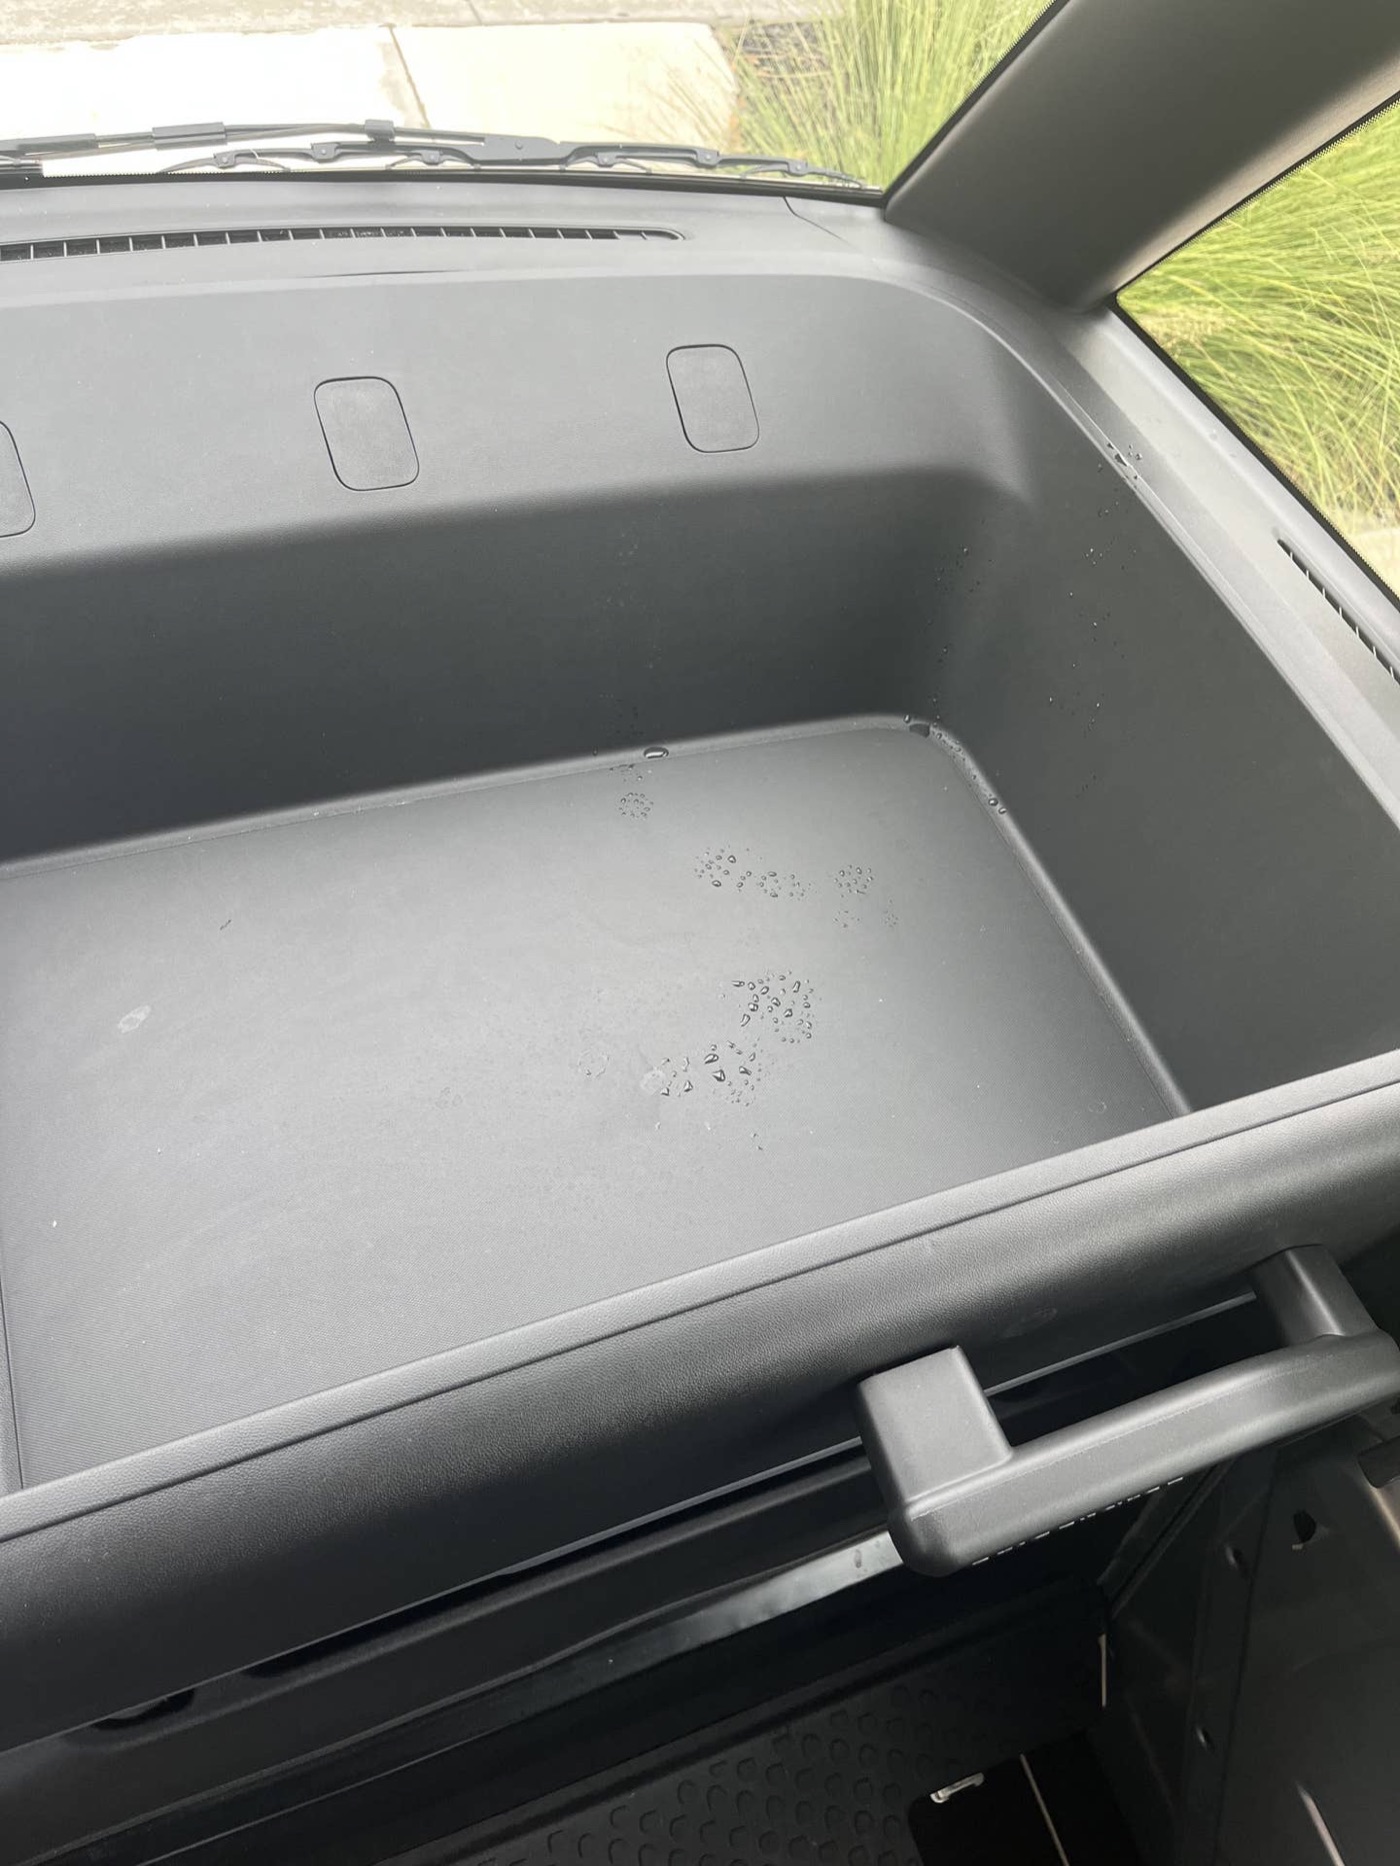
M — Any luck with your leak? Yesterday I drove after it had been raining for a while and standing water shot out from the passenger side cabin ceiling. Calling the dealership today.
Thanks. I did it without disabling the airbags. Nothing bad happened.
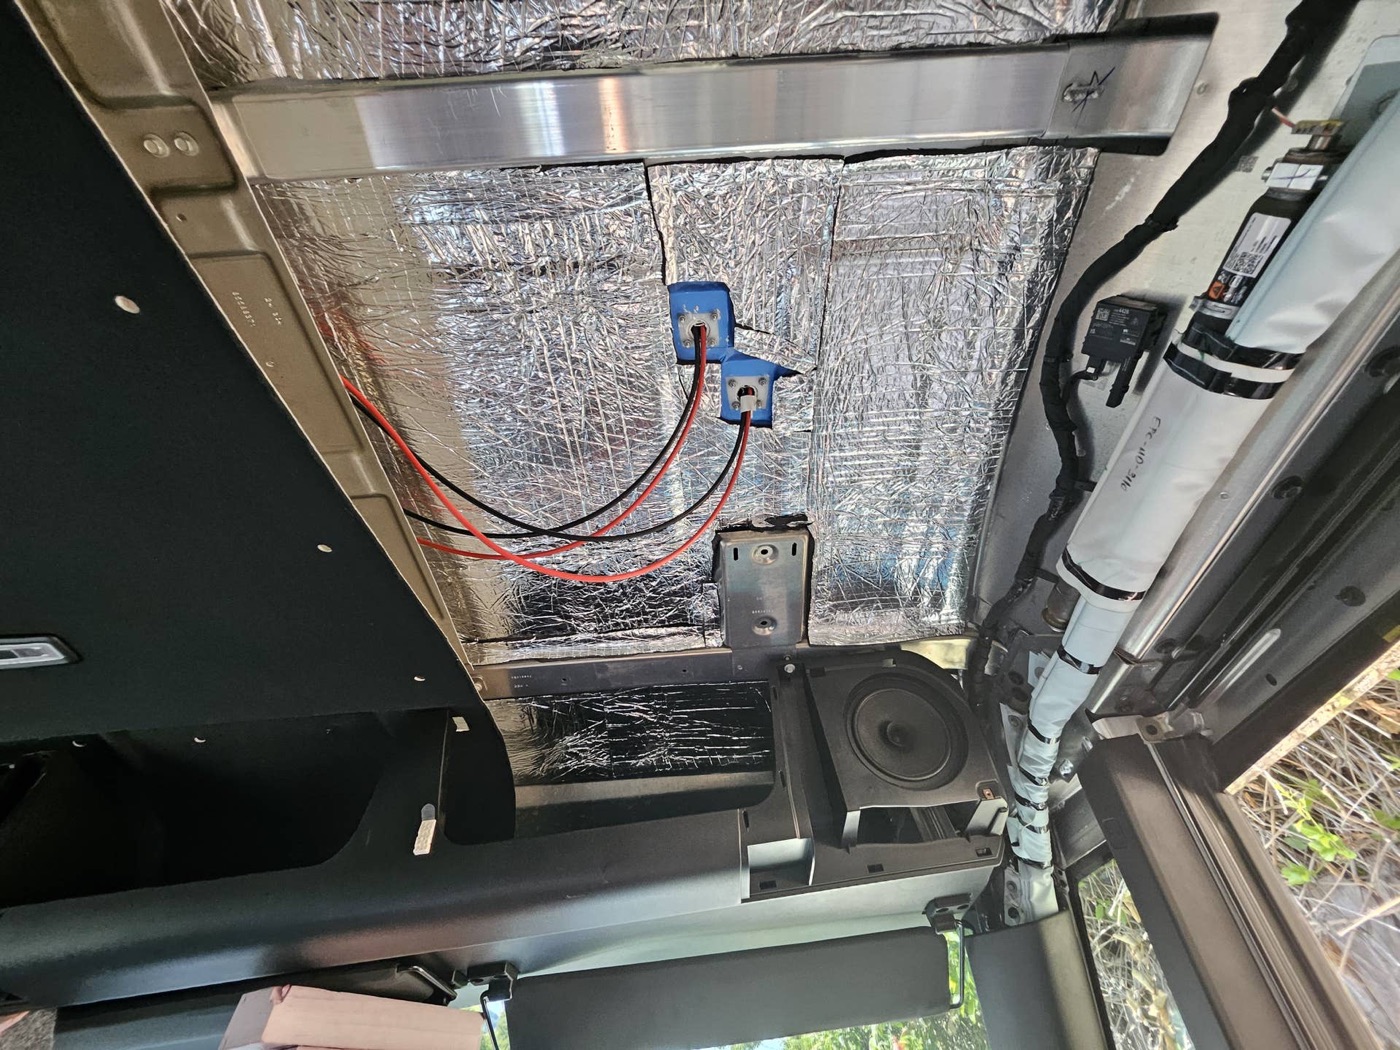
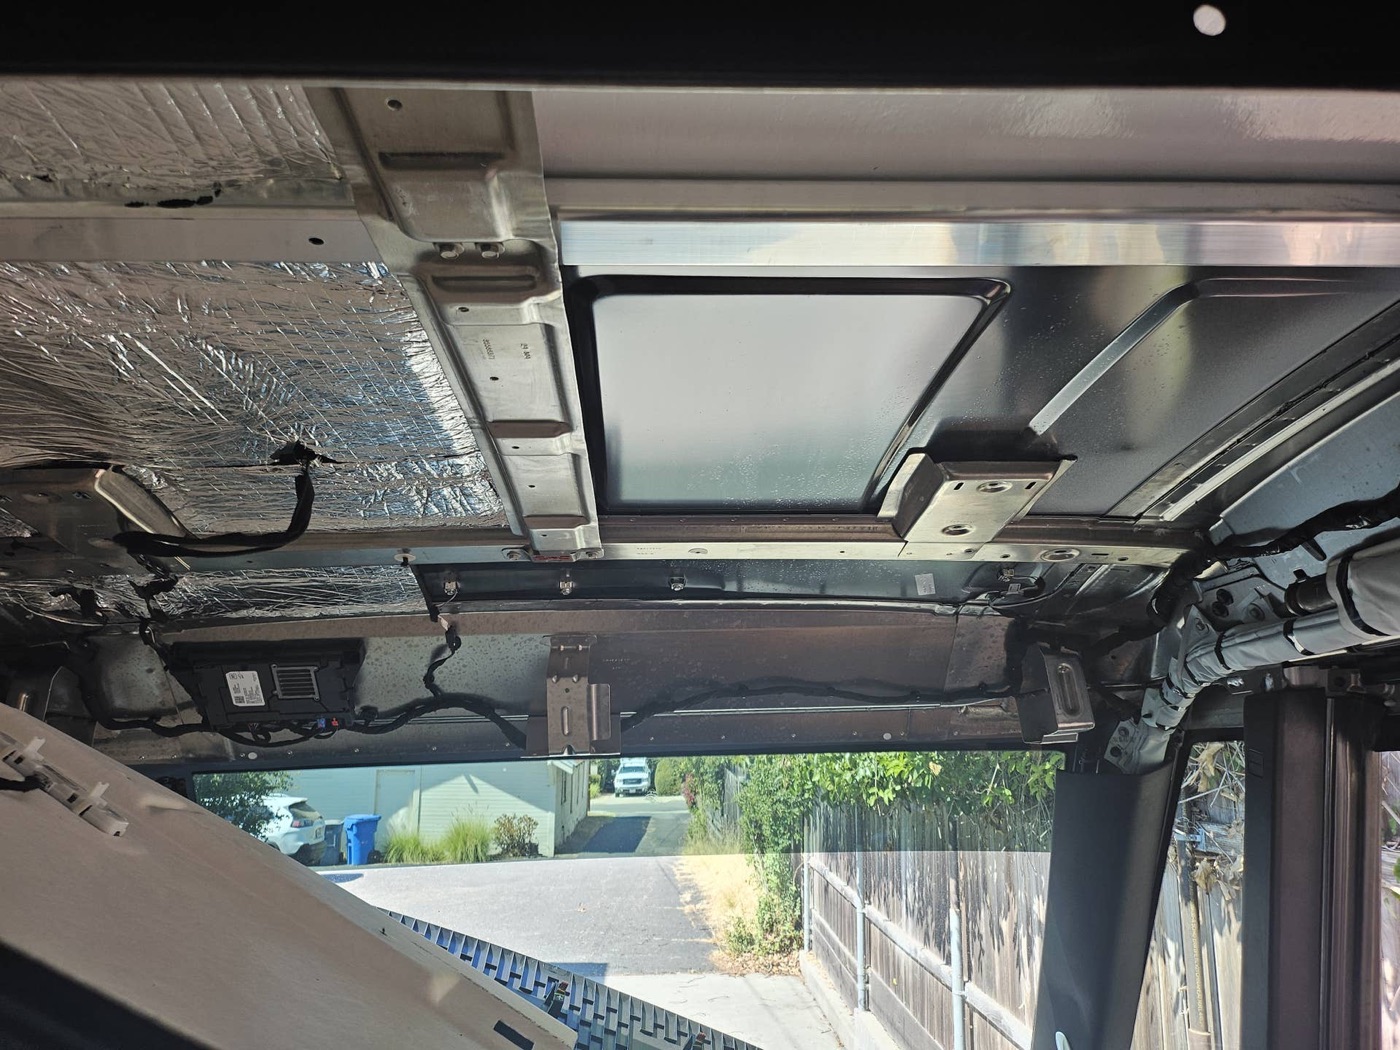
Some pictures of the process and what to expect.
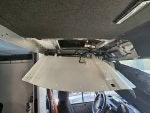
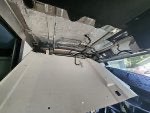
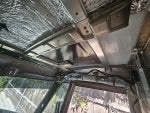
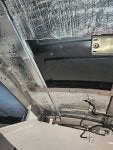
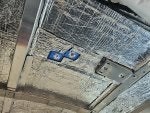
Following your directions and experience I did the same project recently. My goal was to install sound and thermal insulation and cut a hole/ run wires for the rooftop solar. Ive gotten the insulation installed. It wasn’t the easiest but not terrible
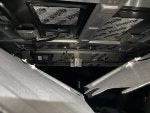
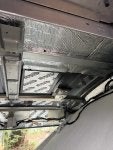
thread on brightdropforum.com →
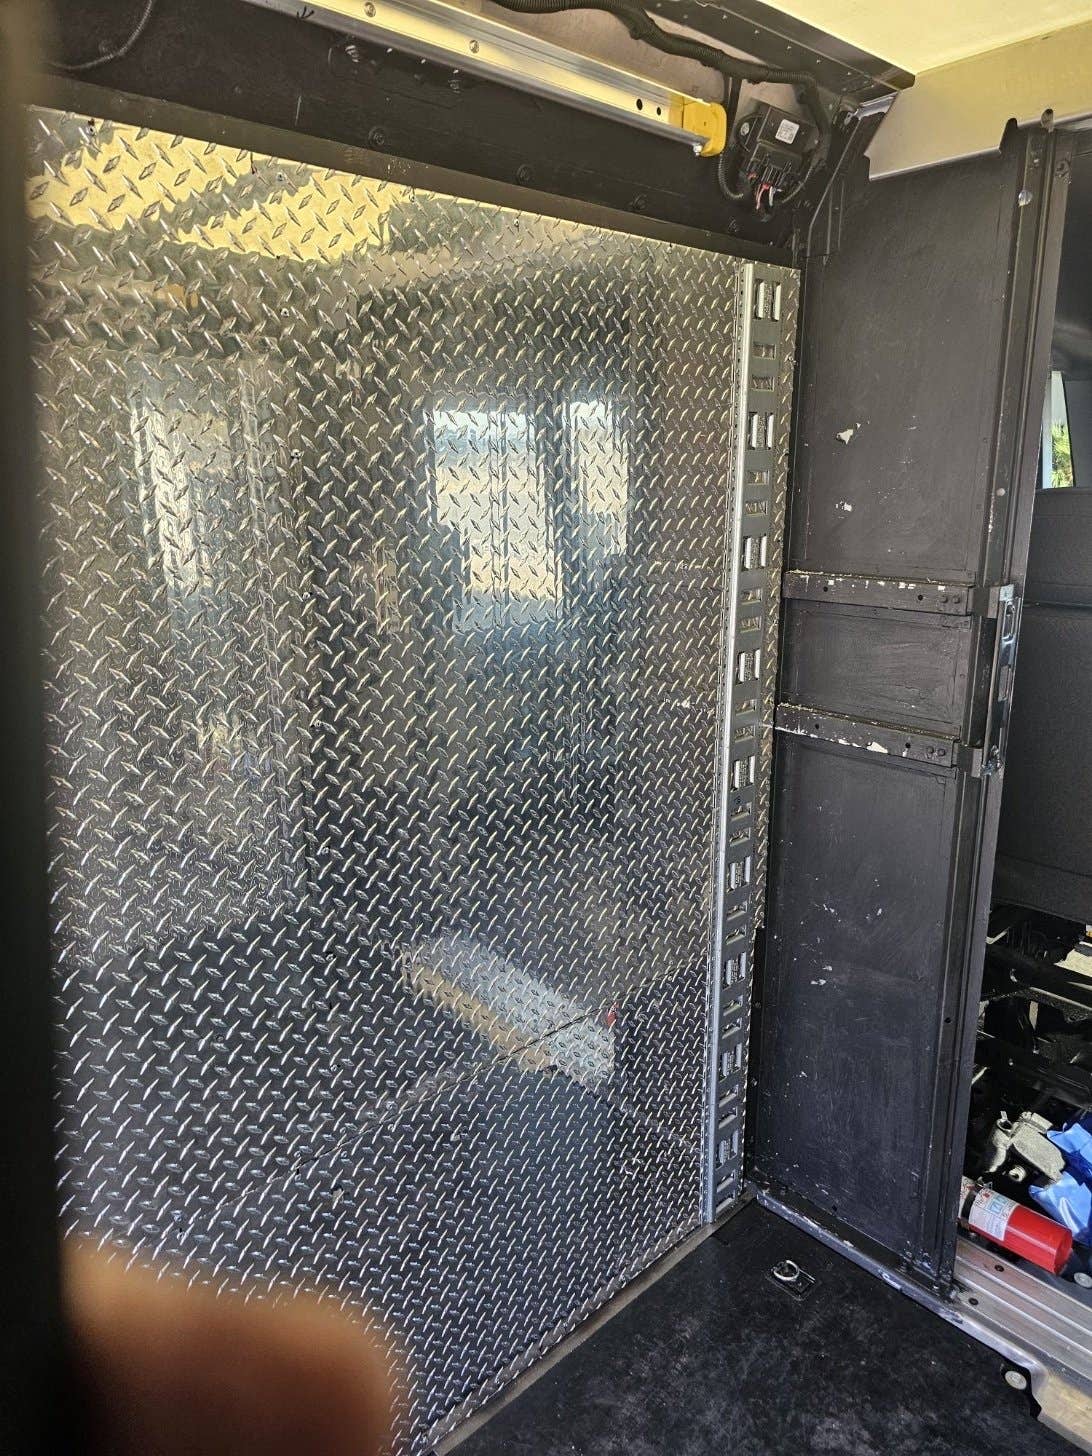
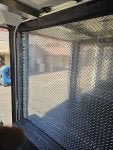
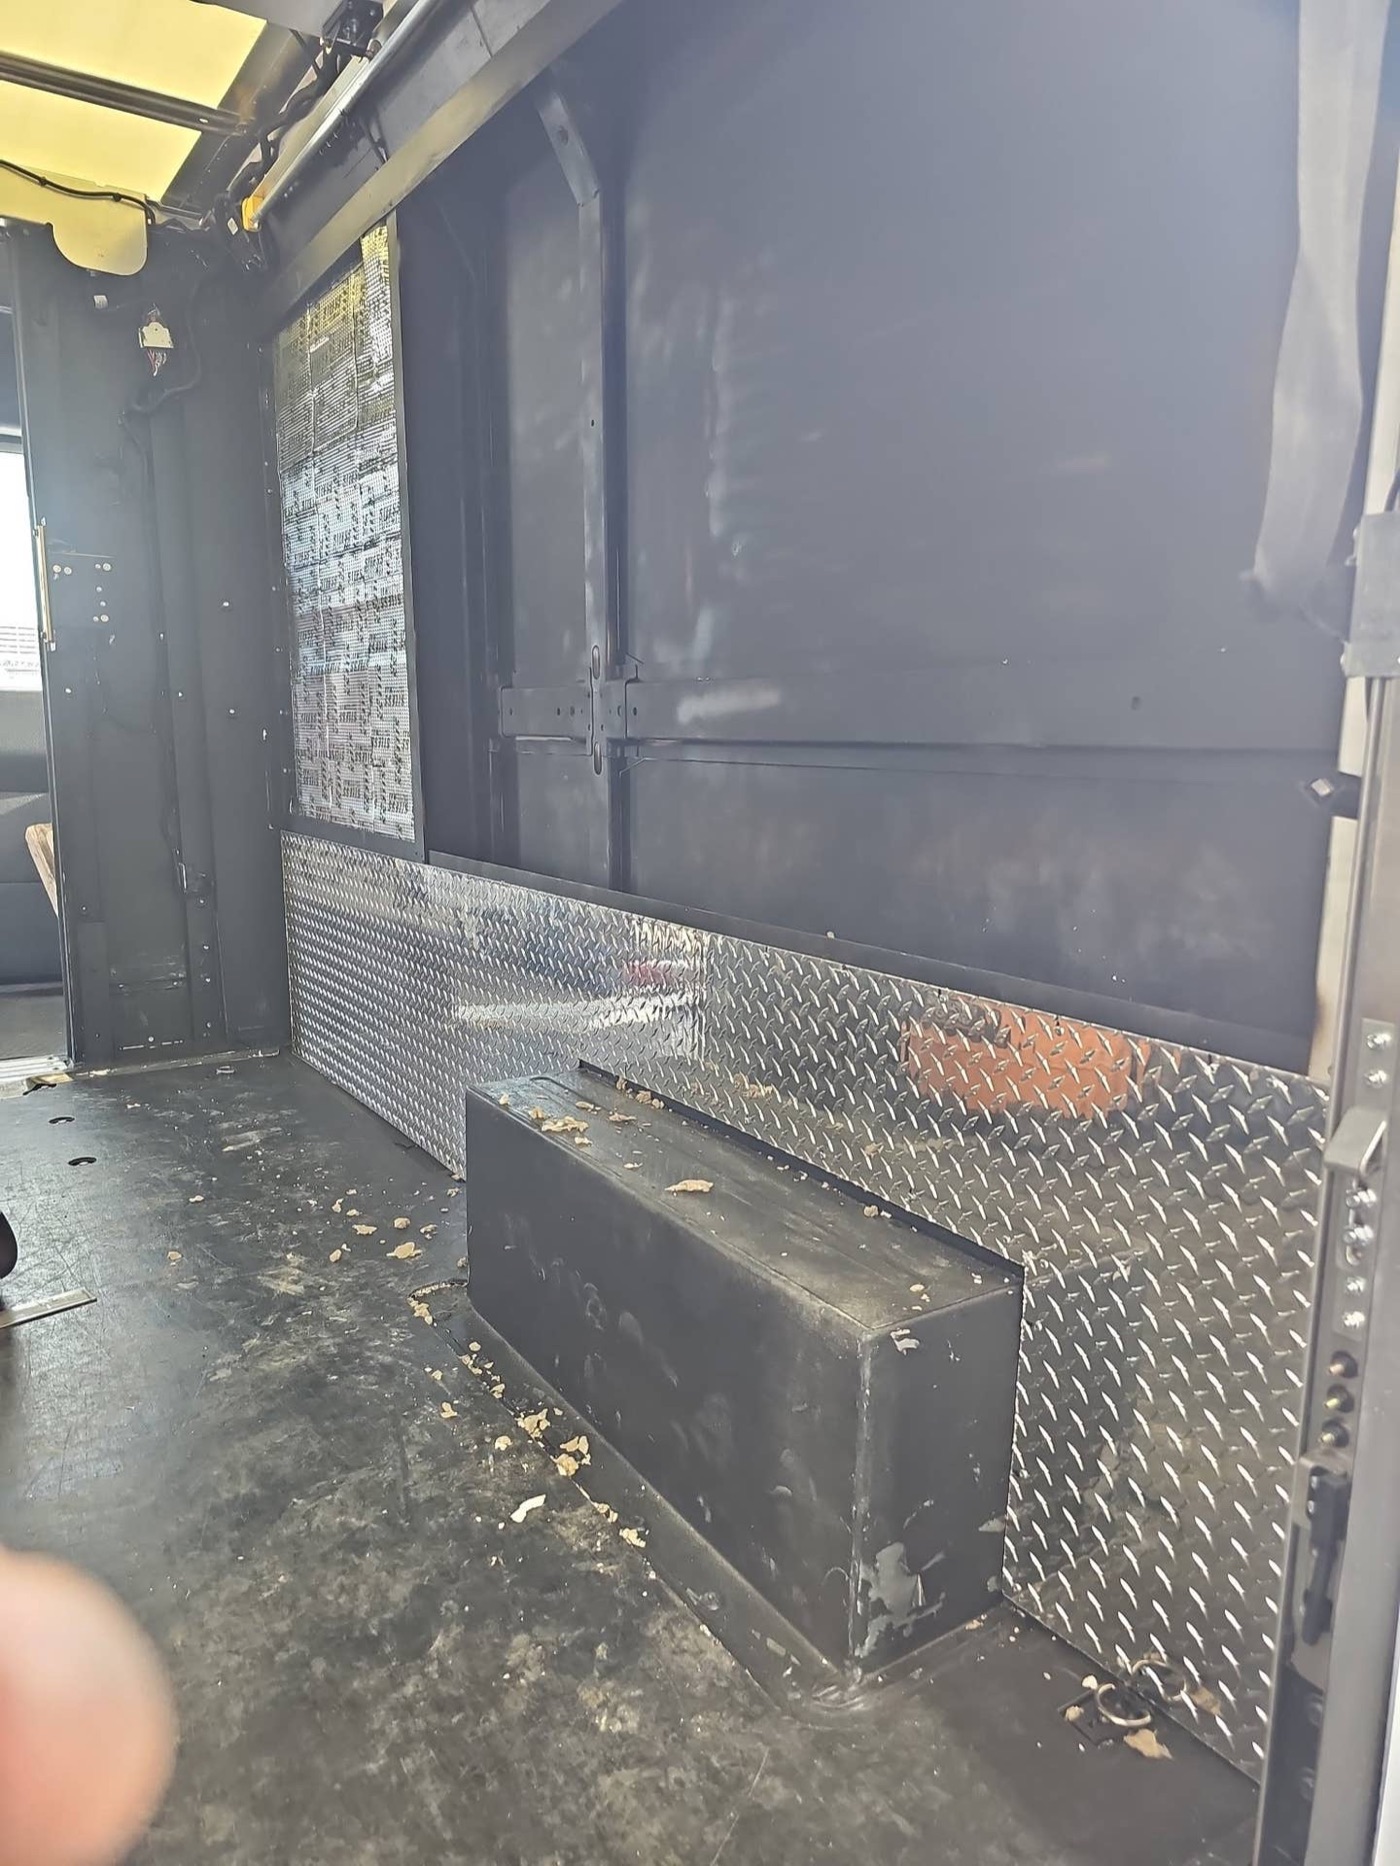
JHurban — I added the 400 to my fleet to help fill in for one of the many vans I operate—primarily Mercedes-Benz Sprinters. Upon receiving the 400, I immediately noticed that the rear section required framing. To accommodate tools and internal racking, an inte
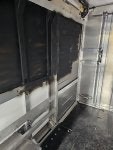
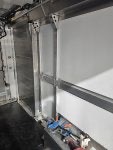
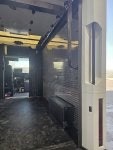
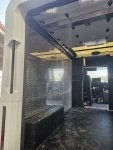
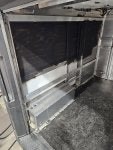
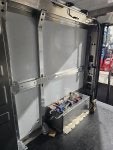
thread on brightdropforum.com →
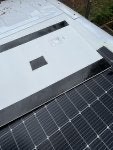
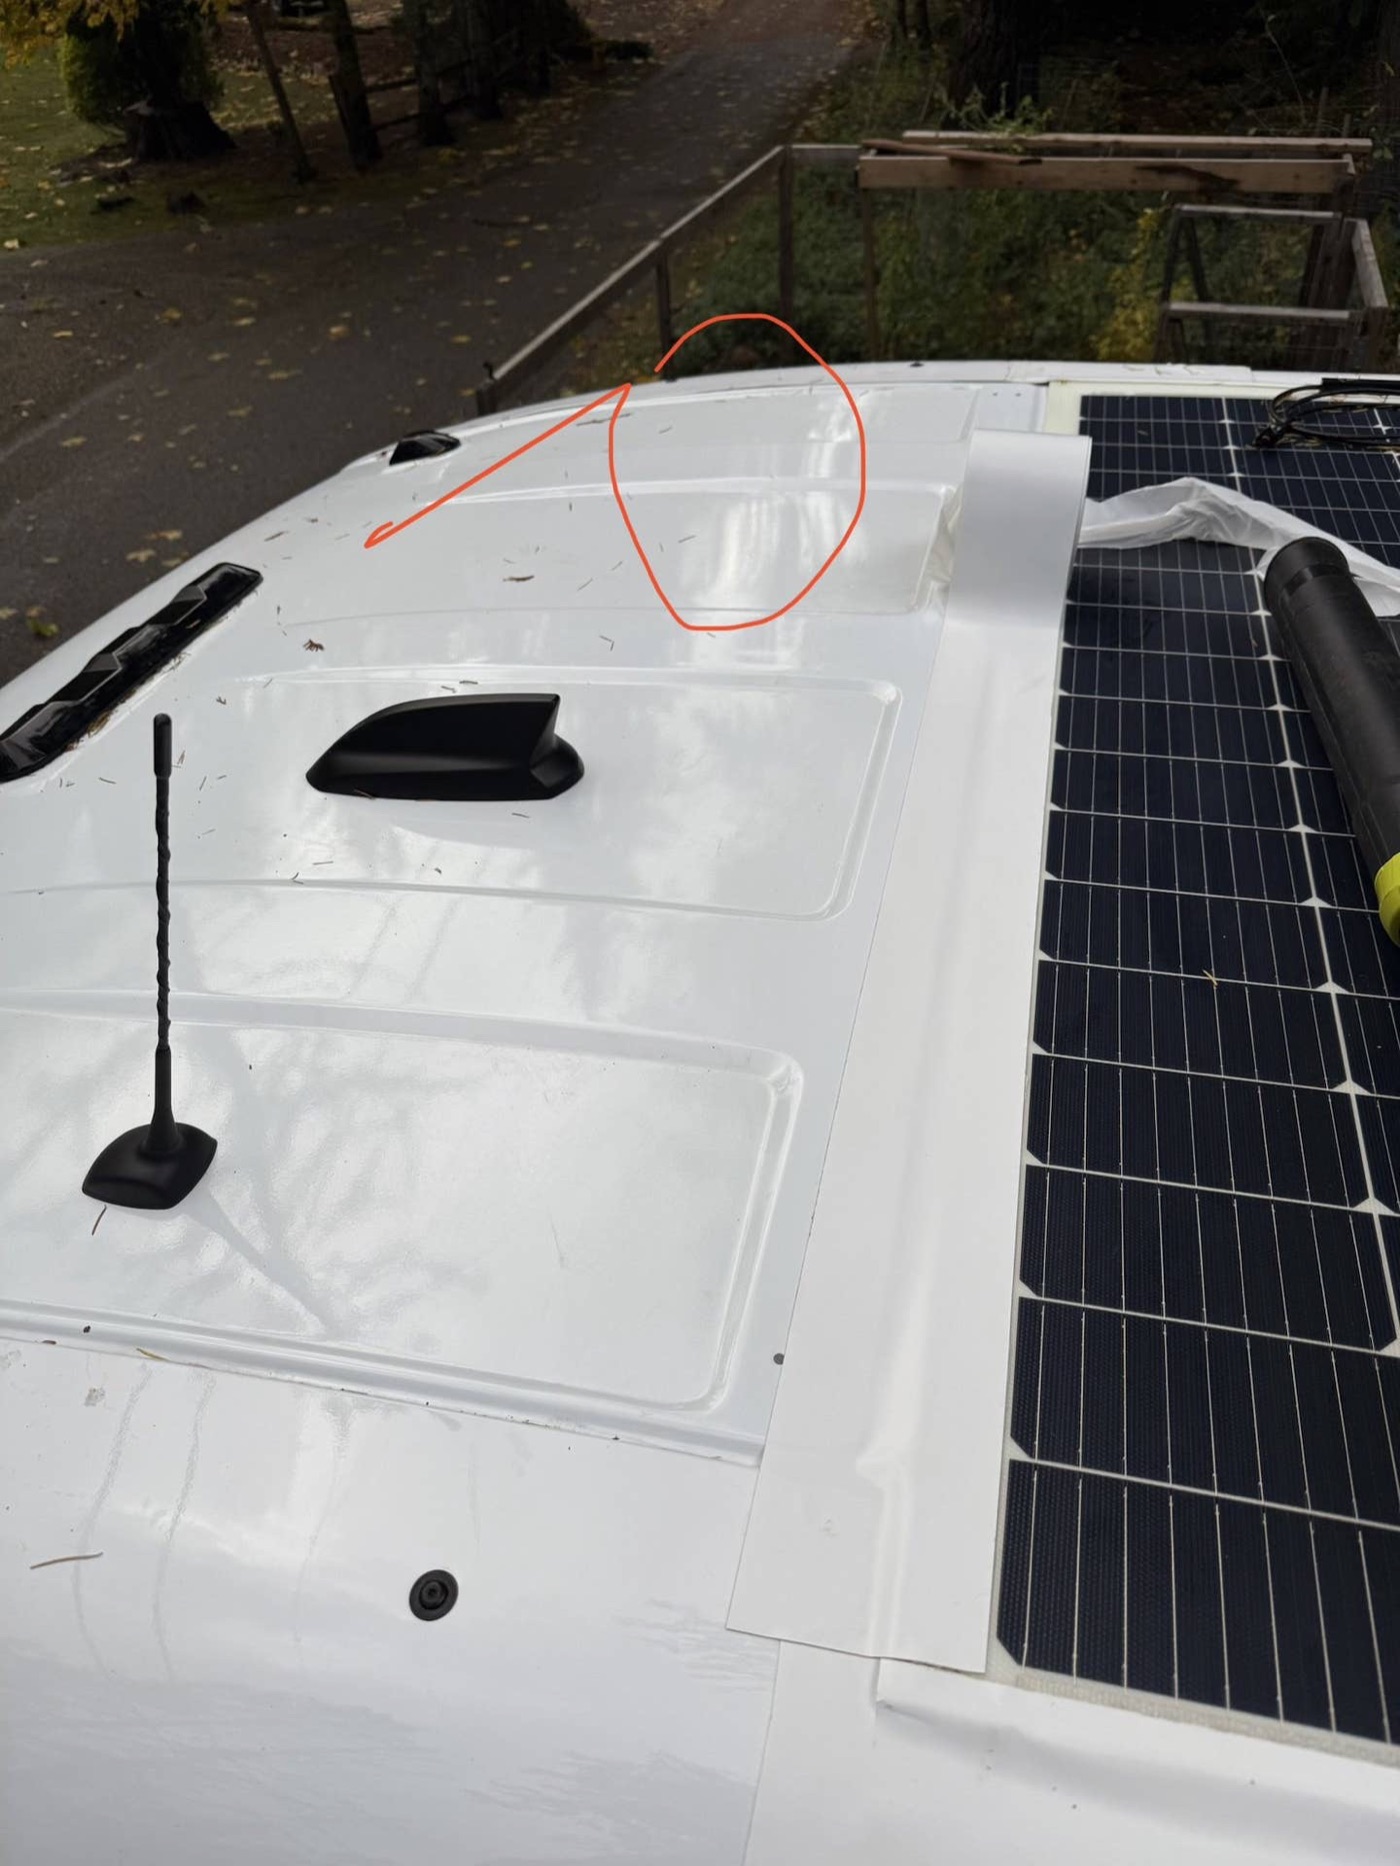
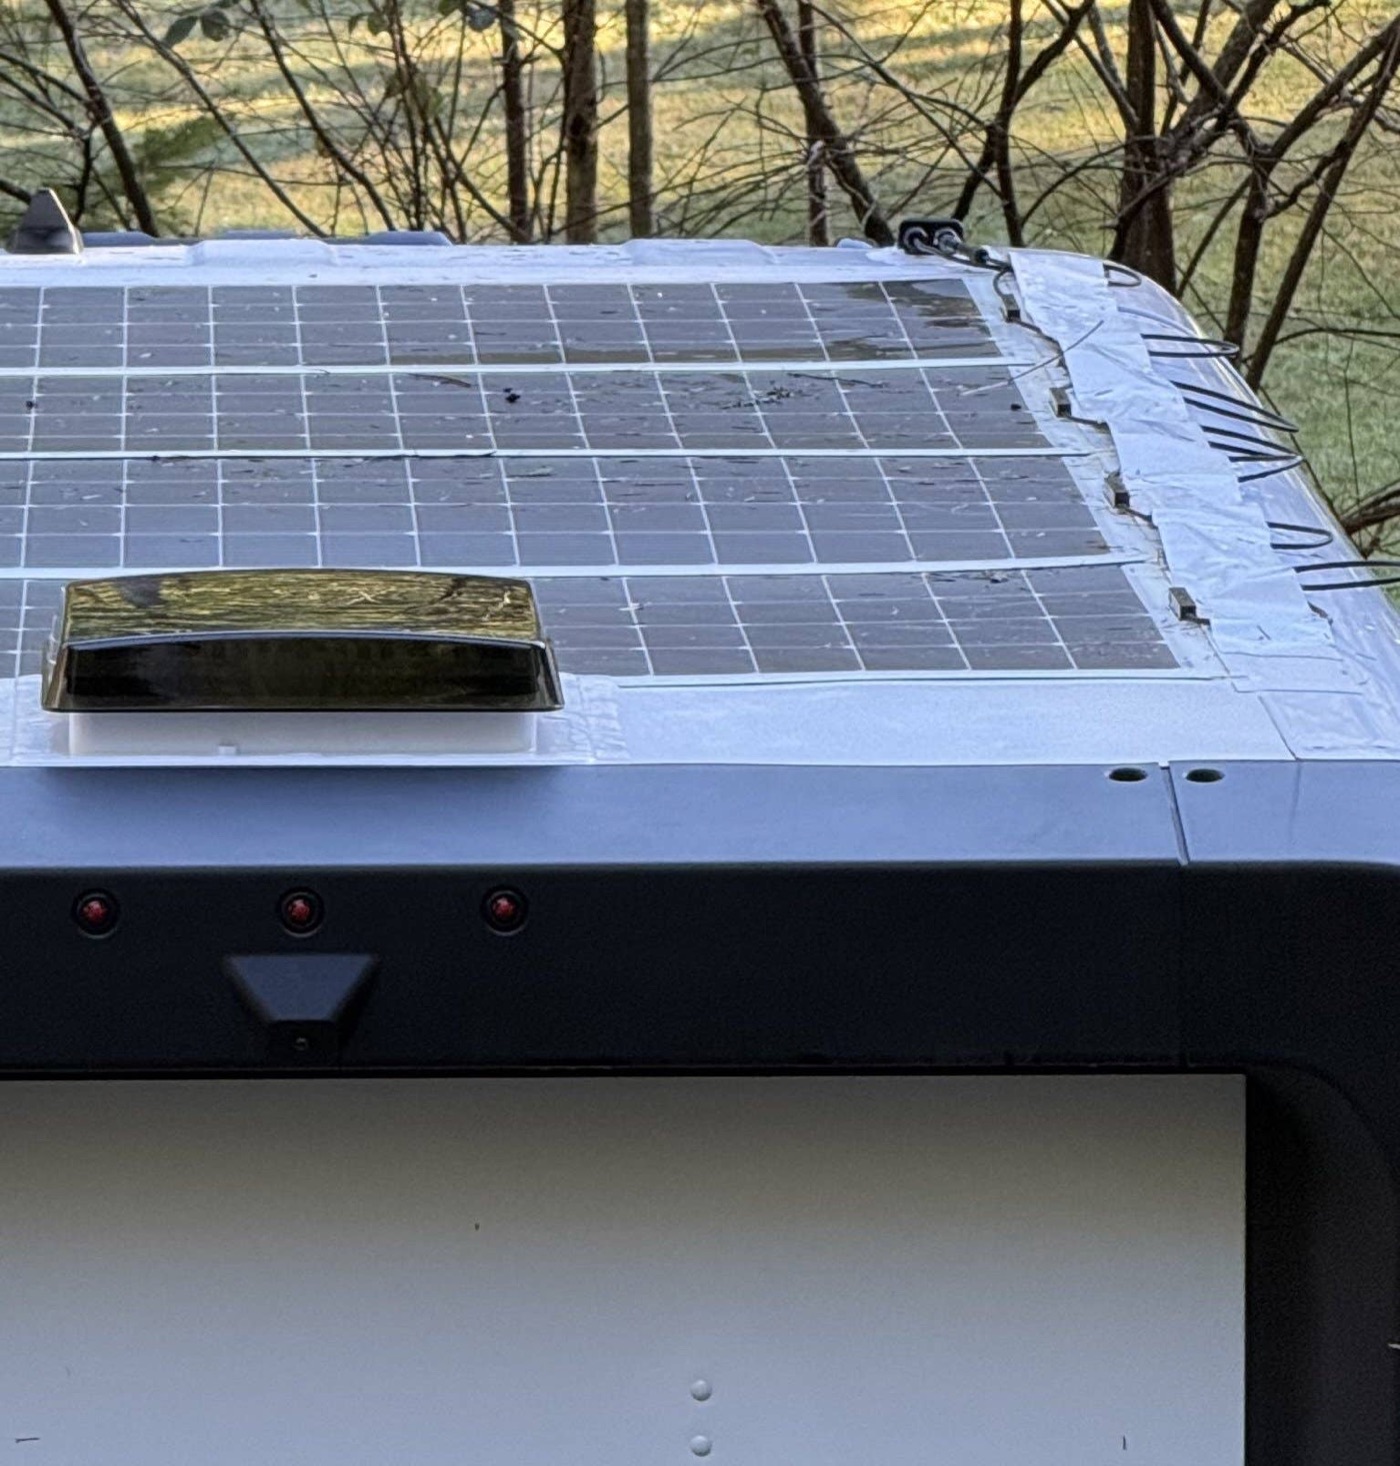
TinkerDadd — I got some great deals on flexible solar panels during Prime day this year. I got 4 x 200w Renogy flexible and 4 x 100w flexible panels. My plan is to put the 200w units on top of the BD and then use the 100w as ground deployable. I also got 2 solar
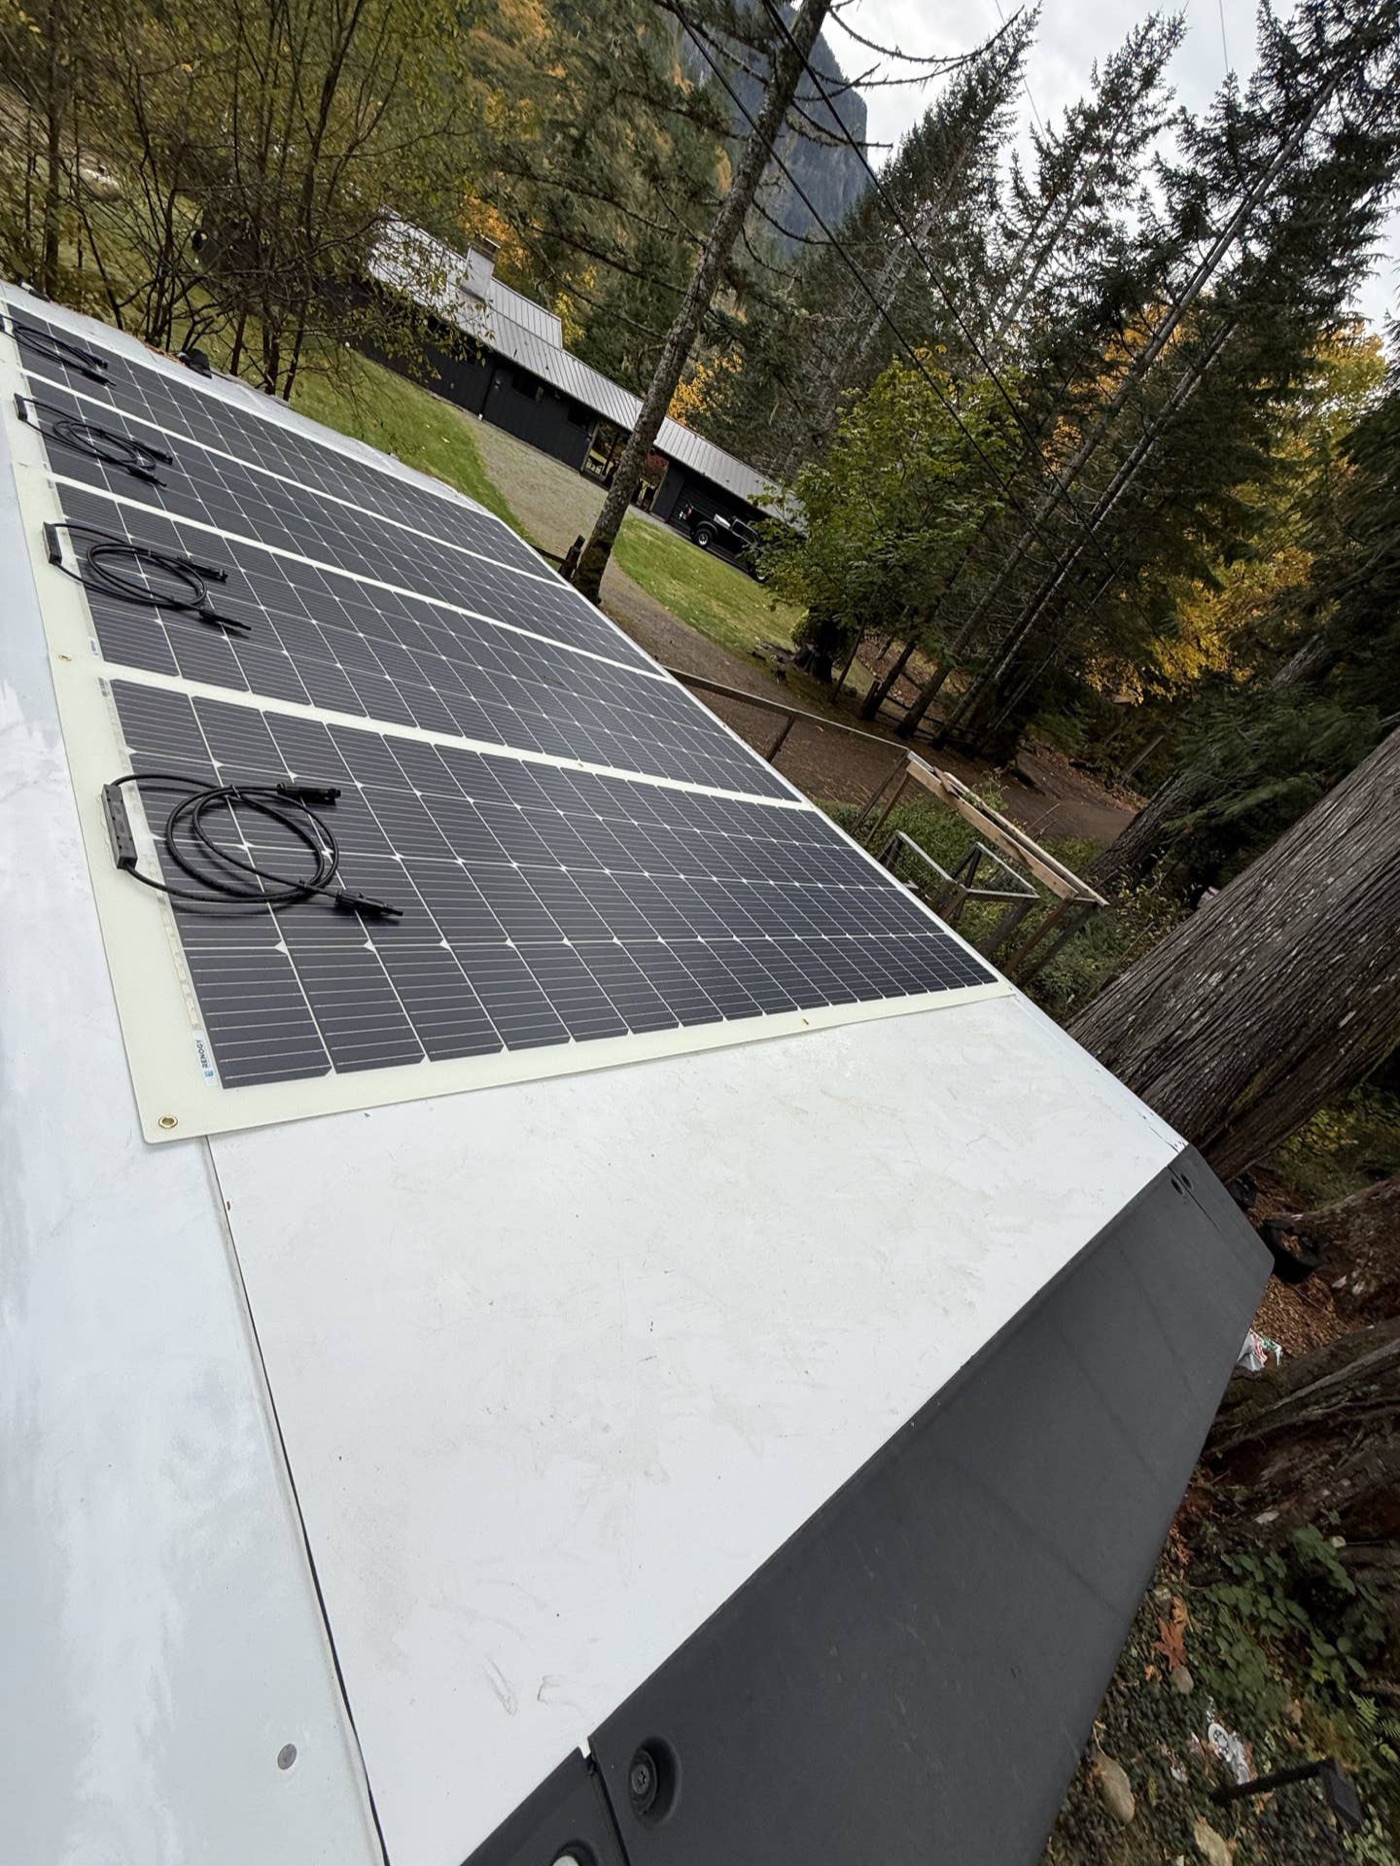
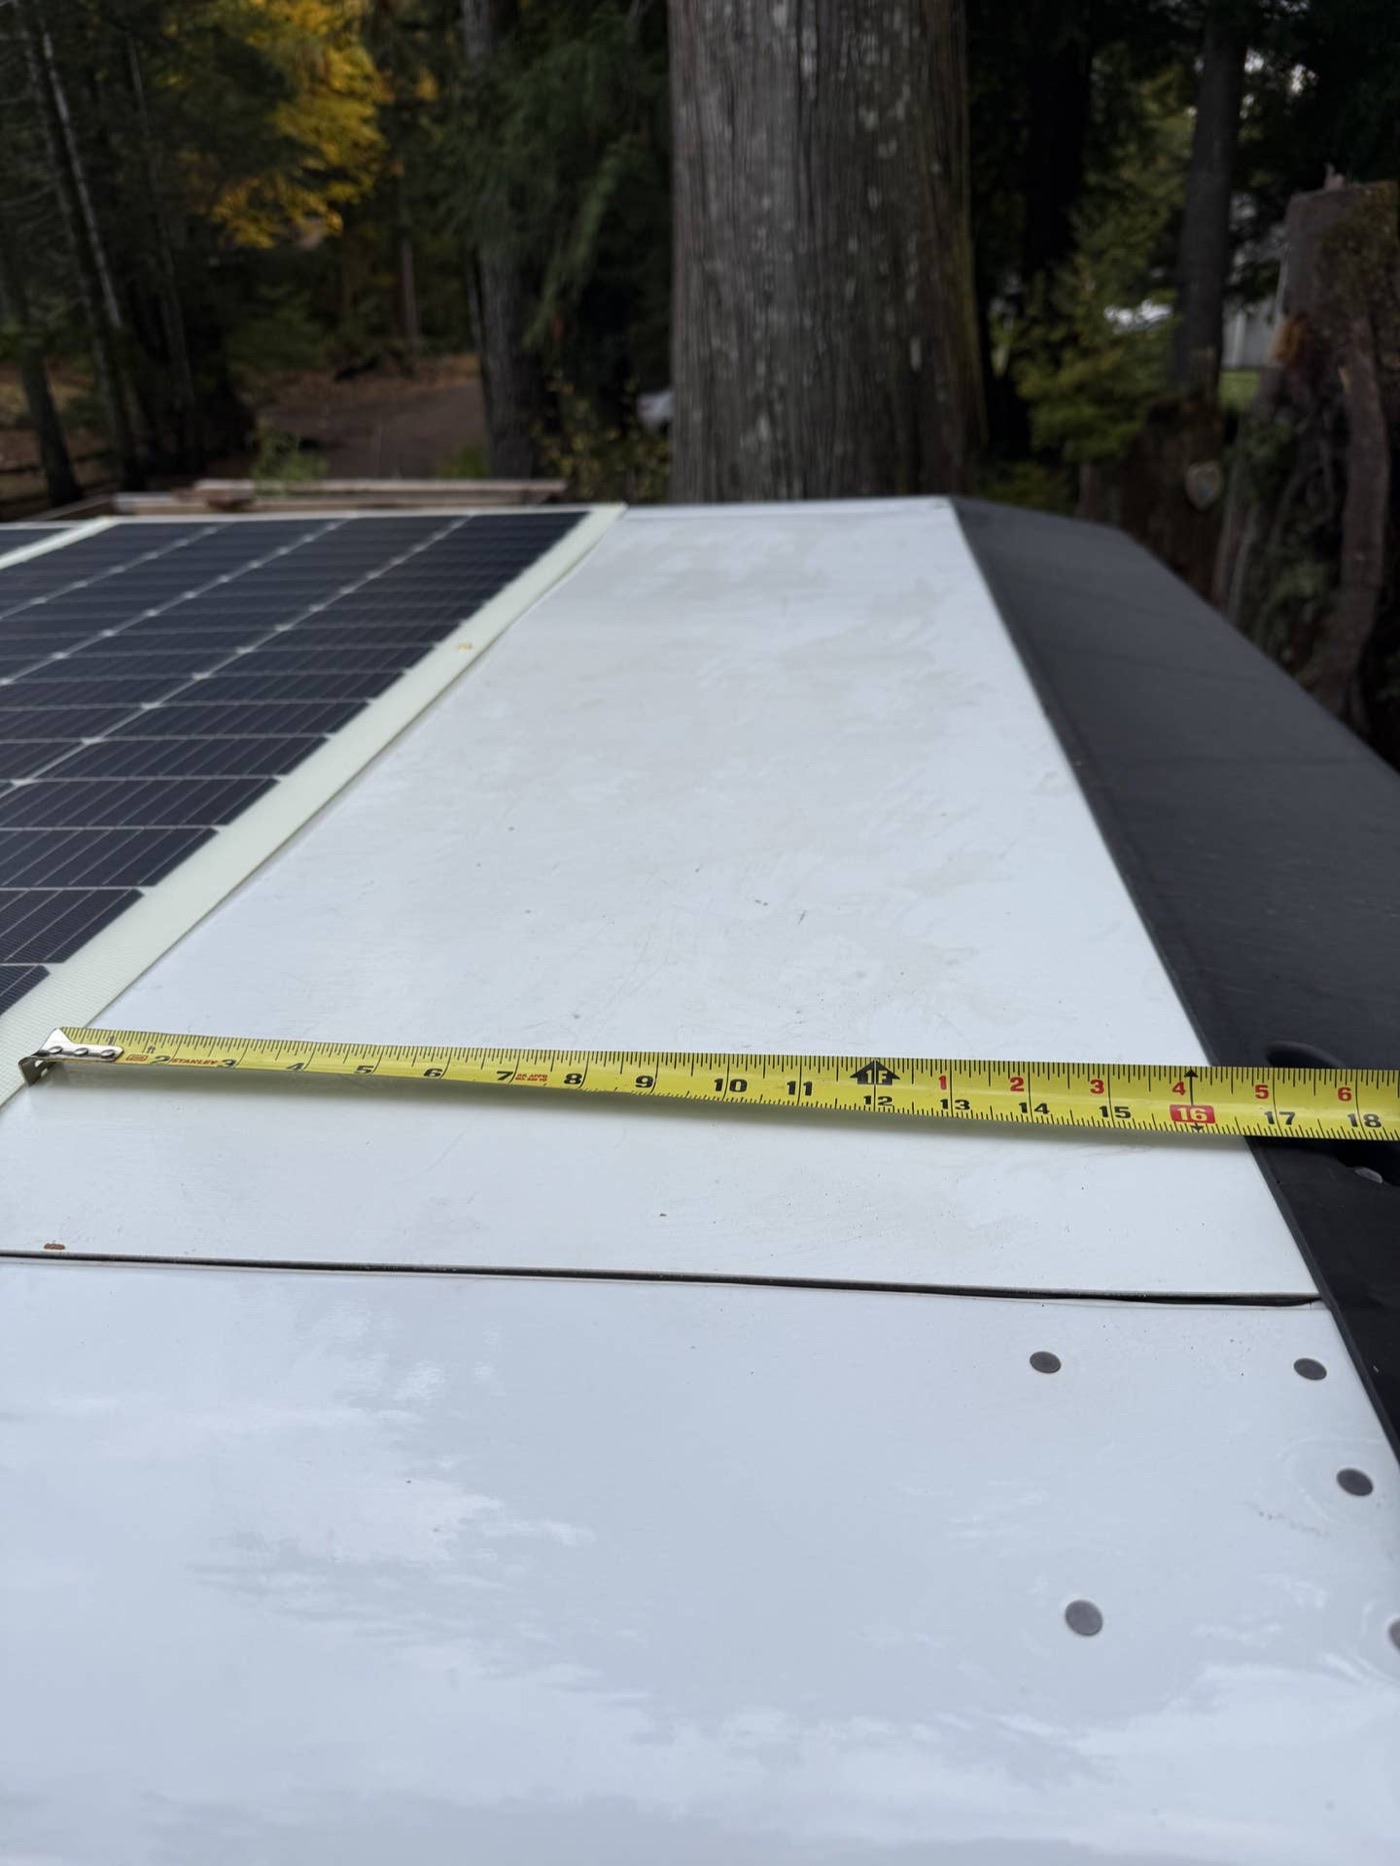
Some updated pictures. I ended up using three different adhesives. A double sided flexible solar panel tape, a single sided solar panel tape, and some lap sealant.
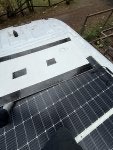
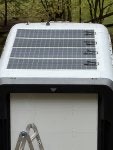
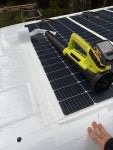
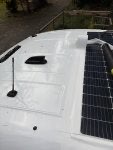
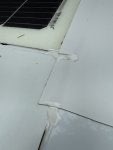
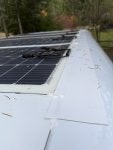
So far so good. I’m still in mid winter doldrums here near Seattle. The van only gets 2 hours max of direct sunlight where I have it parked (mountain blocks it). In the pics below you can see I installed the pass through in line with the other antenn
thread on brightdropforum.com →
Mist EV — I can’t remember who stated that there was a decent amount of room under the drivers seat. Big enough to fit a battery. I did some measuring and found it can fit 2 batteries actually (300ah each). I designed an 3d printed some supports to hold one of
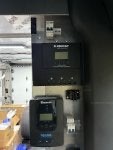
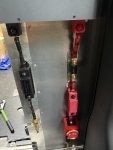
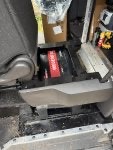
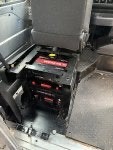
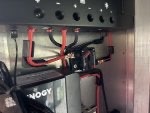
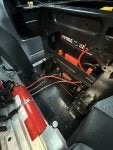
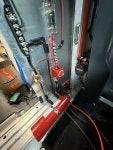
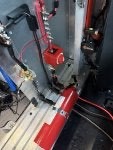
thread on brightdropforum.com →
bainbridgeislandroad — I purchased my 2025 Brightdrop 600 max-battery from an upfitter, Grounded RVs in Detroit. I've mentioned various details about it many times on these forums, but never really put up a description and a few photos. I like the people at Grounded, and I
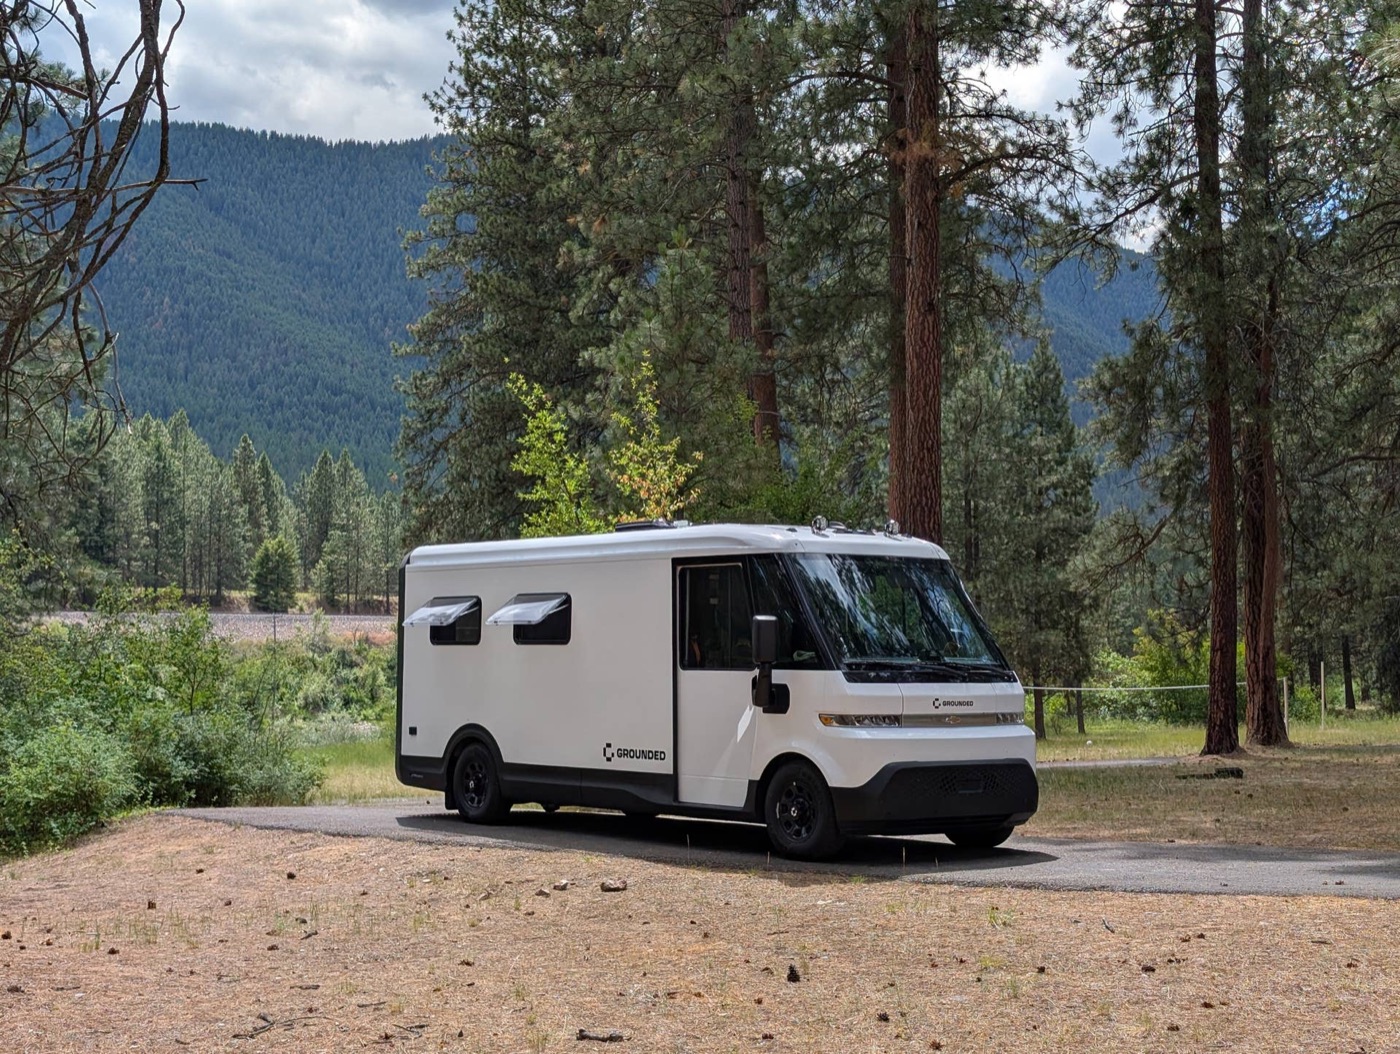
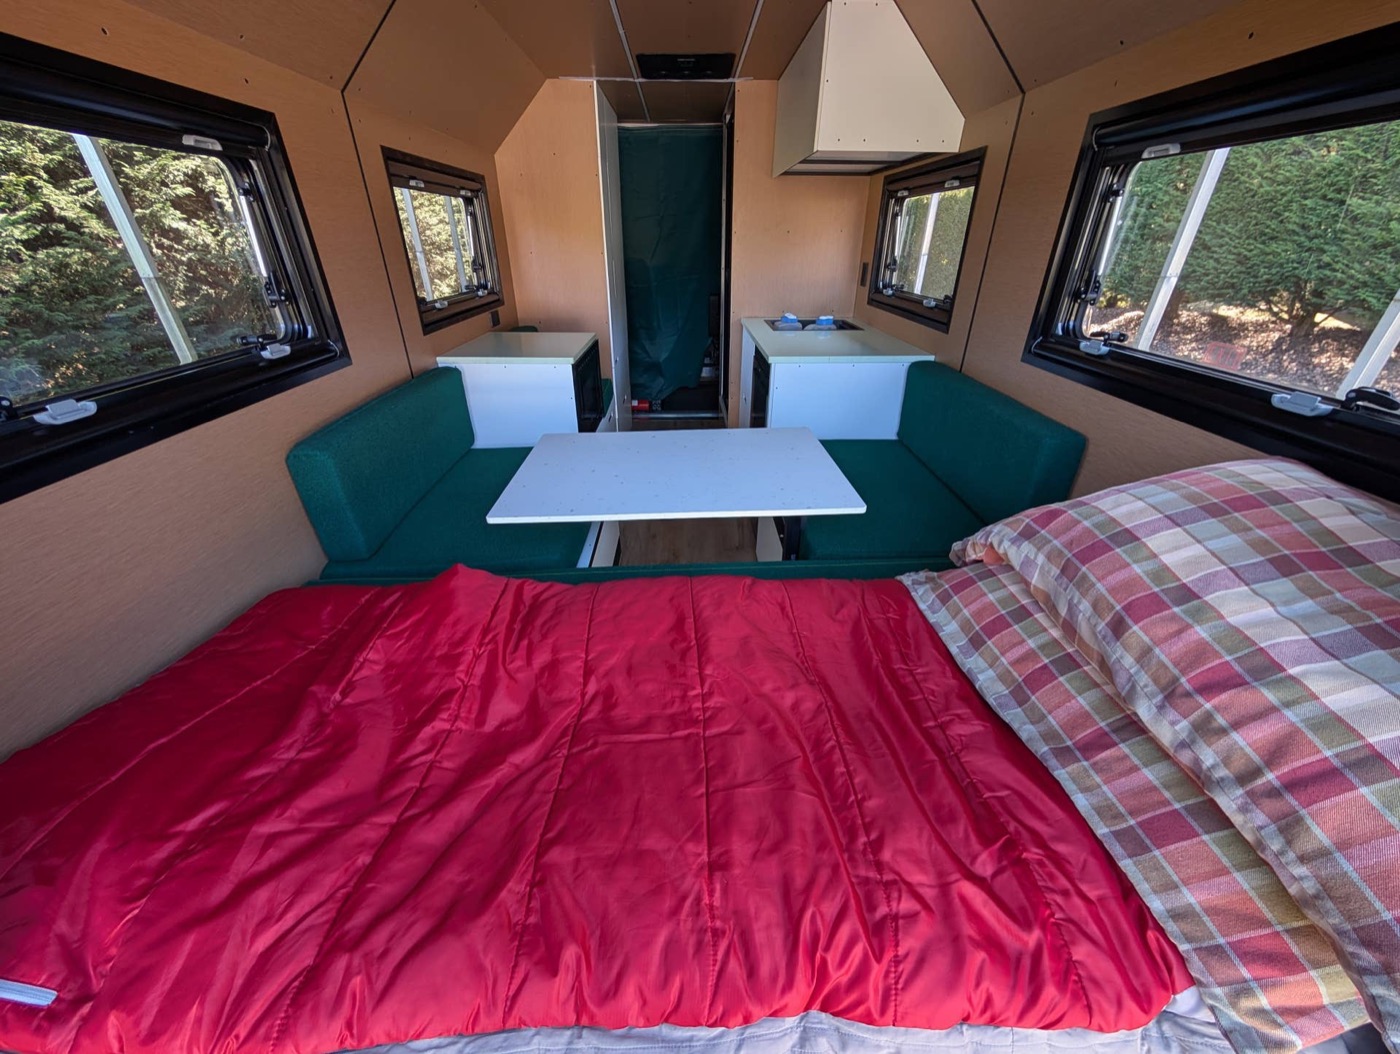
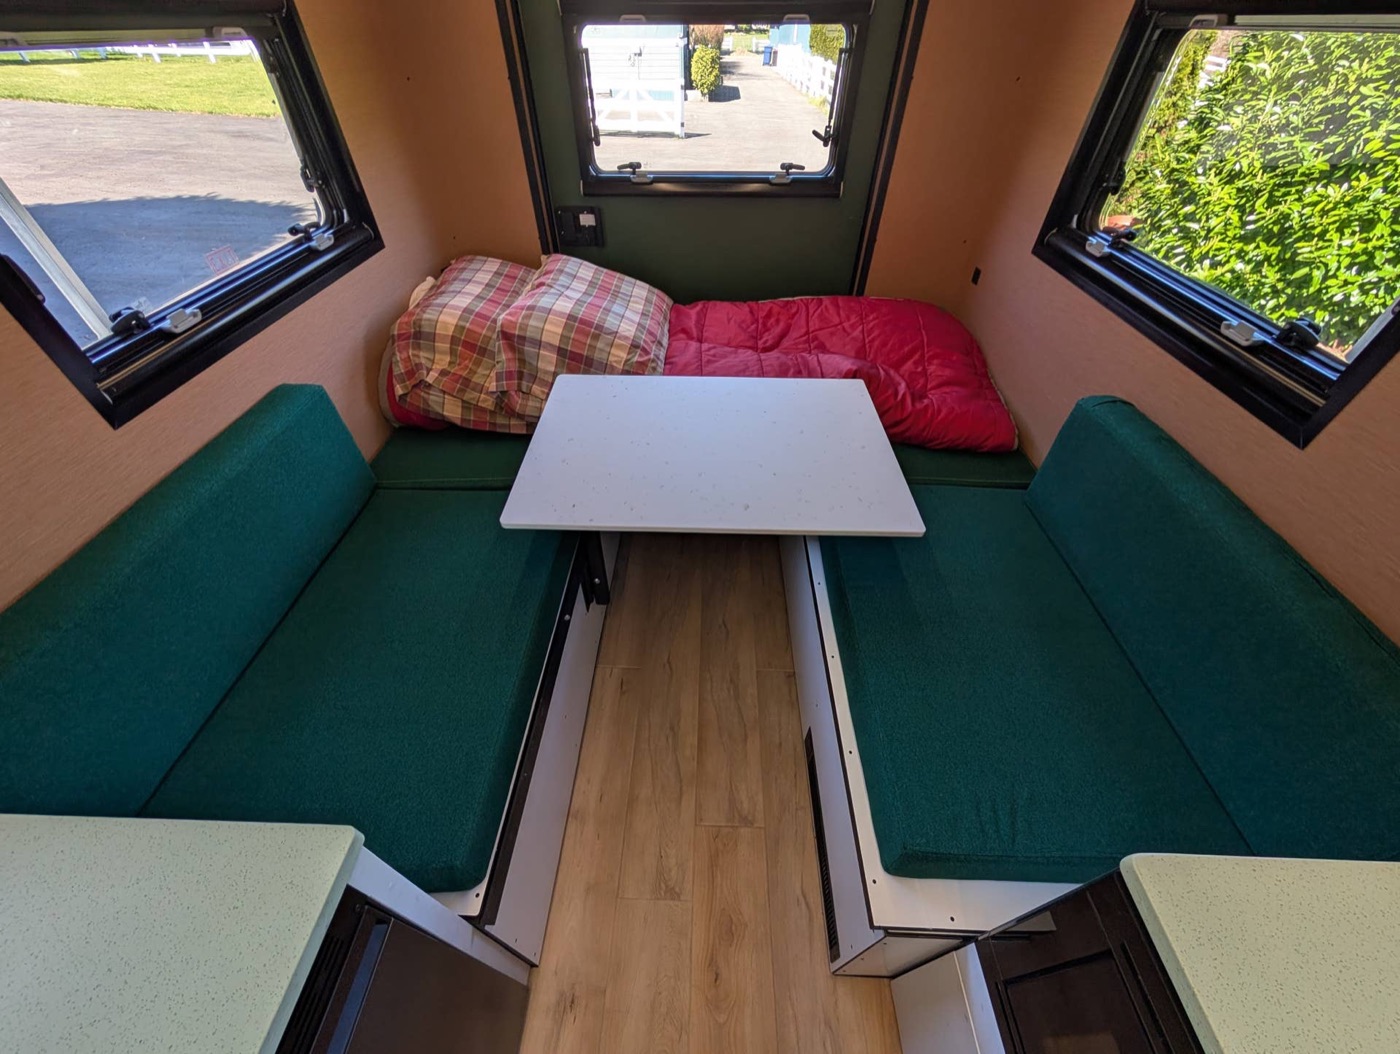
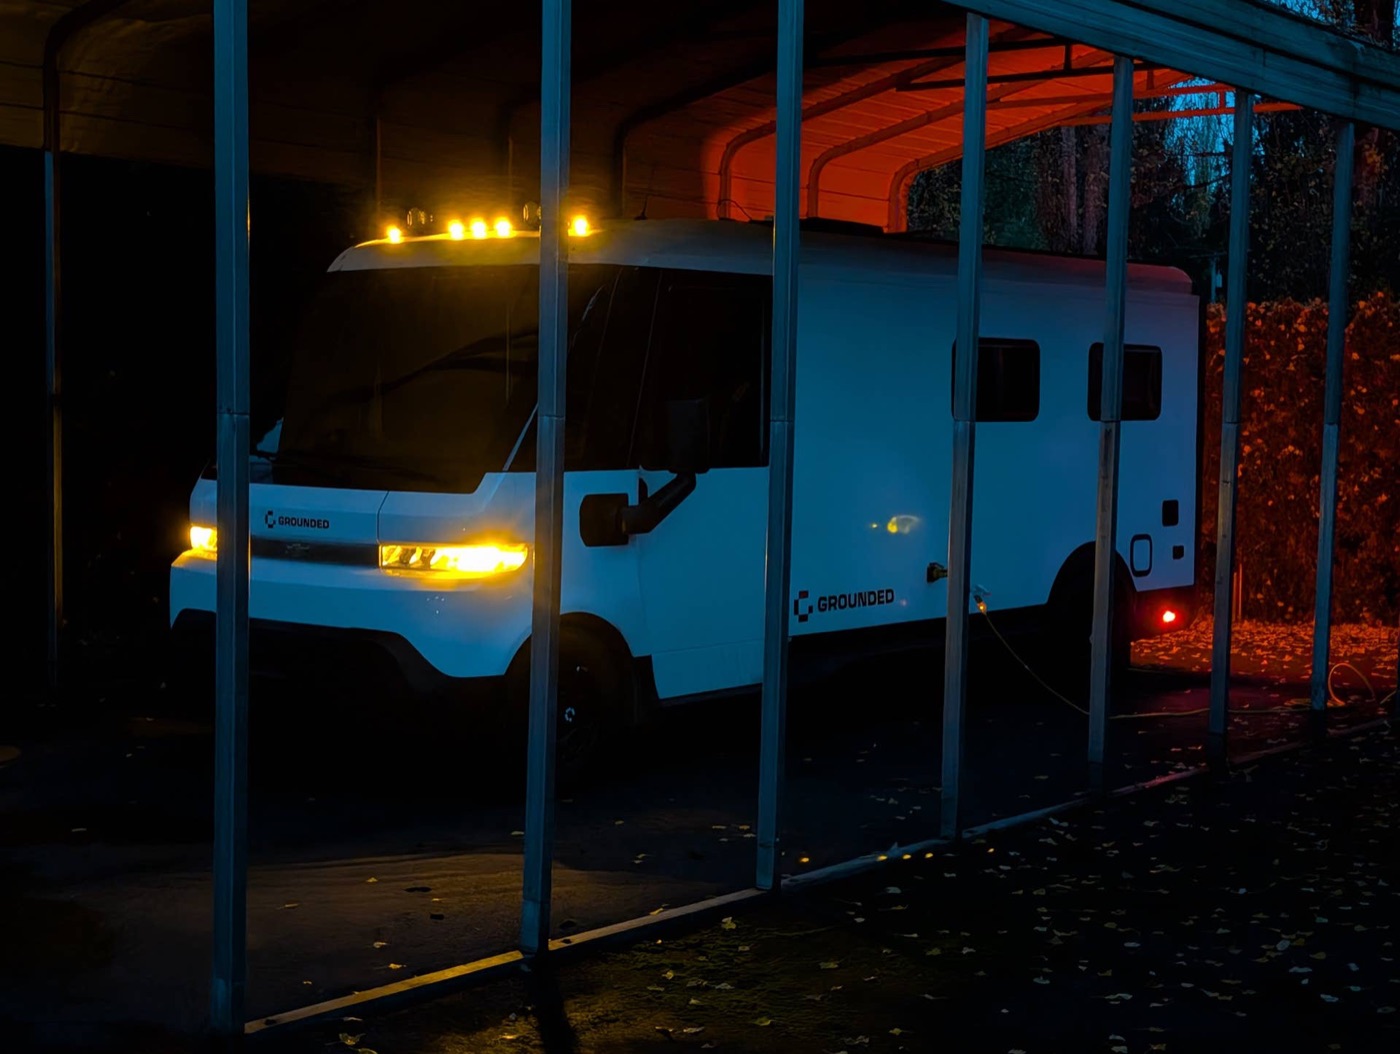
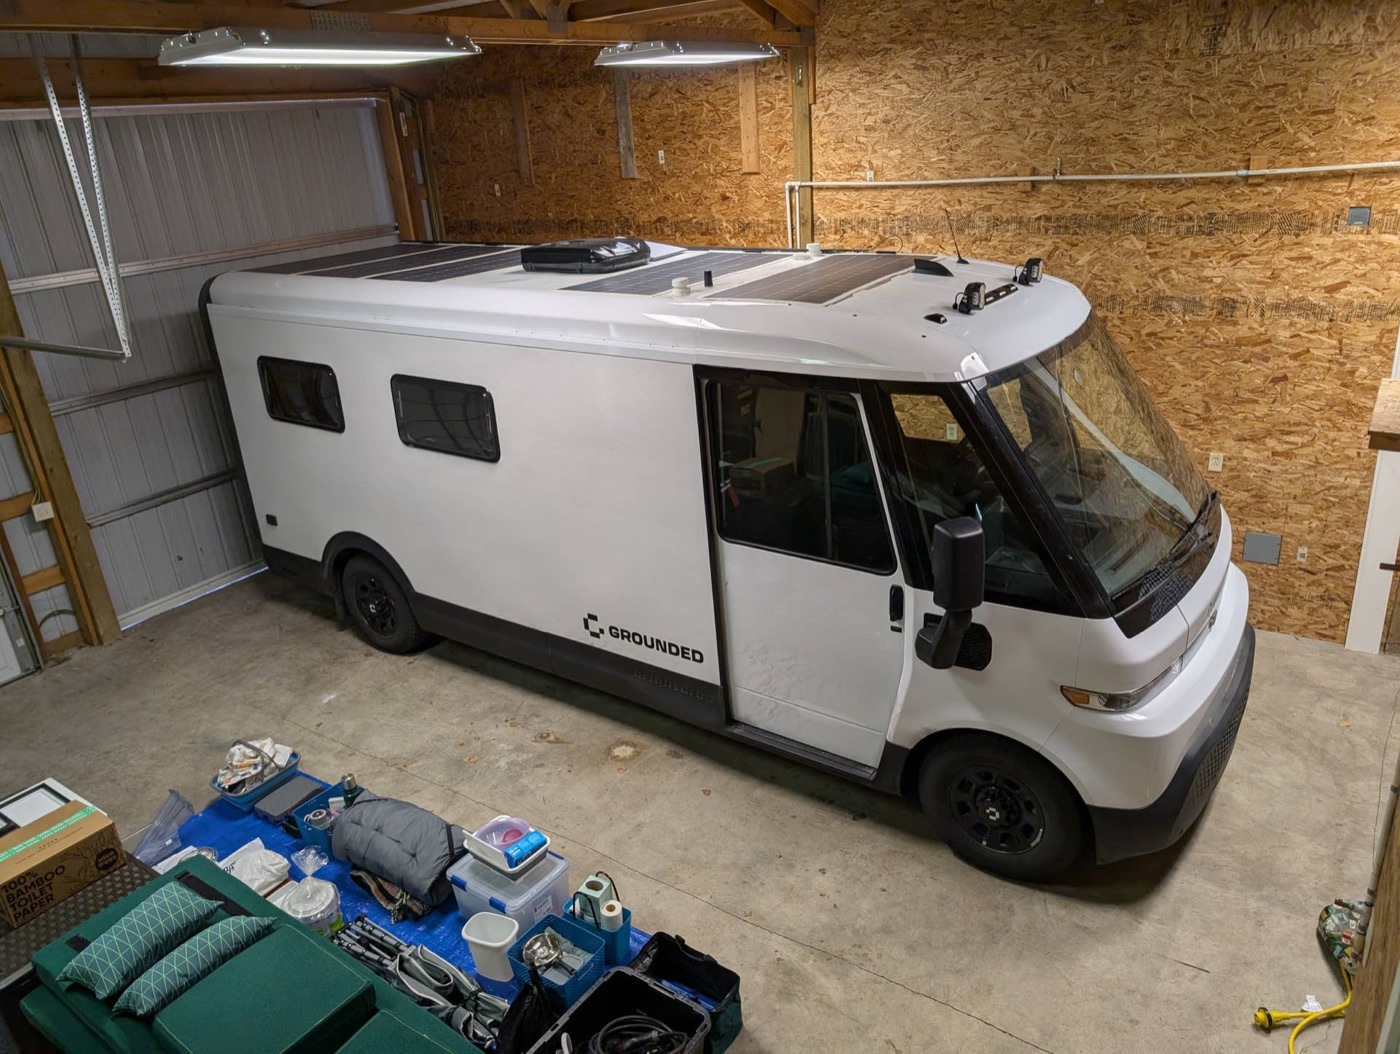
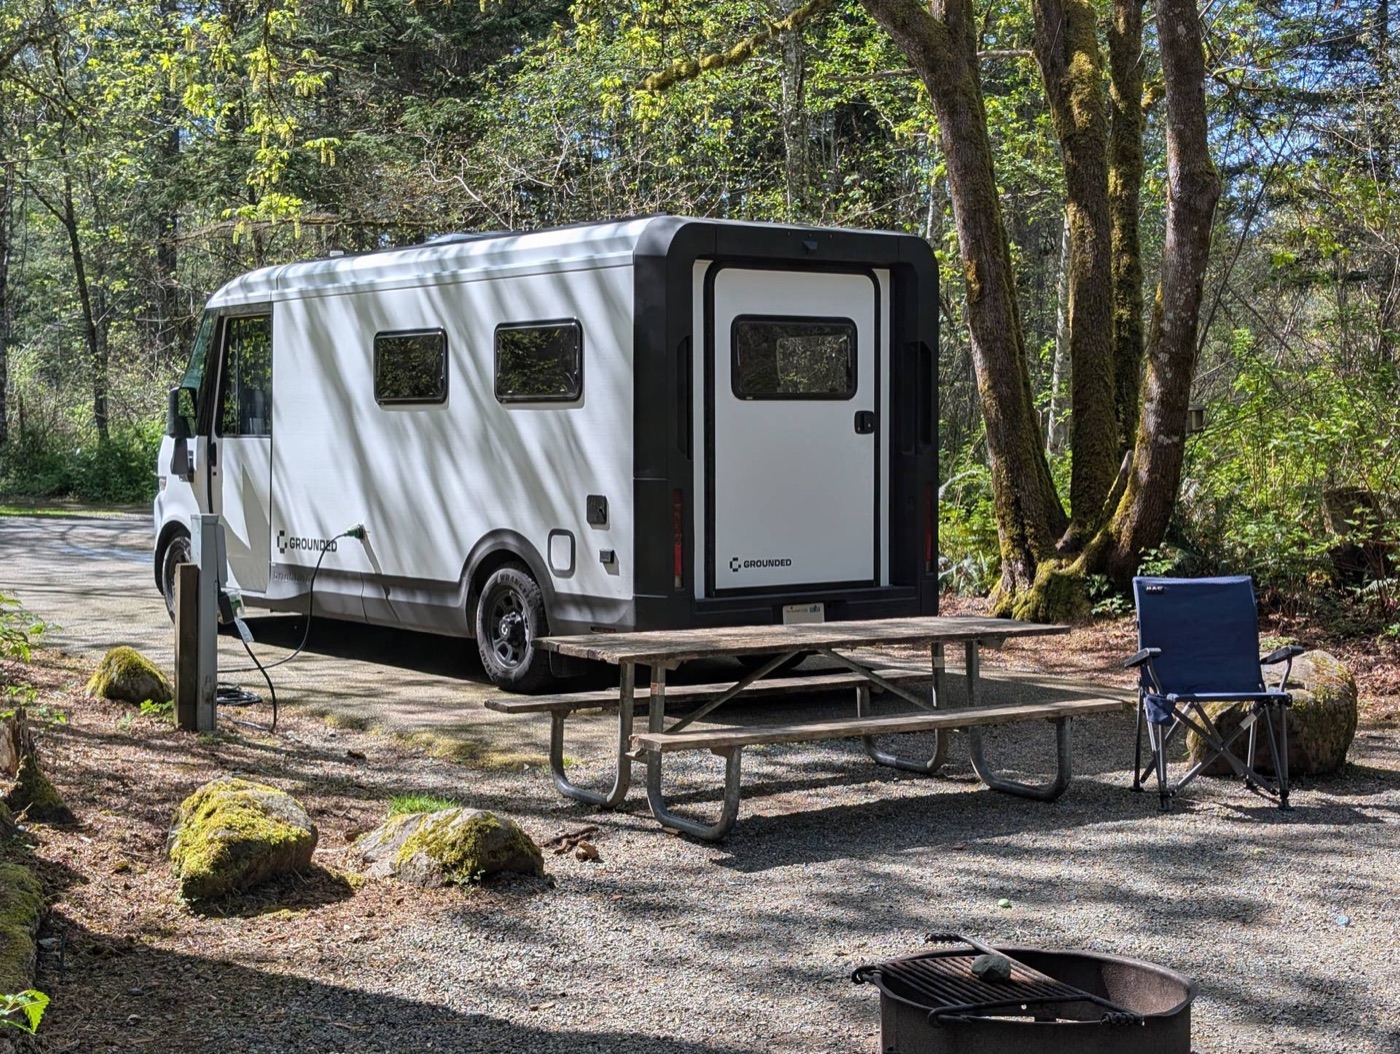
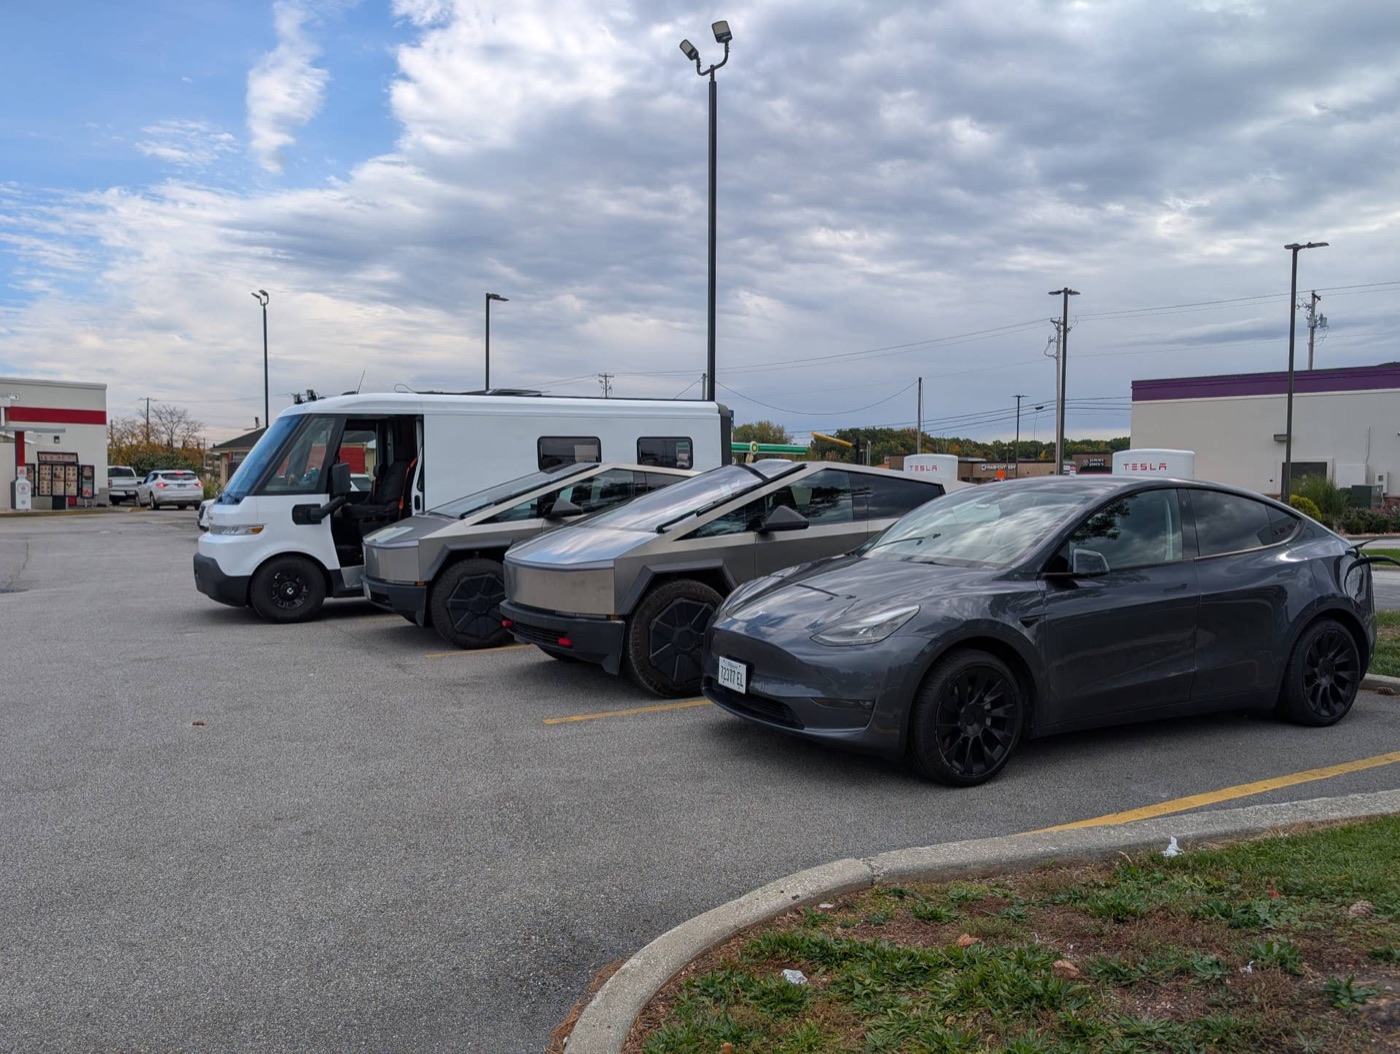
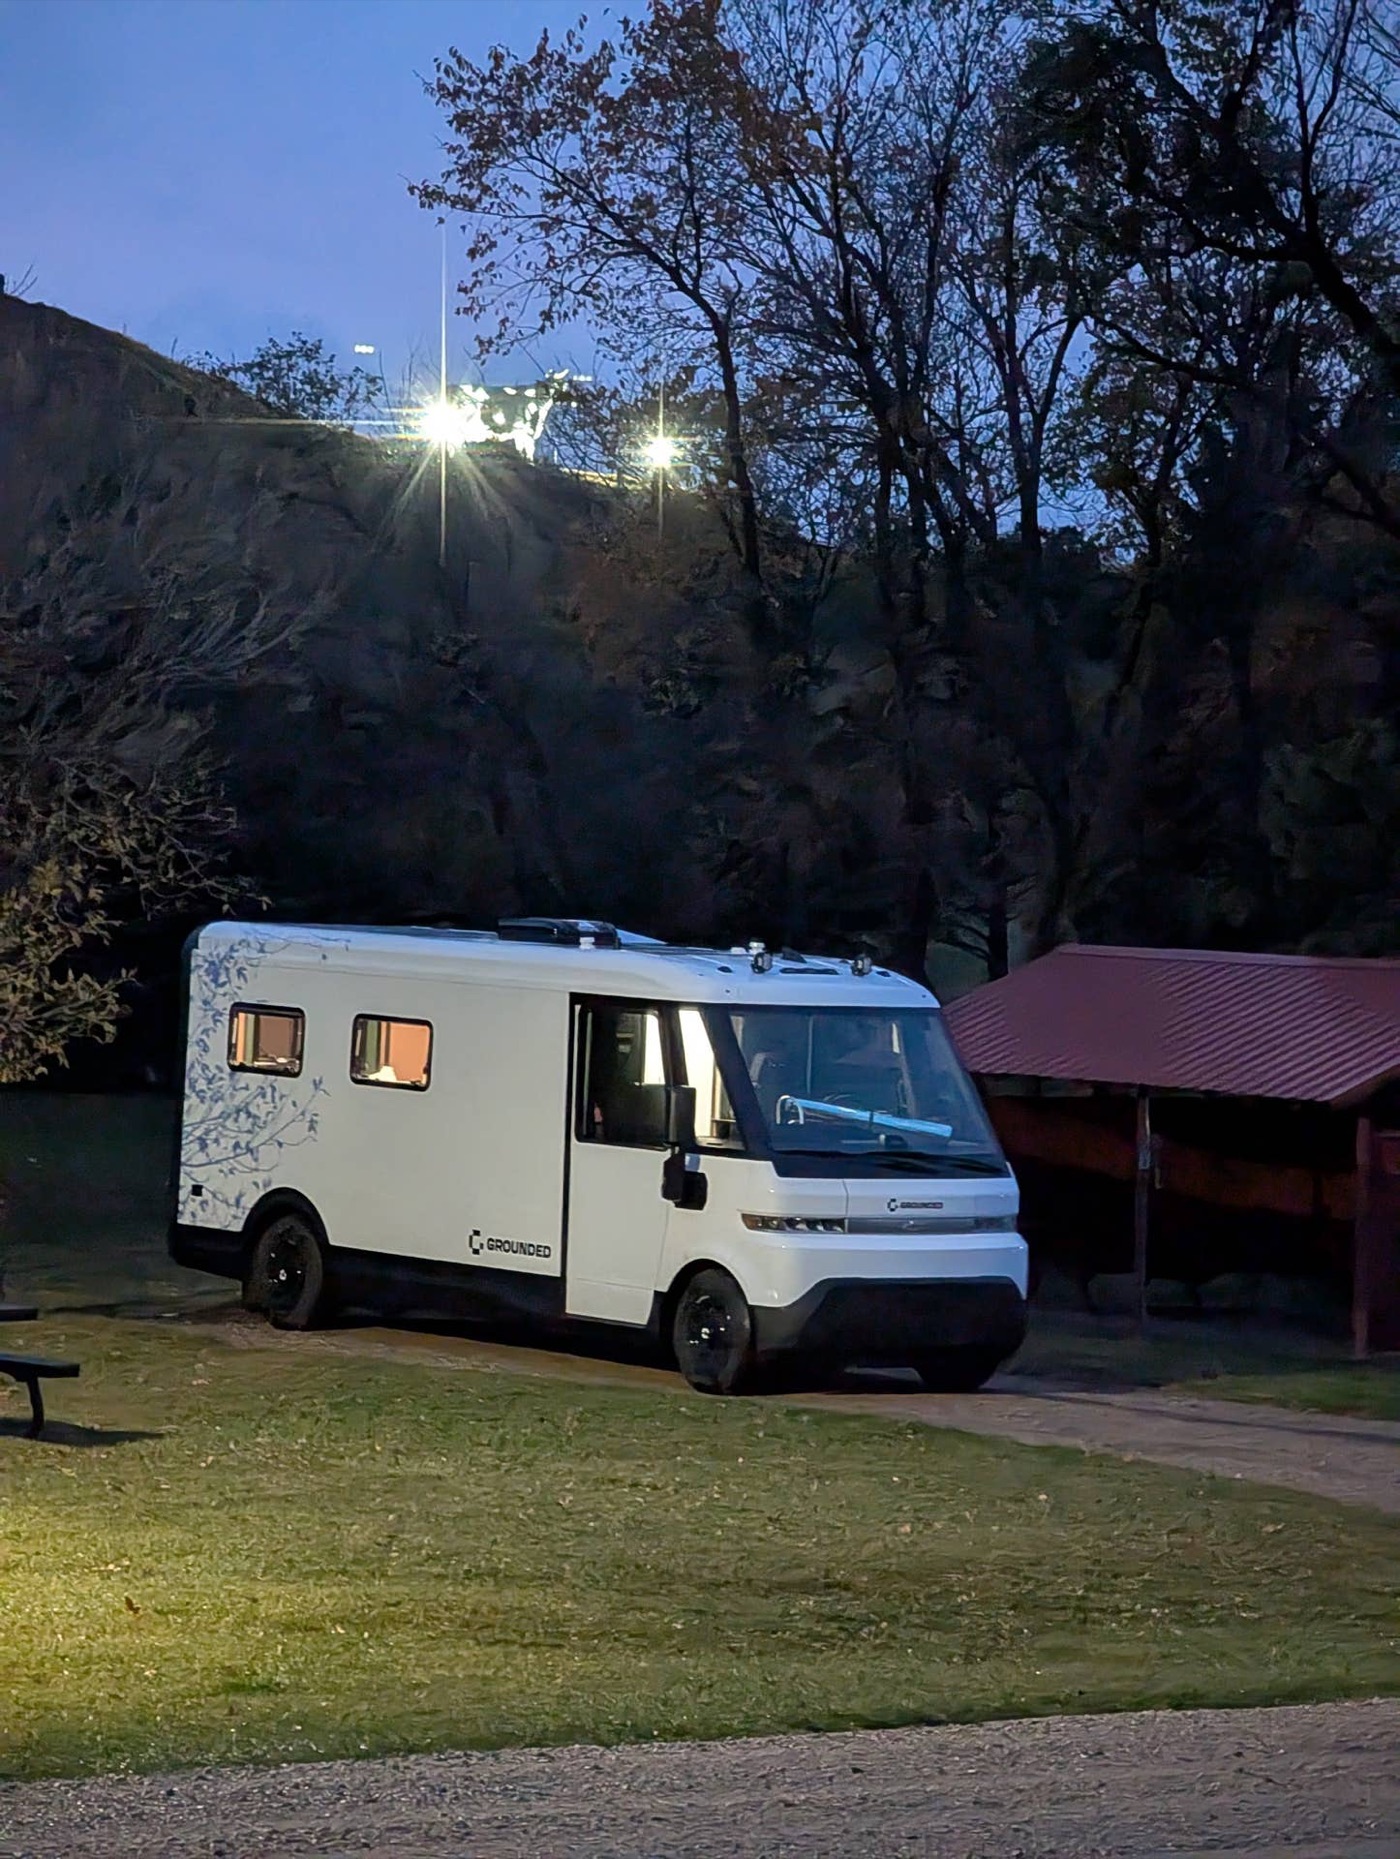
Redmond Chad said: I purchased my 2025 Brightdrop 600 max-battery from an upfitter, Grounded RVs in Detroit. I've mentioned various details about it many times on these forums, but never really put up a description and a few photos. View attachment 2
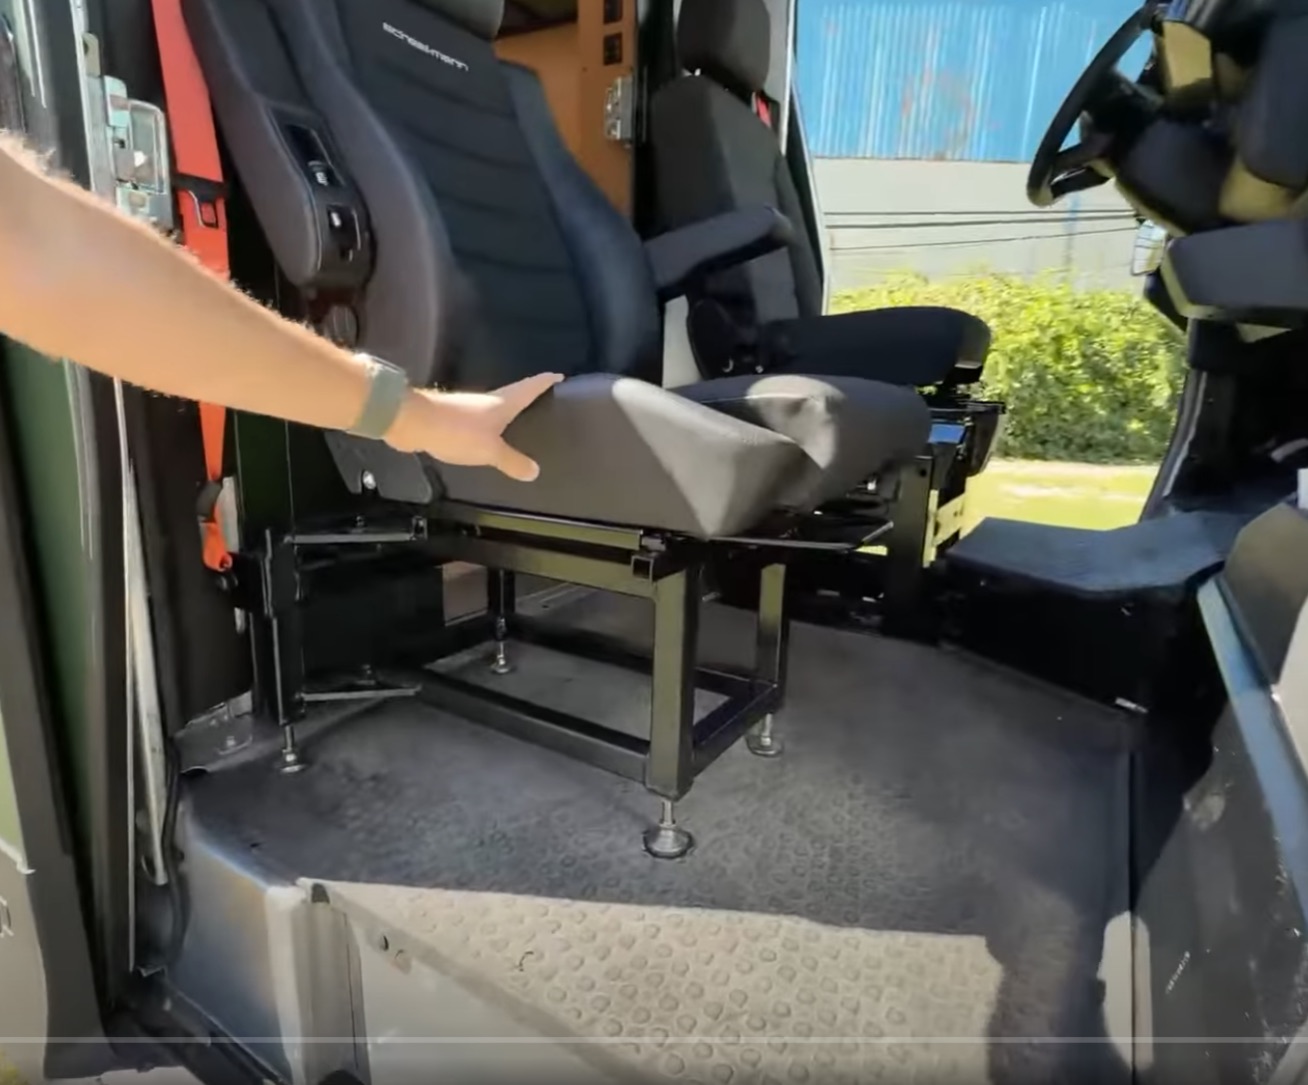
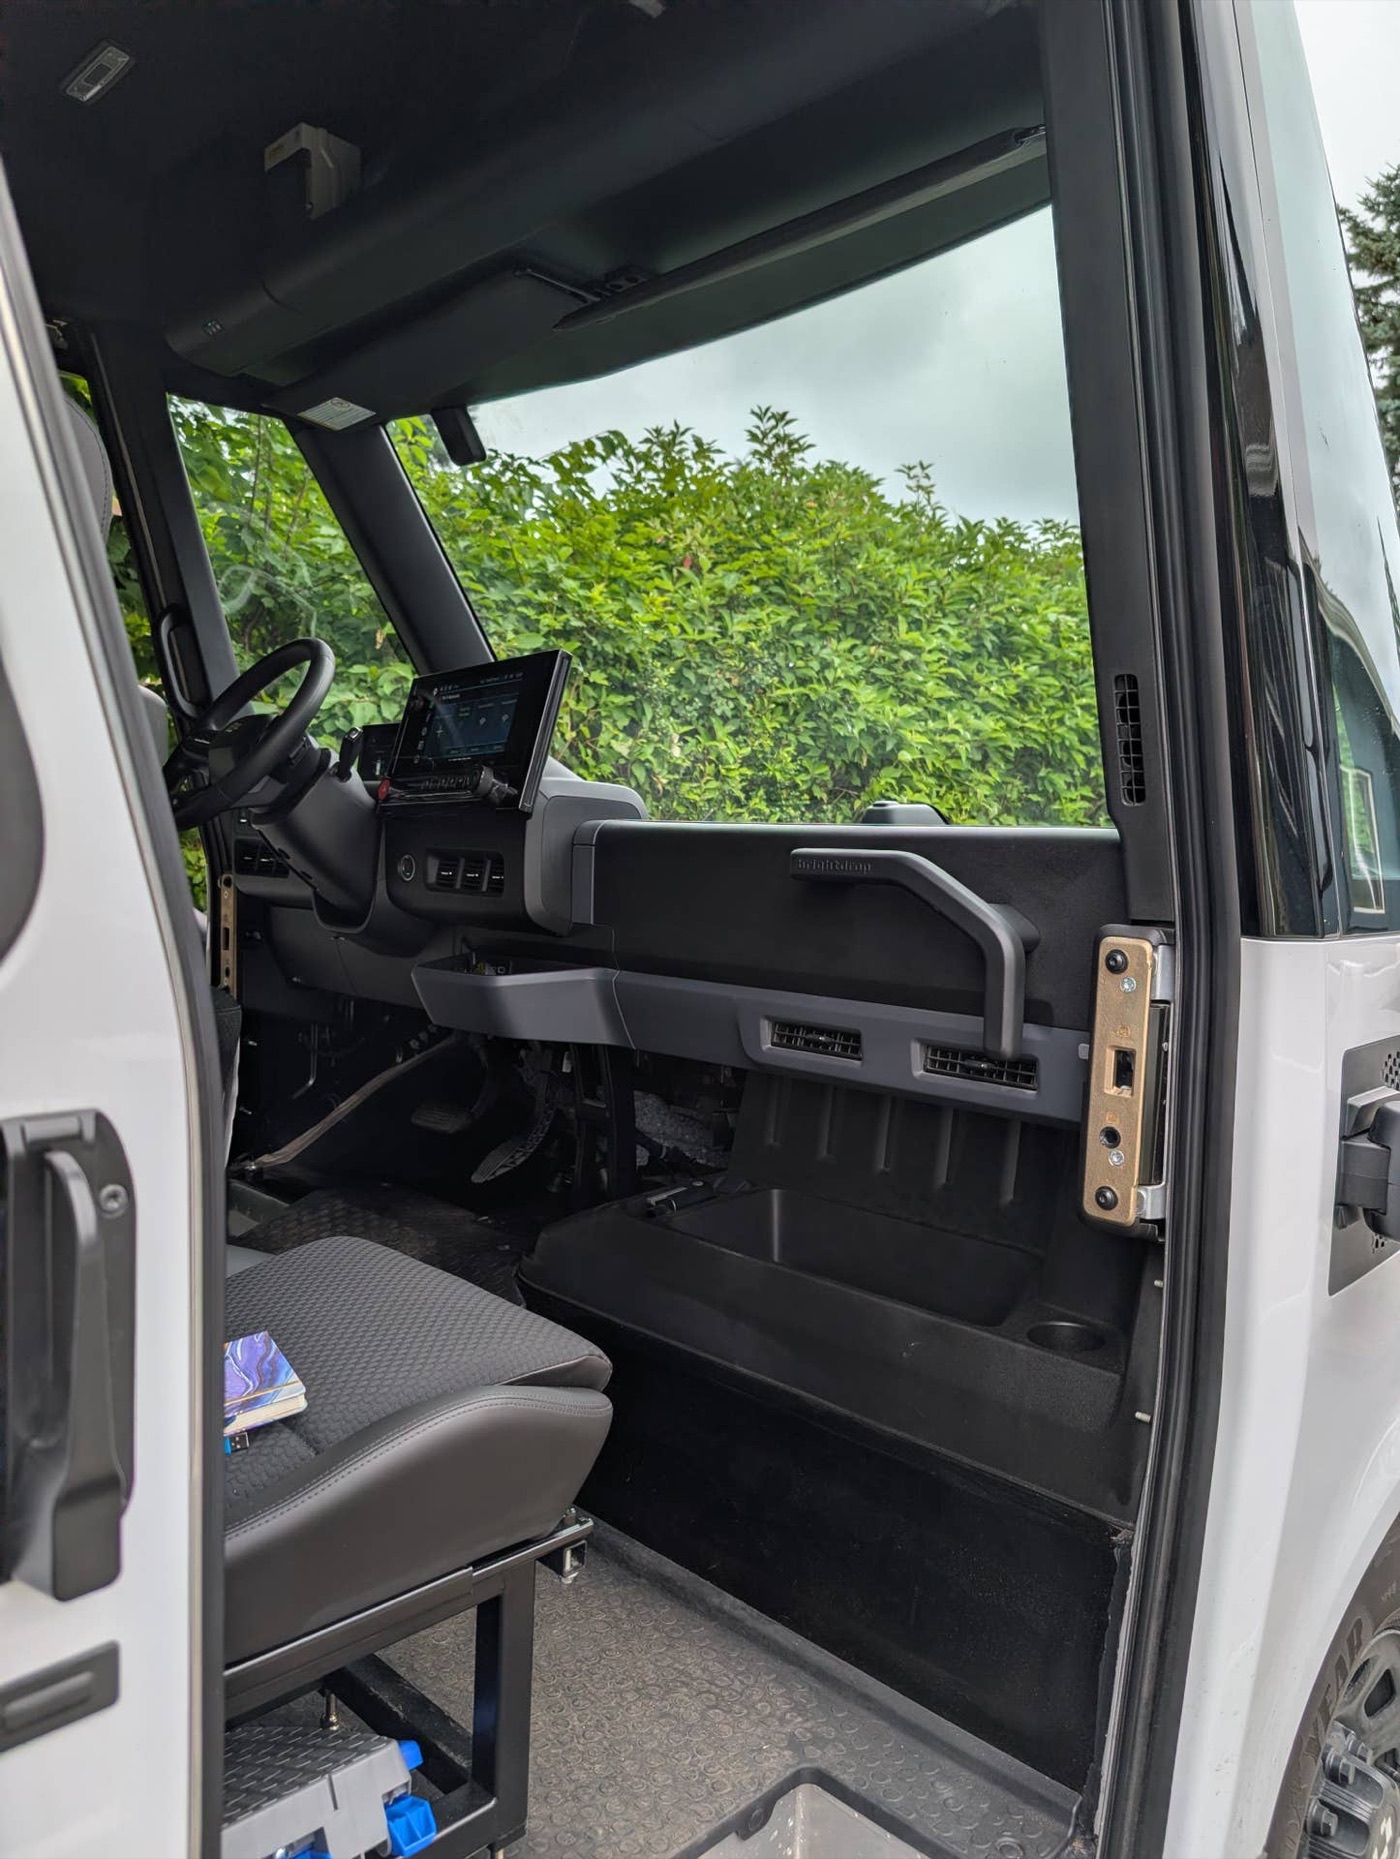
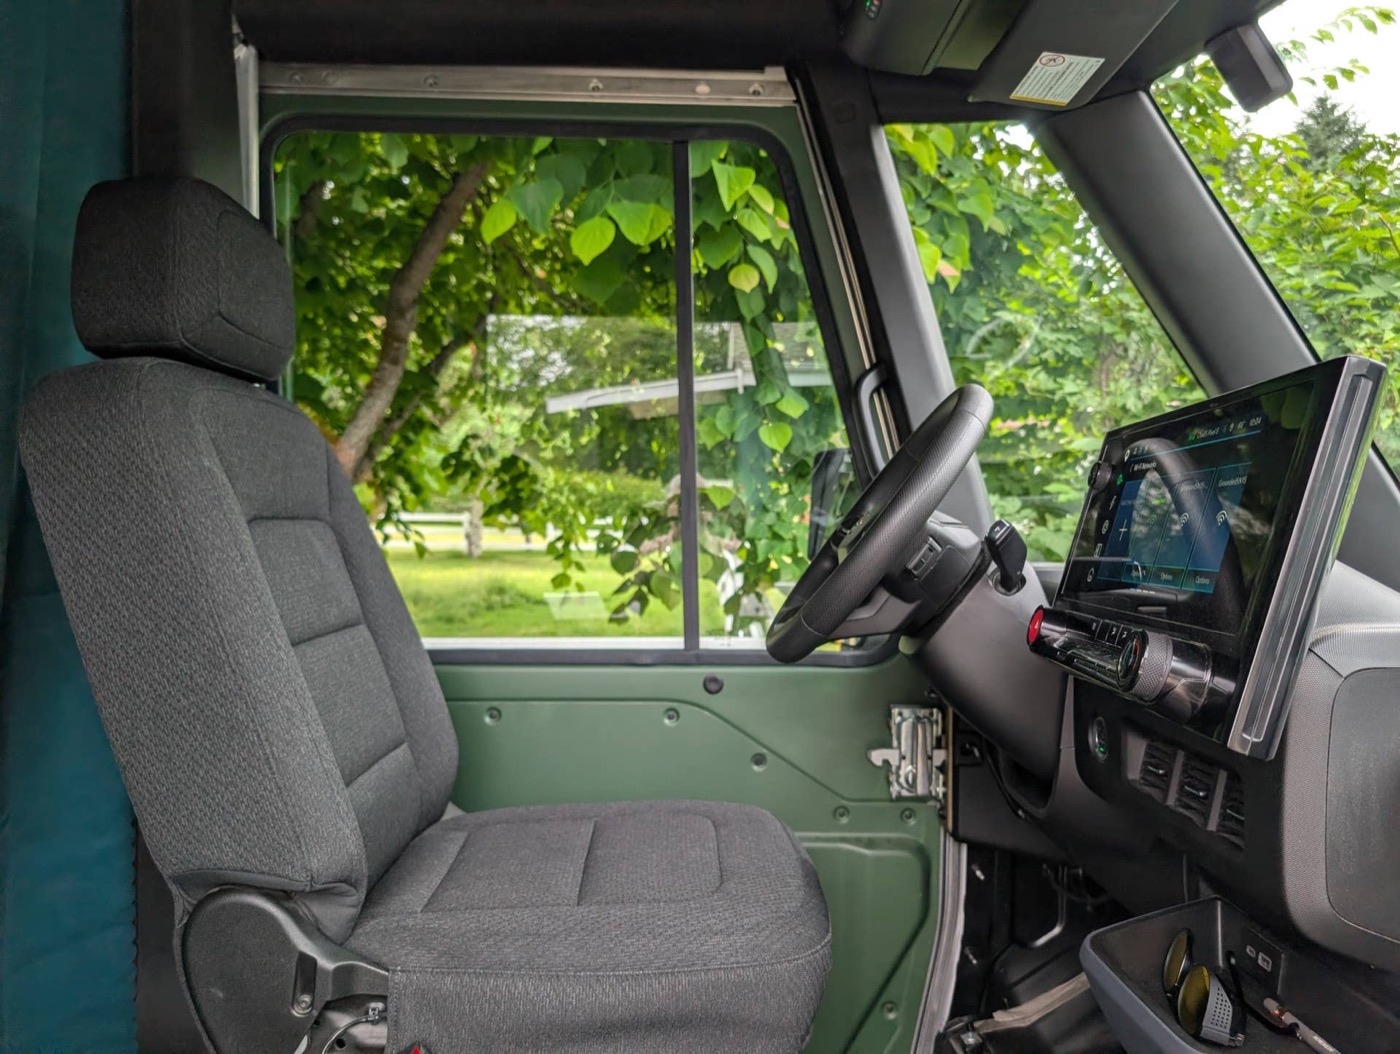
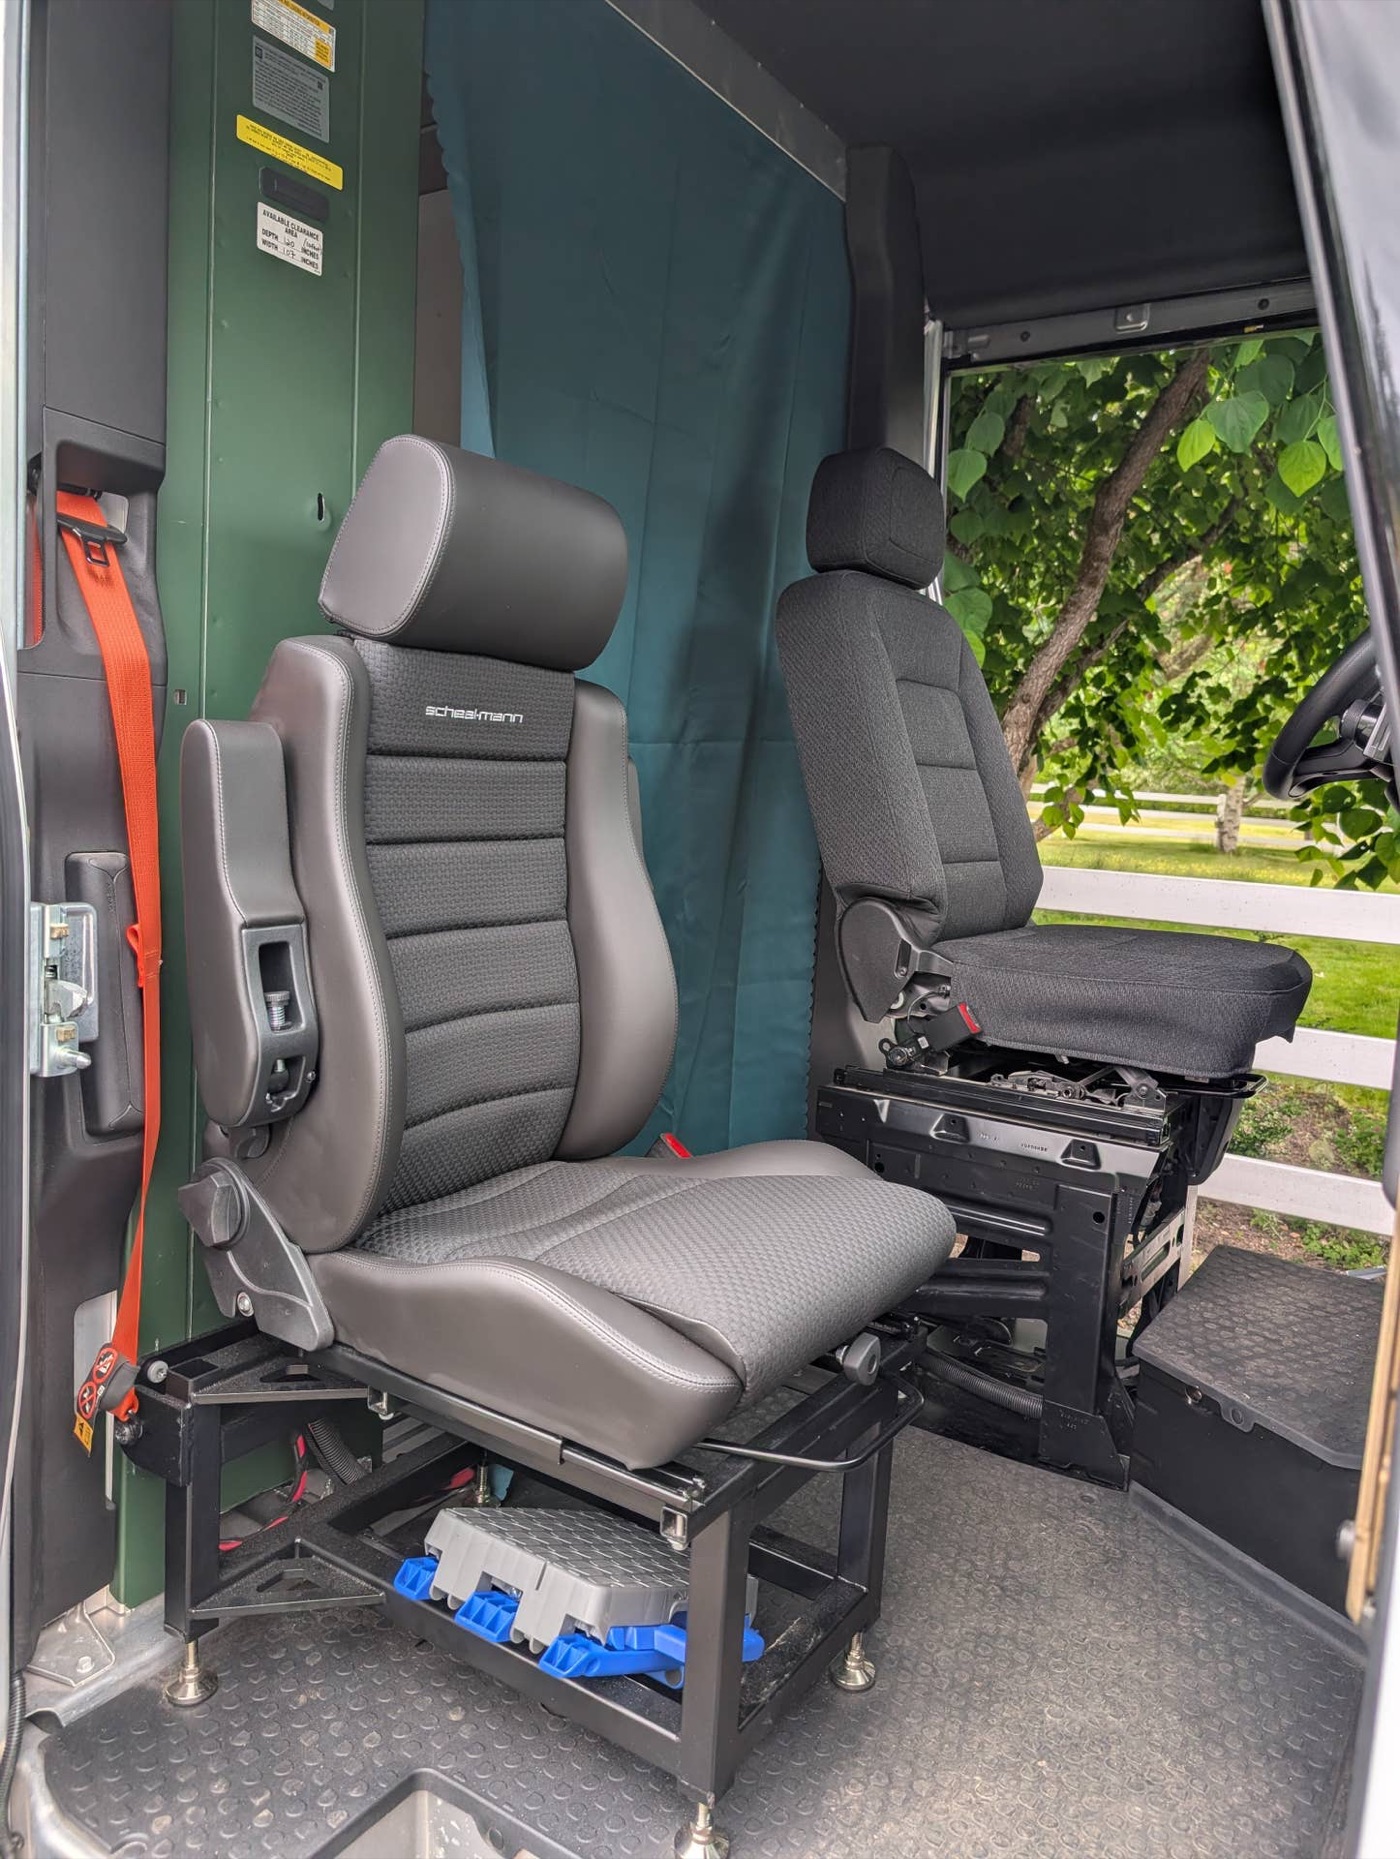
@Mist EV Some cab photos are below. There's not much of interest in the front; supposedly the speakers were upgraded, but you can't see and it's still not an inspiring system. Not that it matters with all the noise in the cab. Here you can see the gr
thread on brightdropforum.com →
N —